You bought a bag of paper filters, tore one off, and jammed it into the basket. Then the coffee dripped too slow, or worse, the filter collapsed and grounds ended up in your mug. That’s the moment most people give up and go back to the metal mesh screen.
The truth is, paper filters aren’t complicated, but they do have a few rules. Get them right and you’ll get a brighter, cleaner cup with zero sludge at the bottom. Get them wrong and you’ll fight your coffee maker every morning. This guide covers the actual steps—measuring, folding, seating, rinsing—plus the mistakes that ruin a brew, so you can use a paper filter with confidence no matter what machine you own.

Amazon Basics
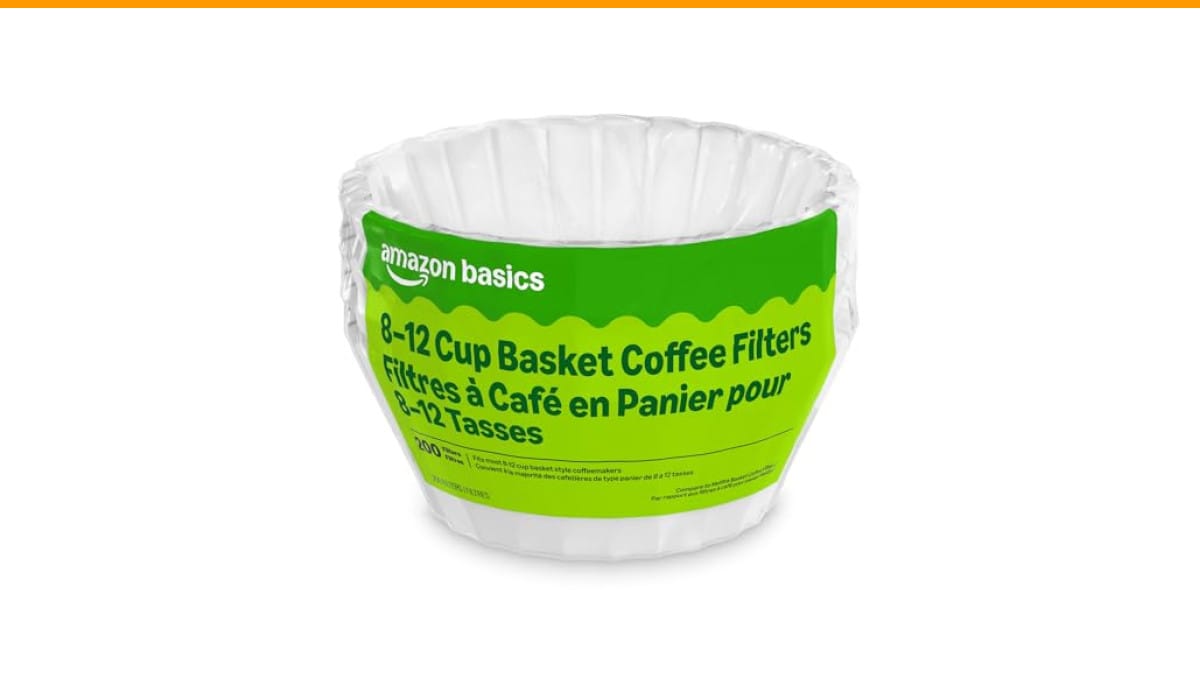
Amazon Basics Basket Coffee Filters for 8-12…
- SHIPMENT CONTAINS: 200 white basket coffee filters that fit most 8-12 cup basket coffeemakers
- SUPERIOR FILTRATION: Provides excellent coffee filtration that eliminates gritty sediment while allowing the great coffee taste to…
- INDUSTRIALLY COMPOSTABLE DESIGN: Filter meets ASTM D6868-11 standard and can be composted where municipal or industrial composting…
As an Amazon Associate I earn from qualifying purchases.
You’ll walk away knowing exactly which filter fits your brewer, how to prep it in under ten seconds, and what to do when your coffee starts flowing like molasses.
If you’re using a standard drip machine, the Amazon Basics Basket Coffee Filters are a solid, no-nonsense option. They’re unbleached, fit most 8–12 cup basket brewers, and the 200-count box means you won’t be reordering every other week.
Basket vs. Cone: Which Paper Filter Does Your Machine Need?
Before you fold anything, you need to know what shape your coffee maker accepts. This is the single most common mix-up. A flat-bottomed basket filter looks like a shallow bowl with pleated sides. A cone filter looks like a pointed hat—it’s deeper and narrower at the bottom. They are not interchangeable.
Check the brew basket itself. If the bottom is flat with small holes, you need a basket filter. If the bottom is a V-shape or a single small opening, you need a cone filter (usually size #4, sometimes #2). The Amazon Basics filters above are basket-style, so they fit flat-bottom machines like most Mr. Coffee, Black+Decker, and Hamilton Beach models.
Using the wrong shape is a guaranteed mess. A cone filter in a basket brewer will collapse and overflow. A basket filter in a cone brewer will sit crooked, and water will channel around the coffee, leaving you with weak, uneven extraction.
One more thing—check the size. A #4 cone filter is bigger than a #2. If you jam a #2 into a brewer designed for #4, the paper will fold over the top edge and block the lid from closing properly, which messes with the water flow.
When in doubt, measure the basket’s diameter. Most basket filters are around 8 to 10 inches across the top. The Amazon Basics option fits the 8–12 cup standard, which covers most home machines.
How to Prep and Seat a Paper Filter (The Right Way)
Okay, you’ve got the right shape. Now here’s the part most people skip, and it’s the difference between a clean brew and a clogged one.
- Fold the seams. Most basket filters have a crimped seam along the bottom edge. Fold that seam flat in the opposite direction. This allows the filter to sit flush against the bottom of the basket. If you skip this, the filter rocks slightly, and water pools unevenly.
- Open it fully. Press the filter down into the basket with your fingers, pushing the pleats outward so they hug the walls. A crumpled filter creates dead zones where water bypasses the coffee.
- Rinse it with hot water. Run plain hot water through the empty filter for about 5 seconds. This does two things: it removes any papery taste from the filter, and it warms up the glass carafe and the brew basket. Cold glass steals heat from your coffee, and a cold basket slows extraction. Dump the rinse water before adding grounds.
- Add coffee and level it. Use a spoon or a gentle shake to level the grounds. Don’t pack them down. Paper filters work with gravity and time, not pressure. Tamping coffee in a drip machine is a mistake—it slows the flow and over-extracts the grounds, making your coffee bitter.
The rinse step is non-negotiable for me. I’ve tasted the difference side-by-side with a cheap bleached filter, and the unrinsed cup always has a faint cardboard note. It’s subtle, but once you notice it, you can’t un-notice it.
If your coffee maker has a swing-out basket, seat the filter carefully so it doesn’t fold over the edges when you close the lid. A pinched filter is a clogged filter.
Common Mistakes That Ruin a Paper Filter Brew
You can do everything right with the filter itself and still get a bad cup. These are the issues I see most often when people complain about paper filters.
1. Using the wrong grind size
Paper filters trap fine particles, but they also slow down water. If you use an espresso-fine grind in a drip machine, the water backs up and overflows the basket. You need a medium grind—like kosher salt texture. Too coarse, and the water rushes through, producing weak coffee. Too fine, and you’re cleaning up a mess.
2. Overfilling the basket
Most 8–12 cup machines hold about 6 to 7 tablespoons for a full pot. Stuffing in 10 tablespoons of grounds doesn’t make stronger coffee; it makes a clogged filter and a bitter, over-extracted brew. The water physically can’t pass through that much coffee in the allotted time.
3. Not replacing the filter often
A paper filter is single-use. I know people who rinse and reuse them to save money. Don’t. The pores clog with oils and fines after the first brew. The second cup is slower, muddier, and tastes rancid because the old grounds in the paper go stale.
4. Ignoring the water temperature
Your brewer controls this, but if you’re using a pour-over cone, water between 195°F and 205°F is the sweet spot. Boiling water scalds the coffee and makes it harsh. If you’re using a drip machine and the coffee tastes burnt, check if your machine’s heating element is running too hot. A clean machine helps here—check out this coffee maker cleaning guide if it’s been a while.
5. Letting the filter sit too long
When the brew cycle finishes, pull the basket out and toss the filter. Letting it sit for an hour allows the coffee oils to oxidize and drip back into the carafe, which adds a sour, bitter note to the remaining pot. It’s a small habit, but it keeps the whole batch tasting fresh.
Paper vs. Metal vs. Cloth: Which Filter Should You Actually Use?
This is a question I get constantly. Each filter type changes the cup’s body and flavor profile. There’s no single right answer, but there are clear trade-offs.
| Filter Type | Cup Body | Flavor Profile | Cleanup | Cost Over Time |
|---|---|---|---|---|
| Paper (basket or cone) | Light, clean, no sediment | Bright, crisp, highlights acidity | Throw it away—zero scrubbing | Recurring cost, but cheap per cup |
| Metal mesh | Heavy, oily, full-bodied | Rich, bold, more bitterness | Rinse and occasionally scrub | One-time purchase, lasts years |
| Cloth | Medium, some fines pass | Smooth, balanced | Must rinse and boil regularly | Moderate; cloth wears out in months |
Paper filters absorb coffee oils. That’s a feature, not a bug. Those oils contain cafestol, which can raise LDL cholesterol in some people. If you’re watching your cholesterol, paper filters are the healthier choice because they trap those compounds. Metal filters let them through, which is why metal-filtered coffee tastes richer but has a heavier mouthfeel.
I switch between paper and metal depending on my mood. Paper for a bright Ethiopian single-origin, metal for a dark Sumatran blend. But for a standard drip machine, paper is the default because it’s foolproof and keeps your brewer cleaner. Less oil buildup means less frequent deep cleaning. When you do need to descale, here’s a descaling guide that covers the whole process.
What About Composting and Disposal?
Paper filters are biodegradable, but not all of them compost well in a backyard pile. The Amazon Basics filters are industrially compostable, which means they break down quickly in a municipal facility. If your city has a green waste program, toss them in there. If you’re composting at home, they’ll still break down, but it takes a few months. Tear them up before adding to the pile to speed it up. The coffee grounds themselves are excellent nitrogen-rich compost material, so don’t throw those in the trash either.
Frequently Asked Questions
Do I need to rinse a paper coffee filter every time?
Yes, and it takes five seconds. Hot tap water is fine. This removes the paper dust and any bleached residue, and it pre-heats the brewer. Skipping this step won’t ruin your coffee, but it leaves a faint papery taste, especially with cheaper bleached filters.
Can I use a paper filter in a French press?
Not directly. The French press mesh plunger won’t hold a paper filter in place. You can buy specialized paper filters for a French press that sit on top of the grounds to help press them down, but they’re a different shape and size. Stick to the metal mesh for a French press.
Why does my coffee taste bitter even with a new paper filter?
Likely a grind size issue or water temperature. If the grind is too fine, the water over-extracts the grounds. If your machine runs hot, it’ll scald the coffee. Also check the brew time—if a full pot takes more than 10 minutes, your machine is too slow, and the coffee sits on the hot plate too long.
How many cups does a #4 cone filter actually hold?
A #4 filter holds up to 6 tablespoons of coffee comfortably. That’s enough for about 8 to 10 cups of brewed coffee, depending on your cup size. Don’t overload it; the paper needs room to let water pass through.
Can I reuse a paper filter if I just brewed one cup?
Technically yes, but you’ll taste the difference. The paper’s pores clog with oils after the first brew, so the second cup is slower and muddier. A box of 200 filters is cheap enough that reusing one isn’t worth the degradation in flavor.
What to Remember Next Time You Brew
- Match the filter shape to your basket—flat bottom needs basket, V-shape needs cone.
- Fold the seam flat and press the filter against the basket walls to seat it properly.
- Rinse the filter with hot water for 5 seconds before adding coffee.
- Use a medium grind, about the texture of kosher salt, for drip machines.
- Don’t overfill—6 to 7 tablespoons is the max for a full 8–12 cup pot.
- Toss the filter immediately after brewing to avoid bitter drip-back.
- Compost the used filter and grounds if your city offers green waste pickup.
Paper filters are the easiest way to get a clean, sediment-free cup without spending money on expensive equipment. The learning curve is short, and the payoff is a brighter, more consistent brew every morning. If your machine has been running slow or leaving residue, a fresh filter and a clean brewer make the biggest difference—here’s a clogged coffee maker fix if you’re dealing with that right now.
Products related to this article
Sponsored / affiliate links. As an Amazon Associate I earn from qualifying purchases. I may earn additional commission from eligible campaigns.
 HomeBeyond Espresso Coffee Maker 12 Cups, Classic Stovetop Espresso Maker, 600ml / 20oz Coffeemaker for Gas & Ceramic Stovetops (Silver)
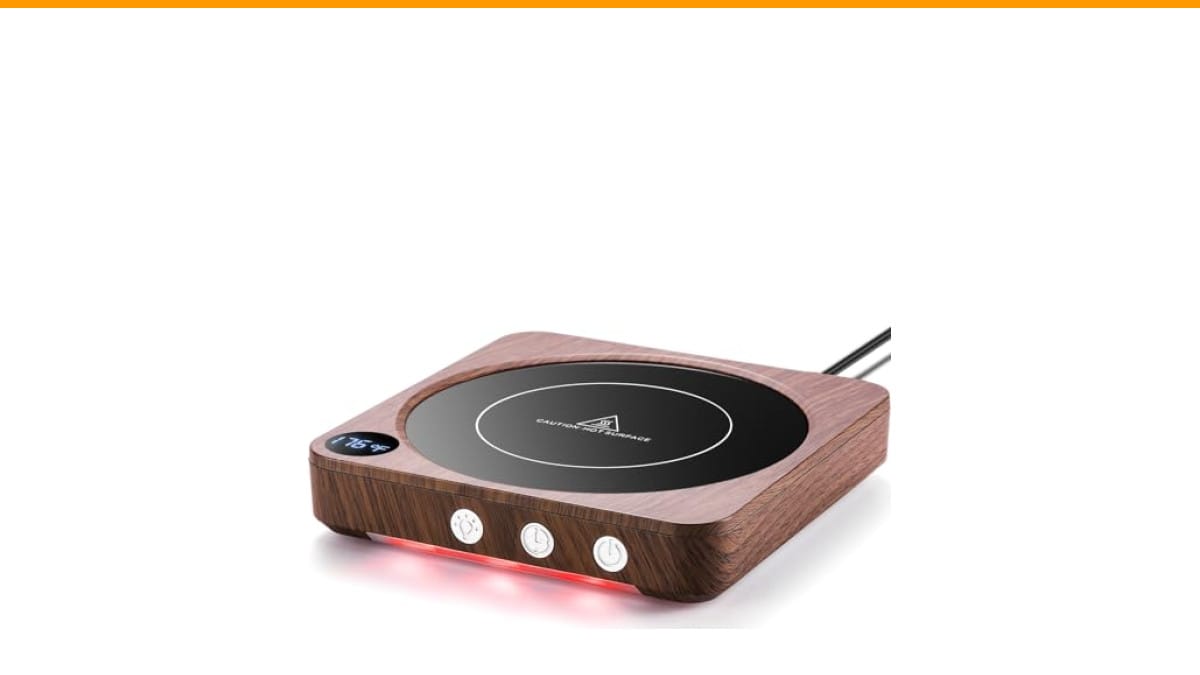
 SOLUSTRE Electric USB Coffee Cup Warmer with Temperature Settings Portable Milk and Beverage Heating Coaster for Office Desk Small Lightweight Design Easy to Clean Surface Multi Functional
 Coffee Mug Warmer, Heating Cup Mat Electric Cup Warmer Pad Electric Thermostat Coaster USB Cup Heater Electric Beverage Warmers for Office Home (A)