You packed the tent, the sleeping bag, and the camp stove. Then you stood in the kitchen staring at your glass pour over cone, wondering if it would survive a bumpy dirt road. Most of us have been there. The ceramic dripper that makes your morning coffee taste so good is also the most fragile thing you own.
This guide covers the practical side of traveling with a pour over coffee maker. You will learn what gear survives the trip, how to pack it so it arrives in one piece, and how to brew a decent cup when you are working with a camp stove and a questionable water source. No fluff, just the stuff that works.
Attsky
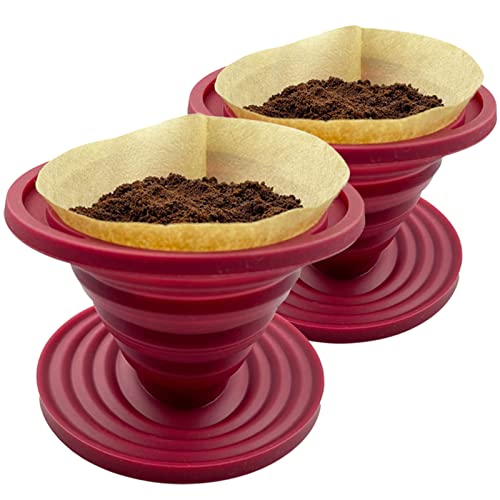
Attsky Collapsible Pour Over Coffee Dripper for…
- EASY TO USE: Make delicious hand brewed coffee anywhere with this pour-over coffee dripper. Available for 1 or 2 people
- PORTABLE: Not only lightweight, but foldable design saves a lot of space, makes storage a breeze and easy to carry
- HEALTHY: This upgraded collapsible coffee dripper is made of high quality food-grade silicone. BPA free. No odor created. Heat res…
As an Amazon Associate I earn from qualifying purchases.
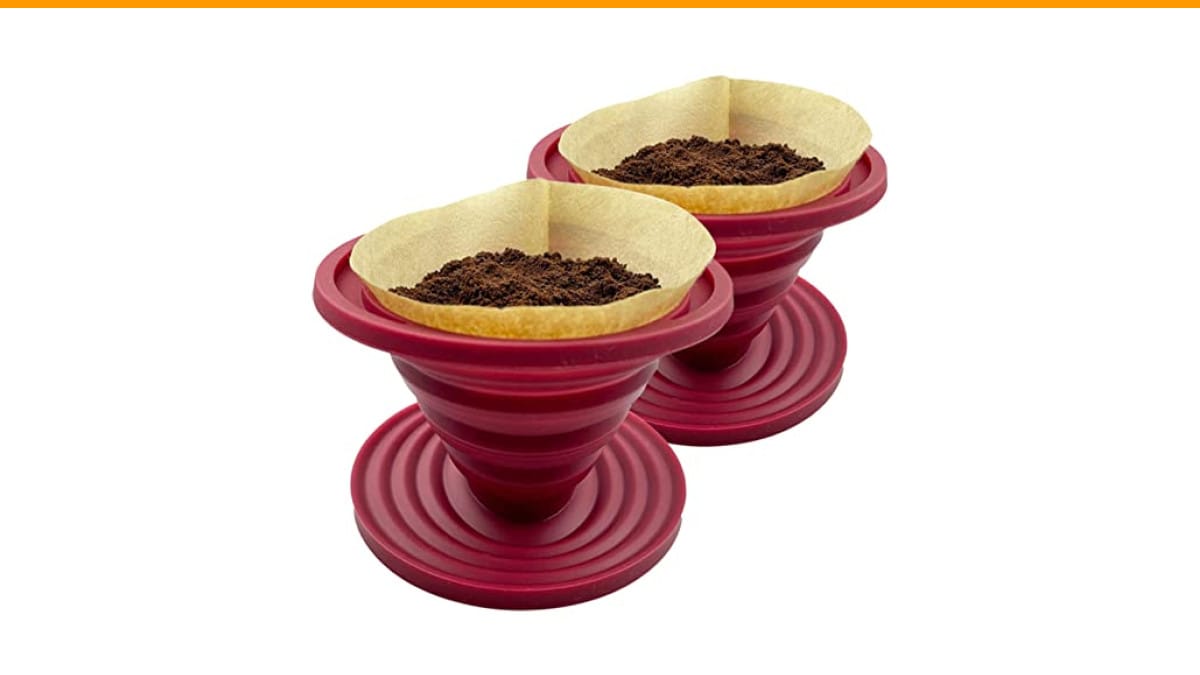
If you are looking for a dedicated travel option, the Attsky Collapsible Pour Over Coffee Dripper solves the fragility problem entirely. It is a silicone collapsible dripper that flattens down to almost nothing, so you can toss it in a backpack pocket without a second thought.
Choose the Right Dripper for the Trip
Not all pour over brewers are equal when it comes to travel. Your daily driver at home is probably ceramic or glass. Those materials make great coffee but terrible travel companions. One knock against a rock and you are drinking instant for the rest of the trip.
Here is how the common materials stack up when you factor in packing weight and durability:
- Ceramic: Excellent heat retention, but heavy and brittle. Only bring it if you are driving and can wrap it in a thick towel.
- Glass: Same issues as ceramic, plus it shatters into dangerous shards. Avoid for any trip involving a backpack.
- Plastic: Light and cheap, but some plastics absorb odors and can warp near high heat. Look for BPA-free options.
- Silicone: The travel winner. It is flexible, nearly indestructible, and collapses flat. The trade-off is less heat retention, so your brew temperature drops faster.
- Stainless Steel: Durable and keeps heat well, but it is heavier and can dent if packed loose.
For a weekend camping trip, a collapsible silicone dripper is the obvious pick. It weighs a few ounces and takes up less space than a paperback book. For a car-camping trip where weight does not matter, a steel dripper will give you a slightly better extraction because it holds heat longer.
Pack It Like It Is Your Only Cup
Packing a pour over cone is not complicated, but it requires a little thought. The goal is to prevent the brewer from rattling against other gear and to cushion it against drops.
Start with the dripper itself. If you are using a collapsible silicone model, you can skip most of this. It just folds flat and goes anywhere. For rigid brewers, follow this method:
- Wrap the dripper in a clean, dry kitchen towel. Make sure the towel is thick enough to absorb a hard knock.
- Place the wrapped dripper inside a hard-sided container. A large plastic food storage tub works well. If you do not have one, use a dedicated travel mug or a sturdy pot.
- Fill any empty space in the container with soft items like socks or a beanie. You do not want the dripper shifting around.
- Put the container in the center of your bag, not on the bottom or against the outer wall. The middle of the bag absorbs the most impact.
One thing people forget is the carafe. If you are traveling with a glass server, treat it with the same care as the dripper. Consider leaving the glass carafe at home and brewing directly into a stainless steel camping mug instead. That saves weight and removes the most fragile piece from your kit.
If you are taking a metal or silicone dripper, you can skip the hard container. Just wrap it in a shirt and wedge it between soft items. It will survive a drop that would destroy a ceramic cone.
Grind Size and Coffee Prep on the Road
Your grind size matters more when you travel because you have less control over water temperature. At home, you can dial in your grinder to the exact setting. On the road, you are often working with a hand grinder and a camp kettle that does not have a thermometer.
A medium-fine grind is the safest starting point for travel. It works with a standard pour over recipe and tolerates water that is slightly off boiling. If your coffee tastes bitter and over-extracted, go coarser. If it tastes sour and weak, go finer. You are adjusting for the variable water temperature, not the other way around.
Pre-grinding at home saves time but costs flavor. Ground coffee loses its volatile aromatics within 15 minutes of grinding. If you are going on a trip longer than two days, bring a hand grinder. A decent one takes about 30 seconds to grind 20 grams of beans and fits in a backpack side pocket.
Pack your beans in an airtight container or a vacuum-sealed bag. Do not use the original paper bag. It lets air in and your coffee will taste flat by day two. Portion out 20-25 grams per cup into small zipper bags if you want to make mornings easy.
Brewing Without a Kitchen
Brewing pour over on a campsite is not the same as brewing at your kitchen counter. The water boils faster, the kettle cools quicker, and the wind steals your heat. Here is a method that works consistently with basic gear.
Heat your water to a full rolling boil, then let it sit for 30 seconds. This drops the temperature to roughly 200-205°F, which is the sweet spot for most coffees. If you do not have a thermometer, this timing trick gets you close enough.
Use the same ratio you use at home: 1 gram of coffee to 16 grams of water. For a standard 12-ounce mug, that is about 22 grams of coffee and 352 grams of water. Measure with a small digital scale if you have one. If you do not, use the scoop that came with your grinder and eyeball the water level.
The bloom is still important. Pour just enough water to saturate the grounds, about twice the weight of the coffee, and wait 30-45 seconds. This lets the coffee degas and ensures an even extraction. Skipping this step makes the cup taste flat and underdeveloped.
One trick for windy conditions: brew inside your tent vestibule or behind a windbreak. A light breeze can drop your slurry temperature by 10 degrees, which ruins the extraction. Even a small rock placed on the windward side of your kettle helps.
| Dripper Material | Weight | Durability | Heat Retention | Best Use Case |
|---|---|---|---|---|
| Ceramic | Heavy (300-500g) | Low – chips and cracks | Excellent | Home counter only |
| Glass | Medium (200-300g) | Very low – shatters | Good | Home counter only |
| Plastic | Light (50-100g) | Medium – can warp | Poor | Budget travel |
| Silicone | Very light (80-120g) | High – flexible | Poor to fair | Backpacking and camping |
| Stainless Steel | Medium (150-250g) | High – dents but works | Excellent | Car camping and RV trips |
Can I use a paper filter with a collapsible dripper?
Yes. Most collapsible drippers, including the Attsky model, accept standard V60-style cone filters. You do not need a special filter. Just fold it along the seam and place it in the cone. The ribs inside the silicone body keep the filter off the wall so water can flow through properly.
How do I clean a pour over dripper at a campsite?
Rinse it with hot water immediately after brewing. Coffee oils stick to silicone and plastic faster than ceramic, so do not let it sit. If you are at a site with no running water, wipe it out with a damp cloth and rinse it properly when you get back. A neglected dripper will start to smell rancid after a few trips.
What is the best way to carry ground coffee for a week-long trip?
Vacuum-sealed portions are the best. If you do not have a vacuum sealer, use small zipper bags and squeeze out as much air as possible. Store them in a dark, cool spot inside your pack. Do not leave them in the car. Heat degrades the coffee faster than anything else.
Can I use a pour over dripper over a campfire?
You can, but you should not. The flames are uneven and the smoke will taint the coffee. Use a camp stove with a stable base. If you only have a fire, wait until the flames die down to coals and use a grate. The coffee will not be great, but it will be drinkable.
Do I need a gooseneck kettle for travel?
No. A gooseneck gives you precise control over the pour, but a regular camp kettle works fine if you pour slowly and steadily. The key is to pour in a circular motion, starting from the center and working outward. A steady hand matters more than the shape of the spout. If you are struggling with control, use a spoon to break the stream of water as it falls.
What to Leave Behind and What to Bring
You do not need to replicate your entire home coffee setup on the road. Strip it down to the essentials. Here is what a practical travel kit looks like:
- A collapsible or steel dripper (not ceramic or glass)
- A hand grinder with a steel burr set
- Paper filters in a zipper bag
- A small digital scale if you have room
- An insulated camping mug instead of a glass carafe
- Pre-measured coffee portions in airtight bags
That is it. You can leave the gooseneck kettle, the fancy server, and the thermometer at home. They add weight and bulk without improving the cup enough to matter on a trail.
If you are bringing a glass carafe because you like to share coffee with friends, pack it in a hard-sided pot with a towel. But know that it is the first thing that will break. A steel French press or a second mug is a more durable backup.
One last note on water. If your campsite water tastes like a swimming pool, your coffee will too. Bring a filter bottle or boil the water and let it sit for a minute before brewing. The chlorine will dissipate, and your coffee will taste noticeably cleaner.
Traveling with a pour over coffee maker is not hard once you accept that you are trading some ritual precision for portability. The coffee will be good, not perfect, and that is fine. You are outside, the air is fresh, and you have a hot cup in your hands. That is the whole point.
Final Checklist Before You Zip Your Bag
- Pick a silicone or steel dripper for anything beyond a car trip. Leave the ceramic at home.
- Wrap rigid brewers in a towel and nest them in a hard container, not loose in the bag.
- Bring a hand grinder if your trip is longer than two days. Pre-ground coffee goes stale fast.
- Portion beans into airtight bags. 20-25 grams per cup is the right amount.
- Let boiled water rest 30 seconds before pouring. This hits the right temperature range.
- Bloom the coffee for 30 seconds before the main pour. It makes a real difference.
- Rinse the dripper right after brewing so oils do not build up and go rancid.
If you are still deciding between a dedicated travel dripper and repurposing your home gear, think about how often you actually go out. If it is more than a few times a year, the collapsible option is worth the small investment. It saves you the stress of packing fragile items and the disappointment of finding shards in your bag. Check the current price on Amazon if you want to see what the Attsky Collapsible Pour Over Coffee Dripper costs today.
And when you get back home, do not forget to give your regular brewer a proper cleaning. A travel dripper can handle a quick rinse, but your home equipment needs a deeper vinegar cleaning every few weeks to keep the oils from building up. If you are not sure how often to do it, this cleaning schedule guide breaks it down by usage. For the grinder itself, a quick step-by-step grinder cleaning will keep your beans tasting fresh.
Products related to this article
Sponsored / affiliate links. As an Amazon Associate I earn from qualifying purchases. I may earn additional commission from eligible campaigns.
 Stainless Steel Moka Pot Coffee Filter Disc for Espresso Brewing, Coffee Maker Replacement Filter Plate for Home Office Coffee Bar Cafe (FOR 4 Cups)
 Belly Moka Coffee Maker Stovetop Espresso Maker 9 Cup Aluminum Moka Pot Percolator 15oz 450ml Easy Brewing for Electric Ceramic Stoves Home Camping Italian Cuban Café Classic Black
 Belly Moka Coffee Maker Stovetop Espresso Maker 6 Cup Aluminum Moka Pot Percolator 10oz 300ml Easy Brewing for Electric Ceramic Stoves Home Camping Italian Cuban Café Classic Silver