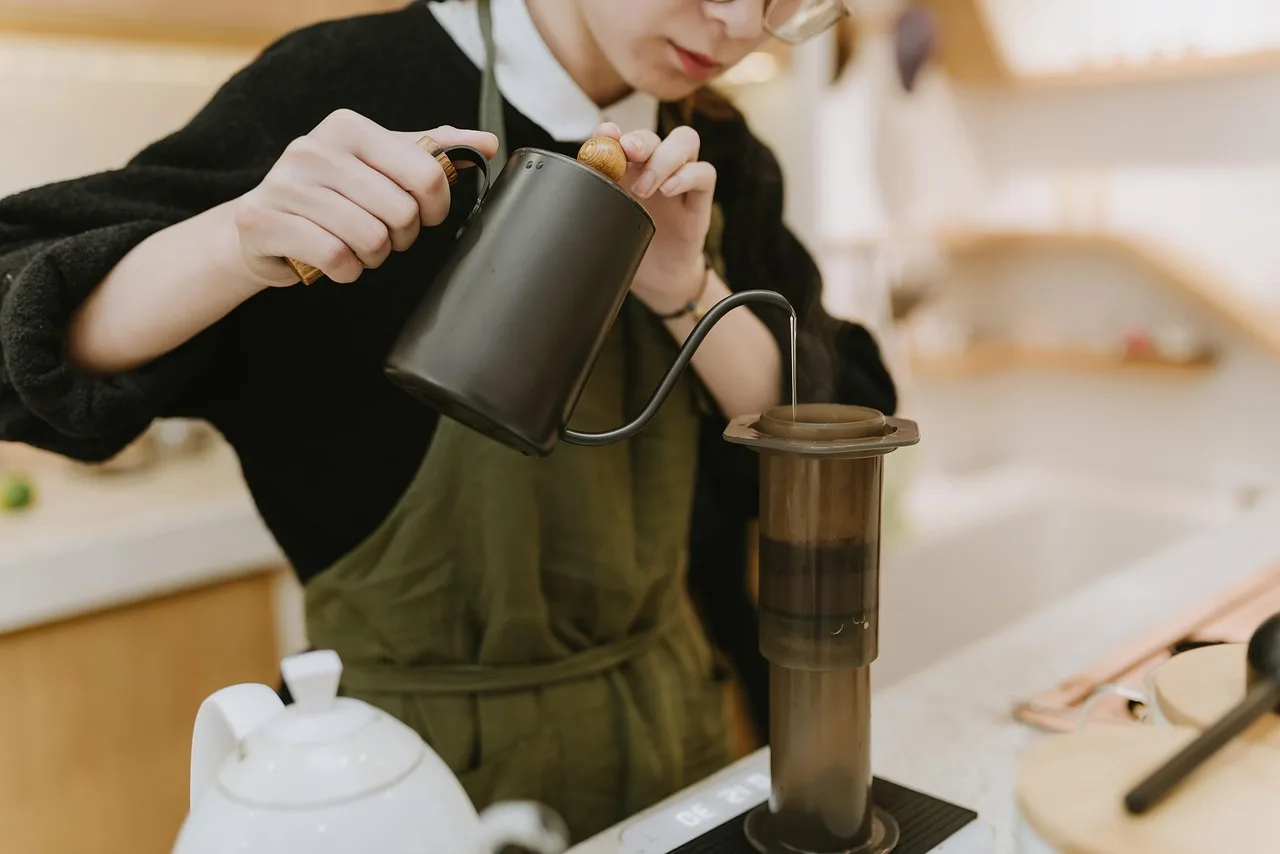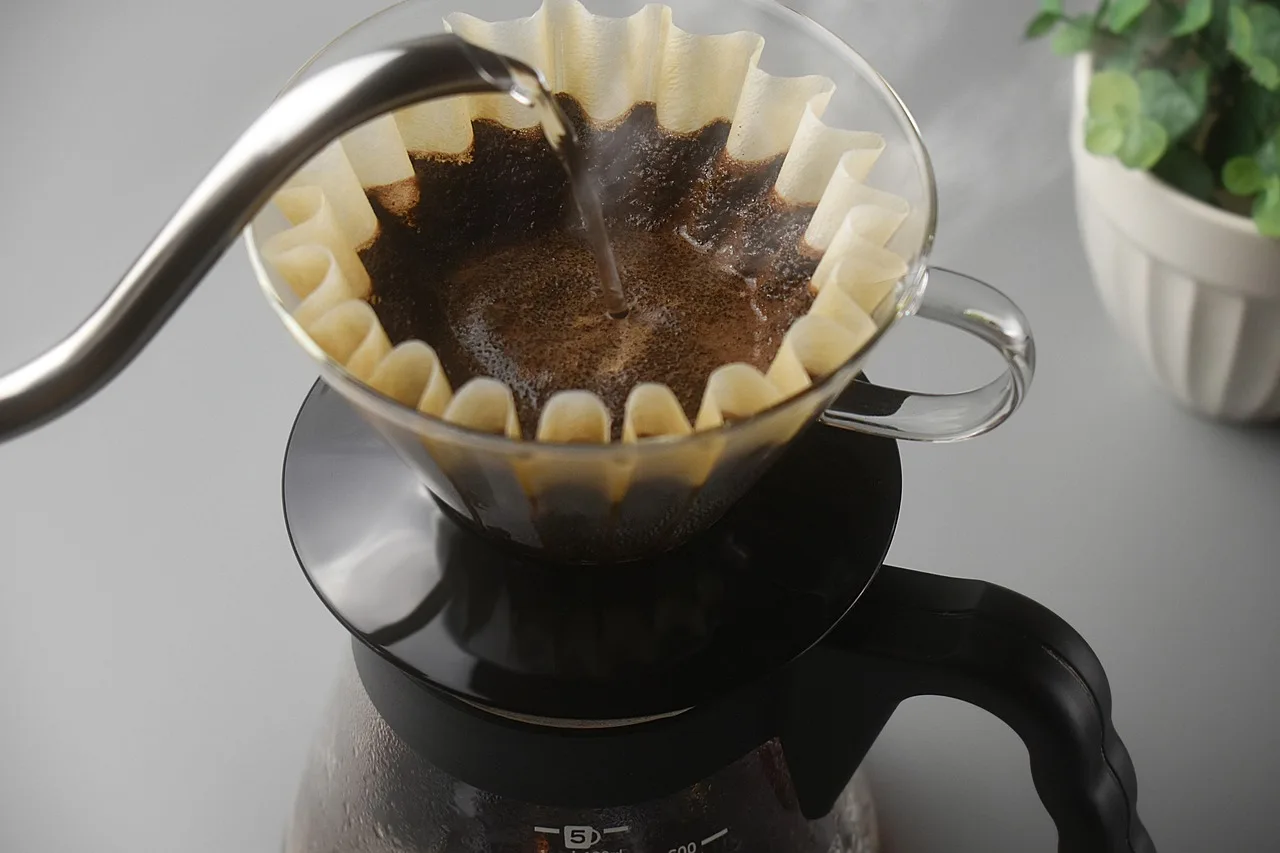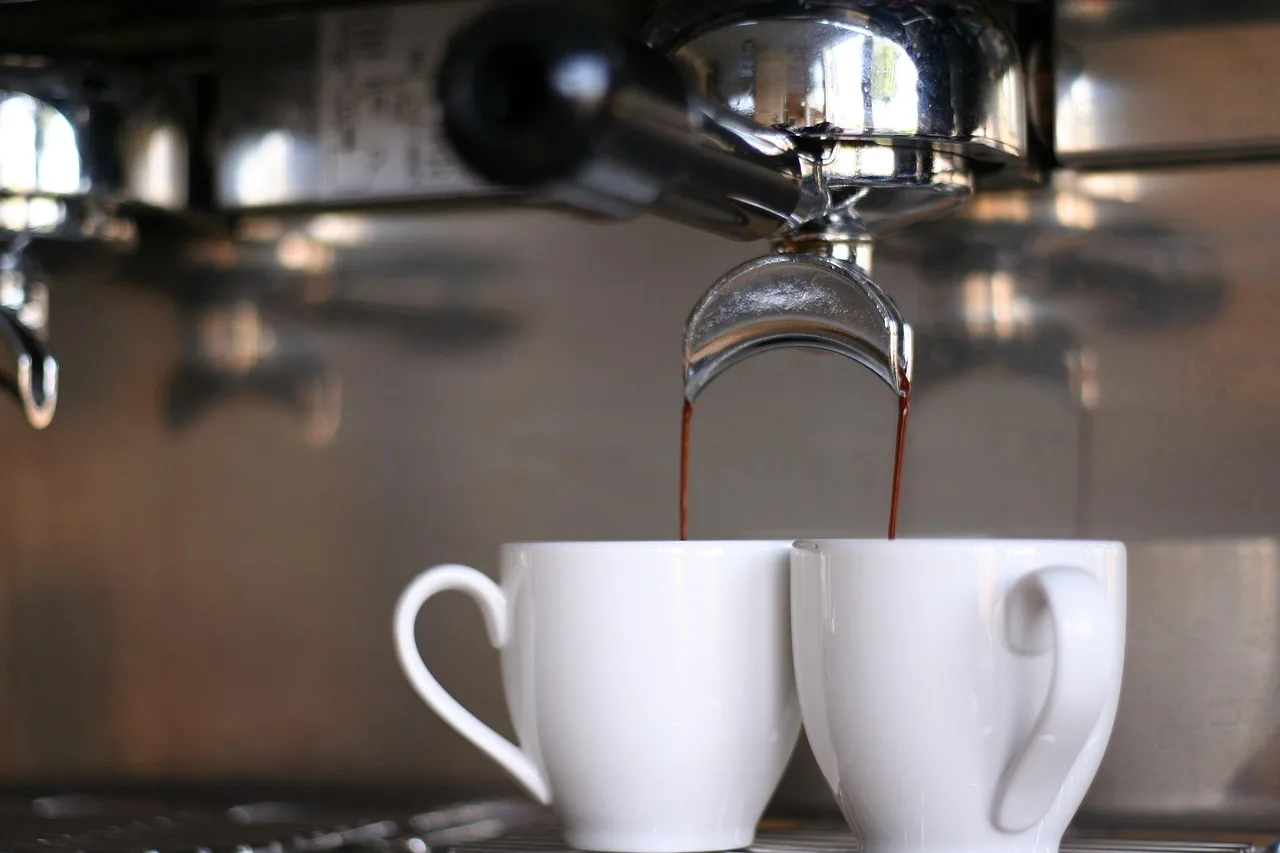
Use a 1:16 coffee-to-water ratio as a default: about 15 g coffee per 240 g water, then adjust a little stronger or lighter to suit taste. Get the ratio wrong and even good beans can brew weak, sour, bitter, or simply stronger than needed. This guide maps ratios to brew method, batch size, cup count, taste goal, and the fastest fixes for common brewing problems.
What coffee ratio means in real brewing


A brew ratio is a weight-based formula comparing coffee by weight with water by weight. That matters because strength gets easier to control when I measure mass instead of scoops. The same ratio scales cleanly from one mug to a full batch, which makes recipes repeatable.
The phrase 1:16 means 1 part coffee to 16 parts water by weight. If the water goes up, the coffee goes up in the same proportion. That is the basis of repeatable brewing.
Weight beats scoops because scoops drift. Bean density changes with roast level, origin, age, and grind size. A scoop of dark roast can weigh much less than a scoop of light roast, even before grind changes enter the picture.
A lower ratio number puts more coffee into the same water, so the cup tastes denser and more forceful. A higher ratio number spreads the same water across less coffee, so the cup lands lighter. In practice, 1:12 drinks heavier than 1:16, while 1:18 drinks lighter than both.
For this guide, the calculator uses an 8 oz cup convention, treated as 240 g water per cup for easy kitchen use. That is a kitchen shortcut, not a universal manufacturer cup size. Many coffee makers label a “cup” closer to 5 to 6 fl oz, and water mass is only approximately equal to volume in home brewing.
📊 Espresso ratio is typically 1:2. Source: Coffee-to-Water Ratio: The Ultimate Guide to Brewing Ratios….
One important exception is espresso. In espresso, 1:2 is usually shorthand for dose-to-beverage-yield, such as 18 g dry coffee in and about 36 g espresso out, not a large-batch water recipe comparable to drip or pour over. That is why I treat espresso separately throughout this guide.
How coffee ratio changes acidity
If your cup tastes too sharp, a slightly stronger brew ratio can help smooth it out. This supporting guide explains why moving from about 1:17–1:18 toward 1:15.5–1:16.5 often reduces the perception of acidity while keeping the coffee full and balanced, instead of simply making it taste weak or over-extracted.
It also shows how roast level, grinder size, and brew method change the result, so you can adjust the right variable instead of guessing. For a clear breakdown of the tradeoffs and a practical tasting approach, see coffee ratio vs acidity.
How do you calculate coffee ratios?
Calculate coffee ratios by choosing a target ratio, measuring total brew water in grams, and dividing the water by the ratio number to find coffee dose. For example, 240 g of water at 1:16 uses about 15 g of coffee. The same formula works for one cup, a carafe, or concentrated brewing.
The simple formula
Use either of these:
- Coffee dose from water: water grams ÷ ratio number = coffee grams
- Water from coffee dose: coffee grams × ratio number = water grams
Examples:
- 480 g water at 1:16 = 30 g coffee
- 30 g coffee at 1:15 = 450 g water
- 20 g coffee at 1:12 = 240 g water
How to convert ratios into real kitchen measures
Grams are the cleanest way to brew because the ratio itself is weight-based. Ounces can work if the scale switches units, but grams make small adjustments easier to track. Volume measures are the least exact.
Roughly, many home setups find that 1 tablespoon of whole or medium-ground coffee lands near 5 to 7 g, and a level coffee scoop often lands near 10 to 12 g. That spread is big enough to shift a brew from balanced to thin or harsh, so tablespoons and scoops are best kept as backup measures, not primary ones.
If a recipe calls for 30 g coffee and the only option is a scoop, expect variation. I see denser light roasts miss the target by less than many people expect. Airy dark roasts can miss by a lot.
How one ratio scales from a mug to a batch
The useful part of ratio brewing is scale. A single mug at 240 g water and a batch brewer at 960 g water can both use 1:16. One needs 15 g coffee. The other needs 60 g. The cup count changes, but the balance does not.
How iced coffee changes the ratio
Iced coffee usually needs a stronger starting ratio than hot coffee because the ice in the cup dilutes the drink as it melts. In practice, that means a hot-coffee ratio around 1:16 often shifts closer to 1:12 to 1:14 for iced serving, depending on how much ice you use and how strong you want the final cup. The supporting guide breaks down that conversion clearly, so you can avoid a weak, watery result or a brew that tastes overly sharp once it cools. It also explains when to count ice as part of the water math and when to brew stronger from the start. See the full coffee ratio guide for the exact adjustments.
Why TDS matters when ratio alone doesn’t explain the cup
Coffee ratio tells you how much coffee and water you used, but it does not tell you how strong the finished brew actually is. That is where TDS comes in: it measures dissolved solids in the cup, so you can separate recipe from result and avoid chasing the wrong fix when coffee tastes too weak or too intense.
The supporting guide on coffee ratio vs TDS explains how the two measurements work together, when to adjust the brew ratio, and when to change grind, time, or method instead. It is especially useful if you want a simple way to compare recipes without guessing what “strong” really means.
What is the best coffee-to-water ratio?
The best starting point for most home brewers is 1:16 to 1:18, with 1:18 often used as a standard batch-brew starting point and 1:16 often chosen when people want more body. I set the ratio by brew method first, then by roast level and grind behavior, because a fast V60, a flat-bottom drip machine, and a French press do not all respond the same way.
The golden ratio and the SCA benchmark
The golden ratio is 1:18, or 1 part coffee to 18 parts water by weight, which works out to about 55.6 g of coffee per liter of water. People use it as a baseline because it usually lands in balanced territory before grinder and brew-time changes.
The SCA Gold Cup Standard is commonly summarized as 55 g of coffee per liter of water for filter brewing, with an allowable range around that center point. That sits close to 1:18 and comes from batch brewing guidance rather than espresso-style brewing. It is a benchmark, not a command. This is the exact claim I tie to SCA guidance, not to espresso practice.
When to move stronger or lighter
Move from 1:18 toward 1:16 when the cup tastes diluted, hollow, or too tea-like. Move to 1:15 when the coffee needs more body, especially in immersion brews or with milk. Push lighter, toward 1:17 or 1:18, when dark roasts taste heavy or bitter at the same grind.
For many home brewers, 1:16 is the practical middle. It is easy to remember, easy to scale, and forgiving across drip brewers, many pour overs, and some French press recipes.
How much coffee to use for 500 ml of water
If you’re brewing 500 ml of water, the simplest starting point is about 30 g of coffee for a balanced cup. That lands near a 1:17 ratio, which works well for many drip and pour-over methods and gives you a reliable baseline before you fine-tune strength or clarity. For a quick reference that breaks this down by grams, tablespoons, and brew style, see 500 ml coffee guide.
This matters because the same water volume can taste very different depending on dose. Using the right amount helps you avoid cups that are thin and sour from underdosing or harsh and muddy from overdosing, and it makes it easier to adjust for your preferred roast level and brewing method.
How much coffee for 1 liter of water?
If you’re brewing a full liter, the article gives a practical starting point: about 60 grams of coffee for a balanced cup, with 55 grams for something lighter and 65 grams for a stronger brew. That simple range helps you avoid the two most common problems with batch brewing—thin, sharp coffee from too little grounds, or bitter, wasteful coffee from too much.
It also explains how the right amount shifts by brew method and taste preference, so you can adjust confidently instead of guessing. For a clear starting benchmark, see 1-liter coffee ratio.
Coffee ratio calculator for 1, 2, 4, and 8 cups
This calculator turns the main brew ratios into grams for real batch sizes by using 240 g water per cup. Read across the row for your ratio, then pick the cup count. The last column shows the first fix to try when the brew tastes sour, weak, bitter, or over-strong.
How to read the calculator
Pick the brew style first. Then pick the ratio. Drip often starts at 1:16 to 1:18, pour over at 1:14 to 1:16, French press at 1:12 to 1:16, and cold brew at 1:5 to 1:8 depending on concentrate strength. For espresso, treat the 1:2 row as yield shorthand, not as a carafe-style water recipe. In other words, it helps explain concentration logic, but espresso is normally dialed in by dry dose, beverage yield, time, and grind.
Brew-ratio calculator table
| Ratio | 1 cup 240 g water | 2 cups 480 g water | 4 cups 960 g water | 8 cups 1920 g water | Troubleshooting first move |
|---|---|---|---|---|---|
| 1:18 | 13.3 g coffee + 240 g water | 26.7 g coffee + 480 g water | 53.3 g coffee + 960 g water | 106.7 g coffee + 1920 g water | If weak or sour, move to 1:17 or grind slightly finer. If bitter, keep ratio and grind coarser. |
| 1:16 | 15 g coffee + 240 g water | 30 g coffee + 480 g water | 60 g coffee + 960 g water | 120 g coffee + 1920 g water | If weak, go to 1:15. If sour, grind finer before adding much more coffee. If bitter, try 1:17 or a coarser grind. |
| 1:15 | 16 g coffee + 240 g water | 32 g coffee + 480 g water | 64 g coffee + 960 g water | 128 g coffee + 1920 g water | If over-strong, go back to 1:16. If still sour, extraction is short; grind finer or extend contact time. |
| 1:12 | 20 g coffee + 240 g water | 40 g coffee + 480 g water | 80 g coffee + 960 g water | 160 g coffee + 1920 g water | If muddy or heavy, grind coarser or shorten immersion. If thin, the grind is often too coarse for the chosen brew time. |
| 1:8 | 30 g coffee + 240 g water | 60 g coffee + 480 g water | 120 g coffee + 960 g water | 240 g coffee + 1920 g water | Best for cold brew concentrate. If harsh, grind coarser or dilute after brewing instead of extracting harder. |
| 1:2 | 120 g coffee + 240 g water | 240 g coffee + 480 g water | 480 g coffee + 960 g water | 960 g coffee + 1920 g water | Espresso uses dose-to-yield logic, so read this as concentration math only. If sour, extract more. If bitter, extract less or grind coarser. |
For clarity, I use the table’s espresso row only as a quick visual reminder that espresso is much more concentrated than filter coffee. When I actually dial in espresso, I use beverage yield from a fixed dose rather than plugging a big water number into the same workflow I use for drip.
What coffee ratio should I use for each brew method?
Use the method range first, then adjust inside that range before changing everything else. Drip coffee ratio is typically 1:16 to 1:18, pour over ratio is typically 1:14 to 1:16, French press ratio is typically 1:12 to 1:16, espresso ratio is typically 1:2, and cold brew ratio is typically 1:5 to 1:8.
What coffee ratio should I use for drip coffee?
Drip coffee ratio is typically 1:16 to 1:18. Start at 1:16 for medium roasts or when the brewer runs a bit fast. Move toward 1:17 or 1:18 for dark roasts that can turn heavy. If the grinder is coarse and the cup tastes thin, tighten grind before jumping much stronger.
If you want a fuller explanation of brewer behavior, pair ratio changes with a coffee grind size guide and a step-by-step pour over coffee guide, because flow rate and particle size often explain why the same ratio tastes different from one setup to another.
What coffee ratio should I use for pour over?
Pour over ratio is typically 1:14 to 1:16. This method often rewards a slightly stronger ratio than drip because flow rate, drawdown, and pour pattern shape extraction. Use 1:16 for a lighter, clearer cup. Use 1:15 or 1:14 when the brew runs fast or tastes spare.
I get the best results when I change ratio and pour speed together. If you brew this way often, a dedicated pour over coffee guide and a practical grind size guide for pour over coffee help more than ratio charts alone.
What coffee ratio should I use for French press?
French press ratio is typically 1:12 to 1:16. It drinks fuller than drip because immersion and metal filtration let more oils and fines reach the cup. Start around 1:15 for balance. Move to 1:13 or 1:12 for a heavier cup, but watch sediment and bitterness.
French press responds strongly to grind and agitation, so I treat ratio as only one lever. A solid French press coffee guide plus a good coffee grind size guide usually fixes muddy cups faster than simply adding more grounds.
What coffee ratio should I use for espresso and cold brew?
Espresso ratio is typically 1:2. That means dose and beverage yield matter more than carafe math: a coffee dose goes in, and about twice that weight in liquid comes out. It suits small milk drinks because the brew is highly concentrated.
More precisely, I use 1:2 as an espresso yield convention, not as a universal brew-ratio table entry comparable to drip. If I pull 18 g in and 36 g out, that is a 1:2 espresso. If I want a shorter ristretto or longer lungo-style shot, I change yield around that dose and grind, which is why an espresso guide is more useful than filter-brew cup math here.
Cold brew ratio is typically 1:5 to 1:8. At the stronger end, it is a concentrate meant for later dilution. At the lighter end, it may be closer to ready-to-drink, depending on steep time, grind size, and serving preference.
When to adjust brew time before changing your ratio
When coffee tastes off, adjusting the brew time or grind size usually fixes the problem faster than changing your coffee-to-water ratio. Ratio changes alter overall strength, but they can mask underextraction or overextraction if applied first, wasting beans without solving the root cause.
The correct order of operations depends on your brew method. Pour-over, French press, espresso, and cold brew each respond differently when you tweak variables. Changing grind size first, then brew time, and finally ratio ensures you isolate the actual fault rather than layering adjustments on top of each other. This brew time adjustment order explains exactly how to sequence these changes so every cup reaches proper extraction before you consider using more or less coffee.
How much coffee do I need for one cup?
The answer depends on what “cup” means. In this guide, the calculator uses 8 oz and 240 g water per cup, which makes one cup about 13.3 g at 1:18, 15 g at 1:16, and 16 g at 1:15. Smaller mugs need less coffee, larger mugs need more.
One-cup recipes by cup size
For a 6 oz serving, many home brewers use roughly 180 g water. At that size, 1:16 lands near 11.25 g coffee, and 1:15 lands near 12 g coffee.
For an 8 oz serving, use 240 g water. That gives 13.3 g at 1:18, 15 g at 1:16, and 16 g at 1:15.
For a 10 oz serving, many kitchens treat that as roughly 300 g water. At 1:16, that lands near 18.75 g coffee. At 1:15, it is about 20 g.
When a single cup should be stronger than a batch
Single-cup brews often cool faster and are consumed black more often, so some people prefer them slightly stronger. I find a one-cup pour over at 1:15 can taste more settled than a large batch at the same grind. With batch brewers, a milder 1:16.5 to 1:18 can keep the pot from turning heavy.
How does grind size affect coffee ratio?
Grind size changes extraction speed, so it changes whether a ratio tastes balanced. Finer grind exposes more surface area to water, which can push extraction higher and make the same ratio taste stronger or more bitter. Coarser grind can leave the same ratio tasting thin, weak, or sour.
When to change grind first
If the brew tastes sour and weak, the problem is often under-extraction, not simply a lack of coffee. Tighten the grind slightly first. Under-extraction causes sour, weak coffee because the water did not pull enough soluble material from the grounds.
If the brew tastes bitter or burnt, the problem is often over-extraction. Go slightly coarser before cutting the coffee dose. Over-extraction pulls too much, especially the drier and harsher compounds that show up late.
When to change ratio first
Change ratio first when extraction already looks reasonable but strength is off. If a properly flowing drip brew tastes clear yet too light, move from 1:17 to 1:16. If it tastes heavy and tiring, move from 1:15 to 1:16 or 1:17.
With espresso, grind and yield usually move first because the ratio is tied to dose and output. With immersion brews such as French press and cold brew, ratio can move earlier because contact time is long and easier to hold steady.
Common grinder-setting patterns
On many home grinders, moving one small step finer can fix a sour 1:16 brew faster than increasing dose to 1:15. A very coarse setting paired with a high ratio like 1:18 often tastes hollow. A very fine setting paired with 1:14 can taste silty, bitter, or muddy, especially in immersion methods.
If you are troubleshooting often, I would start with a dedicated coffee grind size guide. Grind changes usually explain more cup problems than ratio changes by themselves.
How to adjust ratios for roast level and taste goal
Roast level changes how easily coffee gives up flavor. Light roasts usually need more extraction help. Dark roasts need less. Ratio is one tool, but it should move with grind and contact time, not on its own.
Light roast
Light roasts often benefit from slightly stronger ratios within the method range, especially if the grinder cannot go very fine without choking a pour over. For drip, many brewers prefer the 1:16 side of the range rather than 1:18. For pour over, 1:15 is a strong starting point.
If the cup stays lemony and thin, do not keep adding coffee blindly. Grind finer or slow the brew. More coffee with poor extraction can make the cup denser without fixing the sour edge.
Medium roast
Medium roast is the baseline for most ratio charts. A lot of general guidance assumes coffee in this zone. Start at 1:16 for drip, 1:15 to 1:16 for pour over, and around 1:15 for French press, then adjust from taste.
Dark roast
Dark roasts extract easily and can become bitter fast. For drip, move toward 1:17 or 1:18 before making the grind much finer. For French press, stay nearer the lighter end of the range if the cup tastes ashy or heavy. Lower agitation also helps.
How to fix sour, weak, bitter, or muddy coffee
Sour and weak coffee usually needs more extraction, not only more coffee. Bitter and burnt coffee usually needs less extraction or a lighter ratio. Muddy coffee often comes from too many fines, too much agitation, or too much sediment getting through the filter for the chosen method.
Sour or weak
- If the brew is sour, grind slightly finer first.
- If it is thin and bland but not sour, move from 1:17 to 1:16 or from 1:16 to 1:15.
- If it is both sour and weak, tighten grind and, if needed, extend contact time before adding a lot more coffee.
- For pour over, check drawdown. A fast bed often means under-extraction.
Bitter or burnt
- Grind coarser first if the cup is harsh.
- Shorten contact time where the method allows it.
- Use a higher ratio number, such as moving from 1:15 to 1:16 or 1:17, when the strength is simply too heavy.
- With dark roasts, back off agitation and avoid pushing fine grinds too hard.
Muddy or over-strong
- If the cup tastes muddy, check sediment. French press often improves with a coarser grind and gentler plunge.
- If a pour over tastes heavy and dusty, the grinder may be producing too many fines.
- If the brew is over-strong but otherwise balanced, use less coffee rather than forcing a coarser grind.
- For cold brew concentrate, dilute after brewing instead of trying to fix intensity during extraction.
Frequently asked questions
How do I adjust coffee ratio for stronger coffee?
For stronger coffee, lower the ratio number slightly, such as moving from 1:17 to 1:16 or from 1:16 to 1:15. Do that only after checking extraction. If the cup is already sour, using more coffee alone can make it denser without making it taste better.
Sources
SCA Gold Cup and filter-brew benchmark: Specialty Coffee Association, Certified Home Brewer and Gold Cup brewing guidance. The 55 g/L center point is the basis for the filter-brew benchmark referenced above.
Public reference for SCA-style brewing ratios: National Coffee Association, “How to Brew Coffee,” which summarizes a home-brew baseline of 1 to 2 tablespoons per 6 ounces and supports the broader point that home brew standards vary by cup convention.
Espresso yield convention: Barista Hustle, espresso ratio and yield explainer articles; 1:2 is used there as a common espresso recipe shorthand, meaning dry dose to beverage yield rather than a filter-style water recipe.
Additional espresso framing: La Marzocco Home and similar professional espresso education materials commonly describe espresso recipes by dose, yield, and time, which is the convention used in the espresso sections of this article.
Products related to this article
Sponsored / affiliate links. As an Amazon Associate I earn from qualifying purchases. I may earn additional commission from eligible campaigns.