You fill the kettle, press the switch, and listen for the familiar rumble. Instead, you get a faint click and silence. The kettle sits there, full of cold water, and you’re staring down a delayed morning. It happens to almost every kettle eventually. The frustrating part is that the kettle often still looks brand new, and the power light might even be on.
Most people either toss the kettle or buy a new one without knowing what went wrong. That’s a waste. The failure is usually one of four things: a dead heating element, a blown thermal fuse, a broken thermostat, or a bad connection between the kettle and its base. You can find which one it is in about ten minutes with basic tools and no prior repair experience.
Cosori
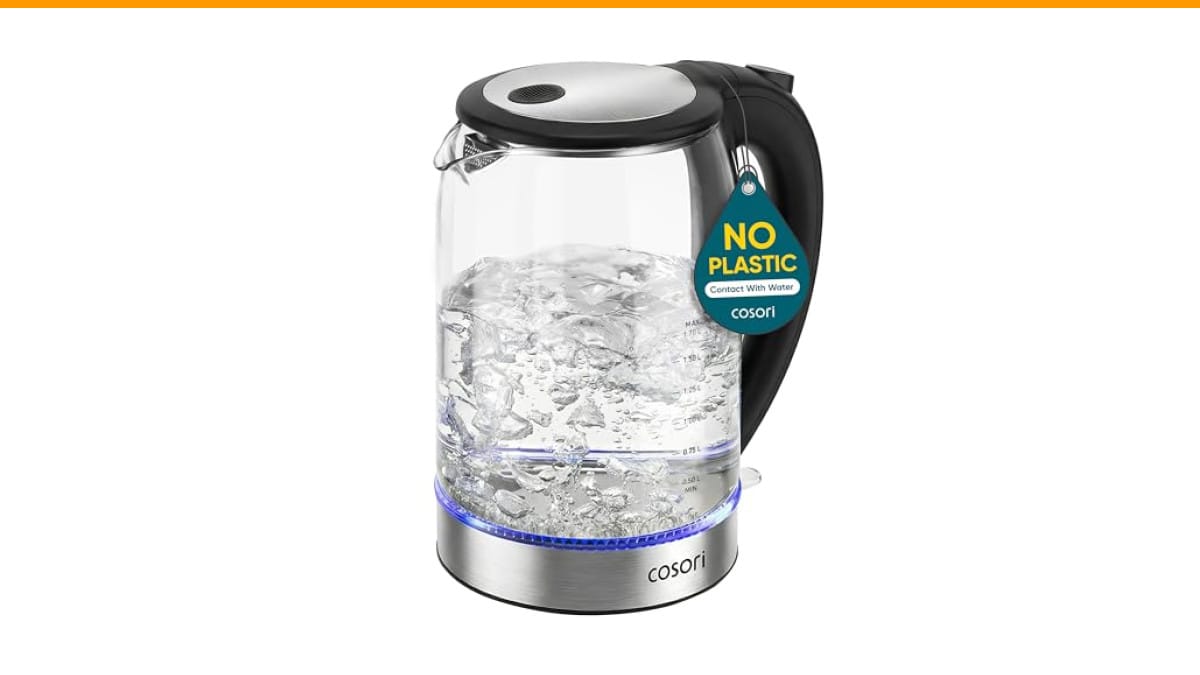
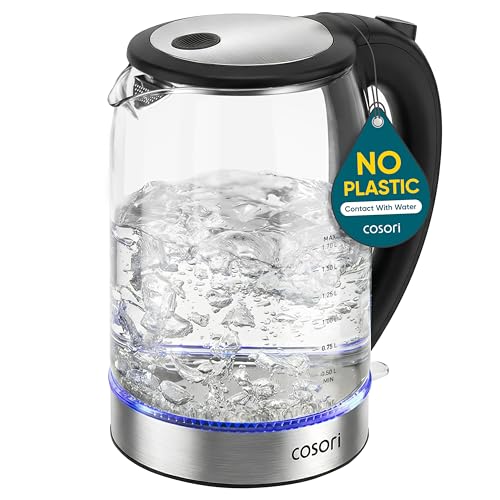
Cosori Electric Kettle, No Plastic Contact with…
- No Plastic Contact with Your Water——With no plastic inside, water never touches plastic, ensuring a pure taste and safer drinking…
- Faster Than a Stovetop Kettle——Heats 0.5L (2 Cups) water in under 3 minutes for less wait time
- Easy to Clean——Wide mouth and large-angle lid lets you reach every corner with ease
As an Amazon Associate I earn from qualifying purchases.
This guide walks you through the full diagnostic process, the safety steps you cannot skip, and the exact cost math for deciding whether to repair or replace. I have repaired several kettles over the years, and I’ll tell you straight: some are fixable, and some are not worth your time.
If your kettle is beyond saving, or you just want a reliable upgrade, the Check Price on Amazon is a solid choice. It has a stainless steel interior, so your water never touches plastic, and it boils half a liter in under three minutes. It also shuts off automatically and has a boil-dry safety feature, which prevents the exact type of failure this article is about.
Why Your Kettle Has Power But No Heat
You see the indicator light glow, so you know electricity is reaching the base. That light is the only clue you get before opening things up. The light being on tells you the circuit is complete through the switch and the thermostat’s initial state. It does not tell you that the heating element is working.
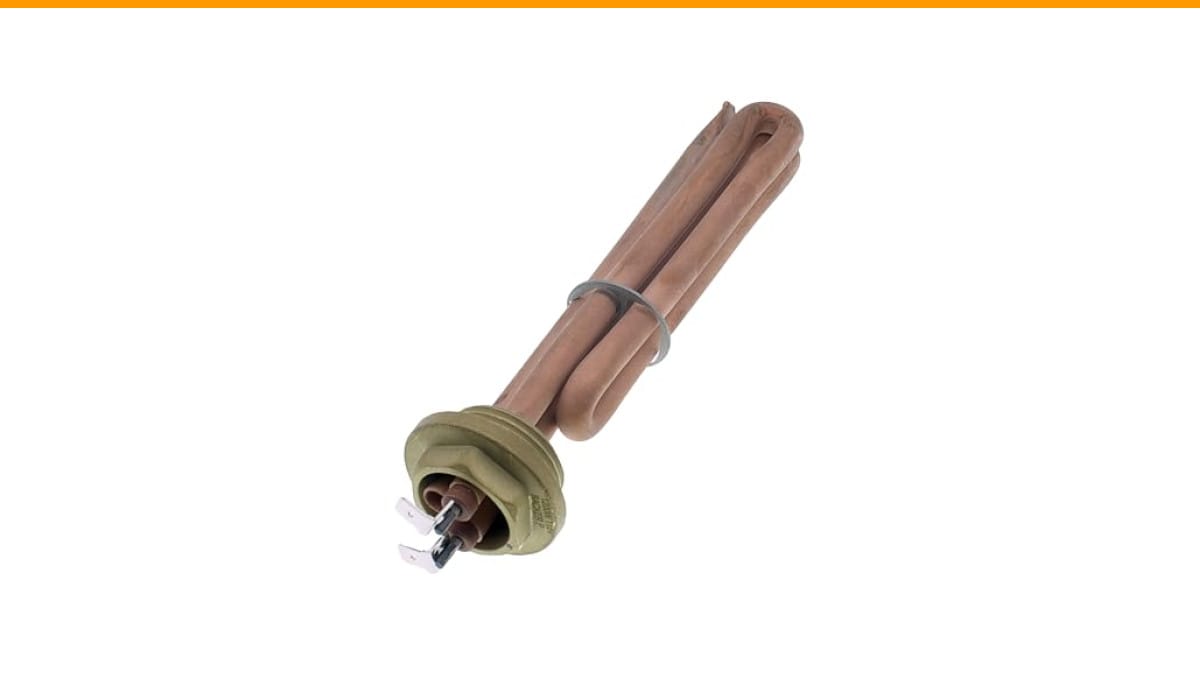
The heating element is simply a resistive wire inside the metal plate at the bottom. When electricity flows through it, resistance creates heat. If that wire breaks, the circuit opens. The light might still work because it’s on a parallel circuit, but the element stays cold.
The second most common culprit is the thermal fuse. This is a one-time safety device. If the kettle ever ran dry or overheated, this fuse blows permanently. It cuts power to the element to prevent a fire. Once it blows, the kettle is dead until you replace it. Unlike a reset button, you cannot just press it back.
There is also the thermostat, a mechanical switch that reads the steam temperature. It is supposed to shut the kettle off when the water boils. When it fails, it often fails closed, meaning the kettle constantly thinks the water is cold and never triggers the heat cycle properly. It can also fail open, which blocks power entirely.
Safety First: Unplug, Discharge, and Prepare
Before you touch anything inside the base, unplug the kettle from the wall. Do not just turn off the switch. The switch only breaks one side of the line. The other side can still be live.
Wait five minutes after unplugging. Some kettles have a small capacitor across the power input for noise filtering. It stores a charge. It’s rarely dangerous, but a surprise zap from a capacitor is unpleasant. Give it time to drain naturally.
You need a few tools: a Phillips-head screwdriver, a multimeter, and a clean workspace. You do not need a soldering iron for the diagnostic phase. If you find a blown fuse, you will need one to replace it, but you can cross that bridge later.
Wear rubber-soled shoes and keep your other hand in your pocket while probing with the multimeter. This keeps any stray current from crossing your chest. It sounds overcautious, but it costs you nothing to do it right.
The 5-Minute Diagnostic: Kettle, Base, or Outlet?
This is the fastest way to isolate the problem. Work through these steps in order. Stop as soon as you find the fault.
Testing the Outlet and Power Cord
Plug something else into the same outlet. A phone charger or a lamp works. If that doesn’t power on, your outlet is dead. Check your circuit breaker and reset it if needed. This sounds obvious, but you’d be surprised how many kettles get blamed for a tripped breaker.
If the outlet is fine, inspect the power cord. Look for kinks, cuts, or melted spots. A damaged cord can break continuity internally even when it looks fine from the outside. Wiggle the cord at both ends while the kettle is on. If the light flickers, you’ve found a bad cord.
Inspecting the Base Connector and Contacts
Most kettles use a 360-degree base with a center pin and a ring of contacts. Set the kettle aside and look at the base. You are looking for black burn marks, green corrosion, or pitting on the metal contacts.
Corrosion is common if you live in a hard water area. Mineral deposits build up on the contacts and act like an insulator. Heat builds up, and the metal eventually pits. You can clean this with a pencil eraser. Rub the contacts gently until they shine. For deeper pitting, use fine sandpaper around 400-grit, but be careful not to remove too much metal.
Also check the bottom of the kettle itself. The female contacts there get the same corrosion. Clean both sides. Sometimes this alone fixes the problem. If the contacts are clean and the kettle still won’t heat, move on to the internal components.
For a related appliance issue, check out our guide on Keurig K-Supreme not brewing for similar connection problems.
The Internal Repair: Heating Element and Thermostat
If the base and cord are fine, the problem is inside the kettle. Flip the kettle upside down. You will see the base plate held on by four or five screws. Some use Phillips heads, some use Torx. Remove them and lift the plate.
You will see the heating element terminals, the thermostat, and the thermal fuse. These are usually connected with spade connectors. Take a photo with your phone before disconnecting anything so you remember the wiring order.
Testing the Heating Element with a Multimeter
Set your multimeter to the ohms setting. Touch one probe to each of the two heating element terminals. You want to see a resistance reading between 20 and 100 ohms for a typical 1500-watt kettle. If you see infinite resistance, the element is broken internally. There is no fix for this. You need a new kettle.
If you see a reading near zero, the element is shorted. That will trip your circuit breaker when you plug it in. This is also a dead end for repair.
If you get a normal reading, the element is fine. Move on to the thermostat.
Identifying and Replacing the Thermal Fuse
The thermal fuse looks like a small white or yellow cylinder with two wires coming out. It is often wrapped in heat-resistant tape. Use the continuity setting on your multimeter. Place a probe on each end. If the meter beeps, the fuse is good. If it stays silent, the fuse is blown.
A blown thermal fuse is the most common fixable failure. You can buy a replacement fuse rated for 10 amps and 250 volts for about two dollars. Cut the old fuse out, strip the wires, and solder in the new one. Use heat-shrink tubing to insulate the joint.
If you do not have a soldering iron, you can use a crimp connector and a pair of pliers. It is not as clean, but it works. Make sure the connection is solid and insulated.
Do not bypass the thermal fuse entirely. It is your only protection against a dry-boil fire. If it blew once, find out why. Was the kettle left on with no water? If so, the boil-dry protection should have stopped it. If that also failed, you have a second issue.
For more on diagnosing appliance failures, see our piece on Mr. Coffee not pumping water for a similar troubleshooting flow.
The Limescale Factor: Why Buildup Kills Heat
Limescale is the white, chalky buildup inside your kettle. It is mostly calcium carbonate. When you boil hard water, the minerals precipitate out and stick to the heating element.
Here is the problem: limescale is an insulator. It does not conduct heat well. The element gets hot, but the heat cannot transfer to the water. The element overheats, the thermal fuse blows, and your kettle dies.
You can usually see limescale before it kills the kettle. The water looks cloudy, or you see flakes floating in your tea. The boil time gets longer. A kettle that used to boil in three minutes starts taking six or seven.
Descaling is simple. Fill the kettle with equal parts water and white vinegar. Let it sit for an hour. Boil it, pour it out, and rinse thoroughly. For heavy buildup, use a commercial descaling solution. Follow the instructions on the bottle. You should do this once a month if you have hard water, once every three months if you have soft water.
If you catch it early, descaling can prevent the thermal fuse failure entirely. If you ignore it, you will be replacing the fuse or the whole kettle.
When to Call It Quits: Repair vs. Replace Cost Analysis
| Failure Type | Part Cost | Time to Fix | Difficulty | Worth It? |
|---|---|---|---|---|
| Corroded base contacts | $0 | 5 minutes | Easy | Yes, always |
| Blown thermal fuse | $2 | 30 minutes | Medium | Yes, if you can solder |
| Faulty thermostat | $5 | 45 minutes | Medium | Maybe, if parts are available |
| Broken heating element | N/A | N/A | Hard | No, replace the kettle |
| Damaged power cord | $8 | 20 minutes | Easy | Yes, if you can find the exact cord |
The math is simple. A new budget kettle costs $20 to $30. A mid-range kettle with a stainless interior costs more. Your time is worth something. If the repair takes more than an hour and requires special parts, you are better off buying new.
One exception: if you own an expensive gooseneck kettle for pour-over coffee, it might be worth repairing. Those can cost $80 or more. A $2 fuse and a half hour of work makes sense there. Check the current price of a replacement before you decide.
Maintenance Schedule to Prevent Recurrence
Prevention is cheaper than repair. Set a calendar reminder for these tasks.
- Monthly: Descale with vinegar or citric acid if you have hard water. Look at the bottom of the kettle. If you see any white film, descale now.
- Every 3 months: Wipe the base contacts with a dry cloth to remove dust and moisture.
- Every 6 months: Inspect the power cord for cracks or stiff spots. Replace if damaged.
- Annually: Check the thermal fuse and thermostat for signs of discoloration or burning.
- Never: Run the kettle with less than the minimum fill line. This is the number one cause of thermal fuse failure.
These steps take less than ten minutes per month. They will extend the life of your kettle by years. Most kettles die from neglect, not from manufacturing defects.
For a different type of appliance troubleshooting, our guide on Breville cleaning cycle not working covers similar maintenance issues.
Frequently Asked Questions
Can I use a kettle with a blown thermal fuse temporarily?
No. Do not bypass the fuse even for one boil. The fuse is your safety net against a dry-boil fire. If you bypass it and the kettle runs dry, the element will melt, and the plastic housing can catch fire. Replace the fuse properly or buy a new kettle.
Why does my kettle turn off before the water boils?
That is a failing thermostat. The thermostat reads steam temperature and shuts off when it hits boiling point. If it trips early, it is either miscalibrated or covered in limescale. Descaling fixes it about half the time. If not, the thermostat needs replacement.
Is it safe to open the base of my kettle?
Yes, but only after you unplug it and wait a few minutes. The internal capacitor can hold a charge. Do not touch the circuit board with wet hands. Use a screwdriver with an insulated handle. If you are not comfortable with basic electronics, stop at the base cleaning step and call a repair shop.
How do I know if my kettle is under warranty?
Check the manufacturer’s website or the box. Most kettles have a 1-year limited warranty. Some brands offer 2 years. If the kettle is less than a year old, contact the manufacturer before opening it. Opening the base voids the warranty in most cases.
Why does my kettle make a loud noise when heating?
That is the sound of water boiling, but if it sounds like rocks tumbling, you have a limescale problem. The scale traps steam bubbles under it, and they pop violently. Descaling will quiet it down. If the noise continues after descaling, the heating element might be damaged and need replacing.
Final Verdict: Get Your Water Boiling Again
You now know the exact sequence to diagnose your kettle. Start with the outlet, check the cord, clean the base contacts, and then open the bottom. Test the element, the fuse, and the thermostat with a multimeter. Most failures are a $2 fuse or a 5-minute cleanup.
- Unplug and wait five minutes before opening anything.
- Test the outlet and cord before blaming the kettle.
- Clean base contacts with a pencil eraser to fix intermittent power.
- Use a multimeter to test the heating element (20-100 ohms is normal).
- Replace a blown thermal fuse for about $2 if you can solder.
- Descale monthly with vinegar to prevent thermal fuse failure.
- Replace the kettle if the heating element is dead or the repair costs more than a new unit.
Ten minutes of diagnostics saves you money and keeps another kettle out of the landfill. If you find the element is dead, skip the repair and consider the Cosori model mentioned earlier. It has the same safety features that prevent these failures, and the stainless interior keeps your water tasting clean.
Products related to this article
Sponsored / affiliate links. As an Amazon Associate I earn from qualifying purchases. I may earn additional commission from eligible campaigns.
 25W Electric Candle Warmer for Coffee Mugs, 75℃ Heating & Auto Shut-Off, Spill-Proof Desk Warmer for Beverages (Black)
 Coffee Mug Warmer, Electric Beverage Heating Plate, Thermostat Coaster Candle Wax Cup Warmer for Hot Coffee Tea Espresso Milk (Green)
 Coffee Mug Warmer & You are Awesome Mug Set, Electric Cup Warmer for Desk