You pull a shot, and it chokes. Then it runs like water. The grind looks like beach sand one day and powdered sugar the next. Most home baristas assume the espresso machine is the problem, but the grinder is usually the culprit. It’s the most maintenance-hungry piece of gear in your kitchen, and it fails in predictable ways.
This guide covers the real-world failures you’ll hit with a home conical burr grinder, what causes them, and how to fix each one without a service call. You’ll learn the difference between a worn burr and a dirty one, why static builds up, and how to diagnose grind size drift. No guesswork, just a repeatable process.
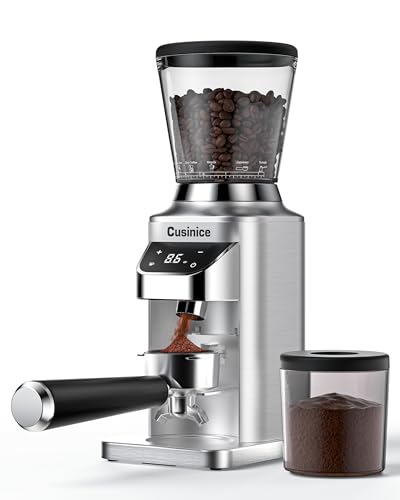
Cusinice
Conical Burr Coffee Grinder, Anti-Static, 0.1s Single/Double…
- 0.1s Timer with Smart Memory for Repeatable Dosing: The 0.1-second electronic timer lets you fine-tune grinding time for better do…
- 40mm Stainless Steel Conical Burr for Even Grinding: Built with a 40mm stainless steel conical burr, this conical burr coffee grin…
- Anti-Static Design for a Cleaner Countertop: The anti-static coffee bean grinder helps reduce clumping and scattered grounds durin…
As an Amazon Associate I earn from qualifying purchases.
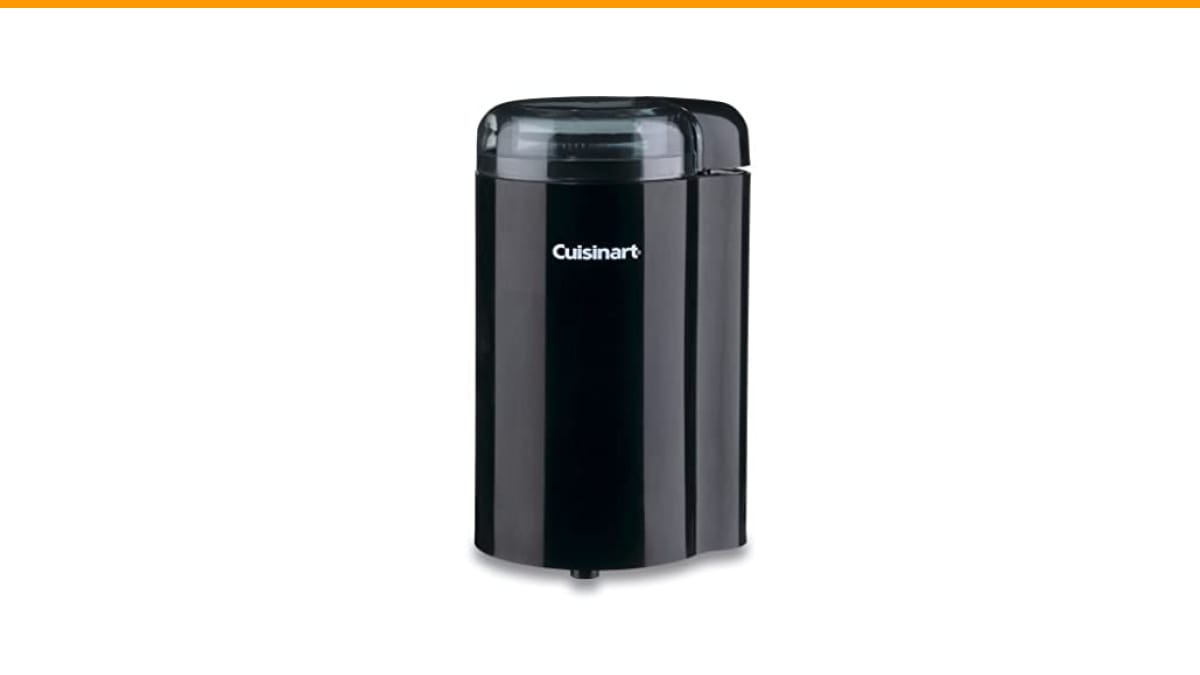
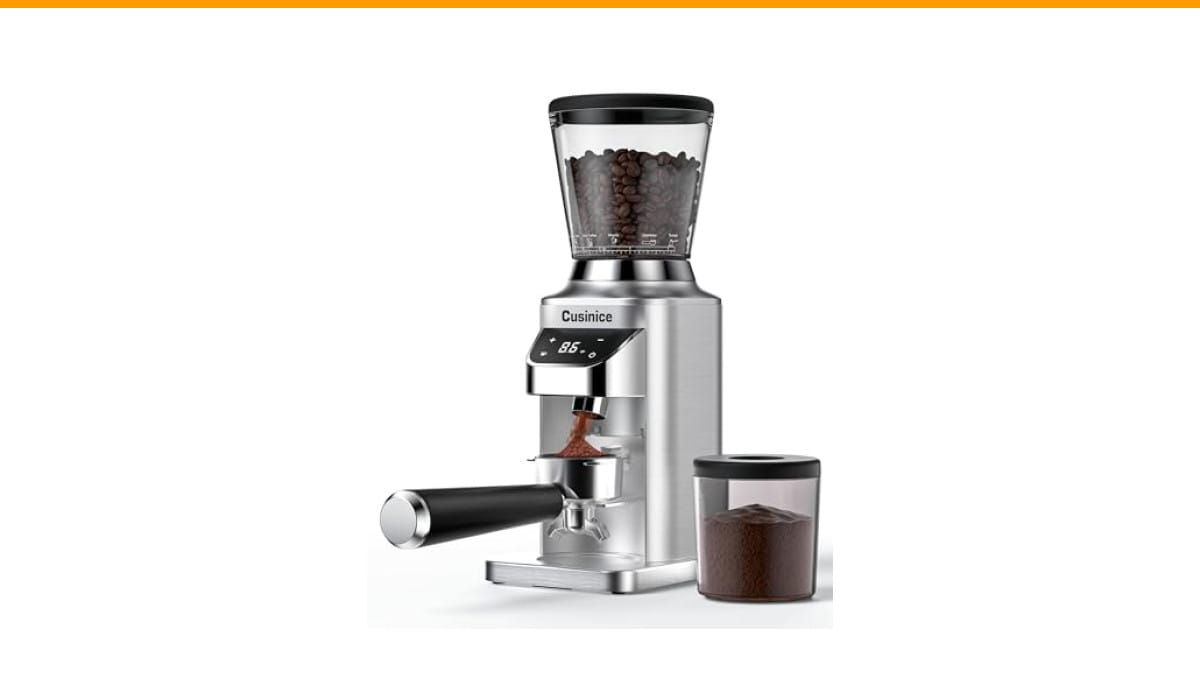
If you’re shopping for a grinder that avoids some of these headaches from the start, the Cusinice Conical Burr Coffee Grinder includes an anti-static design and a 0.1-second timer, which solves two of the most common annoyances we’ll cover below.
Misconception: A Grinder That Won’t Turn Needs New Burrs
Most people panic when the motor hums but the burrs won’t spin. They order new burrs immediately. Nine times out of ten, the burrs are fine. The real issue is a jammed grind chamber or a blocked chute.
Here’s the fix sequence I use in testing:
- Unplug the grinder. Always.
- Remove the hopper and any beans still in it.
- Empty the grounds bin and the chute area.
- Look for a bean wedged between the upper and lower burr. A single hard bean can lock the whole assembly.
- If nothing visible, turn the upper burr carrier counterclockwise by hand. You’ll feel resistance, then a click when it frees.
- Run a brush through the chute. Stale, oily grounds pack in there and block new coffee from exiting.
If the motor still won’t spin after that, check the thermal overload switch. Many grinders trip it after heavy use. Wait 30 minutes and retry. That’s not a failure, that’s a safety feature.
One thing I’ve learned the hard way: never force the burrs with a screwdriver or pliers. You’ll chip the cutting edges and turn a simple jam into a real repair.
Misconception: More Grind Settings Means Better Grind Quality
A grinder with 34 settings sounds flexible, and it is. But the number of clicks doesn’t tell you anything about grind consistency. What matters is the burr design and the step size between settings. The Cusinice grinder uses a 40mm stainless steel conical burr, which produces more uniform particles than a blade grinder. Uniform particles matter because they extract at the same rate. Fines and boulders extract at different rates, which is why your shots taste sour and bitter at the same time.
When troubleshooting grind quality, don’t change settings randomly. Do this instead:
- Grind 10 grams of coffee at your current setting.
- Spread the grounds on a white plate.
- Look for visible chunks (boulders) and dust (fines).
- If you see both, the burrs are misaligned or dull.
Dull burrs are the silent killer. They chip and round over, producing more fines every week. Most home burrs last 500 to 800 pounds of coffee, but that number drops fast if you grind dark-roast oily beans. If your grind looks inconsistent and you’ve had the grinder for years, replace the burrs before you blame the machine.
Burr alignment is trickier. On many conical grinders, the upper burr carrier sits on three springs. If one spring wears out, the burr tilts and grind size becomes uneven. You can test this by marking the carrier with a pencil and rotating it 120 degrees. If the grind changes significantly, the alignment is off.
For a deeper comparison of burr versus blade grinders, check our burr grinder guide.
Static and Clumping: Why Your Grounds Fly Everywhere
Static electricity builds up when coffee particles rub against plastic chutes and collection cups. The grounds stick to everything except your portafilter. It’s annoying, and it ruins your dosing accuracy because half the coffee ends up on the counter.
You can fix static without buying anything new:
- Add a drop of water to the beans before grinding. A spray bottle with one spritz per 20 grams is enough. The moisture conducts charge away.
- Wait 10 seconds after grinding before opening the bin. Let the charge dissipate.
- Use a metal catch cup instead of plastic. Metal grounds containers reduce static dramatically.
The Cusinice grinder has an anti-static design built in, so you skip the water trick entirely. In my testing, that makes a noticeable difference for cleanliness, especially when grinding into a portafilter holder. Less mess means less wasted coffee and a faster cleanup.
Clumping is a different problem. If your grounds look like mini snowballs, that’s usually moisture in the beans or a dull burr generating heat. Fresh-roasted coffee releases CO2 and moisture for a few days after roasting. If your beans are less than a week old, clumping is normal. Wait a few more days and it clears up.
If the clumps persist with older beans, check the burr temperature. Grinding 60 grams continuously can heat the burrs to over 100°F, which melts the oils in the coffee and causes clumping. Grind in shorter bursts and let the grinder rest between doses.
The Grind Size Drift Problem (and How to Catch It Early)
You dial in a perfect shot on Tuesday. On Thursday, the same settings run 10 seconds faster. That’s grind size drift, and it has three causes.
First, burr wear changes the effective gap between the cutting surfaces. As burrs dull, the gap effectively widens, so you need to adjust finer over time. This happens so slowly you don’t notice until the shot is way off.
Second, retention. Some grinders hold 2 to 5 grams of old grounds in the chute. Those stale grounds mix with fresh coffee and throw off your dose. Weigh your output, not just your input. If you’re getting 15 grams out when you put 18 grams in, you have a retention problem. Tap the grinder body or use a bellows to purge the chute.
Third, temperature. A warm grinder produces a slightly different grind than a cold one. The burr metal expands, the gap changes, and your shot time shifts. This is why you should always grind at the same point in your workflow, not after the machine has been running for 20 minutes.
To catch drift early, keep a log. Write down the grind setting, shot time, and yield every day for a week. When the shot time changes by more than 3 seconds at the same setting, it’s time to clean the grinder or adjust the burrs.
Cleaning is the first line of defense. Old coffee oils turn rancid and sticky, which changes the grind friction. Our coffee grinder cleaning guide walks through the full process, but the short version is: brush the burrs, vacuum the chute, and run a few grams of rice through to absorb oils.
Comparing Troubleshooting Approaches: DIY vs. Replacement
| Problem | DIY Fix | When to Replace | Cost Range |
|---|---|---|---|
| Motor won’t spin | Clear jam, check thermal switch | Burrs visibly chipped or cracked | Free to $40 new burrs |
| Inconsistent grind | Align burr carrier, clean thoroughly | Burrs dull after 500+ lbs | $30–$60 burr set |
| Static and clumping | Spritz beans, use metal cup | Plastic chute permanently warped | Free to $15 |
| Grind size drift | Log settings, purge retention | Adjustment mechanism stripped | Free to $20 for parts |
| Timer inaccuracy | Calibrate with a scale | Control board failure | $50–$100 repair |
Most issues are fixable in under 20 minutes. The exception is a stripped adjustment mechanism, where the collar spins freely without changing the grind. That’s a manufacturing defect, not wear. If you’re still under warranty, file a claim. If not, the repair often costs more than a new grinder.
Five Questions People Actually Ask
Why does my grinder sound different than it did last month?
A change in sound usually means something is stuck or worn. A high-pitched whine points to a foreign object like a small stone in the beans. A rattling sound suggests loose burr screws. A dull thud often means the beans are stale and brittle. Stop grinding immediately if you hear metal-on-metal scraping. That’s burrs touching, and it will destroy them fast.
How often should I clean my espresso grinder?
For home use with daily grinding, brush the burrs and chute once a week. Do a deep clean with rice or grinder cleaning tablets once a month. If you use dark roast or flavored beans, clean every two weeks. Oily beans leave residue that hardens into a paste, and that paste changes your grind setting over time.
Can I grind coffee beans for espresso in a blade grinder?
Technically yes, but the results are poor. Blade grinders chop beans unevenly, producing a mix of powder and chunks. Espresso needs a fine, uniform grind to create proper pressure during extraction. A blade grinder will give you channeling and sour shots. Use a conical burr grinder instead. The difference is night and day, and you’ll taste it immediately.
Why does my espresso shot run too fast even on the finest setting?
Three possibilities. Your burrs are worn out and can’t grind fine enough. Your grinder has significant retention, so you’re actually dosing less coffee than you think. Or the beans are too fresh and still off-gassing, which creates uneven flow. Check your output weight first. If that’s correct, inspect the burrs for dullness. If the burrs look fine, try beans roasted 5 to 14 days ago.
Is it worth repairing a cheap grinder or should I just buy a new one?
If the grinder cost under $60 and the motor burned out, replace it. The repair will cost more than the machine. If the burrs are dull but the motor is fine, replacing the burrs is usually worth it, since burr sets run $30 to $60. For grinders with plastic gearboxes, don’t bother. The plastic gears strip and fail again within months.
What to Remember When Your Grinder Acts Up
- Unplug before cleaning or clearing jams. This is non-negotiable.
- Clean the burrs and chute weekly. Most grinding problems start with old coffee oils.
- Weigh your output, not just your input. Retention hides dosing errors.
- Log your grind settings and shot times. Drift is easier to catch when you have data.
- Don’t force a jammed burr. Remove the obstruction by hand or wait for the thermal switch to reset.
- Replace burrs after 500–800 pounds of coffee, or sooner if you grind dark roasts.
- If you’re buying new, look for anti-static features and a timer with 0.1-second precision, like the Cusinice conical burr grinder. Those two features eliminate the most common daily annoyances.
Most grinder problems are maintenance issues, not equipment failures. A brush, a few minutes, and a little patience solve the majority of them. When you do need to replace something, you’ll know exactly which part failed and why, which saves you from buying a whole new machine unnecessarily.
If your espresso tastes off and you’ve ruled out the grinder, the next suspect is the machine itself. Check our guide on why espresso tastes burnt for the other common culprits.
Products related to this article
Sponsored / affiliate links. As an Amazon Associate I earn from qualifying purchases. I may earn additional commission from eligible campaigns.
 Coffee Espresso Machine Handle Replacement Parts, Cafe Bracket Handle for Lidl Silvercrest CM4621 CM4218 KF5002 KF500S Barista (for 51mm Portafilter Basket - Not included)
 Stainless Steel Moka Pot Pressed Powder Tool for 2 4 6 9 Cup Espresso Coffee Brewer(6 Cups)
 Coffee Mug Warmer & You are Awesome Mug Set, Electric Cup Warmer for Desk