Before You Start: Safety First and Tools You’ll Need
You press the power button. Nothing. Not a click, not a light, not even a hum. The machine sits there like a brick. Before you panic or start shopping for a replacement, know this: most ‘dead’ espresso machines are fixable with basic tools and a little patience.
This guide walks you through a diagnostic flowchart. You’ll start with the simplest, safest checks and work up to internal components. Grab a few things first: a multimeter, a flathead screwdriver, a Phillips screwdriver, and a flashlight. If you don’t own a multimeter, you can pick one up for around $15 at any hardware store. It’s the single most useful tool for this job.

Rancilio
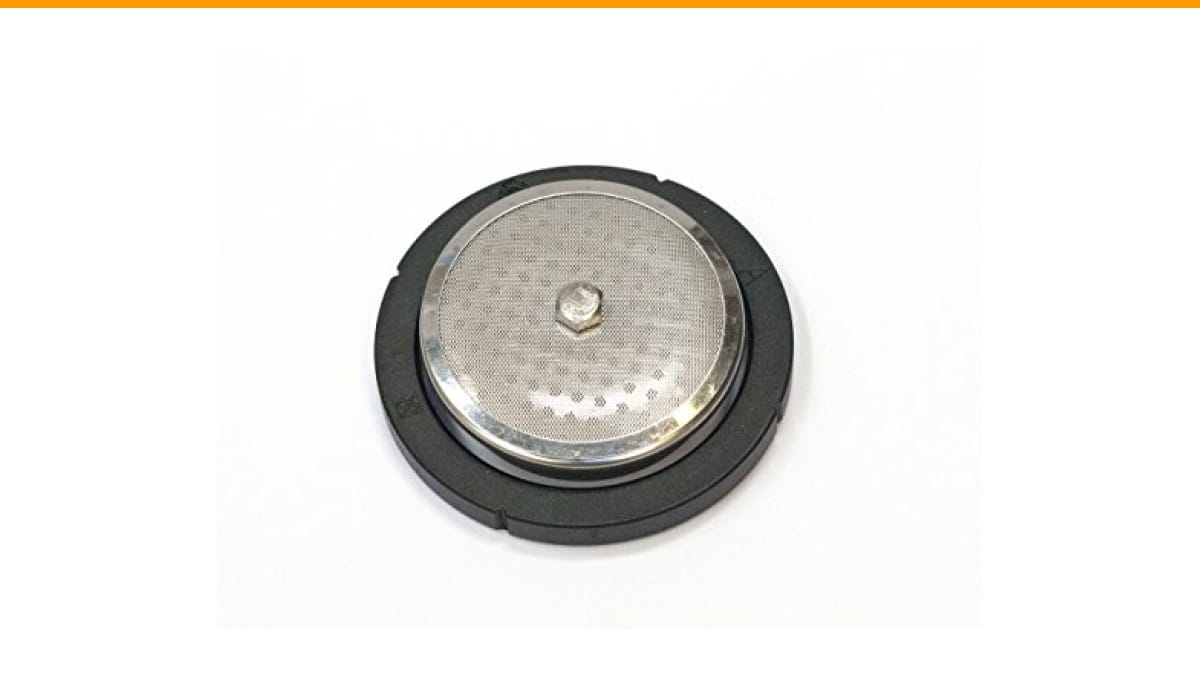
Rancilio Silvia Espresso Machine Repair Kit.
- This OEM repair kit can help you to fix some of the most common Rancilio Silvia problems.
- Water leaking around the portafilter: Usually the grouphead gasket needs to be replaced.
- Flow or no flow of water from grouphead. Your screen is probably clogged and needs to be replaced.
As an Amazon Associate I earn from qualifying purchases.
Safety matters here. You’ll be working with electricity and water. Unplug the machine before you open any panels. Never probe live wires with your bare hands. If you feel unsure at any point, stop and call a professional. A $100 repair bill beats a hospital visit.
For Rancilio Silvia owners, a Rancilio Silvia repair kit is worth having on hand. It includes the grouphead gasket and screen, which are common failure points that cause leaking and flow problems once you get power back to the machine.
Also, if your machine is making strange sounds when it does run, check our guide on loud espresso machines before you assume the worst.
Is It Really the Machine? Check the Outlet and Power Cord
Half the time, the machine is fine. The problem lives in the wall or the cord. You need to rule these out first. It takes five minutes.
Testing the Outlet with a Multimeter
Plug your machine into a different outlet. If it powers on, the original outlet is the problem. But if you want to be thorough, test the outlet with your multimeter.
- Set the multimeter to AC voltage (usually marked ‘V~’ or ‘VAC’).
- Insert the black probe into the neutral slot (the taller one) and the red probe into the hot slot (the shorter one).
- Read the display. You should see between 110 and 120 volts in the US. Anything below 105 volts is suspect.
- Test the ground slot too. Black probe into ground (the round hole), red probe into hot. You should see the same voltage.
If the outlet reads zero, check your circuit breaker. A tripped breaker is a common culprit, especially if the machine shares a circuit with a microwave or a space heater. Reset the breaker and try again. If it trips again immediately, you have a short somewhere in the machine or the outlet circuit. Call an electrician.
Inspecting the Power Cord for Damage
Unplug the machine and inspect the entire power cord. Look for chew marks (pets love these), kinks, melted spots, or exposed copper wire. Flex the cord along its length and feel for hard or brittle sections. Any damage here means you need a replacement cord. Don’t try to patch it with electrical tape. That’s a fire hazard.
If the cord looks fine, check where it enters the machine. This is a stress point. A loose connection here can cause intermittent power loss. Wiggle the cord gently while the machine is plugged in. If the machine flickers or powers on, you’ve found the problem.
The 30-Second Power Reset That Fixes Most Machines
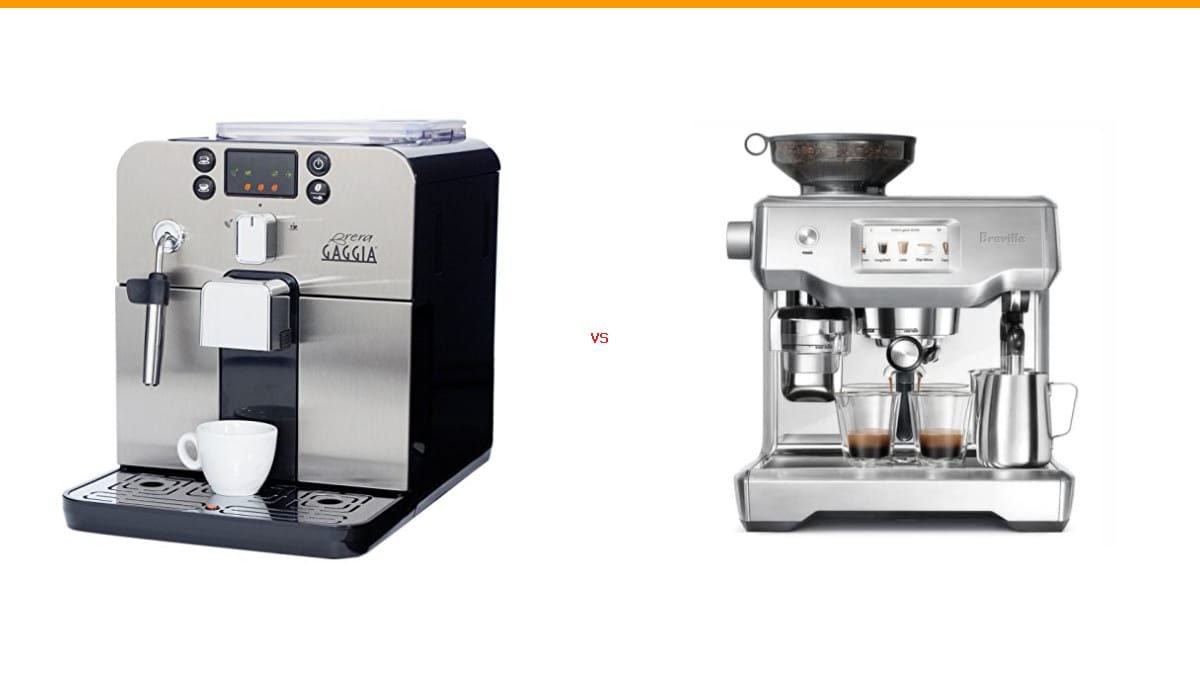
Many modern espresso machines, especially Breville and Gaggia models, have a standby mode. It mimics being off. The display is dark, the buttons are dead, but the machine is still drawing a tiny amount of power. A simple power cycle clears the glitch.
- Unplug the machine from the wall.
- Wait 60 seconds. This lets the capacitors discharge completely.
- Plug it back in.
- Press the power button and hold it for 5 seconds. Some machines require a long press to wake from standby.
If the machine has a physical on/off rocker switch, flip it off, wait, then flip it back on. This is the first thing I try on any dead machine. It works more often than you’d think. The control board sometimes gets stuck in a weird state, and a full power cycle resets it.
Internal Safety Triggers: Thermal Fuse and Pressure Switch
If the outlet is fine and a power reset didn’t help, the problem is inside the machine. Two safety components are responsible for most ‘dead’ machines: the thermal fuse and the pressure switch.
These parts exist to protect you. The thermal fuse blows if the boiler overheats. The pressure switch cuts power if the boiler pressure gets too high. They’re your machine’s way of saying ‘something is wrong, stop using me.’
How to Test and Reset the Thermal Fuse
The thermal fuse is a small white or yellow component with two wires attached. It’s usually clipped to the side of the boiler. This fuse is a one-time device. Once it blows, it’s dead. You can’t reset it. You have to replace it.
To test it, unplug the machine and open the base panel. Locate the fuse. Set your multimeter to continuity mode (the symbol looks like a sound wave). Touch the probes to the two terminals on the fuse. If the meter beeps, the fuse is good. If it reads infinite resistance, the fuse is blown.
You can temporarily bypass the fuse for diagnosis by connecting the two wires together with a wire nut. This tells you if the rest of the machine works. But do not run the machine like this permanently. The fuse is there for a reason. If it blew, something caused it to overheat. Running without it risks damaging the boiler or starting a fire.
Common causes of a blown thermal fuse:
- Mineral scale buildup on the boiler heating element.
- A stuck pressure switch that never cycles the heater off.
- A shorted heating element drawing too much current.
Understanding the Pressure Switch Lockout
The pressure switch is a small cylindrical device with a threaded fitting into the boiler. It has two terminals and sometimes a tiny adjustment screw. Its job is to cycle the heating element on and off to maintain steam pressure.
If the switch fails in the closed position, the boiler keeps heating until the thermal fuse blows. If it fails in the open position, the machine never heats up. The pump might still run, but you’ll get cold water and no steam.
Test the pressure switch with your multimeter on continuity mode. With the machine unplugged and the boiler cold, the switch should read closed (beeping). If it reads open, the switch is stuck. Sometimes a sharp tap with the handle of a screwdriver frees it. If not, replace it. It’s a cheap part, usually under $30.
Deeper Diagnostics: Switch, Wiring, and Control Board
If the thermal fuse and pressure switch check out, you’re down to the main power switch, the internal wiring, or the control board. This is where things get slightly more involved.
Testing the Main Power Switch Continuity
The power switch is the button or rocker you press every day. It’s a mechanical device with contacts inside. Those contacts wear out and corrode over time. A switch that feels loose or wobbly is often the culprit.
Unplug the machine. Remove the top or side panel to access the switch. Note the wire positions before you disconnect anything. Set your multimeter to continuity mode. Place the probes on the two switch terminals. Press the switch. If the meter doesn’t beep, the switch is dead. Replace it.
This is a common failure point on older machines. I’ve fixed three machines where the switch was the only issue. The replacement part costs about $10 and takes ten minutes to install.
Inspecting Loose Internal Terminals
Vibration from the pump and heat from the boiler cause wire terminals to loosen over time. A loose connection can cause intermittent power loss or a completely dead machine. It’s worth checking every terminal you can see.
Look for spade connectors that are discolored, melted, or pushed halfway off their posts. Gently tug on each wire. If it slides off easily, the connection is bad. Crimp the connector with pliers to tighten it, then push it firmly back onto the post.
Pay special attention to the wires connecting the power cord to the machine’s internal wiring. These carry the full current and are prone to overheating if loose.
When the Machine Has Power But Won’t Brew (Lights On, No Pump)
This is a different problem. The machine turns on, the indicator light glows, but the pump doesn’t run and no water comes out. The power supply is fine. You’re looking at a pump or solenoid issue.
First, listen closely. Can you hear a faint hum? That’s the pump trying to run. If you hear it, the pump is getting power but might be jammed or the inlet valve is blocked. If you hear nothing, the pump isn’t receiving power, which points to a faulty pump or a tripped safety relay.
Check the solenoid valve. It’s the component that controls water flow. A stuck solenoid can prevent water from reaching the grouphead even when the pump runs. You can test it by applying 120V directly to its terminals. If it clicks, it’s working.
If the machine is leaking water from the bottom, that’s a separate issue. Check our guide on espresso machine leaks for specific fixes before you tackle the pump.
Standby Mode vs. Dead Machine: A Hidden Trap
Some machines, particularly Breville models, have a programmable auto-off feature. It shuts the machine down after a set time, usually 30 minutes to 3 hours. The machine looks completely dead. The display is off. But it’s not actually off. It’s in standby.
To wake it, you often need to press a specific button combination, not just the power button. Check your manual. On many Breville models, you press and hold the power button for 3 seconds. On others, you press the steam button and the power button together.
If you have a Gaggia, look for a small reset button on the bottom of the machine. It’s recessed and needs a paperclip to press. This resets the electronics and can bring a ‘dead’ machine back to life.
This is why the power cycle test is so important. It clears all these standby states. If a simple unplug and replug doesn’t work, you’re dealing with a genuine hardware fault.
When to Stop and Call a Professional
Know your limits. If you’ve tested the outlet, replaced the fuse, checked the switch, and tightened all the terminals, but the machine still won’t turn on, stop. The problem is likely the control board. Replacing a control board is doable, but it’s the most expensive and delicate part of the machine. One wrong connection and you fry the new board.
Call a certified technician. They have the schematics and the diagnostic tools to trace the fault quickly. It will cost you $50 to $100 for the diagnostic fee, but it’s cheaper than buying a new machine.
Also, if you smell burning plastic or see smoke, unplug the machine immediately and don’t touch anything until it cools. That’s a serious electrical fault.
Prevention: Maintenance That Keeps Your Machine Powered On
Most power issues trace back to heat and scale. Preventing them is easier than fixing them.
- Descale your machine every 3 to 6 months, depending on your water hardness. Scale acts as an insulator, causing the boiler to overheat and blow the thermal fuse.
- Use filtered water. It reduces scale buildup significantly.
- Plug your machine into a surge protector. Power surges from lightning or grid switching can damage the control board.
- Don’t wrap the power cord tightly around the machine. This stresses the internal wires.
- Keep the machine on a dedicated circuit if possible. Sharing a circuit with high-draw appliances causes voltage drops that stress the electronics.
If you’re comparing machine types, our guide on automatic vs. semi-automatic machines explains how these systems differ and which is more reliable long-term.
Quick Answers to Common ‘No Power’ Questions
Why won’t my espresso machine turn on after a power outage?
The surge when power returns can trip the GFCI outlet or blow the internal thermal fuse. Check the outlet first. Press the reset button on the GFCI. If that doesn’t work, test the thermal fuse with a multimeter.
Can a clogged water line cause a no-power issue?
No. A clogged line stops water flow, but it won’t stop the machine from powering on. If you have no power, the issue is electrical, not hydraulic. Though a clogged line can cause the pump to overwork and overheat, which could trip a safety switch.
How much does it cost to fix an espresso machine that won’t turn on?
A DIY fix costs $10 to $50 for parts like a fuse or switch. A professional repair runs $100 to $200 including labor. A new control board costs $80 to $150 for the part alone. Compare that to a new machine, which might cost $300 or more, and repairing is usually worth it.
Is it safe to bypass the thermal fuse to test the machine?
Temporarily, yes, for diagnosis only. But never run the machine without it. The fuse is your only protection against a boiler fire. If the fuse blew, find out why before you replace it.
My machine has power but the display is blank. What’s wrong?
This points to a control board issue, not a power supply problem. The board is receiving power but isn’t initializing. Try the power cycle first. If that fails, the board likely needs replacement. Check for any loose ribbon cables connecting the display to the board.
Final Verdict: Your Step-by-Step Action Plan
Here’s the exact sequence I run on every dead machine. Follow it in order. Don’t skip ahead.
- Plug the machine into a different outlet. Confirm the outlet has power with a multimeter.
- Inspect the power cord for visible damage. Replace if damaged.
- Perform a full power cycle: unplug, wait 60 seconds, plug in, hold power button for 5 seconds.
- Check for a standby mode or hidden reset button on the bottom of the machine.
- Open the base and test the thermal fuse with a continuity test. Replace if blown.
- Test the pressure switch. Tap it gently to see if it’s stuck.
- Test the main power switch for continuity. Replace if faulty.
- Tighten all internal wire terminals and spade connectors.
- If none of these work, call a professional. Don’t attempt a control board replacement unless you’re comfortable with soldering and schematics.
Most of these fixes take under 30 minutes and cost less than $20. The thermal fuse is the most common failure, and it’s a $5 part. You can do this. Just work methodically and test each component before you replace it.
For those considering a new machine, our guide to the best automatic espresso machines under $1000 covers reliable options with better safety features and warranties.
Products related to this article
Sponsored / affiliate links. As an Amazon Associate I earn from qualifying purchases. I may earn additional commission from eligible campaigns.
 Coffee Espresso Machine Handle Replacement Parts, Cafe Bracket Handle for Lidl Silvercrest CM4621 CM4218 KF5002 KF500S Barista (for 51mm Portafilter Basket - Not included)
 Linnkyfloa Coffee Espresso Maker Handle Replacement for Stovetop Moka Pot or Percolator, Black Plastic for Spare Part Compatible with Italian(9-12 Cup)
 Wrenmor Replacement Handle For Coffee Espresso Moka Stove Pot, Black Plastic Accessory Compatible With 1/3/6/9/12 Cup Sizes For Easy Installation And Long-Lasting Use(1 Cup)