Your coffee maker sputters, takes forty minutes to brew a pot, or just clicks at you like it’s annoyed. You’ve run vinegar through it twice, and nothing changed. The machine sits on your counter, taking up space, and you’re one bad cup away from throwing it in the trash.
Most people give up at this point. They buy a new $60 machine, which dies the same way in eighteen months. The problem isn’t the machine. It’s that nobody taught you how to diagnose the actual fault. This guide fixes that. You’ll learn a systematic, diagnose-first approach to the most common drip coffee maker problems and fixes, using tools you likely already own.

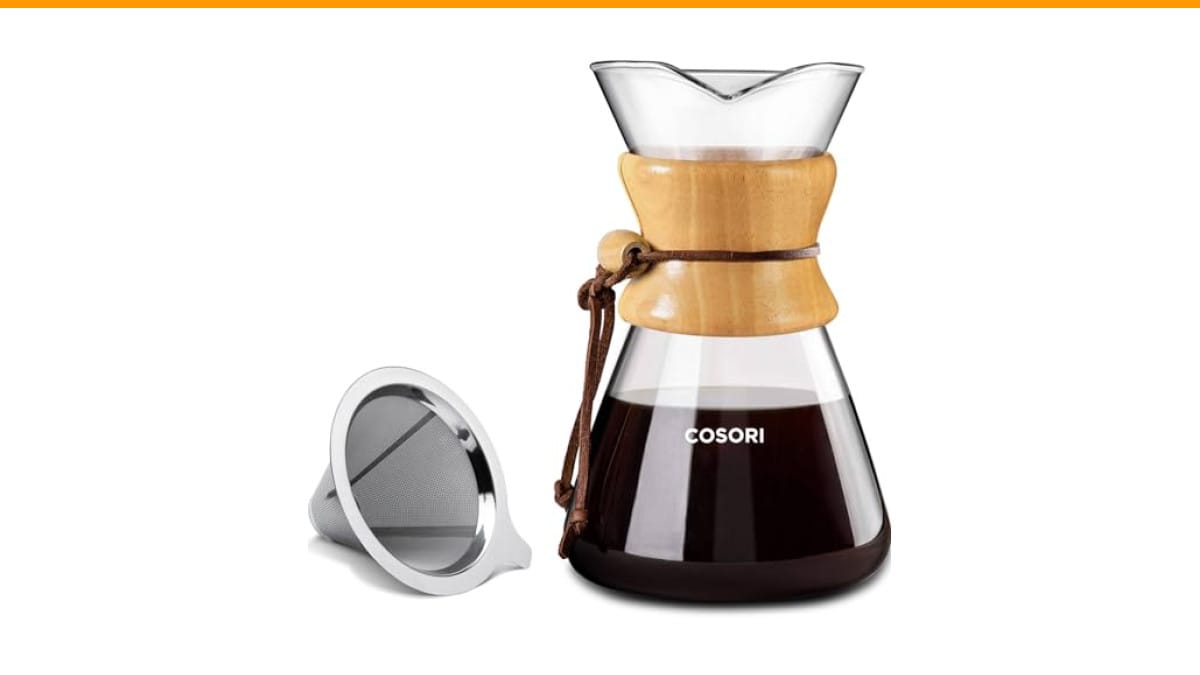
Cosori
Cosori Pour Over Coffee Maker, Double Layer…
- 𝘿𝙤𝙪𝙗𝙡𝙚-𝙡𝙖𝙮𝙚𝙧 𝙁𝙞𝙡𝙩𝙚𝙧 : Dual layers of 304 stainless steel allow fine oils from coffee powder to infuse themselves into your coffee,…
- 𝙃𝙚𝙖𝙩-𝙧𝙚𝙨𝙞𝙨𝙩𝙖𝙣𝙩 𝙂𝙡𝙖𝙨𝙨: The borosilicate glass decanter is thermal resistant enough to be heated on the stove on a low flame
- 𝙇𝙖𝙧𝙜𝙚 𝘾𝙖𝙥𝙖𝙘𝙞𝙩𝙮: The 34-ounce decanter fits eight 4-oz cups of coffee, making it ideal for when you have guests over
As an Amazon Associate I earn from qualifying purchases.
If you’re tired of fiddling with finicky machines and want a simpler brew method, the Cosori Pour Over Coffee Maker is a solid fallback while you work on your main unit. It’s a manual brewer with a double-layer stainless steel filter, so there are no pumps, valves, or heating elements to fail. It makes a rich, full-flavored cup without the mechanical headaches.
Before You Start: Safety Checklist and Tools You’ll Need
Open the machine, and you’re dealing with mains voltage. That’s not a joke. A slip with a screwdriver can hurt you badly, so follow this checklist before you touch anything.
- Unplug the machine. Not just turned off. Pull the plug from the wall.
- Wait 30 minutes. The heating element and water in the boiler stay hot long after brewing. Give them time to cool.
- Drain the reservoir. Tilt the machine over a sink to empty any standing water.
- Lay down a towel. You’ll spill water and deal with loose coffee grounds.
- Gather your tools: a Phillips-head screwdriver, a multimeter, a small bowl for screws, and a flashlight.
You don’t need a full electronics bench. A basic $15 multimeter is the only specialized tool required. It’s the difference between guessing and knowing.
If you haven’t cleaned your machine in a while, start there before tearing it apart. A deep clean solves a shocking number of issues. Check out our guide on cleaning coffee maker properly for the full process.
Problem 1: The Machine Turns On But Won’t Brew (Power and Heating Issues)
The light is on. The switch clicks. But no water moves, and the carafe stays empty. This is almost always a heating problem, not a pump problem. Most drip machines use a simple resistive heating element that also drives the water up through the tube. If the element is dead, nothing happens.
Start with the obvious. Check the carafe is sitting on the brew basket. Most machines have a safety switch in the base that kills power if the carafe is removed. If that switch is stuck or broken, the machine thinks the carafe is always missing.
Testing the Thermal Fuse and Heating Element with a Multimeter
Here’s where the multimeter earns its keep. The heating element and a thermal fuse sit in series. If either one fails, the circuit opens and the machine won’t heat.
- Remove the base plate. You’ll see the heating element (a thick metal block) with two wires attached, and a small cylindrical component clipped to it—that’s the thermal fuse.
- Set your multimeter to continuity mode (the symbol that looks like a sound wave).
- Touch the probes to the two terminals of the heating element. A good element reads low resistance, usually under 50 ohms. If it reads infinite (OL on the display), the element is burned out.
- Test the thermal fuse the same way. It should read near zero ohms. If it reads infinite, it’s blown.
A blown thermal fuse usually means the machine overheated once. Replacing it is cheap—a $5 part. But if the heating element is dead, the repair often costs more than a new machine. That’s your call to make.
If both parts test fine, check the wiring harness for a loose connector. Vibration can wiggle spade connectors loose over time. Push them back on firmly.
Problem 2: Slow Brewing or Sputtering (Clogs and Mineral Buildup)
A pot that takes 20 minutes to brew, or one that spits and hisses like a cat, has a flow problem. Mineral buildup from hard water is the usual culprit. The scale narrows the internal tubing and the one-way valve, restricting water flow.
You can’t fix this by running a quick vinegar cycle. The scale is baked on. You need to soak the internal lines directly.
How to Properly Descale the Internal Lines and One-Way Valve
The one-way valve is a small plastic check valve in the water tube, usually near the heating element. It lets water flow up but not back down. Scale can jam it open or closed.
- Mix a descaling solution. Use a commercial descaler or a 1:1 ratio of white vinegar and water. Don’t use citric acid if you have a plastic boiler; it can be too aggressive.
- Pour the solution into the reservoir.
- Run the machine without a filter or coffee. Let it brew half the reservoir, then turn it off.
- Let it sit for 30 minutes. This soak time is what breaks down the scale, not the brewing itself.
- Turn it back on and finish the brew cycle.
- Run two full cycles with plain water to flush out the vinegar taste.
If the flow is still slow, the valve itself might be physically stuck. Remove it (it usually just pulls out), rinse it under hot water, and tap it gently to free the ball inside.
For a more thorough breakdown of this process, see our article on how to clean clogged coffee maker.
Problem 3: Leaking Water or Grounds (Valves, Seals, and the Drip Stop)
Water pooling under the machine or grounds in your cup are two different failure points. Water leaks come from cracked tubing, failed gaskets, or a bad seal around the boiler. Grounds in the cup come from a broken drip stop mechanism.
First, check the obvious. Is the carafe chipped on the rim? A small crack can break the seal and cause dripping. Is the brew basket overfilled? That’s user error, not a machine fault.
Fixing the Basket Flap and Replacing Worn Gaskets
The drip stop is that little flap on the bottom of the brew basket. When you slide the carafe in, a lever pushes the flap open. When you pull the carafe out, a spring closes it. Over time, that spring weakens or the lever bends.
- Remove the brew basket and look underneath. You’ll see the flap and its spring mechanism.
- Test the spring. It should snap the flap shut firmly. If it’s lazy, the spring is worn.
- Replace the spring. It’s a common part, often available online. A paperclip bent to the right shape works as a temporary fix, but it won’t last.
- Check the lever arm on the carafe lid. If it’s bent, it won’t push the flap open fully, causing water to back up and overflow.
Gaskets are simpler. They’re rubber O-rings that seal the boiler and the water tube connections. If you see a drip coming from a seam, that’s a failed gasket. Replace it with the exact size—taking the old one to a hardware store to match it is the smart move.
Don’t overtighten screws when you reassemble. That squishes the new gasket and causes another leak.
Problem 4: Weak or Watery Coffee (Spray Head and Brew Ratio Issues)
Your coffee tastes like brown water. You’ve added more grounds, and it’s still weak. The problem isn’t the coffee—it’s the water distribution.
The spray head is the disc at the top of the brew basket that sprinkles water over the grounds. It has tiny holes that can clog with scale or coffee oils. When clogged, the water comes out in a single stream, carving a hole through the middle of the coffee bed. The grounds on the edges never get extracted, so you get weak, underdeveloped coffee.
Problem 5: Strange Noises or Overflowing Reservoir (Pressure and Airflow)
A gurgling machine is normal to a point. But loud hissing, banging, or water backing up into the reservoir means air is trapped in the system or the steam pressure is building incorrectly.
This often traces back to the one-way valve we mentioned earlier. If it’s stuck closed, steam can’t escape, and pressure forces water back into the reservoir. The fix is the same descaling and valve-cleaning procedure from Problem 2.
Another cause is a blocked steam vent. Some machines have a small vent hole near the top of the boiler. If that’s clogged with scale, the pressure has nowhere to go. Clear it with a pin or a small paperclip while the machine is cool and unplugged.
Don’t ignore this symptom. A fully blocked vent can cause the reservoir to overflow and short out the electronics, turning a $10 fix into a $60 replacement.
When to Stop: Repair vs. Replace Decision Guide
Not every machine is worth saving. A $30 basic model with a dead heating element isn’t worth the $15 part and your hour of labor. A $150 machine with a cracked gasket absolutely is.
Use this simple cost logic: if the repair part costs less than half the price of a new machine, and the machine is under five years old, fix it. If the machine is older, the plastic is brittle, and other parts are wearing out, the repair is just a delay, not a solution.
There’s also the environmental side. The average coffee maker ends up in a landfill after just a few years. Repairing one unit keeps a couple of pounds of plastic, copper, and electronics out of the waste stream. That matters, even if it’s just one machine.
But don’t fall for the sunk cost fallacy. If the control board is fried, that’s a repair that often exceeds the machine’s value. Walk away.
| Symptom | Likely Cause | Repair Cost | Repair Time | Worth It? |
|---|---|---|---|---|
| No power, no heat | Thermal fuse or heating element | $5–$15 | 30–60 min | Yes, if element is fine |
| Slow brewing | Scale in lines or one-way valve | $0–$5 (cleaner) | 1 hour | Yes |
| Leaking from base | Failed gasket or cracked boiler | $3–$10 | 30 min | Yes, unless boiler is cracked |
| Grounds in cup | Broken drip stop spring | $2–$5 | 15 min | Yes |
| Weak coffee | Clogged spray head | $0 (clean) | 10 min | Yes |
| Overflowing reservoir | Blocked vent or stuck valve | $0–$5 | 30 min | Yes |
| Control board failure | Short circuit or failed relay | $25–$50+ | 1–2 hours | Usually no |
Preventative Maintenance Schedule to Avoid Future Fixes
You can avoid most of these problems with a routine. Mark it on your calendar. It takes less time than a trip to the store to buy a new machine.
- Every 2 weeks: Rinse the carafe and brew basket immediately after use. Don’t let coffee oils dry on them.
- Every month: Run a descaling cycle with a commercial cleaner or vinegar solution.
- Every 3 months: Remove the spray head and soak it in hot water and vinegar to clear the holes.
- Every 6 months: Inspect the gaskets and the drip stop spring for wear. Replace them before they fail.
- Annually: Check the power cord for cracks or fraying. This is a fire hazard, not a performance issue.
For a deeper dive into why this schedule matters, read our piece on why regular coffee maker cleaning matters.
Frequently Asked Questions (FAQs)
Why does my coffee maker make a loud noise but doesn’t brew?
That’s steam trying to push through a blocked line. The heating element works, but the one-way valve or the water tube is clogged with scale. Descale the machine thoroughly. If the noise persists after cleaning, the valve is likely stuck and needs to be removed and cleaned manually.
Can I use vinegar instead of a commercial descaler?
Yes, white vinegar works fine for most machines. Use a 1:1 mix with water. The downside is the smell; you’ll need to run two or three plain water cycles to flush it out completely. Commercial descalers are faster and often smell better, but vinegar is cheaper and just as effective at removing calcium.
How do I know if the thermal fuse or the heating element is broken?
Use a multimeter. Test both components for continuity. A heating element should show low resistance (under 50 ohms). A thermal fuse should show near zero ohms. If either shows infinite resistance, that part is dead. This is the only reliable way to know; you can’t tell by looking at them.
Is it safe to drink coffee from a machine that had mold?
After a thorough cleaning, yes. Mold is a surface contaminant. A deep clean with vinegar or a commercial cleaner, followed by a hot water rinse, will kill it. The bigger risk is a hidden reservoir or internal line that you can’t see. If the mold was extensive, replacing the machine is the safer choice.
Why is my coffee maker leaking water from the bottom?
Check the gasket where the water tube meets the heating element. This is the most common leak point. Also check the carafe for a chip on the rim. If the leak is from a seam in the plastic reservoir, the plastic is likely cracked, and the machine is not worth repairing.
The Bottom Line: Is DIY Repair Worth It?
Most of the time, yes. The parts that fail are cheap and easy to replace. The skills you need—using a multimeter, removing a few screws, cleaning a valve—are basic. You’ll save money and keep another appliance out of the landfill.
But you need to be honest about the machine’s value. A $20 thrift store find isn’t worth a $15 part and two hours of labor. A quality machine you use daily is.
The real lesson here is that prevention beats repair. A monthly descale takes ten minutes. It prevents 90% of the problems described above. That’s the single best habit you can build.
Here are the actionable takeaways from this guide:
- Always unplug and cool the machine before opening it. Safety first.
- Buy a basic multimeter. It turns guesswork into a precise diagnosis.
- Test the thermal fuse and heating element first if the machine won’t brew.
- Descale monthly with a vinegar soak, not just a quick cycle.
- Clean the spray head to fix weak coffee.
- Replace worn gaskets and springs before they cause leaks.
- If the control board is dead, replace the machine. It’s not worth the cost.
Products related to this article
Sponsored / affiliate links. As an Amazon Associate I earn from qualifying purchases. I may earn additional commission from eligible campaigns.
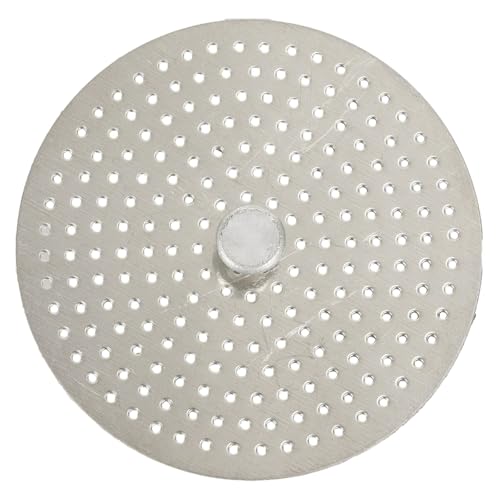 Stainless Steel Moka Pot Coffee Filter Disc for Espresso Brewing, Coffee Maker Replacement Filter Plate for Home Office Coffee Bar Cafe (FOR 4 Cups)
 Belly Moka Coffee Maker Stovetop Espresso Maker 9 Cup Aluminum Moka Pot Percolator 15oz 450ml Easy Brewing for Electric Ceramic Stoves Home Camping Italian Cuban Café Classic Black
 Belly Moka Coffee Maker Stovetop Espresso Maker 6 Cup Aluminum Moka Pot Percolator 10oz 300ml Easy Brewing for Electric Ceramic Stoves Home Camping Italian Cuban Café Classic Silver