You bought a moka pot because you wanted real espresso at home without spending a fortune on a machine. Then your first cup came out bitter, burnt, or weak. That’s not your fault. The moka pot is simple, but it has rules. Break them and you get brown sludge. Follow them and you get a rich, syrupy coffee that sits somewhere between espresso and drip — the kind Italians drink all day.
This guide covers the full process: water levels, grind size, heat management, and the exact moment to stop the brew. You’ll also learn why the cleaning routine matters more than the brewing itself. By the end, you’ll pull a consistent shot every morning.

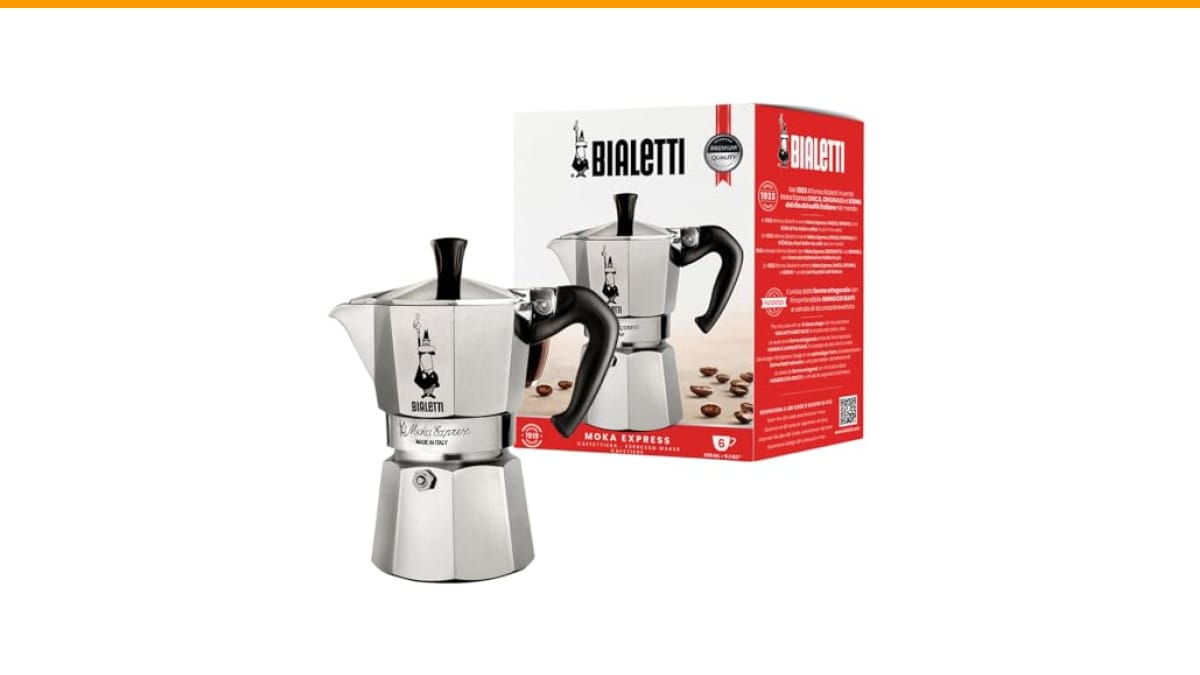
Bialetti
Bialetti Moka Express Iconic Italian Stovetop Espresso…
- The original moka coffee pot: Moka Express is the original stovetop espresso maker, it provides the experience of the real Italian…
- Made in Italy: it is Made in Italy and its quality is enhanced by the patented safety valve which makes it easy to clean and its e…
- How to prepare the coffee: fill the boiler up to the safety valve, fill it up with ground coffee without pressing, close the moka…
As an Amazon Associate I earn from qualifying purchases.
The classic choice for this is the Bialetti Moka Express. It’s the original aluminum pot, designed in 1933, and it still works better than most modern copies. The 6-cup size is the sweet spot for two people or one person who likes a larger mug. It’s made in Italy, and the safety valve is easy to clean. If you’re starting fresh, that’s the one to get.
What You Need Before You Start
Gather your gear first. You need a moka pot, a heat source, and coffee. That’s it. But the details matter.
- Moka pot: Aluminum is traditional and heats fast. Stainless steel lasts longer but needs more heat. The Bialetti Moka Express is aluminum.
- Grinder: Buy whole beans and grind them yourself. Pre-ground coffee from a supermarket is too fine and will clog the filter.
- Water: Use filtered water. Tap water with high mineral content leaves scale inside the boiler, which ruins the taste over time.
- Stove: Gas, electric, and induction all work. For induction, you need the Bialetti adapter plate because aluminum doesn’t respond to magnetic fields.
Grind size is the biggest variable. You want something between espresso and drip — think table salt, not powdered sugar. Too fine, and the water struggles to pass through, creating a bitter, over-extracted brew. Too coarse, and the coffee comes out thin and sour. If you’re using a blade grinder, pulse it in short bursts and shake the grinder between pulses for a more even result.
Step-by-Step: How to Brew With a Moka Pot
Here’s the full process, from empty pot to finished cup. Follow these steps exactly the first few times, then adjust to your taste.
- Unscrew the top chamber. Twist the top off the boiler and set it aside. Check the gasket and filter plate for any coffee residue from the last use.
- Fill the boiler with hot water. Use water just off the boil, not cold. The water level goes up to the safety valve — that small metal nub inside the boiler. Don’t fill past it. The valve is there to release pressure, and if you cover it with water, you’re asking for trouble.
- Fill the filter basket with coffee. The basket sits inside the boiler. Fill it level with the rim, but don’t tamp or press down. Loose coffee lets water flow through evenly. A gentle tap on the counter to settle the grounds is fine, but no pressure.
- Screw the top chamber on tightly. Wipe any stray grounds off the threads first. A clean seal prevents steam from escaping, which you need for proper pressure.
- Place the pot on the stove over medium heat. Medium heat, not high. High heat scorches the coffee and makes the pot hiss violently. For a gas stove, keep the flame smaller than the base of the pot so it doesn’t lick up the sides.
- Leave the lid open. You need to watch the coffee as it comes out. The brew starts slowly, with dark coffee trickling into the top chamber.
- Watch for the gurgle. As the boiler empties, the flow turns foamy and makes a sputtering sound. That’s your cue. Turn off the heat immediately and remove the pot from the burner.
- Stir and serve. Give the coffee a quick stir in the top chamber to mix the first and last parts of the brew. The first liquid is strong, the last is lighter. Stirring balances it out.
Pro tip: run the top chamber under cold water for a few seconds after you take the pot off the heat. This stops the brewing instantly, preventing that burnt, rubbery taste you get when the coffee sits in the hot chamber.
Heat Control and Timing
Heat management separates a good moka pot cup from a bitter one. The goal is slow, steady pressure, not a violent boil.
On a gas stove, medium-low is usually right. Electric stoves take longer to respond, so start one notch below medium and wait. Induction is fastest — you might need low heat. The brew should take about 4 to 6 minutes from the moment you put the pot on the stove. If it finishes in under 3 minutes, the heat is too high. If it takes over 8, the heat is too low or the coffee is ground too fine.
The first coffee to come out is dark and concentrated. The flow should be smooth, like warm honey. If it sputters and spits from the start, your grind is too fine or the heat is too high. If it drips slowly and painfully, the grind is too coarse or the pot isn’t sealed properly.
One honest caveat: the moka pot won’t give you a true espresso shot with crema. It produces a strong coffee with a thin layer of foam. That’s fine. It’s a different drink, and it’s excellent on its own or with milk.
Cleaning and Maintenance: The Part Everyone Skips
Your moka pot will last decades if you clean it right. It will taste terrible after a month if you don’t.
Rinse the pot with plain water after every use. That’s it. No soap. Soap strips the seasoning from the aluminum and leaves a residue that makes coffee taste metallic. The same goes for the dishwasher — never put a moka pot in there. The detergent and harsh cycle will ruin the finish and the flavor.
Take the pot apart while it’s still warm, but not hot. Rinse the boiler, the filter plate, and the top chamber under running water. Use your finger or a soft sponge to wipe away any coffee oils. Let all the parts air dry completely before reassembling. Storing a wet pot invites mold and mildew, which is a quick way to ruin your morning.
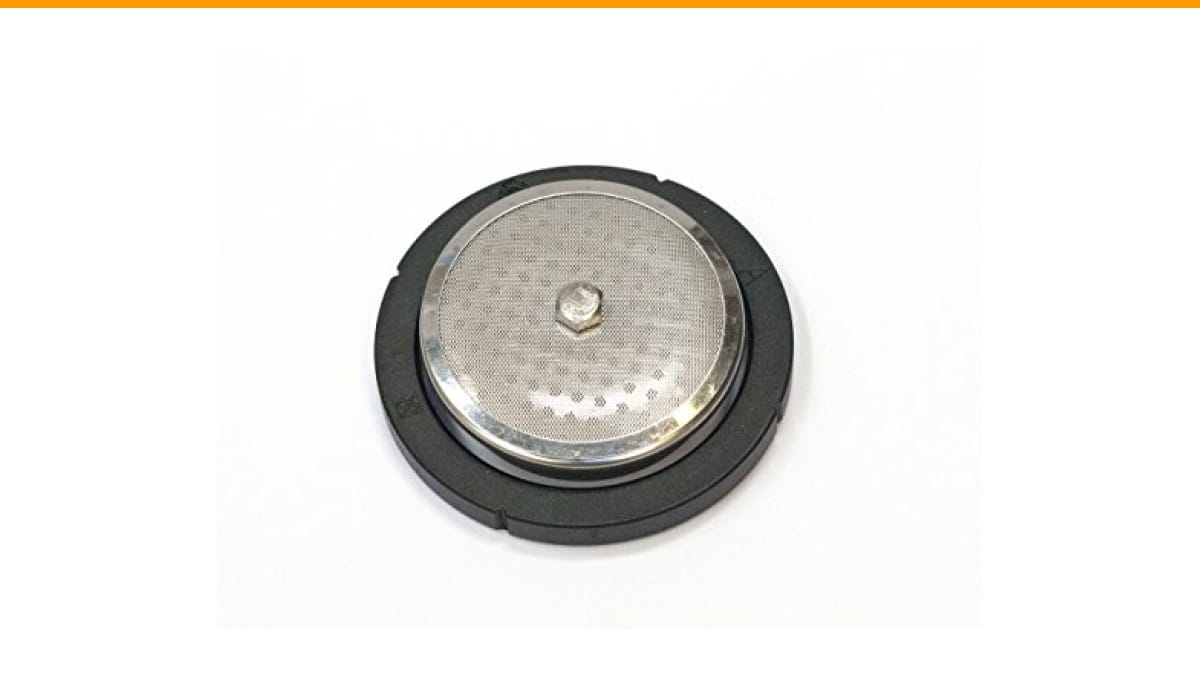
Every few weeks, check the gasket and the safety valve. The gasket (the rubber ring) should be pliable, not cracked or brittle. If it’s hard, replace it. The safety valve should move freely when you press it with a toothpick. If it’s stuck, clean it gently. A blocked valve is a safety hazard. If you need to replace the handle or gasket, we have a guide on replacing Bialetti parts.
For a deeper clean, run a cycle with only water and no coffee once a month. This flushes out built-up oils. If you see white scale inside the boiler, boil a 50/50 mix of water and white vinegar, let it sit for 15 minutes, then rinse thoroughly. Run two water-only cycles after that to remove any vinegar taste.
Moka Pot vs. Other Coffee Makers
How does the moka pot stack up against other methods? Here’s a quick comparison based on my own testing.
| Method | Brew Time | Strength | Body | Cleanup Effort | Cost |
|---|---|---|---|---|---|
| Moka Pot | 4-6 min | Strong | Syrupy | Low (rinse only) | $25-$50 |
| Espresso Machine | 25-30 sec | Very Strong | Thick with crema | High (portafilter, steam wand) | $300+ |
| French Press | 4 min | Medium | Heavy, gritty | Medium (sludge disposal) | $20-$40 |
| Pour Over | 3-4 min | Light to Medium | Clean, tea-like | Medium (filter, kettle) | $20-$30 |
The moka pot wins on the balance of strength and effort. It’s stronger than a French press but doesn’t require the skill or budget of an espresso machine. The trade-off is the small batch size — you brew what the pot holds, and you can’t make a single cup in a 6-cup pot without wasting coffee.
Frequently Asked Questions
Why is my moka pot coffee bitter?
Bitterness comes from over-extraction. Three causes: water too hot, coffee ground too fine, or leaving the pot on the heat too long. Fix the heat first — use medium-low and pull the pot off the stove the second you hear the gurgle. Then check your grind. If it looks like flour, it’s too fine. Coarsen it up to table salt texture.
How much coffee do I put in a moka pot?
Fill the filter basket completely to the rim, but don’t press down. A heaping scoop that you level off with a knife is about right. For a 6-cup pot, that’s roughly 18-20 grams of coffee. Weigh it once to see what it looks like, then you’ll know by sight.
Can I use regular drip coffee in a moka pot?
You can, but it won’t taste great. Drip grind is too coarse, so the water rushes through and the coffee comes out weak and sour. Stick to a fine grind. If you only have drip coffee, run it through your grinder again to make it finer.
Why is my moka pot leaking from the sides?
That’s a seal problem. The gasket is worn out, or the top and bottom chambers aren’t screwed on tightly. Check the gasket for cracks or hardening. Also make sure the threads are clean — coffee grounds stuck there prevent a tight seal. If the gasket looks fine, tighten the pot more firmly.
Do I need to use a paper filter in a moka pot?
No. The metal filter plate does the job. Some people add a small paper filter (cut to size) on top of the coffee to catch fine particles and reduce sediment. It gives a cleaner cup, but it also adds a bit of papery taste and slows the flow. Try it without first. If you don’t like the sediment, then experiment with a paper filter.
Three Common Mistakes and How to Avoid Them
These are the errors I see most often, and they’re all easy to fix.
- Using cold water. Cold water takes longer to heat, which exposes the coffee to heat for too long before brewing starts. Use hot water from a kettle. The brew starts faster and the coffee tastes cleaner.
- Tamping the coffee. A moka pot works on pressure, not compression. Pressing the grounds down creates a dense puck that water can’t pass through, so the pressure builds up and the coffee comes out over-extracted and bitter. Keep the coffee loose.
- Letting it run dry. The gurgle is the sound of steam pushing through the empty boiler. If you leave it on the heat past that point, you’re burning the coffee and stressing the gasket. Pull it off immediately.
If you’re dealing with a stubborn pot that keeps misbehaving, a thorough clean often solves it. Check our guide on cleaning coffee makers for a deeper routine. And if you’re using a different brewer alongside your moka pot, make sure you’re keeping that clean too — a dirty machine affects everything it touches.
What to Remember for Your Next Cup
Here’s the short version for when you’re standing in the kitchen at 7 a.m.
- Use hot water up to the safety valve — never past it.
- Fill the basket level, no tamping, no pressing.
- Brew on medium-low heat, not high.
- Watch the flow. Stop the brew at the first gurgle.
- Run the top chamber under cold water to halt extraction.
- Rinse with plain water after every use. Never use soap.
- Check the gasket monthly and replace it when it hardens.
The moka pot is forgiving once you understand the rhythm. The first week might produce a few bad cups. That’s normal. Adjust one variable at a time — heat first, then grind size — and you’ll find the sweet spot. It’s a small ritual, but the payoff is a strong, smooth coffee that beats most cafe drip options and costs pennies per cup.
Products related to this article
Sponsored / affiliate links. As an Amazon Associate I earn from qualifying purchases. I may earn additional commission from eligible campaigns.
 Belly Moka Coffee Maker Stovetop Espresso Maker 9 Cup Aluminum Moka Pot Percolator 15oz 450ml Easy Brewing for Electric Ceramic Stoves Home Camping Italian Cuban Café Classic Black
 Belly Moka Coffee Maker Stovetop Espresso Maker 6 Cup Aluminum Moka Pot Percolator 10oz 300ml Easy Brewing for Electric Ceramic Stoves Home Camping Italian Cuban Café Classic Silver
 FRAISIN Stovetop Espresso Moka Pot Coffee Maker, Non-slip Wood Grain Handle, Cast Aluminum, Compatible with Gas, and Electric Stoves (Black, 3 cups)