You fill the kettle, press the switch, and nothing happens. Or it clicks off before the water is hot. Or it takes ten minutes to boil when it used to take three. Most people toss the kettle and buy another one, but the truth is that many common electric kettle problems and fixes are simple, cheap, and take less than half an hour to complete.
This guide walks you through a proper diagnostic process before you buy anything. You will learn how the kettle circuit works, how to test the parts with a multimeter, and exactly when to stop fixing and start shopping. You will also see the cost math, because sometimes a new kettle is the smarter move.
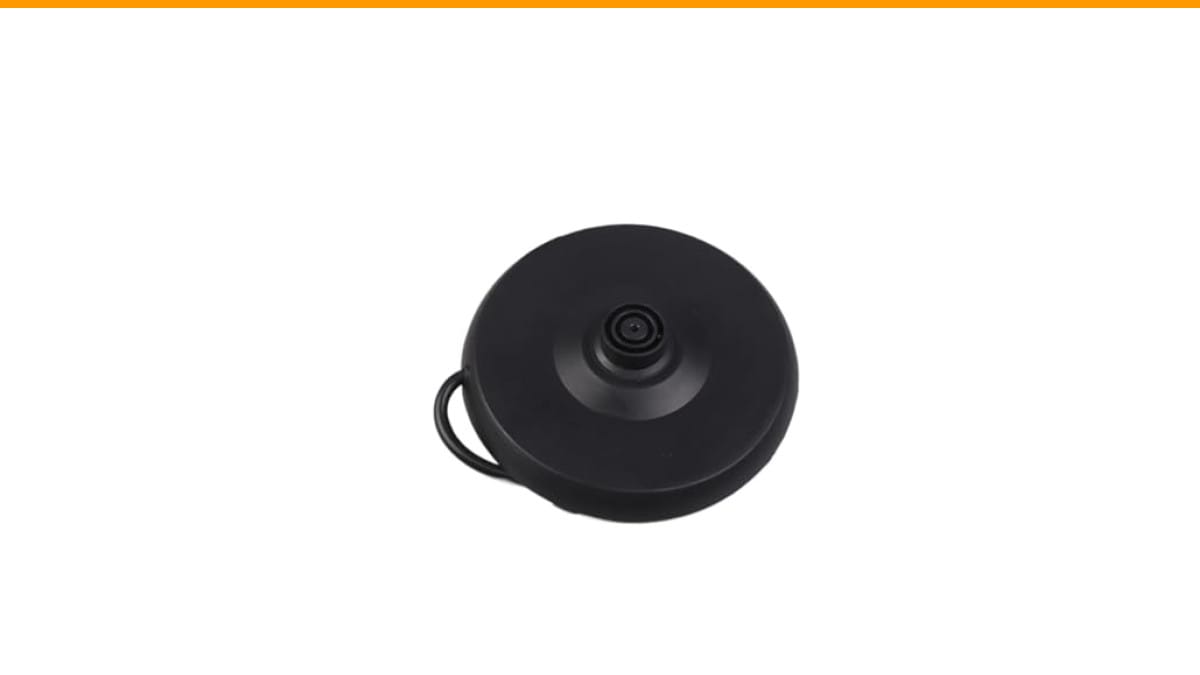
If you need a replacement base for a kettle whose cord or connector has failed, this disc electric kettle base accessory from xiaopang is a straightforward option. It includes a 75cm cable and fits many household kettles with a disc-style connector. It is not a universal fit, so check your kettle’s base pattern before ordering.
Safety First: Unplug, Cool Down, and Gather Your Tools
Electric kettles draw up to 1500 watts. That is serious current. Before you touch anything inside, unplug the kettle from the wall. Not switched off at the kettle — actually unplugged.
Wait at least ten minutes after use. The heating element stays hot enough to burn skin for a while, and the steam sensor can still hold hot water.
Here is what you need for most repairs:
- Phillips screwdriver (usually #1 or #2)
- Flathead screwdriver for prying clips
- Digital multimeter with continuity mode
- Needle-nose pliers
- White vinegar or citric acid for descaling
Do not use a knife or metal tool to pry open a sealed base. You will crack the plastic and create a shock hazard.
How Your Kettle Works: The Simple Circuit Behind the Boil
Your kettle is not complicated. The power flows from the wall, through the base connector, into the kettle’s bottom, and across a heating element. A thermostat monitors the element’s temperature. A steam sensor sits in the spout or lid area. When water boils, steam hits the sensor, which trips a switch and cuts power.
There is also a thermal fuse. This is a one-time safety device. If the kettle boils dry or the thermostat fails, the thermal fuse blows and kills power permanently. You cannot reset it. You have to replace it.
Most kettles have the same layout: a base with a connector, a heating element plate, a thermostat, a thermal fuse, and a switch assembly. When you understand that circuit, every problem becomes a test of one component.
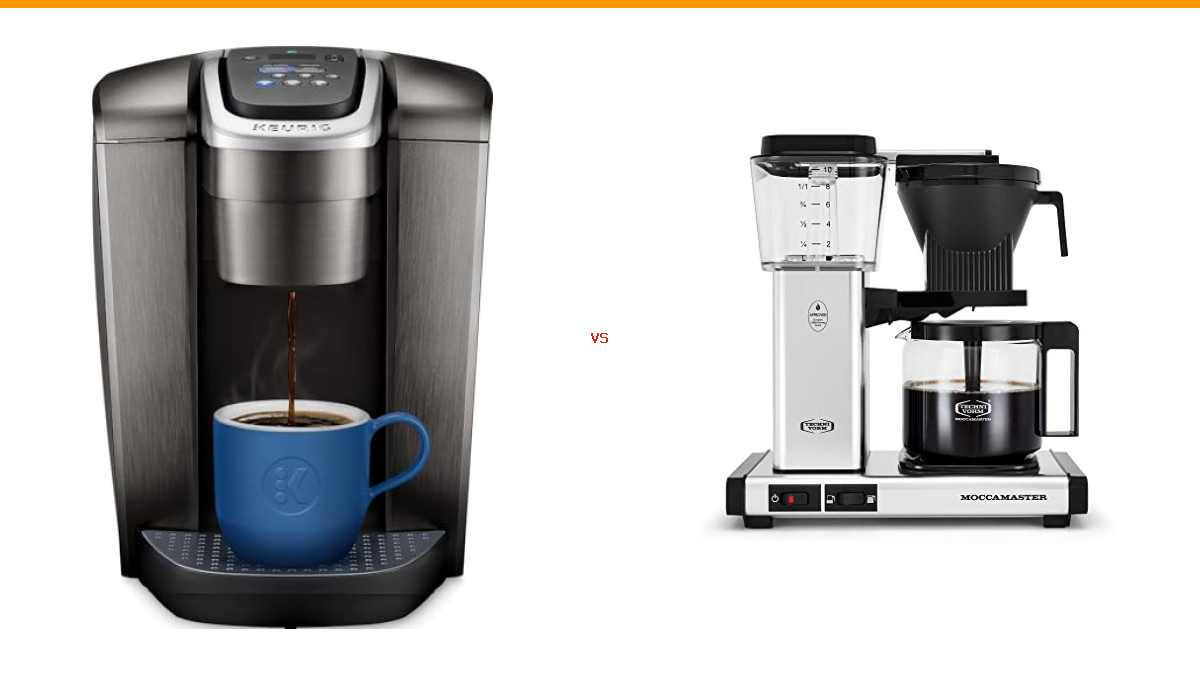
If you are dealing with a coffee maker that shares similar heating and switch issues, our troubleshooting guide covers parallel problems.
The 5-Minute Diagnostic: Is It Worth Fixing?
Before opening anything, run through this quick checklist. It takes five minutes and prevents wasted effort.
- Check the outlet. Plug another device into the same outlet. If that does not work either, the problem is your wiring or a tripped GFCI, not the kettle.
- Check the base. Look at the connector pins. Are they bent, blackened, or loose? A loose base connection causes intermittent power and is a common culprit.
- Check the kettle bottom. Look for scorch marks, cracks, or melted plastic. These mean the kettle is unsafe to repair.
- Check the switch. Push it firmly. Does it click and stay in position? A worn switch can fail to make contact.
- Check for limescale. Look inside. Thick white or brown crust on the element means scale is the problem, not electronics.
The “Sealed Base” Test (Can You Even Open It?)
Turn the kettle upside down. Look at the base.
If you see screws, you can open it. If you see a smooth plastic plate with no screws, it is sealed. Many modern kettles are sealed to keep water out of the electronics. You cannot repair those without breaking the housing.
Try prying gently at the edge with a flathead screwdriver. Some sealed bases are clipped, not glued, and will pop off with light pressure. If you feel strong resistance, stop. Do not force it.
A kettle with a sealed base and a dead thermal fuse is not worth the fight. The cost of a new kettle is close to the cost of replacement parts, and you risk breaking the housing completely.
The Cost-Benefit Check (Part Price vs. New Kettle Price)
Here is the honest math. A new budget kettle costs about $20 to $30. A decent mid-range one costs $40 to $60. Replacement parts are cheap — a thermal fuse costs $2 to $5, and a base connector costs $5 to $10. But shipping adds time and money.
Use this table to make the call before you start disassembling anything.
| Problem | Part Cost | Time to Fix | Verdict |
|---|---|---|---|
| Thermal fuse blown | $2–$5 | 30–45 min | Fix if base is screw-open |
| Base connector worn | $5–$10 | 15 min | Fix, but check kettle condition |
| Heating element failed | $10–$15 | 1 hour | Replace kettle |
| Steam sensor stuck | $3–$7 | 20 min | Fix if cleanable |
| Sealed base, any issue | N/A | N/A | Replace kettle |
If your kettle is more than three years old and the element is dead, buy a new one. The element is the most expensive part and the most likely to fail after years of use.
Fix #1: Kettle Won’t Turn On (The Thermal Fuse & Base)
This is the most common failure. The kettle gets power, the light comes on or flickers, but the element never heats. Or nothing happens at all.
First, test the base.
Testing the Base Connector
Unplug the kettle from the base. Set your multimeter to continuity mode (the symbol that looks like a sound wave). Touch one probe to each of the connector pins on the base. If the meter beeps, the base is fine. If it stays silent, the base wiring is broken.
Look at the pins themselves. Bent pins can be gently straightened with pliers. Blackened or pitted pins mean arcing — replace the base entirely. A new base is cheaper than a fire.
If the base tests fine, move to the kettle itself.
Replacing the Thermal Fuse (With Multimeter Settings)
Open the kettle base with your screwdriver. You will see the heating element plate, the thermostat, and a small white or black cylinder with two wires attached. That cylinder is the thermal fuse.
Set your multimeter to continuity mode. Touch the probes to the two terminals of the fuse. If there is no beep, the fuse is blown.
To replace it:
- Note which wires connect to which terminal. Take a photo with your phone.
- Cut the wires close to the fuse, leaving enough length to work with.
- Strip about 6mm of insulation off each wire end.
- Crimp on a new thermal fuse rated for the same temperature. Most kettles use 240°F (115°C) or 250°F (121°C) fuses. Check the old one for a printed rating.
- Use heat-shrink tubing or electrical tape to insulate the connections.
- Reassemble and test.
Do not use a higher-rated fuse than the original. That defeats the safety purpose. The fuse is there to stop the kettle from catching fire if it boils dry.
If the thermostat is the problem instead, you will see it as a separate component with a dial or bimetal disc. Test it the same way — continuity through the thermostat when it is cold. If it reads open, replace it. Thermostats are harder to source than fuses, so check the cost before ordering.
Fix #2: Auto Shut-Off Fails or Boils Dry (The Steam Sensor)
This one is scary because it is a safety failure. If the kettle keeps boiling after the water is gone, the thermal fuse is the last line of defense. Do not use a kettle that boils dry repeatedly.
The steam sensor is usually a small button or lever near the spout or under the lid. When steam hits it, a bimetal strip bends and trips the switch. Over time, limescale coats the sensor and slows its response.
Clean the sensor first. Dip a cotton swab in white vinegar and wipe the sensor surface. Let it sit for five minutes, then wipe clean. Test the kettle with a small amount of water.
If cleaning does not help, the sensor mechanism itself is worn. Open the base and look at the linkage between the sensor and the switch. Sometimes a plastic arm snaps or slips out of its slot. Realign it and test.
A sticking switch is often the real issue. The switch itself has a spring-loaded contact. If it is dirty or worn, it can fail to release when the sensor trips. Spray the switch contacts with electrical contact cleaner and work the switch back and forth a few times.
If the sensor and switch both test fine, the thermostat may be stuck closed. That is rare, but it happens. Test the thermostat with your multimeter — it should open (no continuity) when hot. If it stays closed, replace it.
Fix #3: Slow Boil or Never Reaches a Boil (Scale vs. Element)
A kettle that takes twice as long to boil is almost always suffering from limescale buildup. The scale acts as insulation between the heating element and the water. The element gets hot, but the heat does not transfer efficiently.
Here is how to tell the difference between scale and a failing element:
- Scale: The kettle boils, just slowly. You can see white or brown crust on the element. The kettle makes a louder, crackling noise while heating.
- Failing element: The kettle barely warms the water. No visible scale. The element may have a dark spot or a bulge. The kettle trips the GFCI or breaker when you turn it on.
Test the element with a multimeter. Set it to ohms (Ω). Touch the probes to the element’s two terminals. A healthy element reads between 20 and 40 ohms for a 1500-watt kettle. If you get infinite resistance (no reading), the element is open and dead.
A dead element is not worth replacing. The part costs almost as much as a new kettle, and the labor is fiddly. Buy a new kettle.
If the element reads fine, descale the kettle. That is covered in the next section.
For coffee makers with similar heating issues, our K-cup brewer troubleshooting article has useful parallels.
Fix #4: Leaks, Noises, and Bad Tastes (Physical Fixes)
Leaks are usually not worth fixing. A leak from the base means water has reached the electronics — that is a shock hazard. Do not open a leaking kettle. Replace it.
A leak from the spout or lid is a different story. Check the sealing ring or gasket around the lid. If it is cracked or dry, a replacement gasket costs a few dollars. Some kettles have a replaceable gasket; many do not. Check the parts availability before ordering.
Noises are usually scale. The crackling or popping sound is steam escaping through scale crust. Descale and the noise goes away. A loud, continuous buzzing that does not stop is an electrical issue — stop using the kettle.
Bad taste or metallic flavor comes from mineral deposits, not the kettle itself. Descale thoroughly, then boil and discard two full kettles of fresh water. If the taste persists after a deep clean, the kettle’s inner lining may be corroded. Replace it.
If you are dealing with scale on other equipment, our steam wand cleaning guide covers similar mineral buildup.
The Ultimate Descaling Guide: Vinegar vs. Citric Acid
Descaling is the single best maintenance you can do. It fixes slow boil, noise, and bad taste. It also extends the kettle’s lifespan by preventing the element from overheating.
Two methods work well. Here is the comparison.
| Method | Cost | Time | Pros | Cons |
|---|---|---|---|---|
| White vinegar (5% acidity) | ~$1 per use | 30 min soak + boil | Cheap, available everywhere | Strong smell, needs rinsing |
| Citric acid powder | ~$0.50 per use | 15 min soak + boil | No smell, faster, food-safe | Need to have it on hand |
Vinegar method: Mix one part white vinegar with two parts water. Fill the kettle to the minimum level. Boil, then let it sit for 30 minutes. Pour out, rinse, boil fresh water twice, and discard.
Citric acid method: Dissolve one to two tablespoons of citric acid powder in a full kettle of water. Boil, then let it sit for 15 minutes. Pour out, rinse, boil fresh water once, and discard.
For heavy scale, repeat the process. For light maintenance, do this every month if you have hard water, every three months if you have soft water.
Do not use baking soda. It is alkaline and will not dissolve mineral scale effectively. Do not use bleach. You will poison yourself.
When to Call It Quits: 5 Signs You Need a New Kettle
Some problems are not worth your time. Here are the signs that the kettle has earned a trip to the recycling bin.
- The base is sealed and the thermal fuse is blown. You cannot get inside without breaking the housing.
- The heating element is dead. The multimeter reads infinite ohms. Replacement costs nearly as much as a new kettle.
- There is visible rust or corrosion inside. That is not scale. It is the metal breaking down, and you will drink it.
- The kettle trips your GFCI or breaker. This indicates a short to ground, which is a fire risk.
- It is more than five years old and needs a major repair. The plastic gets brittle, the seals dry out, and the cost of fixing one thing reveals another problem.
When you buy a new kettle, look for one with a screw-open base. That simple feature makes future repairs possible. Also look for a concealed heating element — it is easier to descale and less likely to collect debris.
Frequently Asked Questions (FAQs)
Can I use a kettle with a tripped GFCI?
No. A GFCI trip means current is leaking where it should not. That leak can be through water to your hand. Unplug the kettle and do not use it until you find the cause. Check the base for moisture first. If it is dry and still trips, the element is shorted. Replace the kettle.
Why does my kettle turn off before the water boils?
The steam sensor is tripping too early. This usually means limescale on the sensor makes it respond to low steam. Clean the sensor with vinegar. If that does not work, the thermostat may be set too low or failing. Test it with a multimeter and replace if needed.
Is it safe to boil vinegar in my kettle?
Yes, but only diluted. Pure vinegar has a low boiling point and produces strong fumes. Mix one part vinegar with two parts water. Do not breathe the steam directly. After descaling, boil fresh water twice to remove all vinegar residue.
How often should I descale my electric kettle?
Depends on your water hardness. With hard water, descale monthly. With soft water, every three months is fine. If you see any white crust on the element, descale immediately. Waiting only makes the scale harder to remove.
Can I replace the heating element in my kettle?
Technically yes, but it is rarely worth it. The element is crimped or welded into the base. You need to remove the entire bottom assembly, and a replacement element costs $10 to $15. A new kettle costs $20 to $30. Unless you have a high-end kettle you love, buy a new one.
The Bottom Line: Fix It Fast, Or Replace It Smart
Most electric kettle problems fall into two buckets: limescale and a blown thermal fuse. Both are cheap and quick to fix if you can open the base.
- Always unplug the kettle before any repair. Wait for it to cool.
- Test the base connector first — it is the easiest fix.
- Use a multimeter to test the thermal fuse and heating element. Continuity and ohms readings tell you exactly what is dead.
- Descale with vinegar or citric acid monthly for hard water. It prevents most problems.
- Replace the kettle if the base is sealed, the element is dead, or you see rust inside.
- Buy a kettle with a screw-open base next time. It makes your life easier.
- When in doubt, replace. A $25 kettle is not worth a fire or an electric shock.
You now know the difference between a 15-minute fix and a lost cause. Grab your screwdriver, test what you have, and make the call with confidence.
Products related to this article
Sponsored / affiliate links. As an Amazon Associate I earn from qualifying purchases. I may earn additional commission from eligible campaigns.
 SOLUSTRE Electric USB Coffee Cup Warmer with Temperature Settings Portable Milk and Beverage Heating Coaster for Office Desk Small Lightweight Design Easy to Clean Surface Multi Functional
 Coffee Mug Warmer & You are Awesome Mug Set, Electric Cup Warmer for Desk
 Coffee Mug Warmer & You are Awesome Mug Set, Electric Cup Warmer for Desk