You buy a bag of beans, transfer them to a nice canister, and within three days you’re sniffing the container trying to remember if that’s the Ethiopian Yirgacheffe or the house blend. We’ve all been there. A label solves that problem, but a bad label creates new ones—smudged ink, sticky residue, or a sticker that peels off the first time you wipe down the counter.
This guide covers everything that actually matters when labeling a coffee canister: choosing the right label material, writing tools that don’t fade, where to place the label for maximum visibility, and how to keep it readable when you switch beans. You’ll also learn why chalkboard labels work well for coffee storage and where they fall short.
ONUPGO
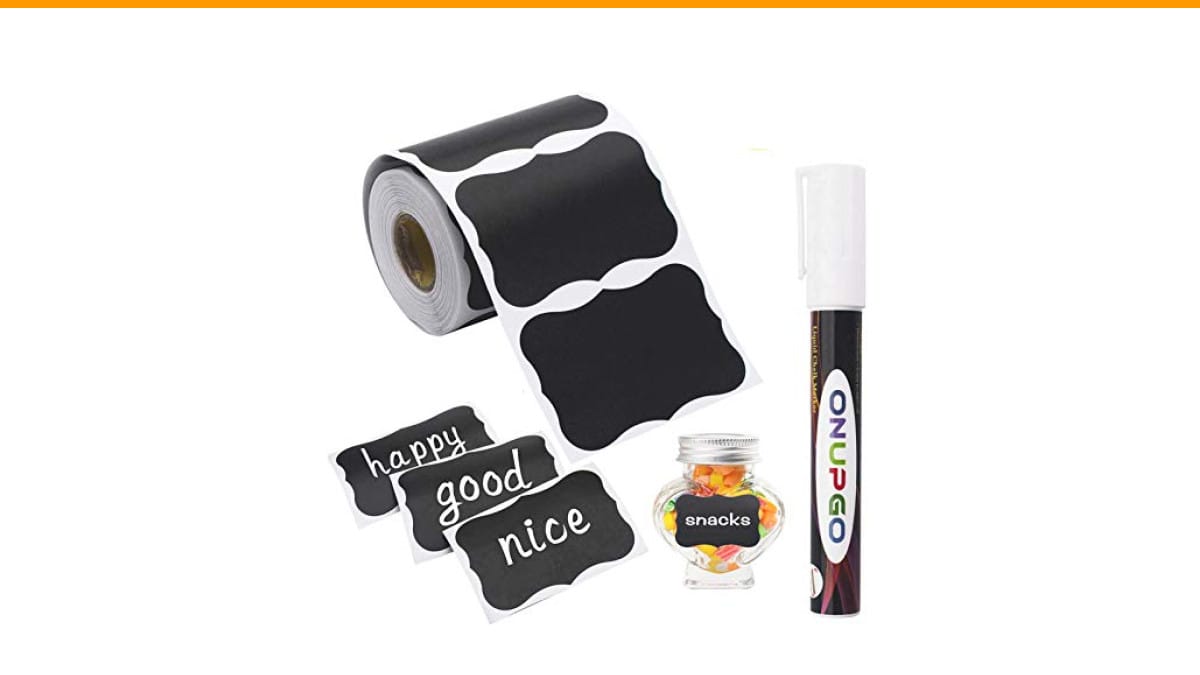
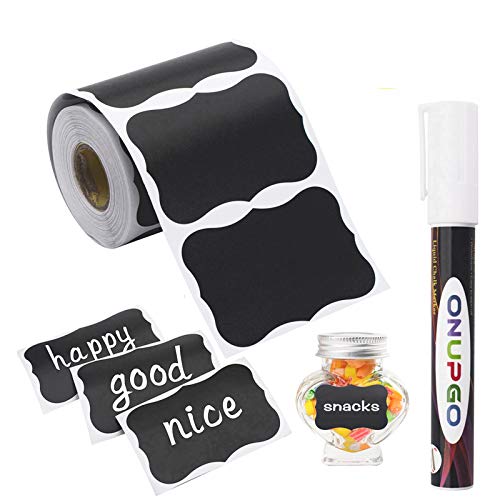
ONUPGO Chalkboard Labels-180pcs Waterproof Reusable Blackboard Stickers…
- WIDE RANGE OF USE: Totally 180pcs waterproof reusable chalkboard labels works for jars, organizing, labeling pint mason Jar, cooki…
- PREMIUM MATERIAL: Waterproof chalkboard labels made from superior durable vinyl material, matte texture with a crisp clean, refrig…
- EASY USED & STORAGE: Write, peel and stick. You can switch contents for your jars whenever you need to just wipe clean with a damp…
As an Amazon Associate I earn from qualifying purchases.
If you want a quick, flexible system, a set like the ONUPGO Chalkboard Labels gives you 180 reusable stickers plus a liquid chalk marker. That’s enough to label every canister in your pantry and still have plenty left for spice jars and freezer bags.
What Makes a Good Coffee Canister Label?
A coffee canister label has one job: tell you what’s inside without falling apart. But coffee storage creates specific conditions that kill ordinary labels.
First, condensation. If you keep your canister near the stove or in a warm kitchen, moisture forms on the outside when the glass or metal is cold. Paper labels absorb that moisture, wrinkle, and become unreadable. Second, oils. Coffee beans release oils that can migrate to the outside of the container, especially if you’re using a scoop that touches the rim. Those oils break down adhesive and cause labels to curl.
Third, frequent handling. You grab the canister by the body, not the lid. A label on the side gets rubbed by your fingers every single day. Cheap sticker paper won’t survive that.
So the minimum requirements are: waterproof material, strong adhesive, and a writing surface that doesn’t smudge. Vinyl-based labels meet all three. Paper labels, even the glossy kind, will disappoint you within a couple of weeks.
Chalkboard Labels vs. Permanent Labels vs. Blank Sticker Paper
You have three main options when labeling a coffee canister. Each has trade-offs, and the right choice depends on how often you switch beans.
| Label Type | Best For | Writing Tool | Reusability | Durability | Downside |
|---|---|---|---|---|---|
| Chalkboard vinyl | Frequent bean changes, multiple canisters | Liquid chalk marker or chalk | Yes—wipe with damp cloth | Waterproof, lasts months | Need to wipe clean before rewriting |
| Permanent adhesive labels | Single-use, long-term storage | Permanent marker or pen | No—must peel off | Very durable, but leaves residue | Residue removal requires oil or adhesive remover |
| Blank sticker paper | Handwritten notes, temporary labeling | Ballpoint pen, marker | No | Poor—tears and smudges | Not worth it for coffee canisters |
For most home users, chalkboard vinyl is the sweet spot. You can change the label in ten seconds when you open a new bag of beans. The ONUPGO set includes a white liquid chalk marker that writes cleanly and wipes off with a damp cloth, which is exactly what you need for a rotating coffee lineup.
Permanent labels make sense if you have a dedicated decaf canister or a specific blend that never changes. Just be prepared to scrub the adhesive off later—goo gone or coconut oil works, but it’s an extra step.
How to Write on a Chalkboard Coffee Label So It Stays Readable
Writing on chalkboard labels seems straightforward, but there are a few tricks that separate a crisp label from a smudged mess.
Use a liquid chalk marker, not regular chalk. Regular chalk dust smears the moment you touch it, and it collects in the texture of the vinyl. Liquid chalk dries into a thin film that stays put until you deliberately wipe it off.
Before the first use, condition the label. Rub the entire surface with the side of a piece of chalk, then wipe it off with a dry cloth. This fills the microscopic pores in the vinyl so your marker lines come out solid instead of patchy. It takes thirty seconds and makes a noticeable difference.
Write with the marker held at a slight angle, not straight up and down. The tip is chisel-shaped, and using the flat edge gives you thicker, more legible letters. For coffee canisters, you want the bean name and the roast date—nothing else. “Ethiopia Natural, Roasted 3/14” is more useful than “Ethiopia” alone.
Let the ink dry for at least two minutes before you stick the label on the canister. Wet ink smears when you press the label down. If you’re labeling several canisters at once, write all the labels first, then apply them.
One more thing: the ONUPGO marker requires a quick shake and a few presses of the tip against paper to get the ink flowing. That’s normal for liquid chalk markers—don’t throw it away thinking it’s dry.
Where to Place the Label on the Canister
Placement matters more than most people think. The label needs to be visible at a glance, but it also needs to avoid the areas you touch most.
The front of the canister, about two-thirds of the way up, is the sweet spot. That puts it at eye level on most pantry shelves. Avoid the very bottom, where it picks up crumbs and moisture from the counter. Avoid the top edge, where the lid rubs against it every time you open the container.
For square canisters, put the label on the front face, not the side. For round canisters, center it on the front curve. If you stack canisters, put the label on the front and also write the bean name on the lid with a permanent marker—you’ll thank yourself when the canisters are on a high shelf.
One detail most guides miss: leave a small gap between the label and the rim of the canister. If the label touches the rim, the lid can catch it and peel it back over time. A quarter-inch gap prevents that.
How to Keep Labels Looking Good Over Time
Even the best chalkboard label will look rough if you treat it badly. Here’s what actually keeps it clean.
Wipe the label with a dry microfiber cloth before you rewrite it. Water works too, but dry wiping prevents the adhesive from getting wet repeatedly, which can weaken it over months of use.
Don’t leave the label in direct sunlight. UV rays fade the vinyl and make it brittle. Most pantry shelves are fine, but if your canisters sit on a counter near a window, expect the labels to degrade faster.
When you switch beans, wipe the label clean, let it dry completely, then write the new name. Writing on a damp label causes the ink to feather and blur.
If a label starts to peel at the edges, press it back down firmly. Vinyl adhesive re-bonds well if the surface underneath is clean. If it’s peeling because of oil buildup on the canister, wipe the canister with a degreaser first, let it dry, then reapply the label.
And if a label gets permanently stained—coffee grounds get stuck in the texture, or the ink stains the vinyl—just peel it off and use a new one. That’s the advantage of a bulk pack like the ONUPGO set. You don’t have to ration them.
Common Questions About Labeling Coffee Canisters
Can I use regular chalk on a chalkboard coffee label?
Yes, but you’ll be disappointed. Regular chalk smudges easily and collects in the texture of the vinyl. It also produces dust that gets into your coffee grinder if the canister is nearby. Liquid chalk markers are the better choice—they dry into a film that stays put until you wipe it off.
How do I remove a stuck label from a coffee canister?
Peel off as much as you can, then apply a small amount of cooking oil or rubbing alcohol to the remaining adhesive. Let it sit for a minute, then rub with a cloth. For stubborn residue, use a plastic scraper—never a metal one, which will scratch glass or stainless steel.
Will chalkboard labels work on stainless steel canisters?
Yes, as long as the surface is clean and dry. The adhesive on vinyl labels bonds well to stainless steel. Just wipe the canister with rubbing alcohol first to remove any oils, then apply the label. It won’t stick well to textured or brushed finishes, so test a small corner first.
How often should I replace the label on my coffee canister?
Every time you change the beans, or whenever the label becomes hard to read. If you use liquid chalk, you can wipe and rewrite the same label dozens of times. Replace the label itself when it starts peeling, cracking, or staining—usually after a few months of daily use.
What information should I put on a coffee canister label?
The bean name and the roast date are the essentials. If you have multiple canisters, add a one-word descriptor like “decaf” or “espresso.” Skip the tasting notes—you won’t read them on a 2-inch label, and they make the text cluttered. If you grind beans ahead of time, add the grind size (“coarse,” “fine”) so you don’t have to remember.
Quick Tips You Can Use Right Now
- Choose vinyl chalkboard labels over paper—they survive moisture, oils, and daily handling.
- Condition a new chalkboard label with chalk dust before writing with a liquid marker.
- Write the bean name and roast date only. Extra text gets illegible on small labels.
- Place the label two-thirds up the front of the canister, a quarter-inch below the rim.
- Let the ink dry for two minutes before applying the label to the canister.
- Wipe labels with a dry cloth when switching beans—water weakens the adhesive over time.
- Keep a bulk pack of labels on hand so you never hesitate to relabel when you open a new bag.
Labeling a coffee canister is a small task, but it makes a real difference in your morning routine. No more guessing, no more sniffing, no more accidentally brewing the decaf when you need caffeine. A good label system takes ten minutes to set up and saves you from a week of confusion.
If you’re also working on keeping your gear clean, check our grinder cleaning guide and machine maintenance tips—fresh beans in a clean grinder make a bigger difference than any label ever will.
Products related to this article
Sponsored / affiliate links. As an Amazon Associate I earn from qualifying purchases. I may earn additional commission from eligible campaigns.
 18 in Microfiber Mop Large Wet Flat Mops for Floor Cleaning
 MIBOTE Silicone Cooking Kitchen Utensils Set, Wooden Handle, Coffee
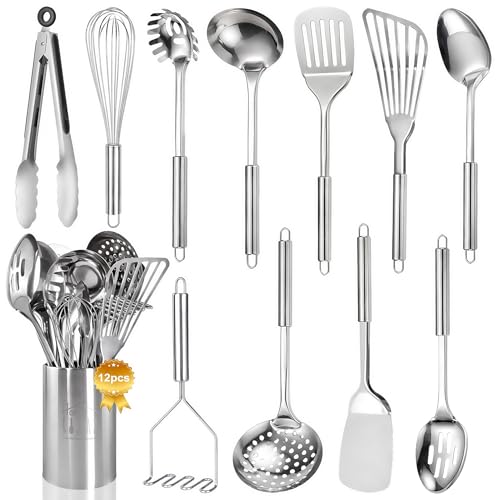 Stainless Steel Kitchen Utensils Set - 12pcs Cooking Utensils Set with Holder, Heat Resistant Kitchen Tool Set for Cooking with Turners, Potato Masher, Spatula, Spoons, Tongs, Whisk