You walk into the kitchen for your morning shot and hear it before you see it — a soft hiss, a drip, drip, drip. You pull the machine forward and find a puddle spreading across the counter. It’s the worst way to start a day, and it’s more common than you’d think. A super automatic espresso machine leaking water is one of the top three service calls I hear about from home baristas.
This guide walks you through the exact steps to find where that water is coming from, what causes each leak type, and which ones you can fix in ten minutes versus which ones need a technician. You’ll also learn a few maintenance habits that prevent most leaks from ever starting. Grab a towel and let’s get your machine back to dry operation.

Rancilio
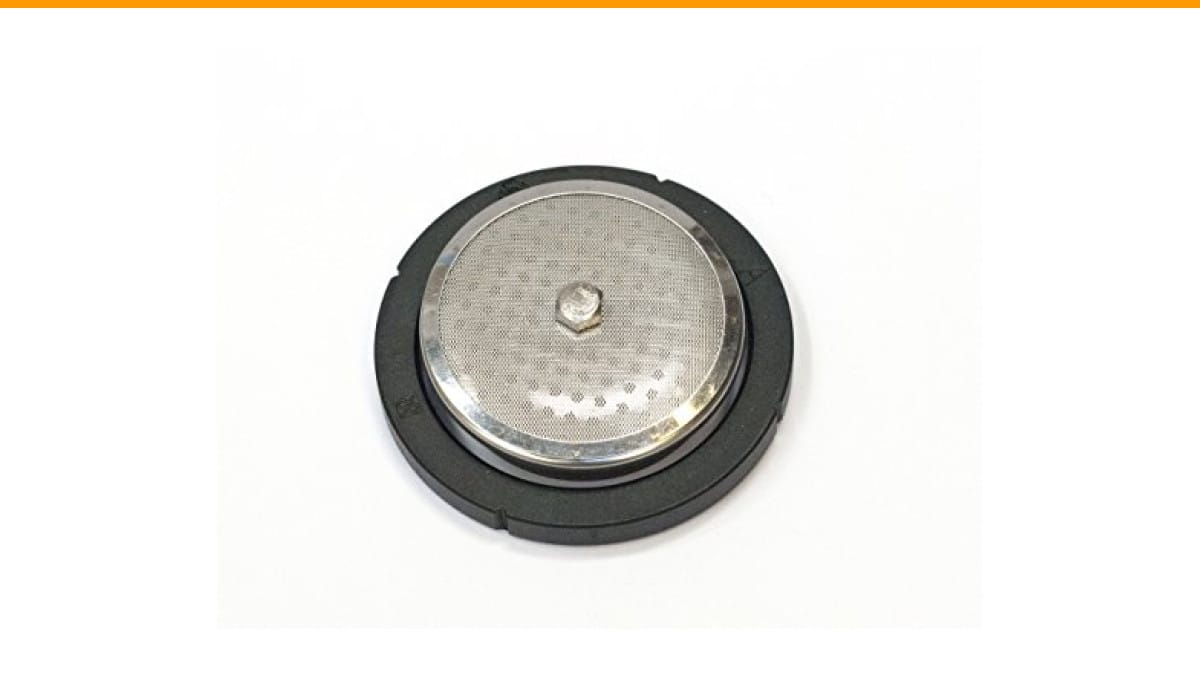
Rancilio Silvia Espresso Machine Repair Kit.
- This OEM repair kit can help you to fix some of the most common Rancilio Silvia problems.
- Water leaking around the portafilter: Usually the grouphead gasket needs to be replaced.
- Flow or no flow of water from grouphead. Your screen is probably clogged and needs to be replaced.
As an Amazon Associate I earn from qualifying purchases.
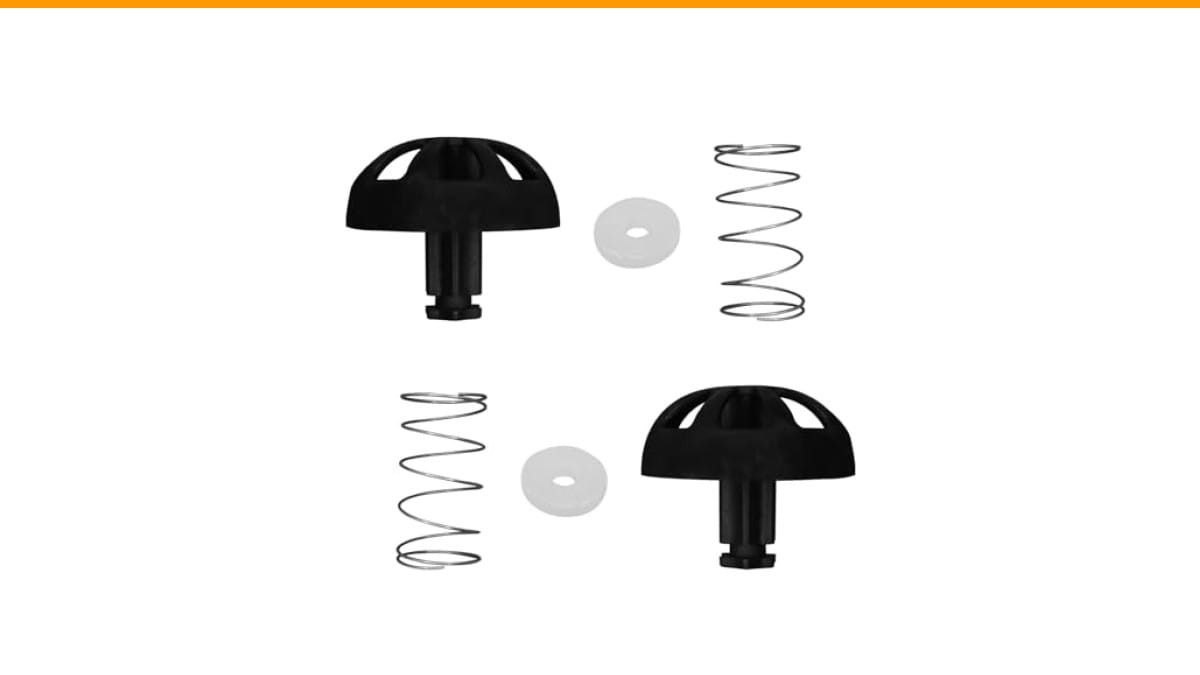
If you’re dealing with a specific machine like the Rancilio Silvia, many of the same principles apply. A common culprit for leaks around the portafilter is a worn grouphead gasket. The Rancilio Silvia Espresso Machine Repair Kit includes that OEM gasket and a replacement screen, which covers two of the most frequent leak and flow problems on that model.
Step 1: Find the Exact Leak Source
Don’t guess. Water travels along the machine’s frame and drips far from the actual leak. Run the machine with the portafilter locked in and watch closely with a flashlight. Dry the entire machine first so you can see fresh water appear.
Check these five spots in order:
- Under the drip tray: The float sensor may be stuck. Water backs up and spills over the tray’s rim.
- Around the portafilter: A worn gasket or a loose portafilter causes side sprays and drips.
- From the steam wand: A faulty O-ring inside the wand base drips even when the wand is closed.
- From the bottom panel: This usually means an internal hose or fitting has failed.
- From the bean hopper area: A clogged brew group drain can push water upward.
Pro tip: Place a piece of paper towel under the machine. The location of the first wet spot on the towel points you to the general area of the leak.
Step 2: Quick Fixes You Can Do Right Now
Not every leak needs a technician. Some are simple blockages or loose parts. Try these before you call anyone.
Clean the Drip Tray Sensor
Most super automatics have a magnetic float that tells the machine the tray is full. Coffee oils and scale can make that float stick, so the tray overflows. Pull the tray, wash it with warm soapy water, and dry the sensor contacts with a cloth. This solves a surprising number of ‘leaks’ that are really just overflow.
Re-seat the Portafilter
Lock the portafilter in firmly until it’s perpendicular to the machine. If it’s loose, you’ll get water spraying around the edges. If it’s tight but still leaks, the gasket is compressed and needs replacing. That’s a 10-minute job on most machines — you pry out the old one and press the new one in.
Check the Steam Wand O-Ring
Close the steam wand fully. If water still weeps from the tip, the O-ring inside the valve is worn. This is a cheap part, usually under five dollars, and most home users can swap it with a basic screwdriver.
Step 3: Deeper Issues That Need a Technician
Some leaks are beyond a home fix. If you’ve cleaned the tray, replaced the gasket, and water still pools under the machine, the problem is internal.
Internal hose leaks happen when the silicone tubing connecting the pump, boiler, or brew unit cracks. You might see steam rising from the back of the machine or hear a gurgling sound during the brew cycle. Replacing these hoses requires opening the case, which voids most warranties and carries a shock risk if you don’t discharge the capacitors.
A leaking boiler seal is another major repair. The boiler is the metal tank that heats the water. If the seal fails, you’ll get a steady drip from the bottom center of the machine. This is a labor-intensive fix that often costs more than the machine is worth unless it’s a high-end model.
If your machine is under warranty, stop here and call the manufacturer. Opening the case kills your coverage.
Comparing Leak Types and Fixes
Here’s a quick reference table based on what I’ve seen in testing and repair sessions. It matches the symptom to the likely cause and the fix difficulty.
| Symptom | Likely Cause | Fix Difficulty | Typical Cost |
|---|---|---|---|
| Water overflows drip tray | Stuck float sensor | Easy | $0 |
| Drips around portafilter | Worn grouphead gasket | Easy | $10 – $20 |
| Weeps from steam wand | Faulty valve O-ring | Easy | $5 |
| Puddle under the machine | Internal hose or boiler seal | Hard / Professional | $100+ |
| Water from the bean hopper | Clogged brew group drain | Moderate | $0 – $30 |
For a deeper comparison of different machine types, check out our automatic vs semi guide to see which design is easier to maintain.
Prevention: Stop Leaks Before They Start
The best repair is the one you never need. Most leaks trace back to poor maintenance, not defective parts. Here’s what I do with my own machine and what I recommend to friends.
- Descale every 2–3 months: Scale buildup can jam the solenoid valves and cause pressure to escape through seals. Our descaling guide covers the full process.
- Replace the group gasket yearly: It’s a wear item, like brake pads. Don’t wait for a leak to change it.
- Empty the drip tray when the indicator says so: Don’t push it. A full tray will always overflow.
- Run a cleaning cycle weekly: This flushes coffee oils that can clog the brew unit drain.
- Use filtered water: Hard water accelerates scale and gasket wear. A simple filter pitcher is enough.
If your machine is also making odd noises, that’s often a related symptom. A rumbling pump or hissing steam can point to a failing seal. See our piece on loud noise fixes for more context.
Frequently Asked Questions
Why is my super automatic espresso machine leaking water from the bottom?
That’s almost always an internal failure — a cracked hose, a loose fitting, or a failed boiler seal. Unplug the machine and check the drip tray first to rule out overflow. If the tray is dry and water is on the counter, you need to call a technician. Don’t open the case yourself if the machine is under warranty.
Can I fix a leaking super automatic espresso machine myself?
Yes, for simple issues. Replacing the grouphead gasket, cleaning the drip tray sensor, and swapping a steam wand O-ring are all DIY jobs. Internal hose or boiler repairs are not beginner-friendly. The risk of electric shock or creating a bigger leak is real. Know your skill level.
How often should I descale my espresso machine to prevent leaks?
Every 2 to 3 months for typical home use with filtered water. If you use tap water, do it monthly. Scale buildup restricts water flow, which increases pressure in the system and forces water past seals. Regular descaling is the single best way to avoid leak-related repairs.
Is a leaking espresso machine dangerous?
For the most part, no. Water on the counter is a slip hazard and can damage your cabinetry. There’s a small risk of electrical shorting if water reaches the internal wiring, so unplug the machine before inspecting it. Don’t run a machine that’s leaking heavily until you’ve found the source.
What is the average cost to repair a leaking espresso machine?
Simple DIY fixes cost under $20 in parts. A professional service call for an internal leak typically runs $100 to $200 for parts and labor, depending on the brand. If the boiler itself is cracked, the repair can exceed $300, which is often near the replacement cost of a mid-range machine. Weigh the repair cost against a new machine under $1000 before committing.
Three Mistakes Most People Make
I’ve seen these three errors repeat in forums and in my own testing. Avoid them and you’ll save money and frustration.
Mistake 1: Ignoring a slow drip. A small leak never heals itself. It gets worse as the gasket or seal degrades further. Fix it when it’s a drip, not when it’s a stream.
Mistake 2: Overtightening the portafilter. Cranking it with force won’t stop a leak. It will deform the gasket faster and make the problem worse. Lock it to the point of resistance, not beyond.
Mistake 3: Using a descaler too often. Over-descaling can strip the lubricant from the brew group seals, causing them to dry out and crack. Follow the manufacturer’s schedule, not the bottle’s marketing.
Fix the simple stuff yourself, know when to call a pro, and keep up with basic maintenance. Your machine will last longer, and your counter will stay dry.
What To Do Next
- Dry the machine and run a cycle to pinpoint the leak source.
- Check the drip tray sensor and clean it if stuck.
- Inspect the portafilter gasket for cracks or flattening.
- Test the steam wand with the valve closed.
- Descale if you haven’t in the last three months.
- Call a technician for any leak from the bottom panel.
- Keep a spare gasket and O-ring kit on hand — they’re cheap insurance.
Products related to this article
Sponsored / affiliate links. As an Amazon Associate I earn from qualifying purchases. I may earn additional commission from eligible campaigns.
 Coffee Espresso Machine Handle Replacement Parts, Cafe Bracket Handle for Lidl Silvercrest CM4621 CM4218 KF5002 KF500S Barista (for 51mm Portafilter Basket - Not included)
 Linnkyfloa Coffee Espresso Maker Handle Replacement for Stovetop Moka Pot or Percolator, Black Plastic for Spare Part Compatible with Italian(9-12 Cup)
 SOLUSTRE Electric USB Coffee Cup Warmer with Temperature Settings Portable Milk and Beverage Heating Coaster for Office Desk Small Lightweight Design Easy to Clean Surface Multi Functional