You’ve bought the beans, dialed in the grind, and perfected your pour. Yet the cup still tastes flat. The culprit is almost always the water temperature. Most people boil water, wait a random minute, and hope for the best. That guesswork is the difference between a dull, bitter brew and a bright, sweet one.
This guide moves past the generic ‘195-205°F’ answer. You’ll learn why that range exists, how to hit it without a fancy kettle, and how to adjust it for your specific setup. We’ll cover altitude, kettle materials, and preheating. You’ll walk away with a simple method to dial in your own perfect cup.

Bodum
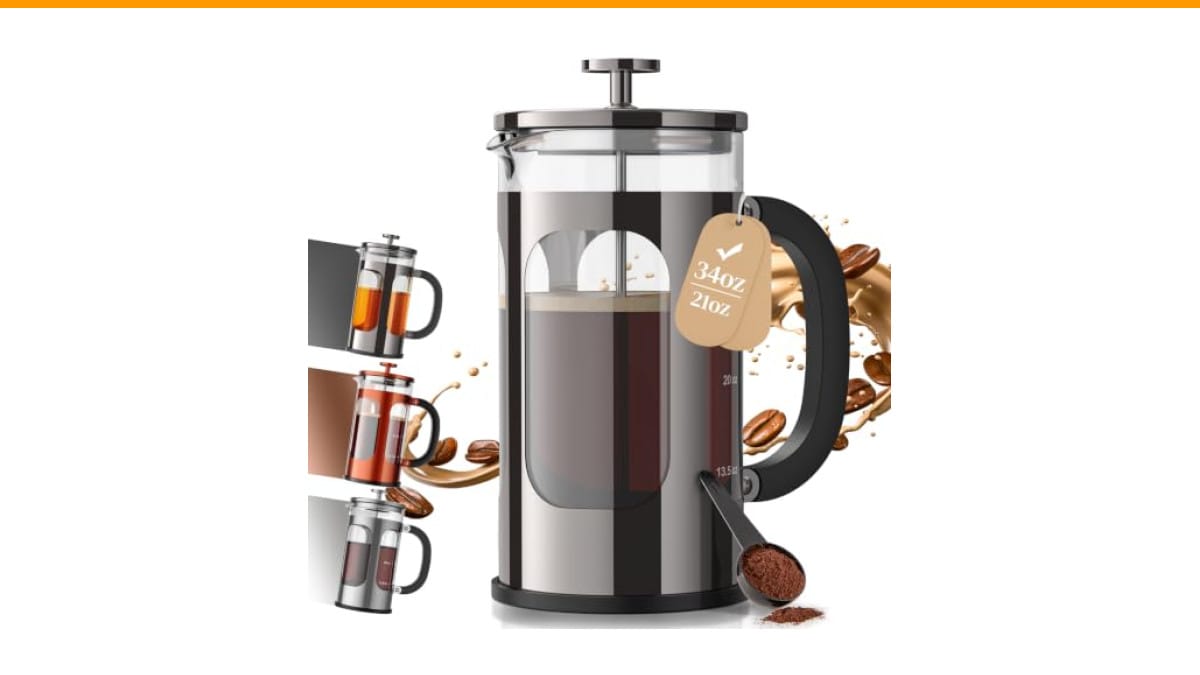
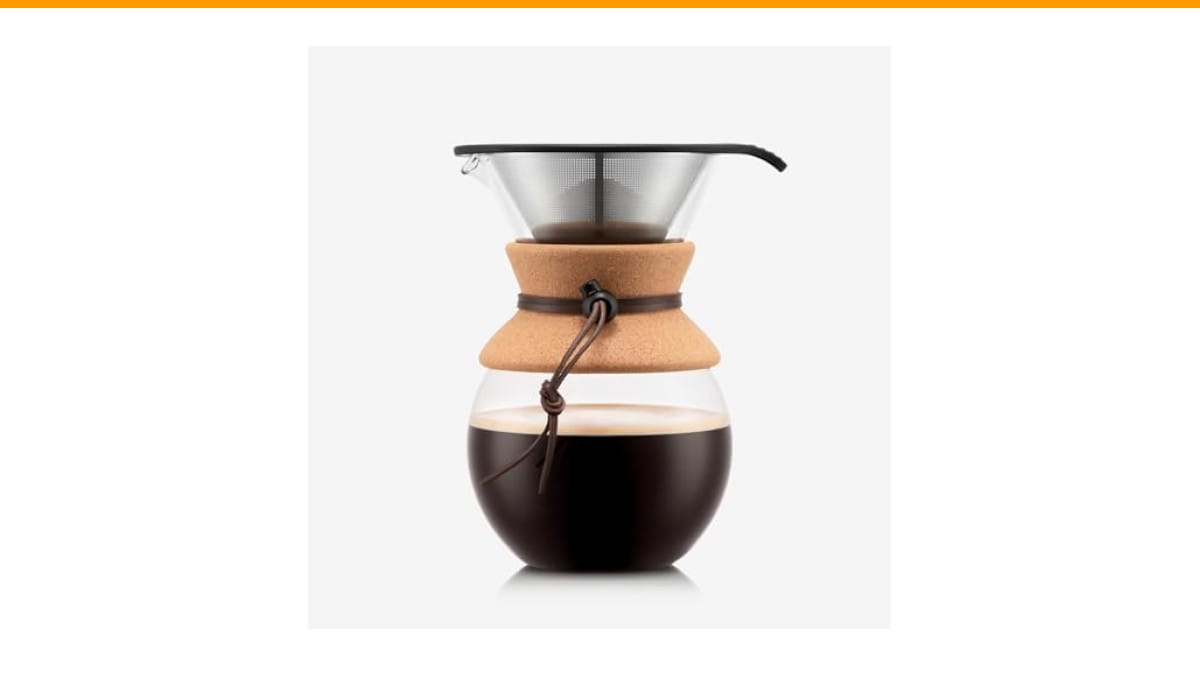
Bodum 34oz Pour Over Coffee Maker, High-Heat…
- Pour Over Coffee: Manual Pour Over Coffee Maker allows you to brew an excellent cup of Coffee in minutes
- Stainless steel: Includes a new and improved permanent, stainless steel mesh filter that helps extract your coffee's aromatic oils…
- Coffee Carafe: Made of durable, heat-resistant borosilicate glass with Cork Band detailing that is both functional and elegant; si…
As an Amazon Associate I earn from qualifying purchases.
If you’re brewing without a gooseneck kettle, a solid dripper helps control flow. The Check Price on Amazon offers a reusable stainless steel filter and a borosilicate glass carafe. It is a forgiving brewer for practicing your temperature control because the single-wall glass lets you see the slurry, though it does lose heat faster than an insulated brewer.
The Short Answer: 195°F to 205°F
Aim for 200°F as your starting point. That is the sweet spot for most washed coffees. The full specialty coffee association range sits between 195°F and 205°F (90.5°C to 96°C).
Water below 195°F under-extracts. You get sour, salty, or grassy flavors. Water above 205°F over-extracts, pulling harsh, bitter, and burnt notes from the beans. The range is narrow, so small errors matter.
Here is the catch: the temperature you measure in the kettle is not the temperature hitting the coffee. When you pour, water loses heat to the air and to the brewer. Your kettle might read 205°F, but the slurry (grounds plus water) might only be 198°F. You need to compensate for that loss.
Why Temperature Matters: The Science of Extraction
Coffee is a solubility game. Hot water dissolves flavor compounds from the grounds. Each compound dissolves at a different temperature. Acids and fruity esters come out first at lower temperatures. Sugars and caramelized compounds need more heat. Bitter compounds, like caffeine and certain phenols, are the last to release.
If the water is too cool, you only pull the acids. The cup tastes sharp and sour. If the water is too hot, you strip everything, including the bitter tail end. The goal is to hit the middle where sugars dissolve but bitter compounds stay locked in the bean.
The Slurry Temperature vs. Kettle Temperature
Your kettle temperature is a reference point, not the final number. The slurry temperature is what actually extracts the coffee. A typical pour drops 3°F to 5°F from kettle to slurry. This depends on pour height, dripper material, and room temperature.
Practical rule: set your kettle 4°F hotter than your target slurry temperature. If you want a 200°F extraction, heat water to 204°F. This compensation is the single most important adjustment you can make.
How to Measure Water Temperature (Without a Fancy Kettle)
You do not need a $150 electric gooseneck kettle to brew great pour over. A simple instant-read thermometer works fine. Here is the process:
- Boil water in any kettle.
- Remove it from the heat source.
- Stick a thermometer into the water and stir gently.
- Wait until it drops to your target temperature (e.g., 204°F).
- Preheat your dripper and cup with hot tap water while you wait.
This takes about 45 seconds. The wait is worth it. Guessing by ‘waiting a minute’ is unreliable because every stove and kettle cools at a different rate.
The Boiling Water Trick (and the Altitude Problem)
At sea level, water boils at 212°F. But Denver sits at 5,280 feet, where water boils at 202°F. That is already below your 205°F target. You physically cannot brew a light roast in Denver without a pressurized kettle.
Check your altitude. For every 500 feet above sea level, the boiling point drops by about 1°F. If you live above 3,500 feet, you need to adjust your expectations. You can still brew excellent coffee, but you must use water right off the boil for light roasts. Dark roasts will be fine because they need cooler water anyway.
Adjusting Temperature by Roast Level
Roast level changes the bean’s density and solubility. Dark roasts are more porous and dissolve faster. Light roasts are dense and need more energy to extract.
Light Roasts (Hotter) vs. Dark Roasts (Cooler)
Light roasts want 205°F to 208°F in the kettle. They need that extra heat to break down the dense cellular structure. Without it, you get sour, under-developed flavors.
Dark roasts want 195°F to 198°F. The beans are already brittle and highly soluble. Hotter water turns them ashy and bitter. Medium roasts sit in the middle at 200°F to 202°F.
This is not a strict rule. Some light roasts from Africa can handle 208°F. Some dark roasts from Sumatra prefer 190°F. Use the roast level as a starting point, then adjust by taste.
The Critical Role of Your Kettle and Dripper
Your kettle’s material changes how stable the water temperature stays during a pour. Electric kettles with a built-in thermostat hold temperature precisely. Stovetop kettles lose heat the moment you lift them off the burner. A heavy copper or stainless steel kettle retains heat better than a thin aluminum one.
Gooseneck kettles are not just for pour control. Their narrow spout reduces flow rate, which means the water spends more time in the kettle and less time losing heat in the air. A standard spout pours faster, so the water drops more degrees before hitting the coffee.
Thermal Mass and Preheating Your Gear
Your dripper steals heat from the slurry. A cold ceramic V60 can drop the slurry temperature by 10°F in the first 30 seconds. Plastic drippers insulate better than ceramic or glass. Metal drippers conduct heat away fastest.
Preheat everything. Rinse your paper filter with boiling water and let it sit in the dripper for 30 seconds. Pour hot water into your cup and swirl it around. Dump it before brewing. This simple step keeps the slurry temperature stable for the full brew time.
If you use a glass carafe like the Bodum, preheat it too. Single-wall glass loses heat quickly. A warm carafe keeps the last few drops from turning cold before you finish pouring.
For more on maintaining your gear, check our coffee maker cleaning guide.
Troubleshooting by Taste: Bitter vs. Sour
Your palate is the final judge. If the coffee tastes sour, sharp, or like lemon juice, the water is too cool. Raise the temperature by 3°F. If the coffee tastes bitter, dry, or like burnt rubber, the water is too hot. Drop it by 3°F.
But temperature is only one variable. If you change the temperature and taste does not improve, check your grind size. A sour cup with hot water means your grind is too coarse. A bitter cup with cool water means your grind is too fine. Temperature and grind size work together.
Keep your coffee-to-water ratio constant at 1:16 (about 30 grams of coffee to 480 grams of water). Change only one variable at a time.
The ‘Temperature Ladder’ Experiment: Dialing In Your Perfect Cup
Stop chasing the perfect number from a blog. Brew the same coffee at three different temperatures and taste the difference. This takes 20 minutes and will teach you more than any article.
- Grind 30 grams of coffee medium-fine.
- Split it into three equal 10-gram doses.
- Brew the first dose with water at 195°F. Use your normal pour technique.
- Brew the second dose at 200°F.
- Brew the third at 205°F.
- Taste them side by side, hot and then cooled down.
Write down the flavor notes for each. You will likely find that one is too sour, one is balanced, and one is bitter. The balanced one is your target. Remember that target temperature for that specific coffee. Different beans may need a different setting.
This experiment also reveals your kettle’s thermal loss. If the 205°F brew tastes weak, your slurry is probably 10°F cooler than you think. Adjust your kettle setting up accordingly.
Frequently Asked Questions
Can I use boiling water?
At sea level, boiling water is 212°F. That is 7°F above the recommended maximum. You will over-extract and get a bitter cup. The only exception is if you are brewing a very light roast in a cold room with a ceramic dripper. Even then, let the water sit for 10 seconds before pouring.
Does water quality matter as much as temperature?
Temperature controls extraction rate. Water chemistry controls what gets extracted. Magnesium ions extract fruity and floral compounds efficiently. Calcium extracts heavier, body-building compounds. Hard water with too many minerals dulls the flavor. Distilled water pulls too much, making the cup sour and flat. Aim for filtered tap water with moderate hardness. The mineral content also affects how fast heat transfers through the water, so water chemistry and temperature are linked.
How long should I wait after boiling?
There is no universal answer. It depends on your kettle material, room temperature, and volume of water. A thin aluminum kettle drops from 212°F to 200°F in about 45 seconds. A thick stainless steel kettle takes closer to 90 seconds. Use a thermometer instead of a timer. If your tap runs low on hot water, check our Mr. Coffee troubleshooting guide.
Does the pour speed affect temperature?
Yes. A slow, controlled pour keeps the water in the kettle longer, so it stays hotter. A fast, aggressive pour sends a stream of water through the air, losing heat before it hits the grounds. Gooseneck kettles naturally slow your pour. With a standard kettle, pour in a tight spiral and keep the stream thin.
Should I use a thermometer or a variable-temperature kettle?
A variable-temperature electric gooseneck kettle is the easiest path to consistency. It holds 204°F exactly, so you never guess. But a $15 instant-read thermometer works just as well if you are patient. The thermometer method is slower but just as accurate. The kettle saves time, not precision.
Final Verdict: Consistency Beats Perfection
Chasing the exact perfect temperature for every bean is a fool’s errand. The beans change seasonally, your grind changes as burrs wear, and your tap water changes with the weather.
- Start every brew at 200°F in the kettle. Adjust by taste.
- Set your kettle 4°F hotter than your target slurry temperature.
- Preheat your dripper and cup with boiling water before every brew.
- Use an instant-read thermometer if you do not own a variable-temperature kettle.
- Dark roasts: 195-198°F. Light roasts: 205-208°F. Medium: 200-202°F.
- Run the temperature ladder experiment once per bag of beans.
- Check your altitude. Above 3,500 feet, you cannot reach 205°F without pressure.
Your goal is repeatability. Once you find a temperature that makes a cup you love, write it down. Brew that exact way every morning. Small variations matter, but consistency matters more. If your brewer acts up, our repair guide can help you get back to brewing.
Products related to this article
Sponsored / affiliate links. As an Amazon Associate I earn from qualifying purchases. I may earn additional commission from eligible campaigns.
 Belly Moka Coffee Maker Stovetop Espresso Maker 9 Cup Aluminum Moka Pot Percolator 15oz 450ml Easy Brewing for Electric Ceramic Stoves Home Camping Italian Cuban Café Classic Black
 Belly Moka Coffee Maker Stovetop Espresso Maker 6 Cup Aluminum Moka Pot Percolator 10oz 300ml Easy Brewing for Electric Ceramic Stoves Home Camping Italian Cuban Café Classic Silver
 Coffee Mug Warmer & You are Awesome Mug Set, Electric Cup Warmer for Desk