You fill your kettle, hit the button, and walk away. Two minutes later you hear a sizzle on the counter. Water is pooling around the base. Your first thought is that the kettle is ruined. Your second thought is whether you should even touch it. Both reactions are fair, but the truth is more complicated. Not every puddle means your kettle is dead, and some leaks are genuinely dangerous.
This guide walks through a diagnosis-first approach. You will learn how to test for a leak without scalding yourself, which parts fail most often, and when a $10 repair makes sense versus when you should just buy a new kettle. By the end, you will know exactly what to do with that dripping appliance sitting on your counter.
Cosori
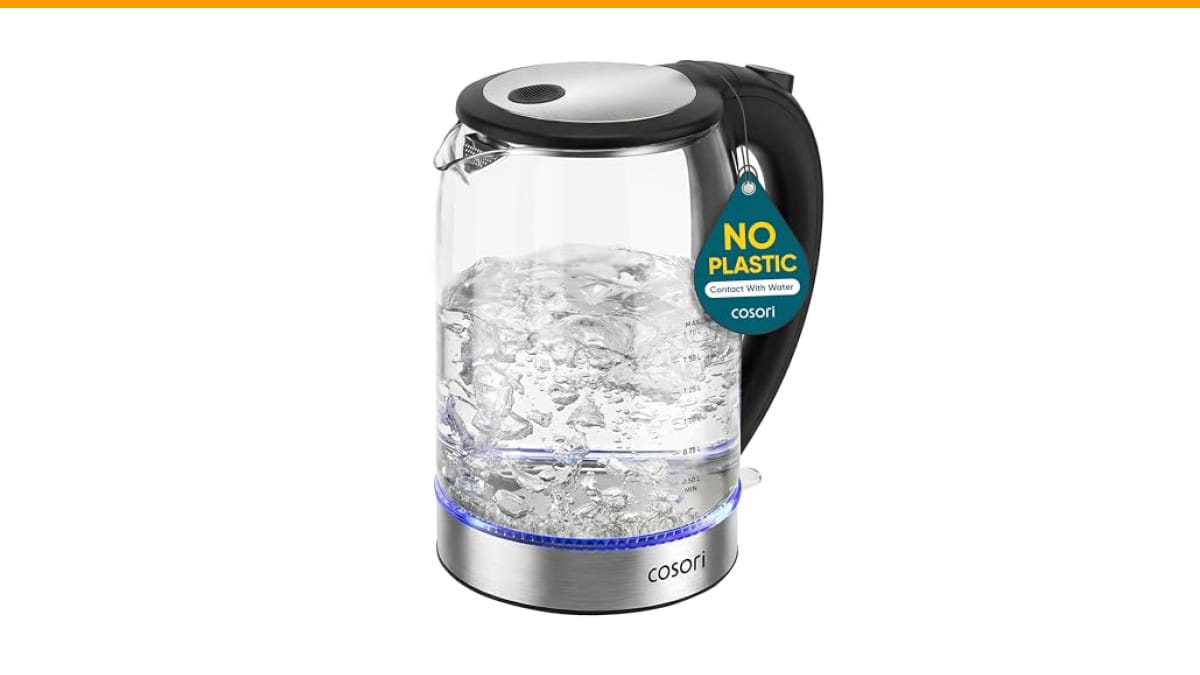
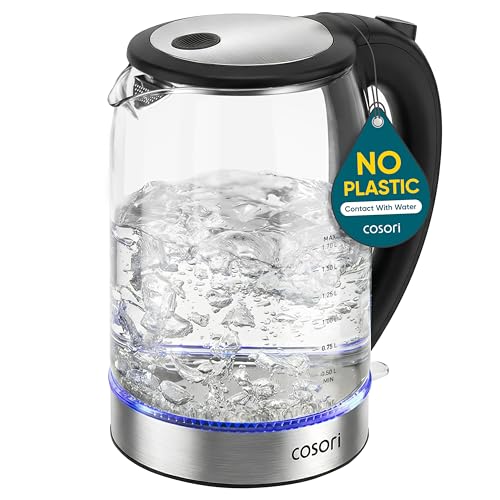
Cosori Electric Kettle, No Plastic Contact with…
- No Plastic Contact with Your Water——With no plastic inside, water never touches plastic, ensuring a pure taste and safer drinking…
- Faster Than a Stovetop Kettle——Heats 0.5L (2 Cups) water in under 3 minutes for less wait time
- Easy to Clean——Wide mouth and large-angle lid lets you reach every corner with ease
As an Amazon Associate I earn from qualifying purchases.
If you decide replacement is the smarter move, the Check Price on Amazon is a solid option. Its wide mouth and dual-angle lid make cleaning simple, which helps prevent mineral buildup that can cause seal failures down the road. The no-plastic interior also means you are not dealing with warped or degraded plastic components near the heating element.
Is It a Leak or Just Condensation? (The First Test)
Before you take anything apart, run a simple test. Fill the kettle with cold water to the minimum line, never past the max fill line. Place it on a dry paper towel. Do not plug it in. Let it sit for thirty minutes.
If the paper towel stays dry, the kettle is not leaking while static. Now plug it in and bring the water to a boil. Watch the base and the sides. After it shuts off, leave it alone for another ten minutes. Check the paper towel again.
Moisture that appears only after boiling is often condensation, not a leak. The steam vent releases hot vapor during the boil, and that vapor can condense on the cooler exterior and run down toward the base. This is normal. Kettles with a viewing window are especially prone to this because the glass surface cools faster than the stainless steel body.
Here is the key difference: condensation leaves a thin, even film of moisture. A real leak creates droplets that form a puddle or a steady drip. If you see a puddle forming while the kettle is off, you have a genuine leak.
Run this test twice with cold water first, then boiling. The cold water test isolates the seal. The boiling test reveals issues that only appear under heat and pressure. Do not skip the cold test, because a leak that shows up when the kettle is cold is a much bigger problem than one that only appears during a boil.
The 4 Leak Zones: How to Diagnose the Source
Once you confirm a real leak, you need to find where it comes from. Grab a flashlight and dry the kettle completely. Then boil a small amount of water and watch closely. The source usually falls into one of four zones.
Most leaks are not mysterious. They happen at a seam, a gasket, or a glued joint. Each zone has a different cause and a different fix.
Leaks Around the Base and Heating Element
This is the most serious zone. If water is leaking from the bottom of the kettle where the metal plate meets the body, the seal around the heating element has failed. This is the gasket that keeps water away from the electrical terminals. A leak here is a safety hazard because water and electricity are mixing in the same space.
Do not use a kettle with a base leak. Unplug it immediately. The risk of short-circuiting or electrical shock is real. If the kettle is under warranty, contact the manufacturer. If not, you have two choices: replace the seal yourself or buy a new kettle. We cover the DIY route in the next section.
One thing to check first: make sure the leak is not coming from the outside of the base. Sometimes water drips down the side of the kettle from the spout and pools on the counter near the base. That looks like a base leak but it is actually a spout issue. Dry everything, then place a piece of paper towel directly under the center of the kettle. If the paper towel stays dry, the water is running down the outside.
Leaks Around the Viewing Window
Kettles with a glass viewing window use a plastic or rubber gasket to seal the glass to the metal body. Over time, that gasket can dry out, shrink, or crack. Mineral deposits from hard water accelerate this process by building up on the gasket and forcing it to deform.
A viewing window leak usually shows up as a slow drip down the outside of the glass, not a puddle. It often gets worse as the kettle heats up because the metal expands faster than the glass. If you see moisture inside the window that never goes away, that is a failed seal, not condensation.
Replacing a viewing window gasket is tricky. The glass is fragile, and the gasket is often custom-molded to the specific kettle model. Finding a replacement part is hit or miss. If the gasket is generic, you can try a food-grade silicone sealant as a temporary fix. But honestly, this repair is rarely worth the effort. A new kettle costs less than the frustration of a leaky window that keeps coming back.
Leaks Around the Spout and Lid
Spout leaks are usually caused by one of two things: an overfilled kettle or a damaged spout rim. If you fill past the max line, boiling water will push out of the spout as it expands. That is user error, not a defect. Keep the water level below the max indicator and the problem disappears.
A leak from the lid is different. Water dripping from under the lid during a boil means the lid seal is compromised. Many kettles have a silicone ring around the lid rim. If that ring is cracked or dislodged, steam escapes and condenses on the outside. Check the ring for nicks or tears. Often you can simply reseat it and the leak stops.
Steam vent issues are also common here. The steam vent is a small hole in the lid that allows pressure to escape. It is normal for a few drops of water to sputter from the vent during a vigorous boil. That is not a leak. If the vent is clogged with limescale, however, steam has nowhere to go and will force water out around the lid. Clean the vent with a toothpick or a small brush.
The DIY Repair Guide: Tools and Safe Sealants
If you have a base seal leak and the kettle is out of warranty, you can attempt a repair. You need a screwdriver, a soft cloth, and food-grade silicone sealant. Do not use hardware store silicone. It contains chemicals that are not safe for drinking water.
Start by unplugging the kettle and letting it cool completely. Turn it upside down and remove the base plate. In most kettles, the heating element is held in place by a central nut or a series of screws. Remove those and carefully lift the element out. You will see the old rubber gasket. It will likely be hard, cracked, or flattened.
Remove the old gasket and clean the mating surfaces with a cloth. Apply a thin, even bead of food-grade silicone to the area where the gasket sits. Press the heating element back into place, then reassemble the base. Let the silicone cure for the full time listed on the tube. This is usually 24 hours. Do not rush this step. Using the kettle before the silicone cures will ruin the seal.
How to Apply Food-Grade Silicone Correctly
The biggest mistake people make is applying too much silicone. You do not need a thick bead. You need a thin, continuous layer that fills the gap between the metal and the gasket. Too much silicone will squeeze out when you tighten the screws and can contaminate the water.
Another mistake is applying silicone to a dirty surface. The sealant will not adhere to limescale or grease. Clean the area with rubbing alcohol and let it dry completely before applying the silicone.
One honest caveat: this repair is not permanent. Food-grade silicone will last a year or two under regular use, but heat cycling will eventually break it down. Treat this as a stopgap, not a permanent solution. If the heating element itself is corroded or pitted, do not bother with the seal. Replace the kettle.
The Limescale Factor: Why Hard Water Makes Leaks Worse
Hard water is the silent killer of electric kettles. The mineral deposits in hard water, mostly calcium and magnesium, build up on the heating element and the gaskets. This buildup does two things. It insulates the heating element, making it work harder and hotter, and it physically pushes against seals, forcing them to deform.
Think of limescale as sand in a door hinge. It grinds away at the seal every time the kettle heats and cools. Over time, the gasket loses its flexibility and cracks. That is when you get a leak.
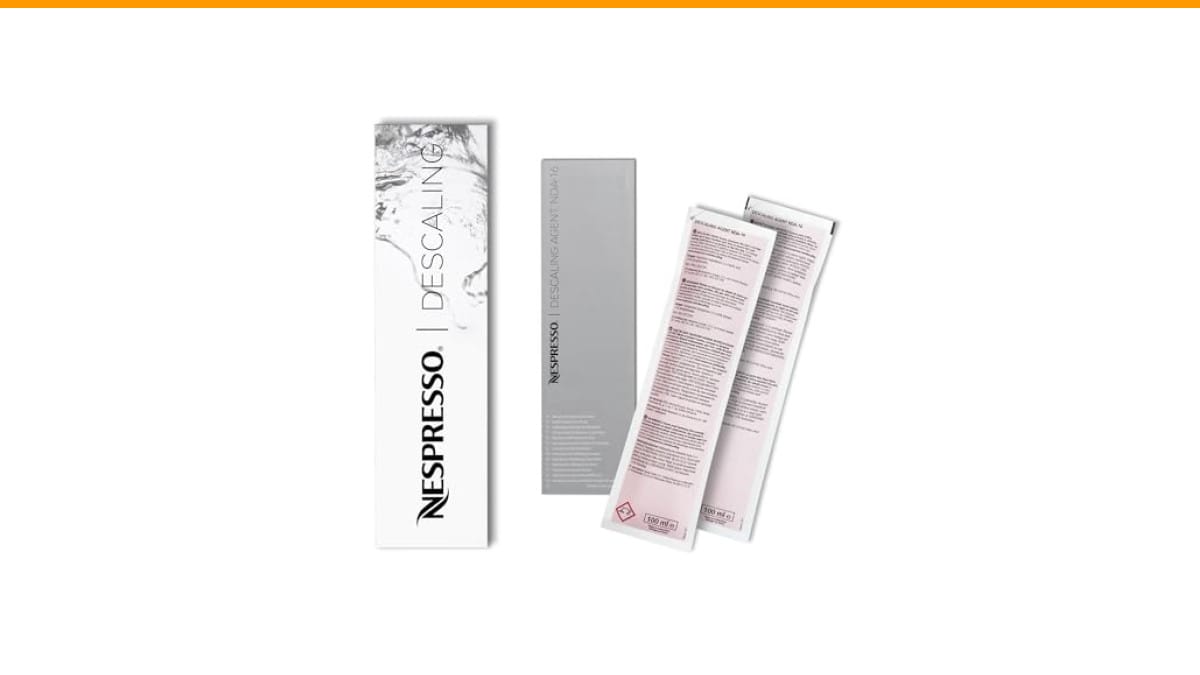
Descaling your kettle regularly is the single best way to prevent this. Once a month, fill the kettle with a 50/50 mix of water and white vinegar. Bring it to a boil, then let it sit for thirty minutes. Pour it out and rinse thoroughly. If you have very hard water, you may need to do this weekly.
Do not use chemical descalers that are not food-safe. Vinegar and citric acid are both effective and safe. You can also buy food-grade citric acid powder and mix it with water for a faster descale. The process is the same.
For a deeper look at how water flow issues affect other appliances, check out this guide on coffee maker water flow problems. The same mineral buildup that ruins kettles also clogs espresso machines and drip coffee makers.
Repair vs. Replace: The Cost and Safety Decision Matrix
Not every leak deserves a repair attempt. Use this table to decide quickly.
| Leak Location | Safety Risk | Repair Cost | Repair Difficulty | Best Action |
|---|---|---|---|---|
| Base / heating element | High (electrical hazard) | $10 (silicone + gasket) | Medium | Repair if element is clean; otherwise replace |
| Viewing window | Medium (slow drip) | $15 (gasket, if available) | High (glass breakage risk) | Replace kettle |
| Spout (overfilled) | Low (scalding risk) | $0 | None | Fill below max line |
| Lid seal | Low (steam burn) | $5 (silicone ring) | Easy | Reseat or replace ring |
| Steam vent clog | Low (pressure buildup) | $0 | Easy | Clean vent with toothpick |
The math is simple. If the repair costs more than half the price of a new kettle, buy new. If the leak is near electrical components, lean toward replacement. Your safety is worth more than the $30 you might save on a DIY fix.
Also consider the age of the kettle. If it is over three years old and leaking from the base, the heating element has likely seen better days. A new seal on an old element is like putting new tires on a car with a blown engine.
When to Stop DIY and Call a Professional (or Buy New)
There is a line between a fixable problem and a lost cause. If you see any of the following, stop working on the kettle and replace it immediately:
- Visible rust or corrosion on the heating element or base plate
- A burning smell when the kettle is on
- Arcing or sparking visible through the base vents
- Water leaking from the base while the kettle is plugged in
- Any damage to the power cord or plug
These are signs of electrical failure, not just a seal issue. No amount of silicone will fix a short circuit. Continuing to use a kettle in this condition is a fire hazard.
There is no professional repair service for cheap kettles. A repair shop will charge more in labor than the kettle costs new. If you are not comfortable doing the DIY repair yourself, do not feel bad about buying a replacement. It is the responsible choice.
If you are in the market for a new kettle, the leaking appliance repair guide on this site covers similar issues for espresso machines. The principles are the same: isolate the source, check the seals, and decide based on cost.
Preventing Future Leaks: A 3-Step Maintenance Routine
You can avoid most leaks with a simple routine. It takes five minutes a week and costs almost nothing.
- Descale monthly. Use the vinegar method described above. Do this even if you do not see buildup. Prevention beats cure.
- Dry the base after each use. Water left sitting on the base plate seeps into the seams over time. A quick wipe with a dry cloth prevents this.
- Do not overfill. Respect the max fill line. Boiling water that spills over the rim will eventually damage the lid seal and the exterior finish.
That is the whole routine. It is not complicated. The people who have kettle leaks are almost always the ones who skip the descaling step. If you live in an area with hard water, you need to be even more vigilant.
One more tip: store your kettle with the lid open. Trapped moisture inside a closed kettle creates a humid environment that accelerates gasket degradation. Letting it air out between uses keeps the seals dry and flexible.
Frequently Asked Questions About Kettle Leaks
Is it safe to use an electric kettle that leaks from the bottom?
No. A leak from the bottom means water is in contact with electrical components. This creates a shock and fire risk. Unplug it immediately and do not use it until the seal is repaired or the kettle is replaced.
Can I use super glue to fix a cracked kettle base?
No. Super glue is not food-safe and will degrade with heat. It also does not flex, so it will crack again. Use only food-grade silicone sealant for any repair that touches water.
Why does my kettle leak only when it is boiling?
Heat expands the metal body and the gaskets. A seal that fits fine when cold can develop a gap when hot. This is common with older kettles where the gasket has lost its elasticity. The leak may also be condensation from the steam vent, which only appears during a boil.
How often should I descale my electric kettle?
Once a month for normal water, weekly if you have hard water. If you see white flakes in your tea or coffee, you are overdue. Descaling prevents mineral buildup that damages seals and causes leaks.
Will my kettle warranty cover a leak?
Most kettle warranties cover manufacturing defects, including failed seals, for one to two years. They do not cover damage from limescale buildup or misuse like overfilling. Check your warranty card before attempting any DIY repair, because opening the base may void it.
What to Do With What You Now Know
You do not need to be an appliance repair technician to handle a leaking kettle. You need a method. Start with the cold water test to rule out condensation. Then identify the leak zone. Base leaks are serious; lid and spout issues are usually minor. Attempt a DIY fix only if you are comfortable and the kettle is out of warranty. Otherwise, replace it.
- Test with cold water first to isolate the leak source.
- Condensation from the steam vent is normal, not a leak.
- Base leaks are electrical hazards; do not use the kettle.
- Use only food-grade silicone for repairs.
- Descale monthly with vinegar to prevent gasket failure.
- Never overfill past the max line.
- If the repair costs more than half the price of a new kettle, replace it.
A leaking kettle is a nuisance, but it is also a warning. It tells you that the seals are failing. Whether you fix it or replace it, you now know exactly what to look for. For more on keeping your hot water appliances running, read our Nespresso water flow troubleshooting guide.
Products related to this article
Sponsored / affiliate links. As an Amazon Associate I earn from qualifying purchases. I may earn additional commission from eligible campaigns.
 SOLUSTRE Electric USB Coffee Cup Warmer with Temperature Settings Portable Milk and Beverage Heating Coaster for Office Desk Small Lightweight Design Easy to Clean Surface Multi Functional
 6 lb Citric Acid Powder Food Grade, Citric Acid Crystals, 100% Pure
 Relative Foods Food Grade Citric Acid Powder, 2 lb