You buy a great bag of beans, grind them, brew a cup, and something tastes off. The beans looked fresh in the bag, but you can’t remember when you opened them. That’s the problem with coffee storage — most people skip labeling and then guess. Guessing ruins good coffee.
This article gives you a practical labeling system for any coffee container. You’ll learn what to write, where to put it, and how to keep the label useful as beans age. We’ll cover the four details that matter most, a comparison of labeling methods, and answers to the questions coffee drinkers actually ask.

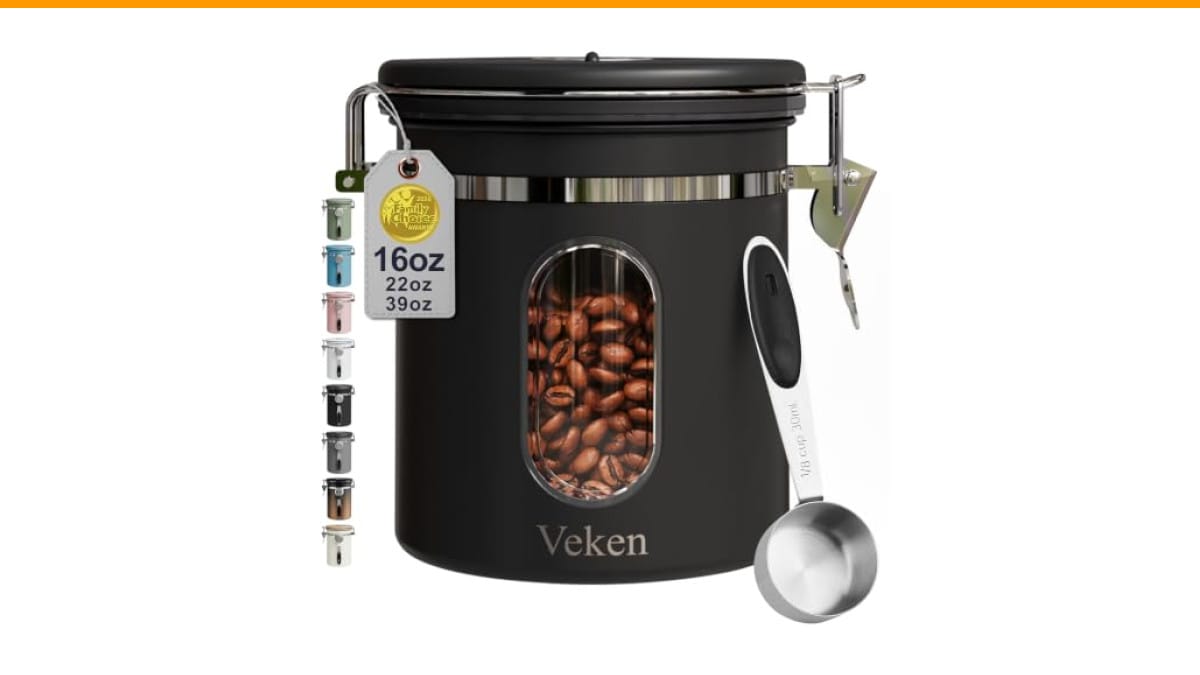
Veken
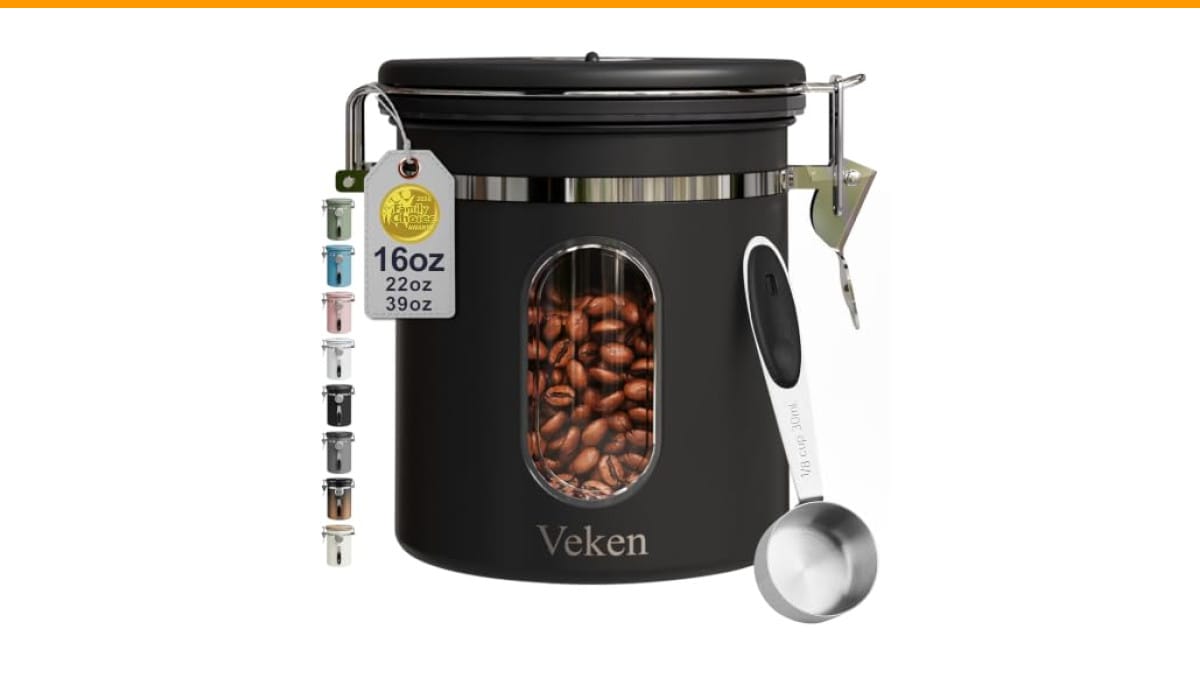
Veken Coffee Canister with Window,Airtight Stainless Steel…
- Freshness is Everything:Our coffee canister helps maintain the freshness of your coffee beans by keeping air out and free of harmf…
- Date Tracker, Window, & Free Scoop:Keep your coffee fresh by setting storage or expiry dates with our date tracker on the lid. A h…
- Premium Quality Assurance:We understand the importance of quality when it comes to your coffee experience; That's why our Veken co…
As an Amazon Associate I earn from qualifying purchases.
If you’re using a container like the Veken Coffee Canister with Window, you already have a date tracker on the lid. That helps, but you still need a label for the bean details. The canister’s one-way CO2 valve and silicone seal keep air out, so your label stays accurate longer — the beans inside actually taste like what you wrote down.
What Information Belongs on a Coffee Label
Four pieces of information matter more than everything else. Write these in this order, top to bottom, so your eye finds them fast.
- Roast date — not the purchase date. Roast date tells you when the bean’s flavor peak starts. Most beans taste best between day 4 and day 14 after roasting. Write it as MM/DD or use the day of the year (e.g., “Day 032”) if you want sorting by number.
- Bean origin and variety — country plus region if you know it. Write “Ethiopia Yirgacheffe” not just “Ethiopia.” The variety (like Gesha or Bourbon) matters if you’re comparing similar beans.
- Roast level — light, medium, medium-dark, dark. This sets your brewing expectations. A light roast needs hotter water and a finer grind than a dark roast.
- Opening date — the day you transferred beans into the container. This is different from roast date. Whole beans stay fresh about 3-4 weeks after roasting, but the clock starts when you open the bag and expose beans to air.
Add tasting notes only if you have room and a consistent memory. Write “berry, chocolate” or “citrus, nutty” — short descriptors, not a novel. Your future self will thank you when you’re deciding which bean to brew at 6 a.m.
One thing I skip: the price. Prices change, and it doesn’t affect flavor. Save that space for something useful.
How to Label Your Container: Step by Step
Here’s the exact process I use on every container in my kitchen. It takes about two minutes per container.
- Clean the container surface. Wipe the lid or side with a dry cloth. Oil and coffee dust prevent labels from sticking. If you’re labeling glass or stainless steel, a quick wipe with rubbing alcohol helps the adhesive grab.
- Choose your label type. Painter’s tape works for short-term (less than a week). Masking tape holds up better. For long-term storage, use a label maker or write directly on a chalkboard sticker. Avoid paper labels on the outside of a container that gets touched a lot — they smear and peel.
- Write the roast date first. Make it big and bold. That’s the number you’ll check most often. Use a permanent marker, not a ballpoint pen — ballpoint ink smears on glossy tape.
- Write the origin and roast level. Smaller text, below the date. You don’t need to read these from across the room, just up close.
- Add the opening date. Use a separate small sticker for this if you plan to move beans between containers. Or write it in pencil — you can erase and update it if you transfer beans.
- Place the label on the lid or upper side. The lid is best because you see it every time you open the container. The upper side works if the lid is curved or textured. Avoid the bottom half of the container — it gets wet when you wash the counter.
- Update the label when you open a new bag. Don’t wait until the old label is unreadable. The moment you pour new beans in, peel the old label and write the new one. This habit takes five seconds and prevents the “what are these beans?” mystery.
Pro tip: keep a roll of painter’s tape and a Sharpie in the same drawer as your coffee. If they’re not visible, you won’t use them.
For containers with a date tracker built into the lid, like the Veken canister, set that first. Then add your label for the bean details. The date tracker handles the “when did I open this” question, and your label handles the “what is this” question.
Labeling Methods Compared: Tape, Chalk, and Digital
| Method | Best For | Durability | Update Speed | Cost | Downside |
|---|---|---|---|---|---|
| Painter’s tape + marker | Rotating beans, weekly changes | Low — peels off when wet | Fast — 30 seconds | Negligible | Looks messy after a few days |
| Masking tape + permanent marker | Most home kitchens | Medium — survives normal handling | Fast — 30 seconds | Negligible | Leaves sticky residue if left for weeks |
| Label maker (thermal) | Serious hobbyists, multiple containers | High — resists moisture and oil | Moderate — need to type and print | Low — tape rolls are cheap | Bulky device on the counter |
| Chalkboard sticker + chalk pen | Visible containers, aesthetic kitchens | Medium — chalk smudges | Moderate — need to erase and rewrite | Low | Chalk dust near coffee is annoying |
| Digital notes app | Tracking multiple bags, brew logs | N/A — stays on your phone | Slow — need to open app | Free | You won’t look at your phone while reaching for beans |
My pick for most people: masking tape with a permanent marker. It’s cheap, fast, and durable enough for a 2-3 week rotation. If you have more than five containers going at once, invest in a label maker — the consistency is worth it.
How to Keep Labels Accurate as Beans Age
A label is only useful if it matches what’s inside. Coffee changes over time, and your label should reflect that.
Update the roast date when you freeze beans. Freezing pauses the aging process, so the roast date becomes less relevant. Write “Frozen on [date]” instead. When you pull beans out, let them come to room temperature before opening the container — condensation ruins beans faster than age does.
Rewrite the label when you change grind settings. If you grind this bean for espresso one week and pour-over the next, the label stays the same but your grinder setting doesn’t. Write the grind setting on the label too, like “Espresso 14” or “Pour-over 22.” This saves you from dialing in the same bean twice.
Mark the container when beans are past their prime. Coffee doesn’t go bad in a dangerous way — it just tastes flat and cardboard-like. Draw a line through the label or write “Cold brew only” when beans hit day 21 after roast. They’ll still work for cold brew or baking, just not for your morning cup.
Use a consistent format across all containers. Decide on a format and stick with it. Mine is “Roast: 03/14 | Ethiopia Guji | Light | Opened: 03/18.” If every container uses the same order, you can scan your shelf in two seconds. Consistency beats cleverness.
Common Labeling Mistakes and How to Avoid Them
Three mistakes show up again and again in home kitchens. I’ve made all three myself.
Mistake 1: Writing the purchase date instead of the roast date. A bag might sit in a warehouse for two weeks before you buy it. The purchase date tells you nothing about freshness. Always check the roast date printed on the bag — most specialty roasters put it on the bottom or side.
Mistake 2: Using a label that doesn’t survive the first wash. Paper labels disintegrate when the container gets rinsed. Use waterproof tape or place the label where water never reaches. The lid of most canisters stays dry even when you wash the body.
Mistake 3: Forgetting to update the label when you refill. The old label stays on, you pour in new beans, and a week later you’re brewing a light roast thinking it’s the dark roast you had before. Make it a rule: new beans, new label, every time. No exceptions.
If you keep your grinder clean and your beans labeled, you’ve solved 80% of the freshness problem. The other 20% is storage conditions — keep containers away from sunlight and heat. A labeled container on a sunny windowsill still ruins beans; the label just tells you exactly when they went bad.
Frequently Asked Questions
Do I need to label my coffee container if I only have one type of bean?
Yes, because you’ll eventually buy a different bag. Even if you’re loyal to one roaster, the roast date changes. You need to know when that bag was roasted so you can use it before it goes stale. A single label with the roast date takes ten seconds and prevents you from brewing week-old beans.
What’s the best marker for writing on coffee container labels?
Permanent markers like Sharpies work best on tape and plastic. They resist moisture and don’t fade quickly. Avoid dry-erase markers — they wipe off with any contact. For chalkboard stickers, use liquid chalk pens (they write smoother than solid chalk) and let them dry for 30 seconds before closing the container.
Can I put labels on the inside of a coffee container?
No. Moisture and coffee oils will destroy any label from the inside. The adhesive also contaminates your beans — it can leach chemicals into the coffee. Always label the outside. If you need to identify beans at a glance, use a clear container or a window like the Veken canister has, then label the outside near the window.
How often should I replace the label on my coffee container?
Every time you refill the container with different beans. If you refill with the same bean, just update the roast date and opening date. Most home users replace labels every 2-3 weeks, which matches a typical bag of beans. If you buy in bulk and store larger quantities, check the label monthly and rewrite when it gets hard to read.
Does labeling actually keep coffee fresher?
No, labeling doesn’t affect freshness directly. It affects your behavior — you use beans before they go stale, and you don’t accidentally leave old beans in the container. A label is a reminder system. Combine it with an airtight container and a clean grinder, and you’ll notice a real difference in your cup. For more on keeping your gear in shape, see our grinder cleaning guide.
What to Do With This System Today
- Grab a roll of masking tape and a permanent marker. Put them next to your coffee storage.
- Write the roast date, origin, roast level, and opening date on every container you own. Do it now, not later.
- Use the same label format on every container so your shelf reads like a menu.
- Update labels the moment you pour in new beans. Tear off the old label first.
- Set the date tracker on your canister lid if it has one — it’s a second reminder that works even if you forget the label.
- Check your beans once a week. If the roast date is older than 21 days, move them to cold brew duty.
- Keep your grinder clean so the labeled beans actually taste as good as they should — a dirty grinder ruins even the freshest beans.
You don’t need a fancy system. You need a consistent one. Ten seconds of labeling every time you open a bag will save you from dozens of disappointing cups. That’s a trade worth making.
For more on keeping your coffee routine tight, read our cleaning schedule and our grinder comparison to round out your setup.
Products related to this article
Sponsored / affiliate links. As an Amazon Associate I earn from qualifying purchases. I may earn additional commission from eligible campaigns.
 Quick Heating Cup Warmer, Three Temperature Settings, Splashproof and Portable, for Coffee, Milk, Lightweight ABS Material
 HomeBeyond Espresso Coffee Maker 12 Cups, Classic Stovetop Espresso Maker, 600ml / 20oz Coffeemaker for Gas & Ceramic Stovetops (Silver)
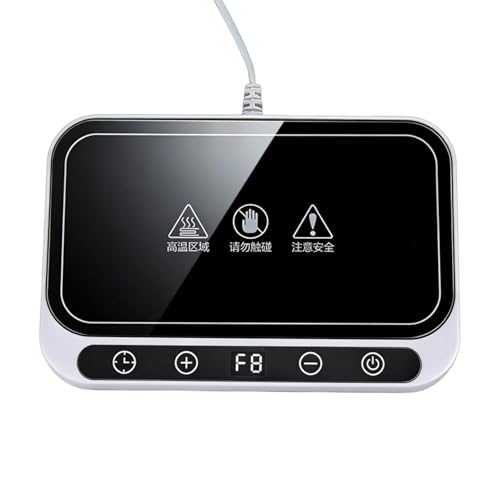 Cup Warmer for Coffee 8 Temperature Setting Adjustment