You just got a coffee maker with a built-in grinder, and you’re standing there staring at the bean hopper, wondering if you need a degree in engineering to brew a decent cup. I’ve been there. The first time I used one, I put the beans in the wrong compartment and ended up with hot water and a bowl of whole beans. It wasn’t pretty.
But here’s the thing: once you understand the workflow, a grind-and-brew machine is one of the most convenient ways to make coffee. You skip the separate grinder, the mess, and the extra counter space. This guide walks you through the entire process—from filling the hopper to cleaning the burrs—so you can get a consistent, flavorful cup every morning.
BLACK+DECKER
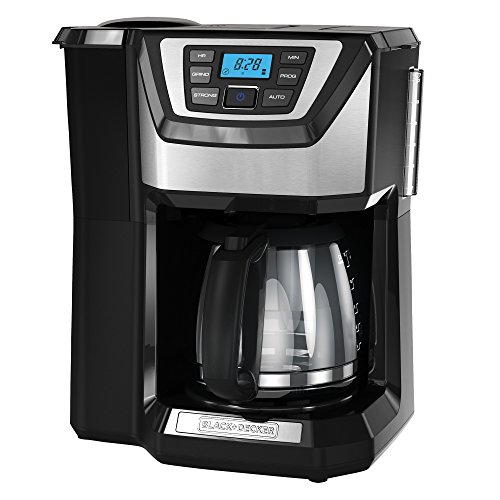
BLACK+DECKER 12-Cup Grind and Brew Coffee Maker…
- Note: 1)Too coarse a grind, too little coffee, or insufficiently tamping the grounds before brewing can all lead to inadequate pre…
- Fabric Type: Plastic
As an Amazon Associate I earn from qualifying purchases.
Let’s break it down step by step, and I’ll throw in a few pro tips I’ve learned from testing these machines side by side.
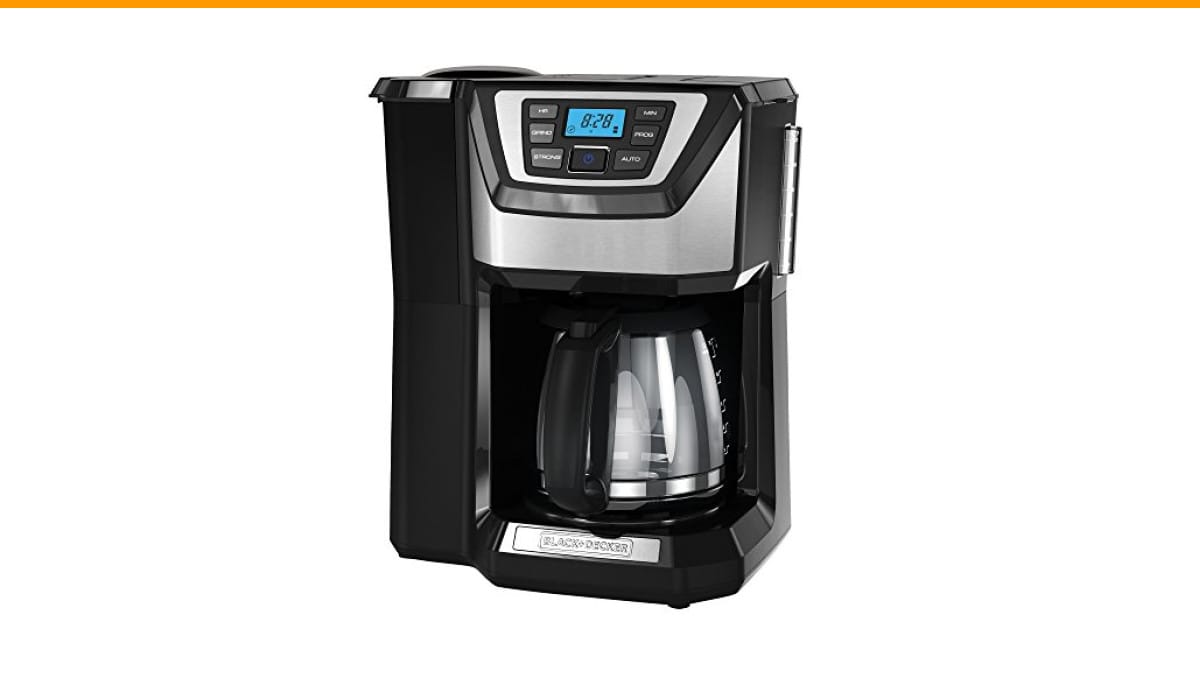
If you’re using a machine like the BLACK+DECKER 12-Cup Grind and Brew Coffee Maker, you’ll appreciate how it combines a blade grinder and a drip brewer into one unit. It’s a solid entry-level option that handles the grinding for you, so you don’t have to buy a separate grinder. Just fill, set, and brew.
Step 1: Know Your Machine’s Parts
Before you touch a single bean, look at your machine. Most grind-and-brew models have three main components:
- Bean hopper – the clear container on top where whole beans go.
- Grinder chamber – where the beans are ground (often just before brewing).
- Filter basket – holds the ground coffee and the paper filter.
On the BLACK+DECKER model, the hopper sits on the lid, and you lift it to access the grinder chamber. Some machines have a separate compartment for pre-ground coffee, but this one grinds directly into the filter.
Here’s a common mistake: people fill the hopper with pre-ground coffee. Don’t do that. The hopper is only for whole beans. If you want to use pre-ground coffee, check if your machine has a bypass or a separate basket. If not, you’ll need to skip the grinder and manually add grounds to the filter.
Step 2: Add Water and Beans
Now, let’s get to the actual brewing. Here’s the order that works best:
- Lift the water reservoir lid and pour in fresh, cold water. Use the markings on the side to measure—usually 5 oz per cup, not the 8 oz mug you drink. A 12-cup machine actually makes about 60 oz of coffee.
- Open the bean hopper lid and add whole beans. Don’t overfill—stick to the amount you need for one pot. Beans go stale quickly, so grinding only what you’ll use is better.
- Place a paper filter in the basket. Some machines have a permanent filter, but if yours uses paper, don’t skip it. It keeps the grounds out of your cup and makes cleanup easier.
Pro tip: use filtered or bottled water if your tap water tastes off. The coffee is 98% water, so it matters.
Step 3: Set the Grind Size and Brew
Here’s where most people mess up. The grind size controls how fast water flows through the coffee. Too fine, and the water stalls, over-extracting and turning bitter. Too coarse, and the water rushes through, leaving a weak, sour cup.
For a standard drip coffee maker, you want a medium grind—like table salt or beach sand. Not powdery, not chunky.
On the BLACK+DECKER, there’s a dial on the top that lets you choose from coarse to fine. Start in the middle and adjust based on taste. If your coffee tastes bitter, go coarser. If it’s weak and sour, go finer.
Some machines also have a strength selector (regular vs. bold). The bold setting uses more coffee per brew, not a different grind. Use it if you like a stronger cup, but be aware that it uses more beans.
Once you’ve set the grind size, press the brew button. The machine will grind the beans directly into the filter, then start dripping hot water over them. The whole cycle takes about 10 minutes for a full pot.
Step 4: Wait, Then Serve
Let the machine finish its cycle. Don’t grab a cup mid-brew—the first few minutes are the strongest, and you want the full extraction.
When the pot is full, give it a quick stir with a spoon. The coffee at the bottom of the carafe is often stronger than the top, so stirring evens it out.
Serve and enjoy. If you’re not drinking it all at once, transfer the leftover coffee to a thermal carafe or an insulated mug. Leaving it on the warming plate for more than 30 minutes makes it taste burnt.
Step 5: Clean Up Right After
This is the step everyone skips, and it’s the one that matters most for your machine’s lifespan. After each brew:
- Remove the filter basket and toss the paper filter with the grounds.
- Rinse the basket under warm water. Don’t use soap unless you rinse thoroughly—soap residue ruins the next pot.
- Wipe the bean hopper with a dry cloth. Oil from beans can build up and turn rancid.
Once a month, run a deep clean. Fill the reservoir with a solution of equal parts water and white vinegar, run a full brew cycle, then run two more cycles with plain water. This removes mineral scale and coffee oils that affect flavor. For more details, check out this vinegar cleaning guide.
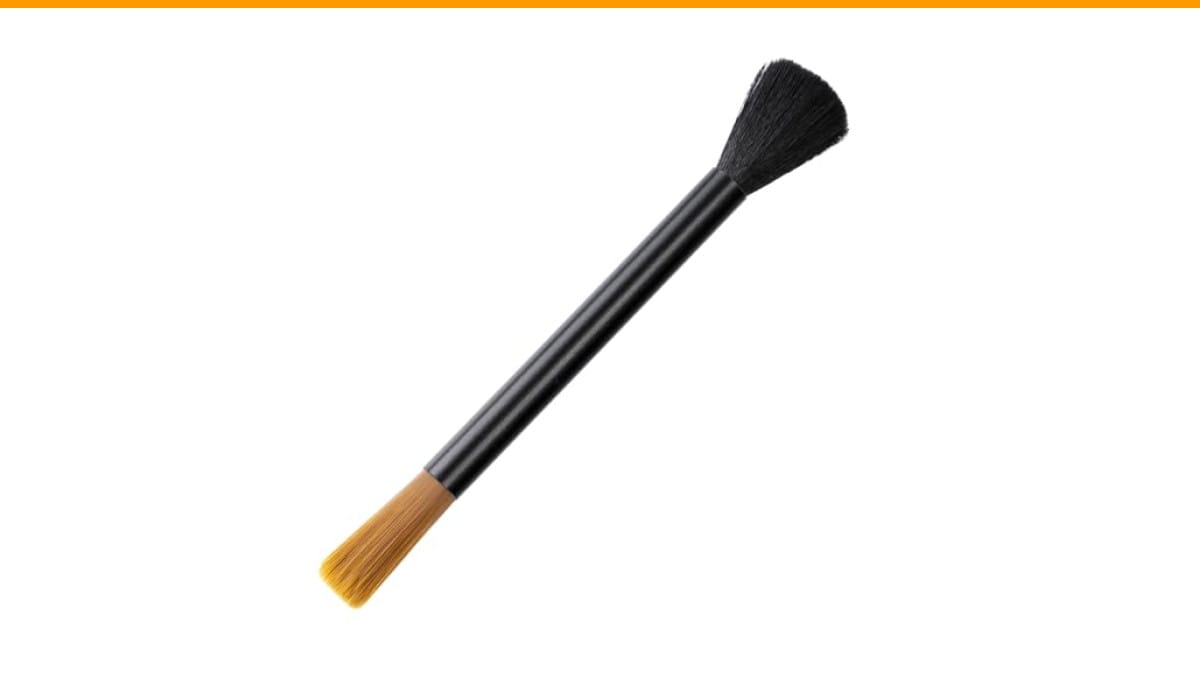
If you notice your grinder getting slow or noisy, it might need a deeper clean. You can find specific steps in this grinder cleaning tutorial.
Grind Size vs. Brew Time: A Quick Reference
Different machines and roasts call for different grinds. Here’s a table I’ve put together from my own testing, comparing grind size to what you should expect:
| Grind Setting | Texture | Best For | Brew Time | Flavor Profile |
|---|---|---|---|---|
| Coarse | Chunky, like breadcrumbs | French press, cold brew | 4-6 minutes | Mild, low acidity |
| Medium-Coarse | Rough, like sea salt | Chemex, pour-over | 4-5 minutes | Balanced, clean |
| Medium | Smooth, like table salt | Drip coffee makers | 5-6 minutes | Full, round |
| Medium-Fine | Finer than sand | Cone drippers, some drip machines | 3-4 minutes | Strong, aromatic |
| Fine | Powdery, like flour | Espresso machines | 20-30 seconds | Intense, thick |
For a standard drip maker, stick to medium. If your machine has a burr grinder, you’ll have more control. Blade grinders (like the one in the BLACK+DECKER) produce a less uniform grind, but it’s fine for everyday coffee.
Common Mistakes and How to Fix Them
After using these machines for years, I’ve seen the same errors over and over. Here’s how to avoid them:
- Using stale beans. Whole beans lose flavor within two weeks of roasting. Buy small batches and use them within that window.
- Wrong water ratio. Too much water makes weak coffee. Use the markings on the reservoir, but know they’re often off. Aim for 1 to 2 tablespoons of ground coffee per 6 oz of water.
- Skipping the cleaning. A dirty machine brews bitter, oily coffee. Clean the grinder and basket regularly. If you notice a clogged flow, check out this clogged coffee maker guide.
- Grinding too far in advance. Grind right before brewing. Pre-ground coffee loses flavor within minutes.
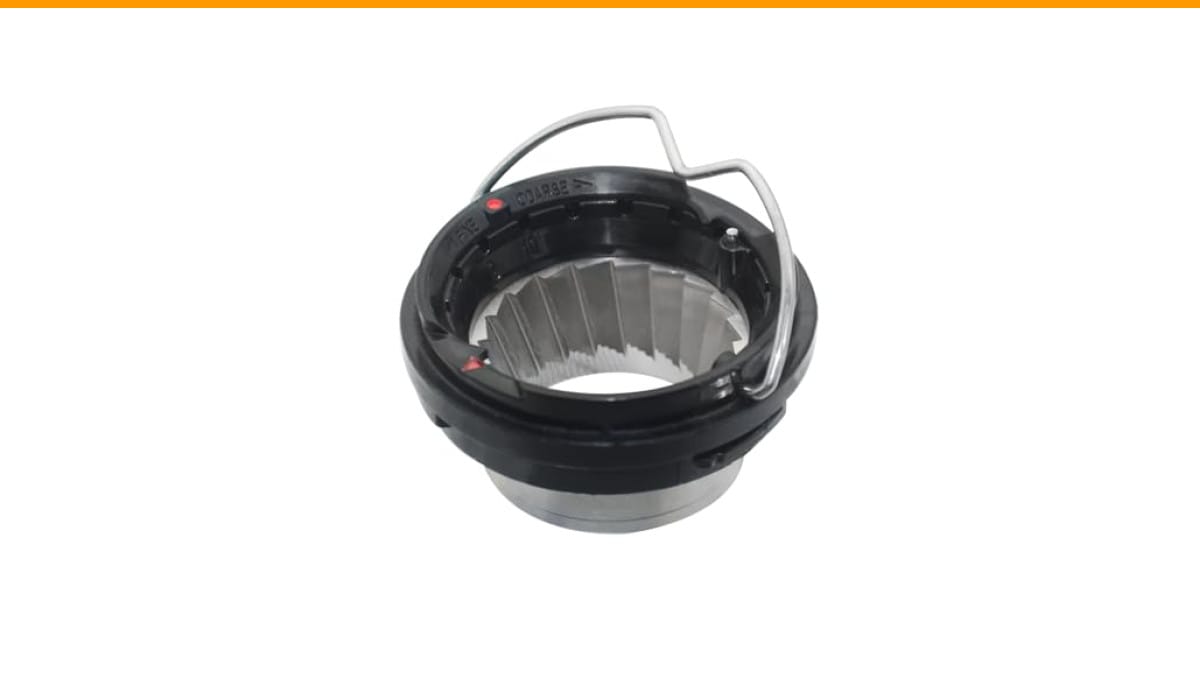
One more thing: don’t ignore the grinder’s burrs or blades. They wear out over time. If your coffee starts tasting metallic or the grind looks uneven, you may need to replace the grinder parts. Most machines have replaceable burrs, but it’s often easier to just buy a new machine if it’s old.
Frequently Asked Questions
Can I use pre-ground coffee in a coffee maker with a grinder?
Yes, but only if your machine has a bypass or a separate compartment for pre-ground coffee. If it doesn’t, you’ll have to add the grounds directly to the filter basket, but then the grinder will still run and grind beans into the same basket, mixing them. Check your manual. On the BLACK+DECKER, there’s a setting to use pre-ground coffee, but you must add it to the filter and skip the hopper.
How fine should I grind for a drip coffee maker?
Use a medium grind, like table salt. If your coffee tastes bitter, go coarser. If it’s sour or weak, go finer. Adjust in small increments until you find the sweet spot for your taste.
Why is my coffee maker with grinder not brewing?
There are a few common culprits. The water reservoir might be empty, the filter basket might be misaligned, or the grinder might be jammed with beans. Check the manual for error codes. If the machine makes noise but no water flows, it could be a clog. For a step-by-step fix, see this brewing troubleshooting guide.
How often should I clean the grinder in my coffee maker?
Clean the grinder chamber at least once a month, more if you use oily dark roasts. Run a few tablespoons of dry rice through the grinder to absorb oils, then wipe it out. For a deeper clean, follow the vinegar method described above. Regular cleaning prevents stale coffee buildup.
Can I use flavored coffee beans in a grind-and-brew machine?
You can, but be prepared for the flavor to linger. The oils from flavored beans coat the grinder and can affect the next few batches. If you switch back to regular beans, you might taste a hint of the old flavor. Clean the grinder thoroughly after using flavored beans.
What to Take Away From All This
- Always use whole beans in the hopper, and grind right before brewing for the freshest taste.
- Set the grind to medium for drip coffee, then adjust based on how your cup tastes.
- Use the water markings on the reservoir as a guide, but adjust the coffee-to-water ratio to your preference.
- Clean the filter basket and bean hopper after every use to keep flavors clean.
- Run a vinegar cleaning cycle monthly to prevent scale and oil buildup.
- If your machine supports pre-ground coffee, use it only when you’re in a rush; otherwise, whole beans are better.
- Don’t leave coffee on the warming plate for more than 30 minutes—it ruins the taste.
Now you’re ready to brew. It takes a couple of tries to dial in your perfect cup, but once you do, you’ll wonder why you ever used anything else.
Products related to this article
Sponsored / affiliate links. As an Amazon Associate I earn from qualifying purchases. I may earn additional commission from eligible campaigns.
 HomeBeyond Espresso Coffee Maker 12 Cups, Classic Stovetop Espresso Maker, 600ml / 20oz Coffeemaker for Gas & Ceramic Stovetops (Silver)
 Belly Moka Coffee Maker Stovetop Espresso Maker 9 Cup Aluminum Moka Pot Percolator 15oz 450ml Easy Brewing for Electric Ceramic Stoves Home Camping Italian Cuban Café Classic Black
 Belly Moka Coffee Maker Stovetop Espresso Maker 6 Cup Aluminum Moka Pot Percolator 10oz 300ml Easy Brewing for Electric Ceramic Stoves Home Camping Italian Cuban Café Classic Silver