You twist the dial to a finer setting, but the grind looks exactly the same as yesterday. Or worse, the adjustment ring spins freely with no clicks, and you know something inside has shifted. A manual grinder isn’t complicated, but it does need a proper reset now and then — especially if you’ve taken it apart for cleaning or dropped it while camping.
This guide covers the full reset process: returning the adjustment mechanism to zero, realigning the burrs, and troubleshooting the two common failure points. You’ll also learn what not to do, because forcing a stuck dial is how most grinders get ruined.

CEVING
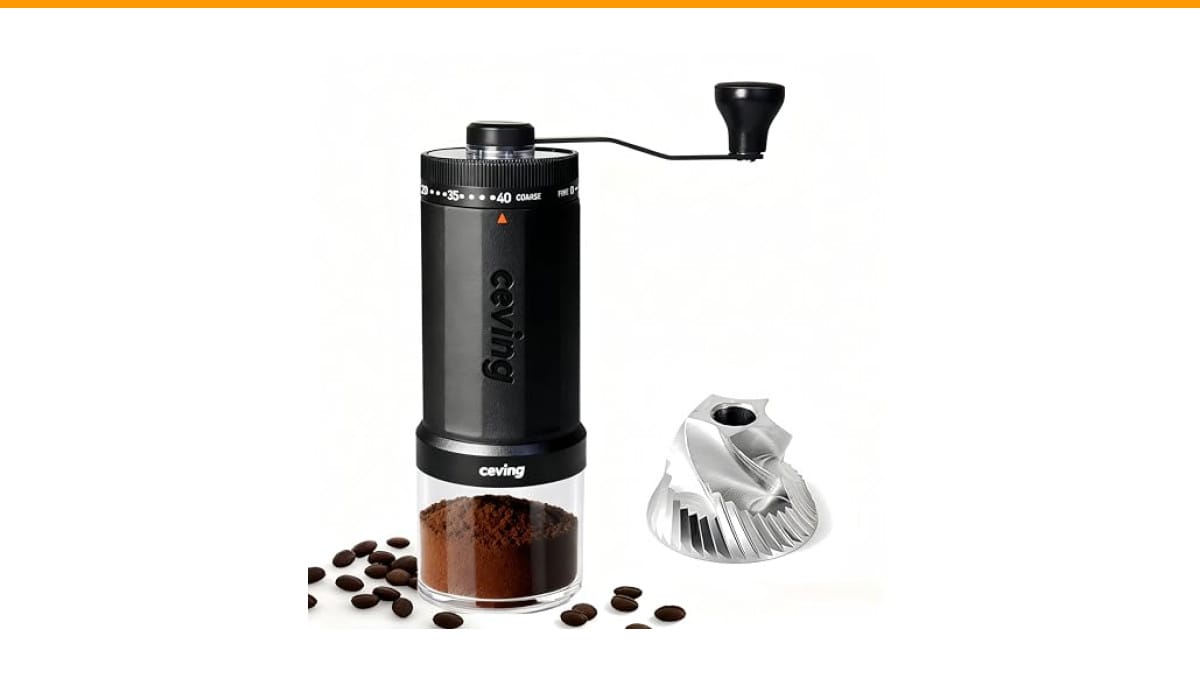
CEVING World's First 60g Large Capacity Manual…
- Tired of small batches? Meet the world's first manual grinder with a massive 60g capacity—Hold twice the beans of the standard gri…
- 40 EXTERNAL SETTINGS - DIAL IN PERFECT BREWS INSTANTLY. Our external click-ring delivers 40 precise settings—effortlessly switch f…
- MASTER-LEVEL PRECISION - LAB-ACCURATE GRINDS, BARISTA-APPROVED FLAVOR. Each click adjusts by just 0.05mm—the finest difference det…
As an Amazon Associate I earn from qualifying purchases.
If you’re shopping for a new grinder and want one that’s less fussy to reset, the Check Price on Amazon uses an external click-ring with 40 settings — no hidden internal adjustments to hunt for when you need to recalibrate.
Why Your Grinder Needs a Reset in the First Place
Most manual grinders don’t have a digital display or a memory chip. The ‘reset’ is purely mechanical — you’re returning the burr carrier or adjustment ring to a known starting point. Over weeks of use, coffee oils and tiny chaff particles build up between the threads. That buildup changes the friction, so the dial starts to feel loose or tight in spots.
Another common cause is disassembly. When you clean the burrs (which you should do regularly — see our coffee grinder cleaning guide), it’s easy to reassemble the parts one notch off. The grinder still works, but the numbers on the dial no longer match the actual gap between the burrs. Your ‘espresso’ setting might actually be grinding for pour-over.
The 5-Minute Reset Procedure (Works for Most Hand Grinders)
Here’s the general reset method. It works for popular models like the 1Zpresso JX series, Timemore Chestnut, and the CEVING 60g. The exact parts differ slightly, but the logic is the same.
- Empty the grinder completely. Remove the handle and the catch cup. Turn the grinder upside down over a trash bin to shake out any retained grounds.
- Loosen the adjustment ring. Turn the dial clockwise (toward the coarser numbers) until it stops. Don’t force it — just turn until you feel firm resistance. This is your ‘zero’ position, the point where the burrs are closest.
- Back off slightly. Turn the dial counter-clockwise by 2-3 clicks. This prevents the burrs from locking together when you reassemble. If you skip this step, you might chip a burr edge.
- Reinstall the handle and shaft. Make sure the drive shaft engages the inner burr completely. You should feel a slight drop or click when it seats.
- Turn the dial to your desired setting. Count the clicks from the zero point. For example, 8-10 clicks from zero is a good medium pour-over range; 20+ clicks is usually French press territory.
That’s the core reset. It takes less time than boiling water for your pour-over.
The Two Misconceptions That Cost People Money
Misconception #1: ‘A Hard Stop Means the Grinder Is Broken’
People panic when the dial won’t turn past a certain point. That hard stop is by design. It’s the zero point — the burrs are touching. If you keep forcing it, you’ll deform the burr teeth or strip the plastic threading on cheaper models. The correct response is to back off a click or two, not to apply more torque.
Misconception #2: ‘You Need to Take the Grinder Fully Apart to Reset It’
Full disassembly is only necessary for deep cleaning or replacing parts. For a simple reset, you only need to loosen the dial to the zero point and set it again. Taking the whole grinder apart every time you change grind size introduces more variables — misaligned burrs, lost shims, cross-threaded parts. If you do take it apart, take a photo of the parts layout before you remove anything. Your future self will appreciate it.
If your grinder is having problems beyond just needing a reset, check out our guide on fixing a grinder that won’t turn — it covers jammed burrs and shaft alignment issues.
When You Actually Need to Realign the Burrs (Not Just Reset the Dial)
A dial reset won’t fix a wobbly burr. If you notice your grind size is inconsistent — some boulders, some powder — even on a stable setting, you likely have a burr alignment problem. Here’s how to check:
- Remove the outer burr carrier according to your manual.
- Look at the seating surface. Is there coffee residue or a burr mark on one side only?
- Reinstall the outer burr, rotating it 90 degrees from its original position.
- Run the reset procedure from the start.
Rotating the burr carrier often solves minor alignment issues because it changes which high spots contact each other. If the grind is still uneven after rotating, the burr is likely worn out and needs replacement.
For comparison, here’s how different reset scenarios play out:
| Symptom | Likely Cause | Reset Action | Time Needed |
|---|---|---|---|
| Dial spins freely, no clicks | Threads stripped or knob loose | Tighten the center screw; if stripped, replace part | 2 minutes |
| Grind size changes mid-brew | Burr carrier slipping from vibration | Reset to zero, then tighten adjustment ring firmly | 3 minutes |
| Grind is uneven after cleaning | Burr reassembled one notch off | Full reset; rotate outer burr 90° | 5 minutes |
| Dial is hard to turn | Old coffee oil buildup | Clean threads with brush; do not oil | 10 minutes |
Why External Adjustment Grinders Are Easier to Reset
If you’re resetting a grinder with an internal adjustment mechanism — where you have to remove the handle and a locking ring to change settings — you already know the pain. It’s fiddly, and it’s easy to lose the tiny shims. External adjustment grinders, like the CEVING 60g, put the click-ring on the outside of the body. You can reset to zero and dial back to your preferred setting without taking anything apart.
That external ring also gives you a fixed reference point. The 40 settings on the CEVING model mean each click adjusts by 0.05mm. In practice, that means you can return to a previous grind setting with confidence — no guessing whether you’re ‘close enough’ to last week’s pour-over grind. It’s a small thing until you’ve wasted a batch of beans on a grind that’s too fine.
Preventive Habits That Reduce How Often You Need to Reset
- Run the grinder dry for 3 seconds before adding beans. This clears leftover grounds from the previous session and keeps the threads clean.
- Store the grinder with the dial at a coarse setting. Leaving it at ‘zero’ keeps pressure on the burrs and can cause slight deformation over months.
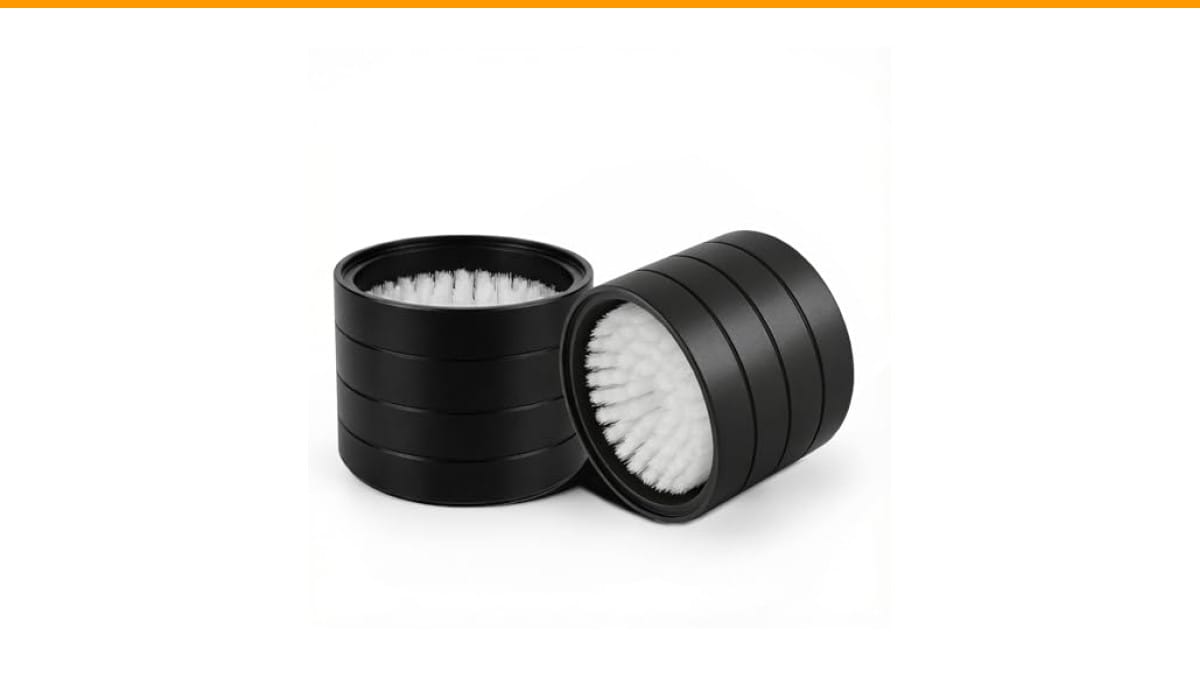
- Brush the threads weekly. A quick pass with a stiff brush removes the oily dust that makes the dial stick. Don’t use water or solvents on the adjustment threads — they’ll wash away the factory lubrication.
- Don’t over-tighten the handle. The handle screw should be snug, not torqued. Over-tightening pulls the shaft slightly, which changes the burr gap.
Regular cleaning prevents most reset issues. If you’re due for a deep clean, our step-by-step cleaning guide covers the disassembly process safely.
Frequently Asked Questions
What does ‘zero point’ mean on a manual grinder?
Zero point is the setting where the inner and outer burrs just touch each other. You find it by turning the dial clockwise until it stops with firm resistance. It’s your calibration reference — every other setting is measured in clicks from this point.
How do I know if my grinder is misaligned?
Grind a small batch and spread the grounds on a white paper towel. If you see a clear mix of large chunks and fine dust, the burrs aren’t cutting evenly. A properly aligned grinder produces mostly uniform particles with only a small percentage of fines.
Can I use water to clean the adjustment threads?
No. Water will wash away the grease that keeps the threads smooth, and it can cause rust on steel parts. Use a dry brush or a small amount of food-safe silicone grease if the threads feel dry.
How often should I reset my grinder?
Only when you notice an issue — a loose dial, inconsistent grind, or after a full disassembly. There’s no benefit to resetting a grinder that’s working correctly. In normal use, every 2-3 months is typical.
Why does my grinder click but not change grind size?
That means the dial is turning but the burr carrier isn’t moving with it. Usually the carrier has come loose from the dial mechanism. Reset it by turning to zero, then re-engaging the carrier by pressing down firmly while turning the dial one click.
What to Remember Next Time You Reset
- Always reset to zero before making any adjustment — it prevents burr damage.
- If the dial fights you, stop. Clean the threads first, then try again.
- Count clicks from zero every time. Write down your favorite settings for espresso, pour-over, and French press.
- Rotate the outer burr 90° if you suspect misalignment after cleaning.
- External adjustment grinders are significantly easier to reset than internal ones — worth considering for your next purchase.
- Don’t oil the threads. Dry brushing is enough.
- A grinder that resets cleanly is a grinder that brews consistently.
Products related to this article
Sponsored / affiliate links. As an Amazon Associate I earn from qualifying purchases. I may earn additional commission from eligible campaigns.
 Coffee Espresso Machine Handle Replacement Parts, Cafe Bracket Handle for Lidl Silvercrest CM4621 CM4218 KF5002 KF500S Barista (for 51mm Portafilter Basket - Not included)
 Luxylei Coffee Mug Warmer for Desk, Cup Warmer Temperature Settings, Electric Beverage Tea Water Milk Warmer for All Cups Mugs
 MIBOTE Silicone Cooking Kitchen Utensils Set, Wooden Handle, Coffee