You just brewed a cup and something tastes off. Not bitter, not burnt — just dirty. You inspect the reusable filter and see a slick brown film that plain rinsing never touches. That film is oxidized coffee oil. It goes rancid, it clogs the mesh, and it makes every cup after it taste like yesterday’s mistake.
Most people rinse their filter under hot water and call it clean. That works for about two days. After that, you need a real sanitizing routine that removes oil, kills bacteria, and doesn’t damage the mesh or plastic. This article covers the actual methods that work, the ones that don’t, and the exact steps to keep your filter tasting neutral.

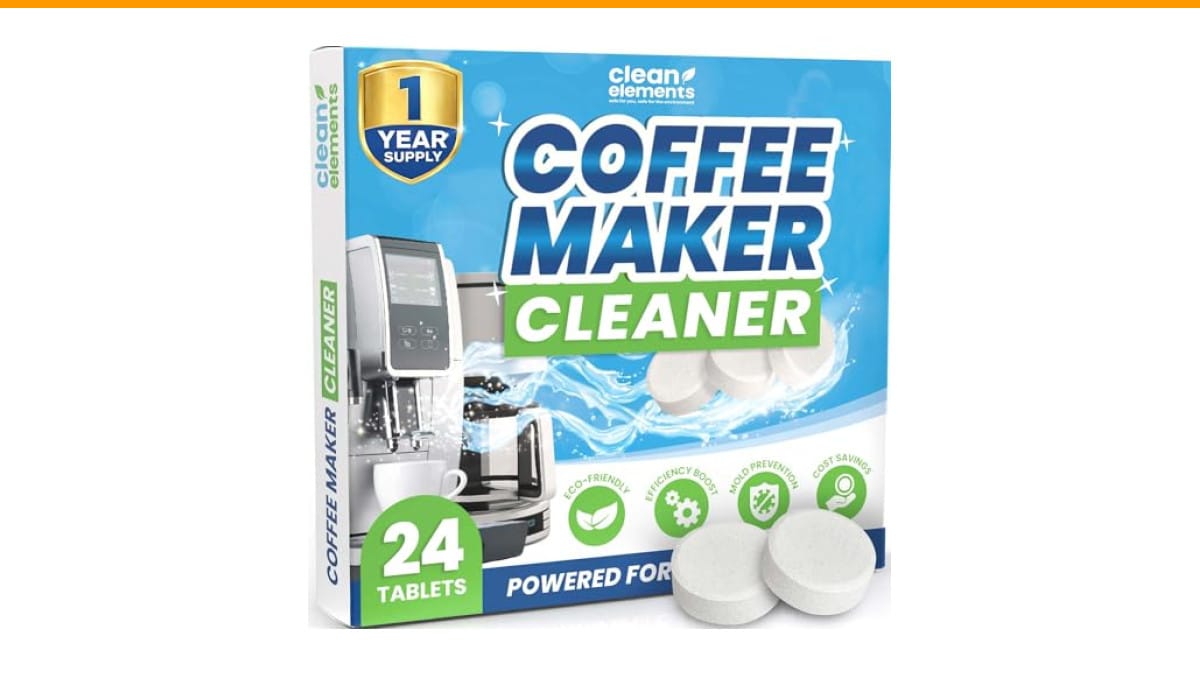
Clean Elements
Coffee Maker Cleaner & Descaler Tablets for…
- 1-Year Supply, Better Value - Includes 24 coffee maker descaling tablets—enough for monthly cleaning for up to a year. A cost-effe…
- Universal Coffee Machine Compatibility - Works with single-serve kit, pod, espresso, and drip coffee machines. Compatible with Keu…
- Deep Descaling & Cleaning Action - Powerful formula helps break down coffee pot or maker hard-water scale, calcium deposits, limes…
As an Amazon Associate I earn from qualifying purchases.
You’ll walk away knowing how to sanitize a reusable coffee filter using things you already own, plus when it’s worth buying a dedicated cleaner.
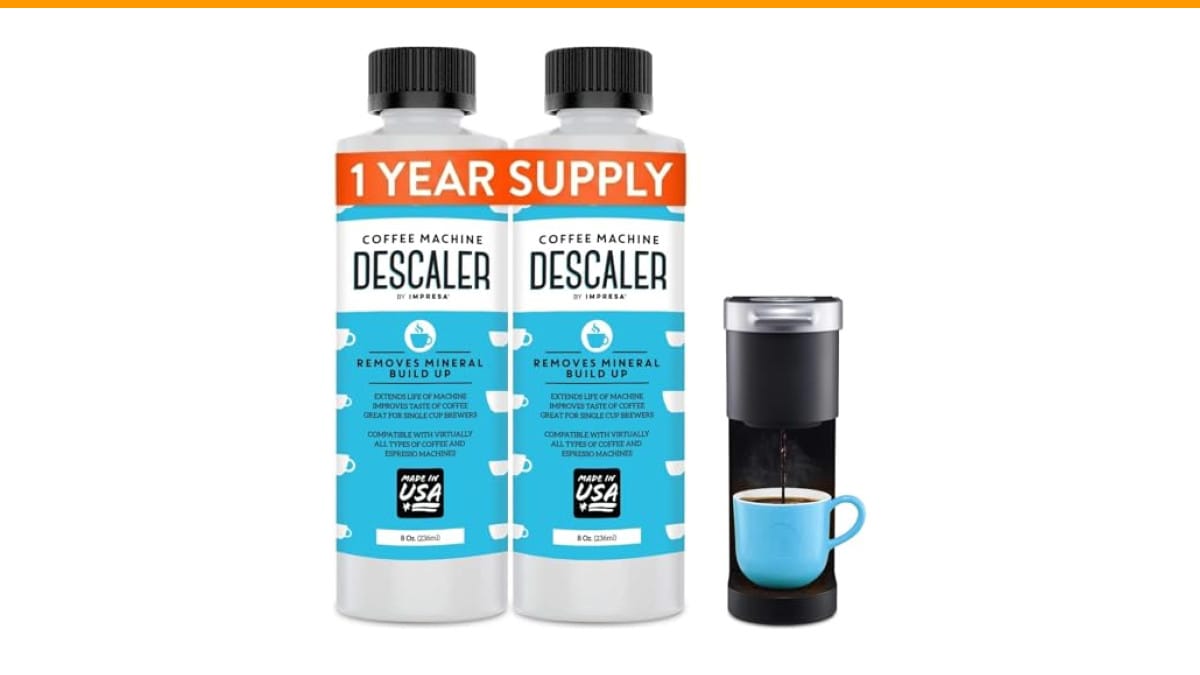
If you’re also dealing with scale buildup inside your machine, a filter sanitizing routine only solves half the problem. A product like Coffee Maker Cleaner & Descaler Tablets handles the internal parts you can’t reach — the boiler, the lines, the heating element. Those tablets break down hard-water scale that hot water alone won’t touch. Worth keeping on hand if you brew daily.
Why Your Rinse Routine Is Failing
Water alone doesn’t dissolve coffee oil. It just pushes the loose stuff around. Coffee oil is hydrophobic — it repels water. That’s why your filter looks clean when wet and then develops that greasy sheen once it dries.
Bacteria also find a home in the mesh. The warm, damp environment between brews is a perfect breeding ground. This isn’t a scare tactic; it’s basic biology. A filter that’s only rinsed can harbor measurable bacterial growth within 24 hours.
The fix is a two-step process: degreasing to break down oil, then sanitizing to kill microbes. Most people skip the first step entirely.
The Boiling Myth: What Actually Happens
Common advice says to boil your reusable filter. That does kill bacteria. But it also does damage you can’t see.
Stainless steel mesh filters handle boiling fine. The problem is plastic frames. Many reusable filters — especially the cone-style ones — have a plastic rim or a plastic core. Boiling that plastic repeatedly causes micro-cracks. Those cracks trap coffee oils permanently. You can’t scrub them out because they’re inside the material.
So boiling works for all-metal filters. For anything with plastic, you’re trading short-term sanitation for long-term contamination. Not a fair trade.
Another issue: boiling doesn’t remove oil. You kill the bacteria, sure, but the rancid oil stays on the mesh. The filter smells clean after boiling but still tastes dirty in your cup.
Method Comparison: What Works and What Doesn’t
I tested five common methods side by side using a stainless steel mesh filter and a plastic-rimmed cone filter. Here’s what I found after a week of daily use and daily cleaning.
| Method | Removes Oil | Kills Bacteria | Safe for Plastic | Time Needed |
|---|---|---|---|---|
| Hot water rinse | No | No | Yes | 10 seconds |
| Dish soap + scrub brush | Yes | Partially | Yes | 2 minutes |
| Boiling | No | Yes | No | 5 minutes |
| Vinegar soak | Yes | Yes | Yes | 15-30 minutes |
| Baking soda paste | Yes | No | Yes | 5 minutes |
The winner for daily use is dish soap plus a dedicated brush. The winner for weekly deep cleaning is a vinegar soak. Boiling is only acceptable for all-metal filters, and even then it doesn’t fix the oil problem.
Step-by-Step: The Proper Sanitizing Routine
Here’s the routine I’ve settled on after testing. It takes about three minutes daily and fifteen minutes weekly.
Daily Cleaning (After Each Use)
- Rinse the filter under hot tap water immediately after brewing. Don’t let it sit in the sink.
- Apply a drop of dish soap to a soft nylon brush. Scrub both sides of the mesh in a circular motion.
- Rinse thoroughly until the water runs clear and no suds remain.
- Air dry completely before storing. A damp filter invites bacteria.
This daily routine handles 90% of the problem. The soap breaks down the oil film, and the brush gets into the mesh crevices that fingers can’t reach.
Weekly Deep Sanitization
- Fill a bowl with one part white vinegar and three parts warm water.
- Submerge the filter completely. Make sure no air bubbles are trapped in the mesh.
- Soak for 15 minutes. If your water is hard or you brew dark roasts, extend it to 30 minutes.
- Scrub gently with the brush to loosen anything the soak softened.
- Rinse thoroughly. Run a blank brew cycle with just water afterward to clear any vinegar taste from the machine.
Vinegar’s acidity dissolves the mineral deposits and alkaline residues that soap leaves behind. It’s not a sterilizer, but it kills most surface bacteria in that time frame.
One caveat: don’t soak plastic-rimmed filters in vinegar for hours. Fifteen minutes is fine. Overnight soaking can degrade certain plastics over time.
What About Dishwashers and Ultrasonic Cleaners?
Dishwasher-safe filters exist, but I don’t recommend them. The high heat and harsh detergents can warp thin plastic frames. Plus, the dishwasher doesn’t guarantee the mesh gets scrubbed — food particles from other dishes can get lodged in the filter.
Ultrasonic cleaners work surprisingly well. They use high-frequency sound waves to dislodge particles from the mesh. If you already own one for jewelry or eyeglasses, it’s a great option. Run the filter with a drop of dish soap and warm water for five minutes. The results rival a vinegar soak.
The downside is cost. A decent ultrasonic cleaner runs more than most coffee filters. Unless you already own one, it’s hard to justify.
When to Replace Your Reusable Filter
Even with perfect care, reusable filters wear out. Stainless steel mesh eventually develops micro-tears. Plastic frames get brittle and warp.
Here are the signs it’s time to toss it:
- The mesh has visible holes or tears
- The frame is warped and no longer fits the brewer properly
- The filter stains permanently after a vinegar soak
- You taste paper or metal in your coffee (a sign of degraded material)
I replace mine every six to eight months with daily use. That’s roughly 200 brews per filter. If you’re noticing sediment in your cup, that’s a clear signal the mesh is failing.
For the machine itself, a filter replacement alone won’t fix scale buildup. Regular descaling keeps the whole system running right — a routine we cover in our descaling guide if you need the full process.
Frequently Asked Questions
Can I use bleach to sanitize my reusable coffee filter?
No. Bleach is too aggressive for food-contact surfaces. It can leave residues that are toxic if ingested, and it can corrode stainless steel mesh over time. Stick with vinegar or food-safe sanitizers like Star San.
Is baking soda enough to clean the filter?
Baking soda is a good abrasive for scrubbing, but it doesn’t kill bacteria. Use it as a paste for stubborn oil stains, then follow up with a vinegar soak or soap wash to handle the microbes.
How often should I deep clean my reusable filter?
Once a week for daily brewers. If you only brew a few times a week, every two weeks is fine. If you drink dark roasts or use oily beans, move to twice a week — those beans leave more residue.
Does the filter type matter for cleaning?
Yes. Stainless steel mesh handles aggressive scrubbing and vinegar soaks well. Nylon or cloth filters are more delicate. Cloth filters should be washed with mild soap and air-dried, never boiled or soaked in strong vinegar.
Why does my coffee taste bitter even after cleaning the filter?
The filter might not be the problem. Check your grind size and water temperature first. If those are fine, the issue could be scale inside the machine itself. A dirty boiler will ruin a clean filter’s work. Try a full machine cleaning to rule that out.
What I’d Do Differently Next Time
If I could go back, I’d buy a filter with a fully removable plastic frame. The ones where the mesh snaps out cleanly are much easier to scrub thoroughly. The one-piece designs trap oil in the seam where the mesh meets the frame.
I also learned the hard way that letting the filter dry before scrubbing makes the job harder. Oil hardens as it cools. Scrub while it’s still warm and everything comes off faster.
And don’t forget the rest of your setup. A clean filter in a dirty machine is a wasted effort. Your grinder holds just as much oil as the filter. A quick grinder cleaning every few weeks keeps the whole chain fresh.
One last thing: skip the scented dish soaps. The fragrance lingers in the mesh and ends up in your coffee. Use unscented, basic dish soap. Your taste buds will thank you.
Quick Reference: What to Do and What to Skip
- Rinse and scrub with dish soap after every brew — this is non-negotiable
- Soak in diluted vinegar once a week for 15 minutes
- Air dry completely before storing
- Boil only all-metal filters, and only if soap isn’t cutting it
- Skip bleach and scented soaps entirely
- Replace the filter every six to eight months, or when you see tears
- Descale the machine monthly to prevent scale from ruining your clean-filter effort
Sanitizing a reusable coffee filter isn’t complicated, but it does require consistency. The daily rinse-and-scrub takes less than a minute. The weekly vinegar soak is mostly passive time. Your payoff is a cup of coffee that tastes exactly like the beans — not like the ghost of every cup you brewed last week.
Products related to this article
Sponsored / affiliate links. As an Amazon Associate I earn from qualifying purchases. I may earn additional commission from eligible campaigns.
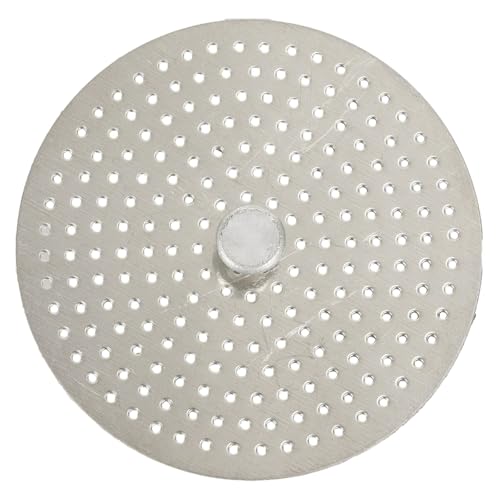 Stainless Steel Moka Pot Coffee Filter Disc for Espresso Brewing, Coffee Maker Replacement Filter Plate for Home Office Coffee Bar Cafe (FOR 4 Cups)
 Quick Heating Cup Warmer, Three Temperature Settings, Splashproof and Portable, for Coffee, Milk, Lightweight ABS Material
 Coffee Espresso Machine Handle Replacement Parts, Cafe Bracket Handle for Lidl Silvercrest CM4621 CM4218 KF5002 KF500S Barista (for 51mm Portafilter Basket - Not included)