You finally dialed in your grinder. The burrs are seasoned, the settings are marked, and your morning espresso tastes like something from a specialty café. Then life happens—a new job, a kitchen remodel, a three-month trip—and the grinder gets shoved into a cabinet. When you pull it out, the grind size is inconsistent, there’s a faint rancid-oil smell, and the burrs feel rough. That’s what improper storage does.
Storing a burr grinder isn’t just about finding a spot on a shelf. It’s about protecting the burrs from moisture, keeping the internal mechanisms free of stale coffee oils, and making sure you don’t have to re-dial everything when you bring it back out. I’ve tested dozens of grinders over the years, and I’ve ruined a set of burrs by ignoring my own advice. This guide covers exactly how to store a coffee burr grinder—short-term, long-term, and everything in between.

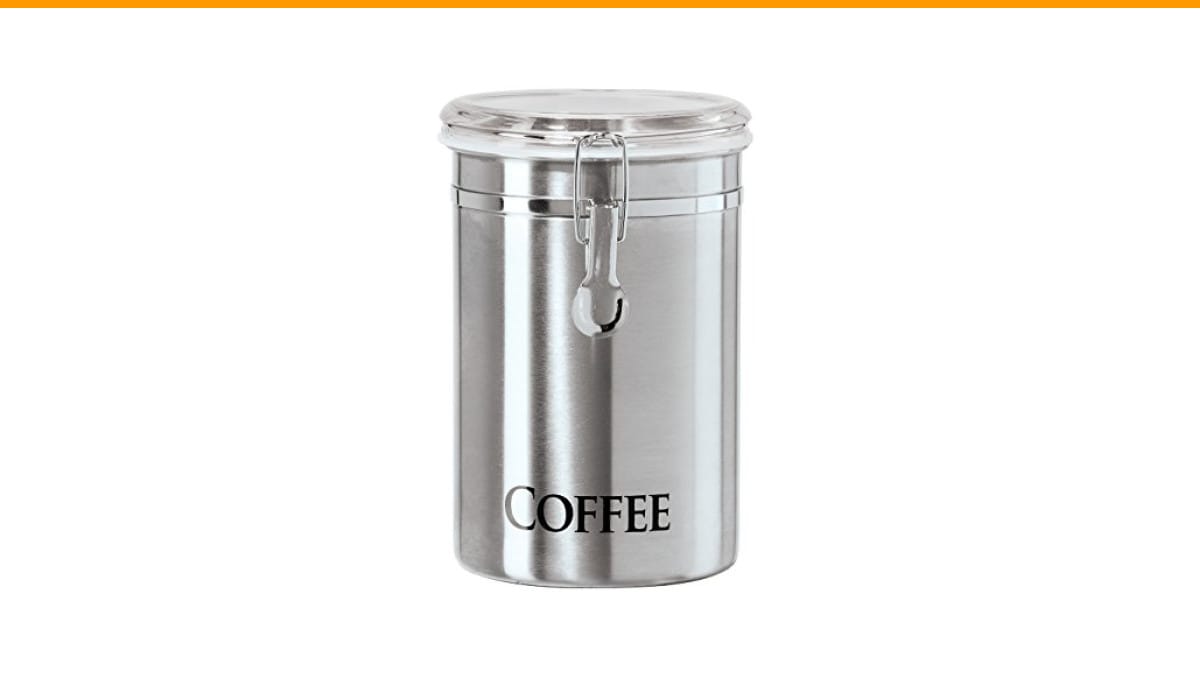
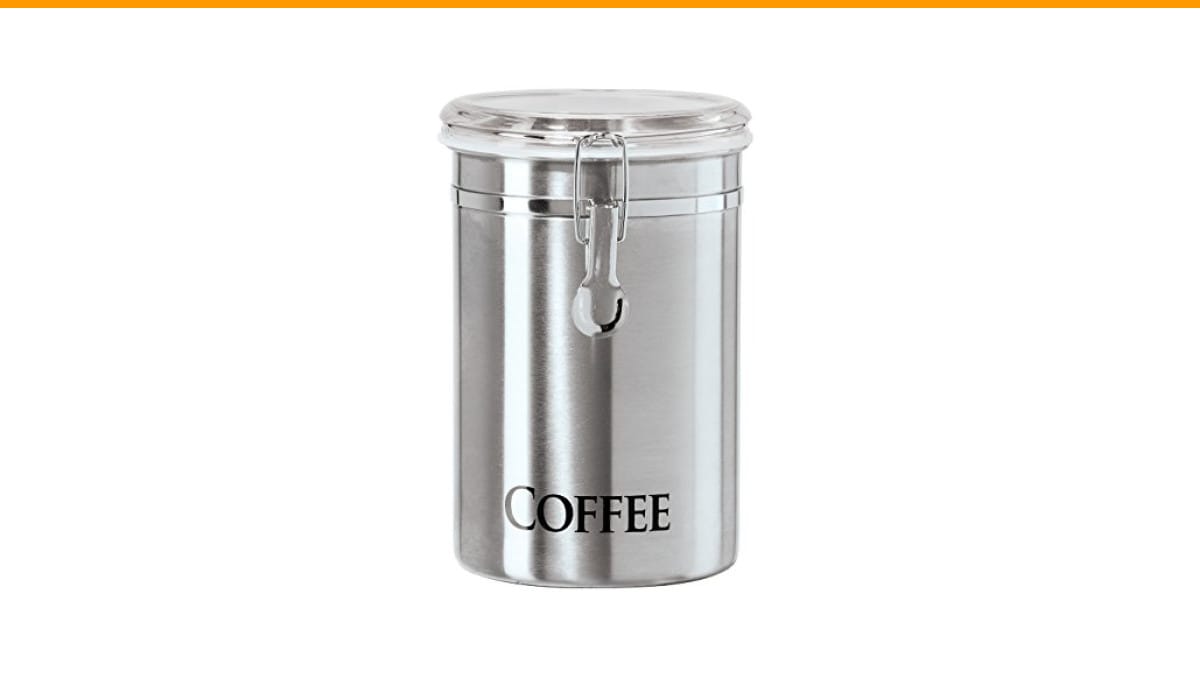
Oggi
Oggi Stainless Steel Coffee Canister 62 fl…
- DURABLE & CONTEMPORARY: These stylish, large 62 fluid ounces, airtight coffee beans or grounds storage containers made from durabl…
- AIRTIGHT & SEE-THRU LIDS: Clear lids enable you to see the coffee beans or grounds which are kept fresh and dry due to the silicon…
- SLEEK ON YOUR COUNTER: These stylish coffee canisters are great looking and will enhance your countertops. Place them with your co…
As an Amazon Associate I earn from qualifying purchases.
You’ll walk away knowing the precise steps to prep your grinder for storage, the mistakes that cost you money, and the simple routine that keeps your grinder ready to go at a moment’s notice.
Before you tuck your grinder away, think about where you’ll put the beans. A grinder is only as good as the coffee you feed it. The Oggi Stainless Steel Coffee Canister is a solid companion for this—it’s an airtight container with a clamp lid and a clear top, so you can see your beans without opening it. It holds 62 ounces, which is plenty for a week or two of daily brewing. I keep one next to my grinder, and it’s helped me avoid the stale-bean problem that creeps up when you store beans in a bag with a rolled-down top.
Why Storage Matters for a Burr Grinder
Burr grinders are precision tools. The two burrs—usually conical or flat—create a consistent particle size by crushing beans between two surfaces. That precision depends on the burrs staying sharp and aligned. Moisture is the enemy. Humidity can cause rust on the burrs, especially if they’re made of carbon steel. Even stainless steel burrs can corrode if you store a grinder with damp grounds inside.
Another issue is stale coffee oil. When you grind coffee, the oils coat the inside of the grinder. Over time, those oils oxidize and turn rancid. If you store the grinder without cleaning, the next batch of beans will pick up that off-flavor. It’s subtle at first, but after a month of storage, it’s unmistakable.
Finally, there’s the alignment. Burr grinders have a rotating assembly that sits on a shaft. If you store the grinder upside down or jostle it around, the burrs can shift slightly. That changes your grind size, and you’ll have to recalibrate. Not a huge deal, but annoying if you had it dialed in perfectly.
The good news: proper storage takes about 15 minutes of prep and costs nothing. Here’s how.
Step-by-Step: How to Store a Coffee Burr Grinder
Follow these steps before you put your grinder away, whether it’s for a weekend or a year.
- Empty the hopper and grind out the rest. Remove all beans from the hopper. Then run the grinder until it stops producing grounds. This clears the burrs and the chute. If you have a grinder with a bellows or a cleaning cycle, use it.
- Remove the burrs if you can. Most grinders let you take out the upper burr for cleaning. Consult your manual. For conical burrs, the upper burr usually twists off. For flat burrs, there’s often a screw holding the carrier. Removing the burrs lets you clean them properly and inspect for damage.
- Brush off loose grounds. Use a stiff brush (a dedicated coffee grinder brush or a clean paintbrush) to sweep off any grounds stuck to the burrs, the chamber, and the exit chute. Don’t use water yet—dry brushing gets the bulk of it.
- Wipe down the interior with a dry microfiber cloth. This picks up the fine dust that brushing misses. Pay attention to the threads where the upper burr screws on. Grounds love to hide there.
- For deep cleaning, use grinder tablets. If you’re storing the grinder for more than a month, run a batch of cleaning tablets (like Urnex Grindz) through it. These are food-safe, abrasive tablets that absorb oils and push out residue. Grind them just like coffee, then discard the grounds. It’s the single best thing you can do for long-term storage.
- Let everything air dry completely. If you used any damp cloth or cleaning tablets, leave the grinder disassembled for a few hours. Moisture trapped in the burr chamber is the fastest way to rust.
- Reassemble the grinder. Put the burrs back in, making sure they’re seated properly. If your grinder has a calibration ring, set it back to a middle setting—not too fine, not too coarse. This reduces tension on the spring and keeps the burrs from touching.
- Wrap the grinder in a plastic bag or cloth. This keeps dust and pests out. A large ziplock bag or a cotton tote works fine. If you live in a humid climate, add a small silica gel packet inside the bag to absorb moisture.
- Store it upright, in a dry place. Keep the grinder on its base, not on its side. Avoid basements, garages, or any area with temperature swings. A closet or pantry shelf is ideal.
That’s it. The whole process takes less than 20 minutes if you’re thorough.
Short-Term vs. Long-Term Storage: What’s Different?
Short-term storage means a few days to a couple of weeks. You’re not putting the grinder away—you’re just pausing your coffee routine. In that case, you don’t need to remove the burrs or run cleaning tablets. Just empty the hopper, grind out the remaining beans, and brush out the chamber. Leave the grinder on your counter with the hopper empty. The burrs will be fine for a couple of weeks.
Long-term storage—more than a month—requires the full treatment. That means cleaning tablets, a thorough dry, and a sealed bag. You also want to consider the environment. If you’re storing the grinder in a shed or garage, the temperature changes can cause condensation inside the grinder. That’s a recipe for rust. I’ve seen grinders come back from storage with visible rust spots on the burrs, and it’s not pretty.
One thing I’ve learned the hard way: never store a grinder with beans in the hopper. Even if you think you’ll use it soon, beans go stale, and they can also absorb moisture and expand, which puts pressure on the hopper and the burrs. Empty hopper, always.
Common Storage Mistakes (and How to Avoid Them)
Here are the three mistakes I see most often, and I’ve made all of them at some point.
- Storing it dirty. A grinder with old coffee oils inside will develop a rancid smell that’s nearly impossible to remove without a full disassembly. Even a quick brush-out before storage makes a difference.
- Storing it in a damp area. A basement or a cabinet under the sink might seem fine, but humidity levels fluctuate. Rust can form on burrs in as little as a few weeks if the air is moist. Use a silica gel packet if you have any doubt.
- Not securing the power cord. I’ve seen cords get tangled and pulled, which can damage the motor connection. Wrap the cord loosely around the base or use a twist tie. Don’t yank it tight.
Avoid these, and your grinder will come out of storage tasting exactly like it did when you packed it away.
Storage Comparison: Cabinet vs. Counter vs. Sealed Container
Where you store your grinder matters. Here’s a quick comparison of the three most common options.
| Storage Location | Pros | Cons | Best For |
|---|---|---|---|
| Open counter | Easy access, reminds you to use it, looks nice | Exposed to dust, sunlight, and kitchen grease | Daily use, short-term |
| Closed cabinet | Protected from dust and light, out of sight | Can be humid if near sink, harder to access | Weekly use, short-term |
| Sealed plastic bag or container | Best moisture protection, keeps out pests | Not convenient for daily use, takes extra time to pack | Long-term storage, travel |
I keep my daily grinder on the counter with a cover over the hopper. My backup grinder goes in a sealed bag in a closet. That system has worked for years.
How to Protect the Burrs Specifically
The burrs are the heart of the grinder, and they’re also the most expensive part to replace. To protect them during storage, you need to prevent two things: rust and physical damage.
Rust prevention starts with drying. After you clean the grinder, let it air dry for several hours before sealing it. If you live in a humid area, you can also add a silica gel packet inside the bag. Some people use a light coat of food-grade mineral oil on the burrs, but I don’t recommend it—it can get into the coffee and ruin the taste. Better to keep them dry.
Physical damage happens when burrs knock against each other. That’s why you should set the grind to a coarser setting before storage. When burrs are close together, they can rub during transit, dulling the edges. A coarse setting separates them, so they don’t touch. Also, never stack anything on top of the grinder. The burr carrier is delicate.
What About Traveling with a Burr Grinder?
If you’re taking your grinder on a trip, the same rules apply, but you need to be extra careful with movement. Use a padded case or wrap it in a thick towel. Remove the hopper if it’s detachable—those plastic parts crack easily. And always set the grind to a coarse setting before packing. I’ve traveled with a hand grinder for years, and the only time I had a problem was when I forgot to empty it. The grounds got everywhere.
For electric grinders, pack them in their original box if you still have it. The foam inserts are designed to hold the grinder securely. If not, a sturdy cardboard box with bubble wrap works.
How to Bring Your Grinder Back into Service
When you’re ready to use your grinder again, don’t just plug it in and grind. Take it out of storage, inspect the burrs for rust or damage, and give it a quick brush-out. Run a small amount of beans through it and discard the first batch—this clears out any dust or residue that settled during storage. If you used cleaning tablets before storage, the first grind might have a slightly different flavor, but that fades within a few shots.
Check your grind setting. If you set it to coarse before storage, you’ll need to dial it back in. Start with a medium setting and adjust from there. It takes a few minutes, but it’s better than wasting a bag of beans on a wrong grind size.
Frequently Asked Questions
Can I store my burr grinder with beans in the hopper?
No. Beans go stale, and they can also absorb moisture and expand, which puts pressure on the hopper and the burrs. Always empty the hopper before storing, even overnight.
Do I need to clean the grinder before storing it?
Yes, at least a dry brush-out. If you’re storing for more than a month, use cleaning tablets. Old coffee oils go rancid and will ruin the flavor of your next batch.
Is it okay to store a grinder in a garage or basement?
Not ideal. Temperature swings cause condensation, which leads to rust. A climate-controlled closet or pantry is much better. If you have no choice, seal the grinder in a plastic bag with silica gel.
Should I remove the burrs for storage?
If you can, yes. Removing the burrs lets you clean them thoroughly and prevents them from rubbing against each other. If you can’t remove them, at least set the grind to a coarse setting.
How long can I store a grinder without it going bad?
With proper prep—cleaning, drying, and sealing—a grinder can last years in storage. Without prep, you might see rust or stale flavors within a month.
Final Checklist Before You Store
- Empty the hopper and grind out any remaining beans.
- Remove the burrs and brush off all loose grounds.
- Run cleaning tablets if storing for more than a month.
- Let everything air dry completely—no moisture.
- Set the grind to coarse to separate the burrs.
- Wrap the grinder in a plastic bag or cloth.
- Place a silica gel packet inside for moisture protection.
- Store upright in a dry, climate-controlled area.
Follow this checklist, and your grinder will be ready to go whenever you are. I’ve pulled grinders out of storage after six months, and they tasted as fresh as the day I packed them. It takes an extra 15 minutes, but it saves you from buying new burrs or worse—a new grinder.
Products related to this article
Sponsored / affiliate links. As an Amazon Associate I earn from qualifying purchases. I may earn additional commission from eligible campaigns.
 Stainless Steel Moka Pot Pressed Powder Tool for 2 4 6 9 Cup Espresso Coffee Brewer(6 Cups)
 Linnkyfloa Coffee Espresso Maker Handle Replacement for Stovetop Moka Pot or Percolator, Black Plastic for Spare Part Compatible with Italian(9-12 Cup)
 Stainless Steel Moka Pot Coffee Filter Disc for Espresso Brewing, Coffee Maker Replacement Filter Plate for Home Office Coffee Bar Cafe (FOR 4 Cups)