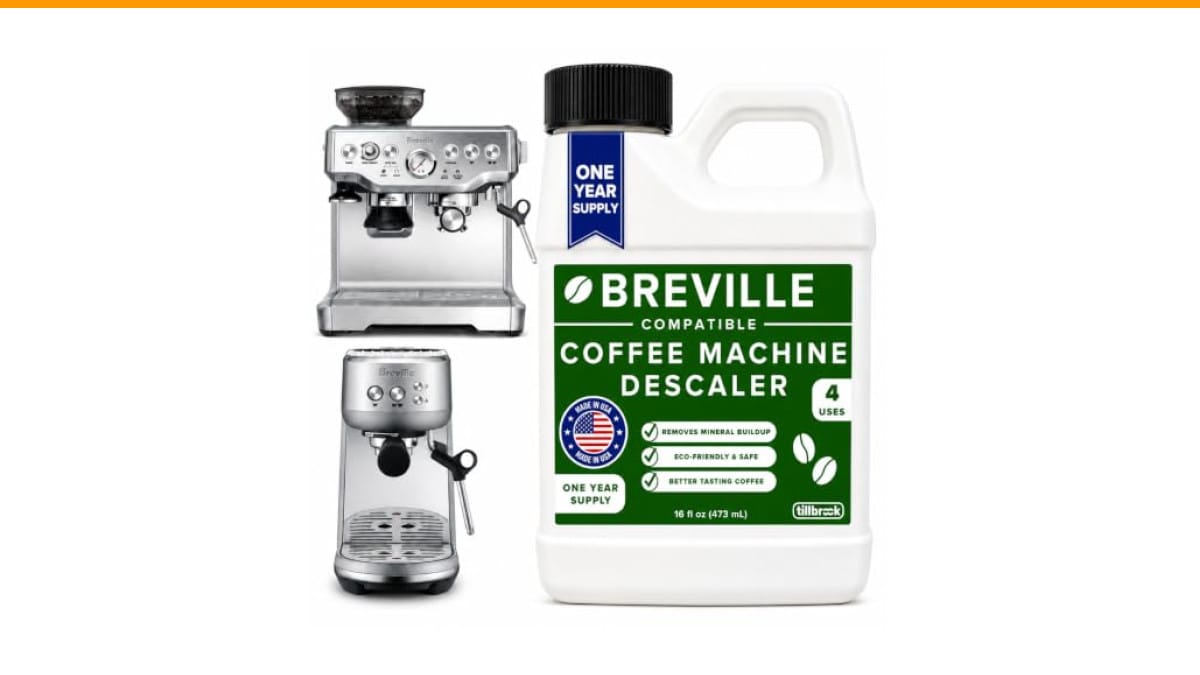
You pull a shot, and instead of a steady stream of espresso, you get a spray from the side of the portafilter. Or you walk into the kitchen in the morning and find a puddle under the machine. A leaking espresso machine is annoying, and it gets worse fast if you ignore it. Water finds electronics, and electronics do not like water.
This guide walks you through a simple diagnostic flowchart. You will learn where to look first, what the most common culprits are, and which repairs you can do yourself with basic tools. You will also learn when a leak means the machine is done for — and when a cheap part saves it. No guesswork, just a clear path from puddle to fix.

Rancilio
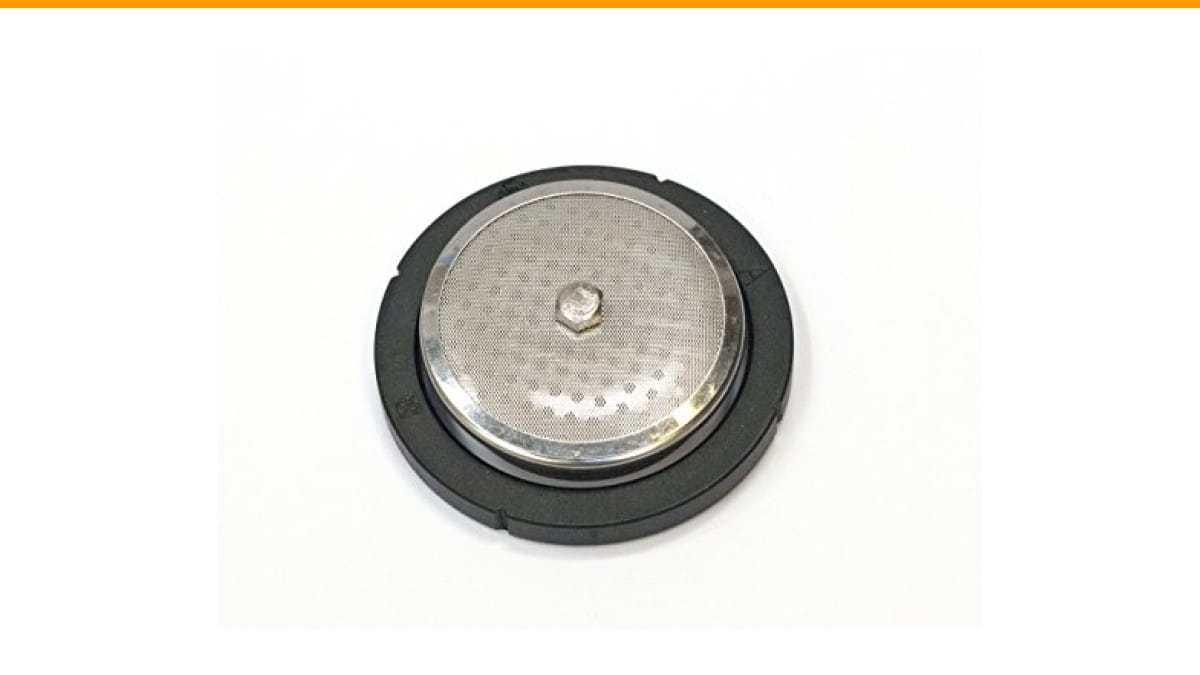
Rancilio Silvia Espresso Machine Repair Kit.
- This OEM repair kit can help you to fix some of the most common Rancilio Silvia problems.
- Water leaking around the portafilter: Usually the grouphead gasket needs to be replaced.
- Flow or no flow of water from grouphead. Your screen is probably clogged and needs to be replaced.
As an Amazon Associate I earn from qualifying purchases.
If you own a Rancilio Silvia, a specific Rancilio Silvia repair kit covers the most frequent failure points: the group head gasket and the screen. That kit handles the two issues that cause most portafilter leaks on that machine.
First, Find the Exact Leak Location (A 30-Second Diagnostic Map)
Do not open the machine yet. Do not buy parts yet. Put a dry paper towel under the machine and run it through a full heating cycle and a shot. Watch where the water appears first. The location tells you almost everything.
Here is the leak location map you need:
- Water dripping from the front, around the portafilter: The group head gasket is worn, or the screen is clogged and forcing water sideways.
- Water pooling under the drip tray: The drip tray is full, or the machine is leaking from an internal hose that runs above it.
- Water on the counter behind the machine: The water tank connection is loose, or the tank itself has a hairline crack.
- Water dripping from the bottom, near the center: The boiler or a pump seal is leaking. This is the serious one.
- Water hissing or spraying from the steam wand: The steam wand O-ring or the valve inside is failing.
Take a photo of the leak with your phone. You will want that detail when you search for parts or talk to a technician.
One more thing to check: is the leak happening while the machine heats up, during the brew cycle, or while it sits idle? A leak that only happens during brewing points to back pressure and a blocked path. A leak that happens when idle points to a failed seal or a cracked hose.
The 5 Most Common Leak Sources (Ranked by Frequency)
Worn Group Head Gasket
This is the number one cause of front-facing leaks. The group head gasket is a rubber seal that sits between the shower screen and the portafilter. It compresses every time you lock in the portafilter. Over time, it hardens, flattens, and stops sealing.
You will notice water seeping around the edges of the portafilter during the shot. The shot itself will also run thin and fast because the water takes the path of least resistance around the coffee puck.
Replacing a group head gasket is a 15-minute job. You need a flathead screwdriver to pop the old one out and a new gasket that matches your machine’s exact model. Rancilio Silvia owners can grab the OEM gasket from the Rancilio Silvia repair kit mentioned earlier.
Loose Internal Hose Fittings
Espresso machines vibrate. The vibration pump shakes the whole chassis, and over years, that loosens the brass or nylon fittings where silicone hoses attach to the pump, boiler, and solenoid valve. A loose fitting weeps water slowly, often down the back of the machine or onto the drip tray area.
This leak is sneaky because it often only shows up when the machine is under pressure. If you see a small puddle after a shot but no obvious source, check the hose clamps and fittings inside the case.
Blocked or Faulty Solenoid Valve
The solenoid valve releases pressure from the group head after you stop the shot. If it gets clogged with coffee oils or scale, it can stick open or fail to seal. A stuck valve causes water to leak from the group head or from the drain hose into the drip tray.
A solenoid issue often comes with a second symptom: the machine makes a loud thumping or clicking sound when you turn it off. That is the valve trying to release pressure and failing.
Cracked Boiler or Water Tank
A cracked boiler is rare, but it happens. It usually follows a freeze or a severe over-pressure event. The leak is constant, even when the machine is off, and it comes from the bottom of the machine.
A cracked water tank is more common. The plastic gets brittle with age, or a hard drop creates a hairline fracture. Water seeps out slowly, often from the bottom seam of the tank. If you find water behind the machine, pull the tank and inspect the seam closely — run a finger along the bottom edge to feel for a crack.
Failed Pump Seals
The vibration pump has internal seals that keep water moving forward. When those seals fail, water backs up and leaks from the pump body. This leak looks like a slow drip from the bottom center of the machine, and it often happens after descaling if the descaling solution was too strong or left in too long.
Pump seals are not user-serviceable on most machines. You replace the whole pump unit, which costs anywhere from $40 to $100 depending on the brand.
Step-by-Step Repair Guide for Each Leak Type
Before you do anything, unplug the machine. Then wait 30 minutes. The boiler is hot and pressurized; opening it immediately is a burn risk. If you plan to open the case, also wait for the boiler to cool completely. Some machines have capacitors that hold a charge, so do not poke around the electronics with metal tools unless you know what you are doing.
Replacing the Group Head Gasket (With Torque Specs)
- Remove the shower screen. It is usually held by a single central screw. Use a proper screwdriver, not a coin.
- Use a flathead screwdriver to pry the old gasket out of its groove. Work around the edge gently to avoid scratching the aluminum.
- Clean the groove with a damp cloth. Any old coffee residue will prevent the new gasket from seating flush.
- Press the new gasket in with your fingers. It should sit flat and even.
- Reinstall the shower screen and tighten the screw to hand-tight plus a quarter turn. Do not crank it down — you will strip the threads.
- Lock in the portafilter. It should require a firm push, roughly 30 to 45 degrees of rotation. If it locks too easily, the gasket is too thin. If it will not lock at all, the gasket is too thick.
Torque matters. The portafilter should feel snug, not like you are wrenching a bolt. Over-tightening the portafilter wears out the new gasket prematurely.
Tightening Fittings Without Over-Torquing
Internal hose fittings are usually brass or nylon. Use a small adjustable wrench, and turn the fitting clockwise only until it stops. Then give it a quarter turn. That is it. If you keep turning, you will crack the fitting or strip the threads.
For hose clamps, the screw should be snug but not crushing the hose. If you see the hose bulging around the clamp, you have over-tightened it.
Cleaning or Replacing the Solenoid Valve
- Locate the solenoid valve. It is a small brass block with an electrical connector and two or three hose barbs.
- Disconnect the hoses and the electrical connector. Note which hose goes where — take a photo first.
- Soak the valve body in a descaling solution for 30 minutes. Use a mix of 50% water and 50% white vinegar if you do not have commercial descaler.
- Rinse the valve thoroughly with clean water.
- Reassemble and test. If the leak persists, the valve’s internal diaphragm is torn, and you need a replacement valve.
Replacing the valve is straightforward, but the part costs between $30 and $80. Compare that to the machine’s value before ordering parts.
When to Stop DIY and Call a Professional (Or Buy a New Machine)
Here is the cost-benefit math you need to run. Add up the cost of the replacement part, the shipping, and the two hours of your time. If that total is more than half the price of a new machine, stop. A $200 repair on a $400 machine is not worth it unless the machine has sentimental value or is a high-end model like a $2,000 dual boiler.
Call a professional if you see any of these:
- Water leaking from the boiler itself. Boiler repairs require welding or full replacement.
- Electrical arcing or a burning smell. That means water already reached the wiring.
- You opened the case and found corrosion on the circuit board. That damage is often fatal.
If the machine is more than five years old and the leak is from the boiler or pump, a new machine is usually the smarter choice. The rest of the machine is likely nearing the end of its life anyway.
Preventative Maintenance: The 3-Month Rule
Most leaks do not happen out of nowhere. They happen because seals dry out, or scale builds up and pushes pressure where it should not go. A simple maintenance schedule prevents most of these failures.
Every three months, do the following:
- Descale the machine. Use a commercial descaler, not just vinegar, if you have hard water. Follow the manufacturer’s concentration exactly. Too much descaler eats the seals.
- Remove and soak the shower screen and group head gasket in a cleaning solution. A deep clean every few months keeps the gasket flexible.
- Check the water hardness. If your water is hard (above 150 ppm), use filtered water. Hard water is the main reason seals fail early.
- Inspect the drip tray and the area under the machine for any dampness. Catch a leak early, and you save the machine.
This schedule takes about 20 minutes per quarter. It is far cheaper than replacing a boiler or a pump.
FAQ: Quick Answers to Urgent Leak Questions
Why is my espresso machine leaking from the bottom after I descale it?
Descaling solution is aggressive. If you left it in too long or used too strong a concentration, it can damage the pump seals or the boiler gasket. The leak usually appears within a day or two after descaling. Check the pump area and the boiler base for moisture. You may need to replace the pump or the boiler gasket.
Can I use my espresso machine if it is leaking?
No. Water and electricity do not mix. A small leak can cause a short circuit, a fire, or an electric shock. Unplug the machine and do not use it until you find and fix the leak.
Why does my portafilter spray water sideways when I pull a shot?
That spray is water escaping around the group head gasket. The gasket is worn or the screen is clogged. When the screen is blocked, pressure builds up and pushes water around the edges of the basket. Replace the gasket and clean the screen first. If the spray continues, your coffee grind is too fine, creating excessive back pressure.
How often should I replace the group head gasket?
Every 6 to 12 months for a home machine used daily. If you notice the portafilter getting easier to lock in, replace the gasket sooner. A gasket that has lost its shape will not seal, no matter how hard you twist the portafilter.
Is it worth repairing a 10-year-old espresso machine with a leak?
Only if the machine is a high-end model and the leak is a simple fix like a gasket or a hose. If the leak is from the boiler, the pump, or the electronics, the repair cost will likely exceed the machine’s value. Run the math before you order parts.
Final Verdict: Why Your Machine is Leaking (And What to Do Now)
You now have a clear path. Find the leak location, match it to the likely cause, and decide whether the fix is worth it. Most leaks are simple gasket or hose issues. A few are fatal.
- Start with the diagnostic map — never skip this step.
- Front leak? Replace the group head gasket first.
- Back leak? Check the water tank and hose fittings.
- Bottom leak? Suspect the pump or boiler.
- Unplug the machine before any repair, and wait for it to cool.
- Run the cost-benefit math before buying parts.
- Descale every three months and check for dampness to prevent future leaks.
If you have a Rancilio Silvia, the repair kit on Amazon covers the two most common leaks. For other machines, search for the specific gasket or hose part number. A $10 part fixes a $500 machine — if you find the leak first.