The first time I made cold brew, I woke up to a jar of brown water that tasted like dirty socks. I had used fine espresso grounds, left it on the counter for 30 hours, and then spent 20 minutes trying to strain sludge through a paper filter. It was a disaster. Most people quit after that first bad batch. They assume cold brew is finicky or that they need expensive gear. Neither is true.
This guide walks through the specific mistakes that ruin cold brew, and more importantly, how to fix them. You will learn the exact ratio, grind size, steep time, and water temperature that produce a clean, sweet concentrate. You will also know what to do when a batch turns out sour, bitter, or cloudy. No vague advice here—just numbers and steps you can use tonight.

QHH
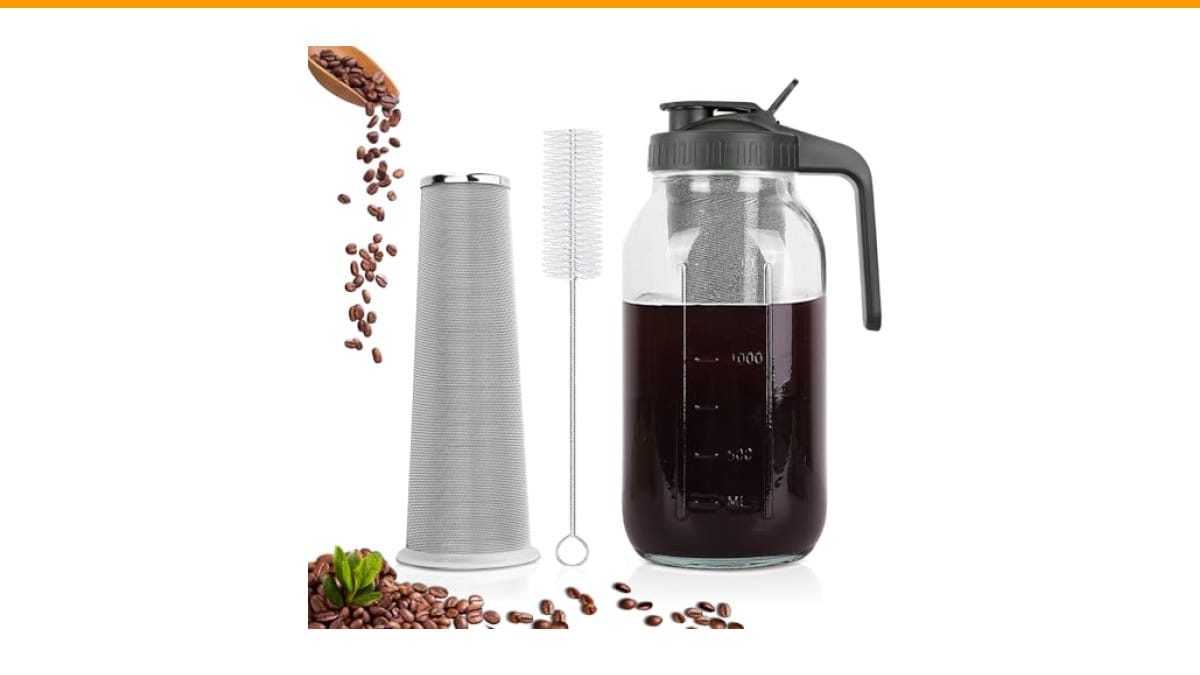
QHH Cold Brew Coffee Maker, 64 oz…
- 【⚠️ Important Usage Warning】: Do not pour boiling water directly into the container; the maximum safe operating temperature is 60°…
- 【What You Will Get】:1 Pcs / 64 oz mason jar pitcher with pour spout lid, 1 stainless stell filter, 1 cleaning brush. Large capacit…
- 【High Quality Material】: The glass pitcher with lid is crafted with heavy duty, food grade soda lime glass and premium plastic lid…
As an Amazon Associate I earn from qualifying purchases.
If you are shopping for gear, a dedicated pitcher helps. The QHH Cold Brew Coffee Maker uses a 64 oz mason jar with a 160-micron stainless steel filter, which removes the need for cheesecloth or paper filters. It is a solid option for batch brewing, and it doubles as a storage container. Just remember it is glass, so do not pour boiling water into it. The max safe temperature is 140°F.
Why Beginners Fail at Cold Brew (And How to Avoid It)
Cold brew fails for three reasons: the grind is too fine, the ratio is off, or the steep time is wrong. Each mistake produces a different bad taste. Fine grounds cause over-extraction and bitterness. Too much water makes weak coffee. Too little time makes sour, hollow coffee. Beginners usually make all three errors at once, then blame the recipe.
The good news is that cold brew is forgiving. It is immersion brewing, which means you control everything by time and particle size. Unlike espresso, there is no pressure to get right. You just need to respect a few physical rules.
Another common failure is not cleaning the gear properly. Old coffee oils go rancid and ruin the next batch. That is a slow, sneaky problem that makes every brew taste slightly off. We will cover that later because it matters more than people think.
The 3 Core Variables: Ratio, Grind, and Time
These three variables are the entire game. Change one and you change the flavor. Change all three randomly and you get mud. Here is how each one works and why it matters.
The Golden Ratio (And How to Adjust It)
Start with a 1:8 ratio of coffee to water by weight. That means 100 grams of coffee to 800 grams of water. This produces a concentrate that you dilute with water or milk before drinking. It is the standard for most home brewers.
If you want a ready-to-drink strength, use 1:15. That is 100 grams of coffee to 1500 grams of water. You can drink it straight, no dilution needed. The concentrate route is better for most people because it takes up less fridge space and lets you control strength per glass.
Weigh your coffee. A kitchen scale costs $15 and removes all guesswork. Volume measurements with scoops are wildly inaccurate because bean density varies. A scale is not optional if you want consistent results.
Grind Size: Why “Coarse” Isn’t Optional
Use a coarse grind, similar to breadcrumbs or kosher salt. Fine grounds extract too quickly and create bitter, over-extracted coffee. They also slip through filters and turn your brew cloudy.
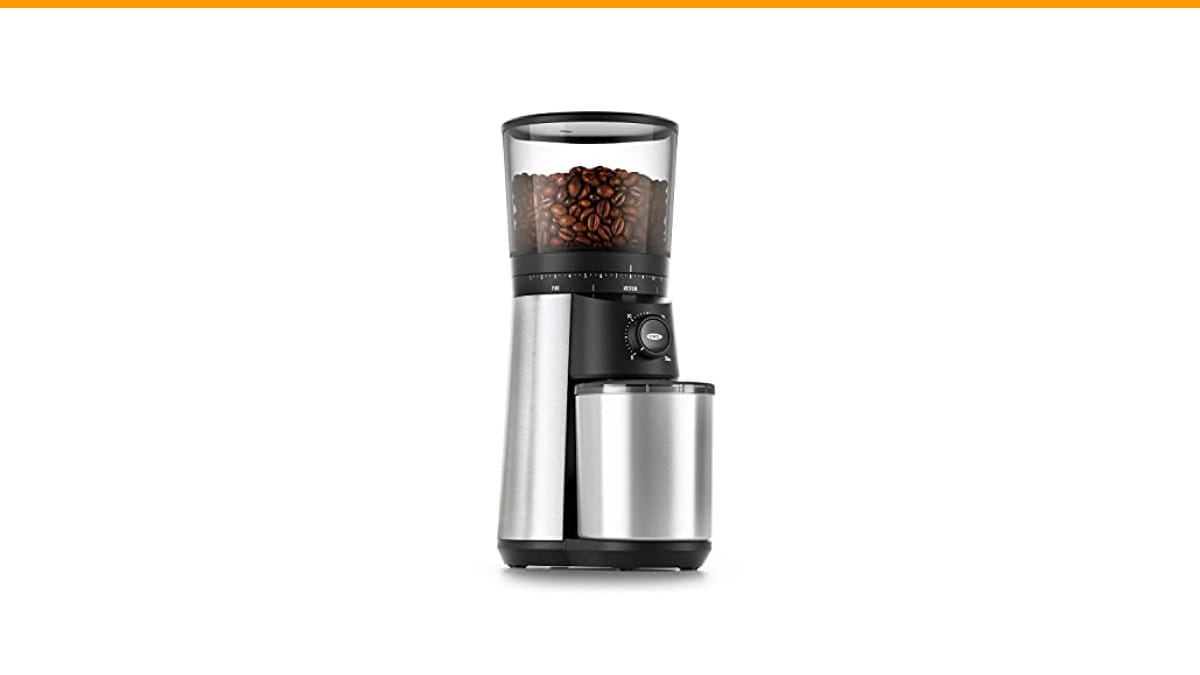
If you buy pre-ground coffee, look for the French press setting. If you grind at home, set your burr grinder to the coarsest setting and adjust from there. Blade grinders are a problem because they produce uneven particles—some powder, some boulders. That leads to a brew that is simultaneously bitter and weak. A cheap burr grinder is worth the upgrade.
The 160-micron filter in the QHH pitcher handles coarse grounds well. It will not catch fine dust, so grind size still matters. Do not assume the filter fixes a bad grind.
Steep Time: The 12-24 Hour Window
Steep for 12 to 24 hours at room temperature or in the fridge. The sweet spot for most people is 18 hours. Less than 12 hours usually gives under-extracted, sour coffee. More than 24 hours can pull bitter, woody flavors from the beans.
Time interacts with grind size. A slightly finer coarse grind extracts faster, so you might be done at 14 hours. A very coarse grind might need 20 hours. Taste at 12 hours, then again at 16, and find your preference. Write it down.
Do not steep for 48 hours because you forgot it. The flavor will turn harsh and astringent. Set a timer on your phone.
The Biggest Mistake: Using the Wrong Water Temperature
Cold brew does not require ice-cold water, and it does not require boiling water. The temperature affects extraction speed and flavor profile significantly. Most beginners either use fridge-cold water (too slow) or accidentally use hot water (too fast).
Room temperature water, around 68-72°F, is the standard. It extracts slowly and smoothly, pulling out sweet and chocolatey compounds while leaving bitter ones behind. Cold water from the fridge, around 40°F, works too but needs a longer steep time, often 20-24 hours.
Do not use water above 140°F. Hot water extracts quickly and produces a bitter, harsh cup that tastes closer to over-brewed hot coffee. It also risks cracking your glass pitcher. The QHH container has a max safe temperature of 140°F, so keep the water cool. If you are unsure, use filtered tap water at room temperature and adjust steep time based on taste.
Troubleshooting Your Batch: Sour, Bitter, or Weak?
Every bad batch falls into one of three categories. Here is how to diagnose and fix each one.
Fixing Sour/Under-Extracted Brew
Sour coffee tastes sharp, acidic, or hollow. It happens when you did not extract enough from the beans. The fix is simple: steep longer. Add 4-6 hours to the steep time. If it is still sour, grind slightly finer next time. A finer grind increases surface area and speeds extraction.
Another cause is water that is too cold. If you brewed in the fridge, move to room temperature next time. That alone can fix the sourness.
Fixing Bitter/Over-Extracted Brew
Bitter coffee tastes harsh, dry, or ashy. It comes from over-extraction. Shorten the steep time to 12-14 hours. Use a coarser grind next batch. Also check your water temperature—anything above 140°F will cause bitterness.
Sometimes bitterness comes from the beans themselves. Dark roasts have more bitter compounds. If you use a dark roast, reduce steep time by a couple of hours. If the batch is already made, you can salvage it by adding a pinch of salt or a splash of milk to mask the harshness, but the next batch needs a process change.
Fixing Cloudy or Sludgy Brew
Cloudy brew has fine particles suspended in it. Sludge at the bottom of the jar is a separate issue. Both come from the same root cause: grind too fine or filter too loose.
For sludge, let the jar sit for 10-15 minutes after steeping before you filter. The coarse grounds will settle, and you can pour off the clearer liquid. Filter twice if needed. The QHH’s stainless filter catches most grounds, but a secondary pass through a paper filter or cheesecloth will remove the last bits.
If the brew is cloudy but tastes fine, do not stress. It is a texture issue, not a flavor issue. Cloudiness does not mean it is bad. It just looks less polished.
The Right Way to Filter (Without Clogging Everything)
Filtering is where many beginners get stuck. They pour the whole brew through a paper filter and watch it clog in 30 seconds. The trick is to filter in stages.
First, use a coarse filter like the stainless steel mesh in the QHH pitcher. This removes the big grounds. Then, if you want a crystal-clear brew, pass the liquid through a paper filter or a clean cloth. The paper filter will not clog because the coarse filter already did the heavy lifting.
Do not squeeze the grounds to get every drop. Squeezing pushes fine sediment and bitter compounds into the brew. Let it drip naturally. You will lose a little liquid, but the flavor will be cleaner.
If you use a French press as your brewing vessel, press the plunger down slowly. Fast pressing stirs up sediment. The same rule applies to any plunger-style filter.
How to Store and Dilute Your Concentrate Properly
Cold brew concentrate lasts 7-10 days in the fridge when stored in an airtight container. The QHH pitcher has a sealed lid with a silicone ring, which keeps out fridge odors and slows oxidation. Do not leave it on the counter overnight—bacteria can grow, and the flavor degrades fast.
Dilution is a personal choice, but a good starting point is a 1:1 ratio of concentrate to water or milk. That means equal parts. If you used a 1:8 brew ratio, a 1:1 dilution gives you a final strength similar to regular drip coffee. If you prefer stronger, use 2 parts concentrate to 1 part water.
Do not dilute the whole batch at once. Keep the concentrate pure and dilute per glass. This gives you flexibility and keeps the concentrate from spoiling faster. Diluted cold brew has a shorter shelf life because the added water introduces more oxygen and potential contaminants.
One thing to watch: perceived strength is not caffeine content. Cold brew concentrate has more caffeine per ounce than drip coffee, but once you dilute it, the caffeine per cup is similar. Do not assume that a strong-tasting batch will keep you up all night. The opposite is true—a weak-tasting batch might still have plenty of caffeine.
Scaling Recipes Up and Down Without Math Errors
Scaling is simple if you keep the ratio constant. Use weight, not volume. If your recipe calls for 100 grams of coffee and 800 grams of water, and you want half a batch, use 50 grams and 400 grams. Double the batch? Use 200 grams and 1600 grams.
The mistake beginners make is scaling the coffee but not the water, or vice versa. Keep both in the same proportion. A kitchen scale makes this trivial. If you do not have one, use a measuring cup for water but still weigh the coffee. Coffee volume is too inconsistent.
For the QHH 64 oz pitcher, a good full batch is 150 grams of coffee to 1200 grams of water. That fills the jar about two-thirds full, leaving room for the filter and grounds. Adjust from there based on how much you drink per week.
When scaling up, do not increase the steep time. The extraction rate stays the same regardless of batch size. Only the total volume changes.
Gear Maintenance: Why Clean Equipment Matters
Cold brew gear gets dirty in a way that hot coffee gear does not. The oils from coffee beans cling to glass and metal, and because you brew at room temperature, those oils can turn rancid. A rancid oil film will ruin your next batch with a stale, cardboard-like flavor.
Clean your pitcher and filter immediately after use. Do not let it sit for days. Coffee oils oxidize quickly. Use hot, soapy water and a bottle brush. The QHH pitcher comes with a cleaning brush, which helps reach the bottom corners. For the stainless steel filter, soak it in a solution of warm water and baking soda or a dedicated coffee cleaner once a week. This breaks down oil residue that soap alone cannot remove.
If your filter starts clogging or slowing down, that is a sign of oil buildup. Give it a deep clean. A clogged filter also affects flavor by trapping old grounds and imparting stale notes. If you notice a dull taste in your brew that you cannot fix by adjusting the recipe, clean your gear first. It is the cheapest fix you will ever make. For more on keeping your equipment in top shape, see our guide on cleaning coffee maker and why regular maintenance matters.
The 5-Minute Beginner Checklist Before You Brew
Before you start, run through this list. It takes five minutes and prevents 90% of common mistakes.
- Weigh your coffee. Use a scale, not a scoop.
- Grind coarse. It should look like breadcrumbs, not sand.
- Use room temperature filtered water. No ice, no boiling water.
- Set a timer for 18 hours. Write it on a sticky note if you have to.
- Clean your pitcher and filter before you start, not after.
If you follow this list, your first batch will be drinkable. Your second batch will be good. By the third, you will know exactly how to adjust for your taste.
Frequently Asked Questions
Why is my cold brew bitter even though I used coarse grounds?
Bitter cold brew usually means you steeped too long or the water was too warm. If you used coarse grounds but steeped for 26 hours, that is the problem. Cut the steep time to 14-16 hours. Also check that your water is not above 140°F. If you brewed on a hot counter in summer, the water may have gotten warmer than you think.
Can I use a French press instead of a cold brew maker?
Yes. A French press is a fine brewing vessel for cold brew. Use the same coarse grind and ratio. The plunger filter works well, but you will get a little sediment at the bottom of your cup. It is not a dealbreaker, but a dedicated pitcher with a finer mesh filter, like the QHH, will give you a cleaner result.
How long does cold brew last in the fridge?
Concentrate lasts 7-10 days in an airtight container. Diluted cold brew lasts about 3-4 days. If you store it in the QHH pitcher with the sealed lid, it will stay fresh longer than in an open container. Trust your nose. If it smells sour or fermented, throw it out.
Does cold brew have more caffeine than hot coffee?
By volume, cold brew concentrate has more caffeine per ounce than drip coffee. But once you dilute it 1:1, the caffeine per cup is roughly similar to regular coffee. The perceived strength—the bold, smooth taste—comes from the extraction process, not always from higher caffeine. If you are sensitive to caffeine, do not assume a weak-tasting batch is low in caffeine.
Why is my cold brew cloudy and how do I fix it?
Cloudiness comes from fine coffee particles that passed through the filter. Fix it by grinding coarser and filtering twice. Let the brew sit for 10 minutes after steeping so the grounds settle, then pour off the clear liquid. A final pass through a paper filter will remove the remaining haze. Cloudy brew is not harmful, but it looks unappealing.
What to Do With What You Learned
- Use a 1:8 coffee-to-water ratio by weight for concentrate.
- Grind coarse—like breadcrumbs—and never use a blade grinder.
- Steep for 18 hours at room temperature, then adjust up or down.
- Use water below 140°F. Never boiling.
- Filter in stages: coarse mesh first, paper filter second if needed.
- Clean your gear right after brewing to prevent rancid oils.
- Dilute per glass, not per batch, to keep concentrate fresh.
Cold brew is not hard. It just requires a little discipline. Get the ratio right, respect the grind, and watch the clock. Once you have done that, you will wonder why you ever bought coffee from a shop. If your coffee maker at home gives you trouble, check out our troubleshooting guide for common brew issues to keep your hot coffee routine running smoothly too.
Products related to this article
Sponsored / affiliate links. As an Amazon Associate I earn from qualifying purchases. I may earn additional commission from eligible campaigns.
 HomeBeyond Espresso Coffee Maker 12 Cups, Classic Stovetop Espresso Maker, 600ml / 20oz Coffeemaker for Gas & Ceramic Stovetops (Silver)
 Belly Moka Coffee Maker Stovetop Espresso Maker 9 Cup Aluminum Moka Pot Percolator 15oz 450ml Easy Brewing for Electric Ceramic Stoves Home Camping Italian Cuban Café Classic Black
 Belly Moka Coffee Maker Stovetop Espresso Maker 6 Cup Aluminum Moka Pot Percolator 10oz 300ml Easy Brewing for Electric Ceramic Stoves Home Camping Italian Cuban Café Classic Silver