You’ve stood in line at the café one too many times, watching the barista pull a shot and thinking, “I could do that at home.” Maybe you’re tired of spending $6 a day, or maybe you just want better coffee without leaving the house. Either way, you’re about to enter a world where a decent machine costs more than a flight to Europe, and where marketing buzzwords like “20 bar pressure” and “thermocoil” get thrown around without context.
This guide walks you through the real decisions: what type of machine fits your workflow, why the grinder matters more than the machine, how to budget for maintenance, and how to avoid buyer’s remorse. By the end, you’ll know exactly what to look for, what to skip, and how to spend your money so you’re not upgrading in two years.
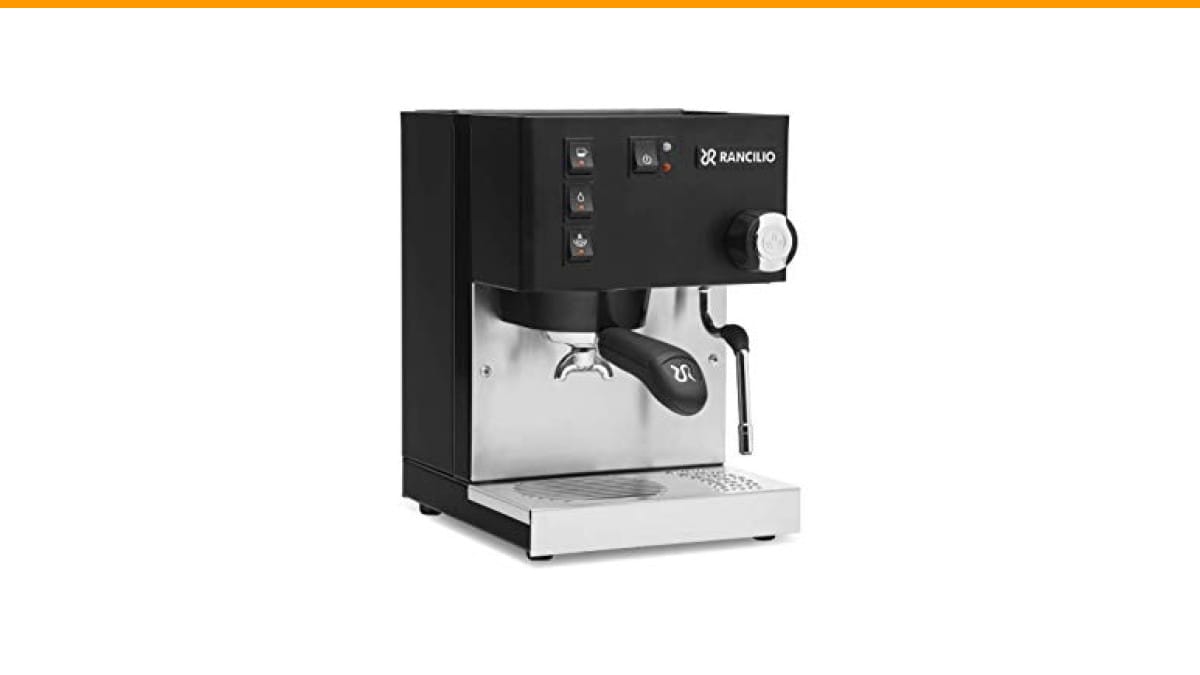
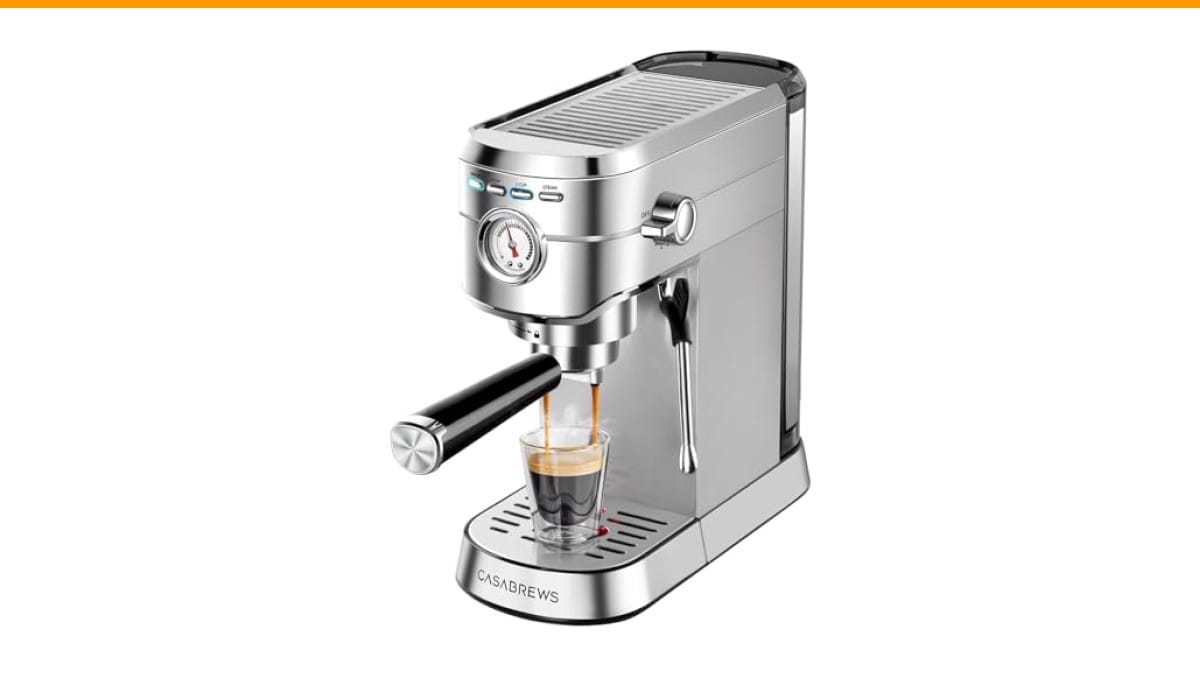
If you’re just starting out and want a reliable, compact unit without the learning curve of a commercial-grade setup, the Check Price on Amazon is a solid entry point. It packs a 20-bar Italian pump and a steam wand into a small footprint, which makes it a practical choice for tight counters. We’ll talk more about where it fits in the decision tree below.
The 5-Minute Decision Tree: Match Your Lifestyle to a Machine Type
Before you look at any spec sheet, answer these five questions honestly. Your answers will narrow the field faster than any review.
- How many drinks per day? One shot in the morning? Two lattes for you and your partner? Or are you hosting brunch every weekend?
- How much time per drink? Are you willing to spend 10 minutes dialing in, or do you need it done in 3?
- Do you drink milk drinks or straight espresso? Cappuccino lovers need a strong steam wand. Espresso purists can skip it.
- What’s your counter space? Measure it. A 15-inch wide machine might not fit under your cabinets.
- What’s your budget for the whole setup? Machine plus grinder plus accessories, not just the machine.
Now match your answers to the machine types:
- Manual lever machines (like the Flair or La Pavoni) give you total control but demand practice and patience. Great for hobbyists, terrible for rushed mornings.
- Semi-automatic machines (like the CASABREWS CM5418) handle the pump pressure for you, but you still control the grind, dose, and tamp. This is the sweet spot for most home users who want quality without a steep learning curve.
- Automatic machines (like Breville’s Barista series) grind, dose, and pull the shot with one button. You lose some control but gain consistency.
- Super-automatic machines (like Jura or De’Longhi) do everything, including milk frothing, at the press of a button. They’re convenient but expensive, and repair costs can be brutal.
- Pod machines (Nespresso, Keurig) are the fastest and cheapest upfront, but the per-cup cost adds up and the coffee is rarely great.
Your decision tree ends here: if you want hands-on learning without fuss, go semi-automatic. If you want convenience above all, go super-automatic. If you’re on a tight budget, a used semi-auto plus a good hand grinder beats any pod machine.
The Grinder-First Rule: Why Your Budget Allocation Is Backwards
Most people pick a machine first, then buy whatever grinder is left over. That’s backwards. The grinder determines your shot quality more than the machine does. A $2,000 machine with a $50 blade grinder will produce weak, sour espresso. A $300 machine with a $300 burr grinder can pull shots that rival a café.
Here’s the rule: allocate 40% of your total budget to the grinder, 60% to the machine. For a $1,000 total budget, that’s $400 for a grinder like the Baratza Encore ESP or the Sette 270, and $600 for a machine like the Gaggia Classic Pro or the CASABREWS CM5418. If you can’t afford both, buy the grinder first and use a Moka pot or French press until you can add the machine.
Why does the grinder matter so much? Espresso requires a fine, uniform grind. Blade grinders chop beans unevenly, producing both powder and chunks, which leads to over-extracted and under-extracted coffee in the same shot. Burr grinders crush beans consistently, giving you a uniform particle size that extracts evenly. You also need a grinder with fine adjustments so you can dial in the shot — a few microns of change can mean the difference between bitter and balanced.
Skip the integrated grinders on cheap machines. They’re often weak and inconsistent. A separate grinder gives you more control and is easier to replace when it wears out.
Boiler Types Explained: Single, Dual, and Heat Exchanger (And Which You Actually Need)
The boiler is the heart of your espresso machine. It heats water to the right temperature and maintains it during extraction. There are three main types, and each has trade-offs.
Single boiler (SB): One boiler heats water for both brewing and steaming, but not at the same time. You pull your shot, then wait for the boiler to heat up to steam temperature, then steam milk. The wait is usually 30-60 seconds. This is fine if you make one or two drinks at a time and don’t mind the pause. The CASABREWS CM5418 uses a single boiler, and it’s a good fit for beginners who don’t need to pull back-to-back shots while steaming.
Heat exchanger (HX): A single boiler that stays at steam temperature, but the brew water runs through a separate coil inside, so it’s cooled to the right brewing temperature. This lets you brew and steam simultaneously, which is why HX machines are popular in small cafés. The catch is temperature management — you need to “flush” water through the group head before pulling a shot to cool it down. It’s a skill that takes practice.
Dual boiler (DB): Two separate boilers, one for brew and one for steam, each with its own temperature control. This is the gold standard for home espresso. You can brew and steam at the same time, and the temperature stays rock-steady. The downside is cost and size. A dual boiler machine like the Rancilio Silvia Pro or the Lelit Bianca will set you back $1,500 or more.
Which do you actually need? If you’re making one or two milk drinks at a time, a single boiler is perfectly fine. The wait is short. If you regularly make three or more drinks in a row, or you value the ability to steam while pulling a shot, go for a heat exchanger or dual boiler. Don’t overspend on a dual boiler if you’re a solo drinker.
One more thing: check if the machine has a PID controller. This is a digital thermostat that keeps the boiler temperature stable within a degree or two. Without a PID, the temperature swings can be 10°F or more, which makes your shots inconsistent. Many machines in the $500-$1,000 range now include a PID, and it’s worth the upgrade.
The “Hidden Cost” Calculator: Maintenance, Water, and Parts Over 5 Years
The sticker price is only the beginning. Over five years, you’ll spend money on maintenance, water, and replacement parts. Here’s a realistic breakdown.
- Descaling solution: Every 1-3 months, depending on your water hardness. A bottle costs $10-$15, and you’ll use 2-4 bottles a year. That’s $30-$60 annually.
- Water filter or softened water: If you use tap water, you’ll descale more often. A Brita filter pitcher costs $20-$30, plus $10 every two months for replacement filters. Or use distilled water with added minerals (like Third Wave Water) at about $20 per 36 packets.
- Gaskets and seals: The group head gasket wears out every 1-2 years. It’s a $5-$10 part, but you’ll pay $20-$40 if a shop installs it. The portafilter basket also wears out after heavy use, costing $15-$25.
- Steam wand maintenance: Purge the wand after every use and wipe it down. If you don’t, milk residue clogs the tip, and you’ll need to soak it in cleaner or replace the tip ($10-$20).
- Pump and boiler repairs: The pump (vibe pump) typically lasts 5-7 years. Replacing it costs $50-$100 in parts, plus labor if you don’t DIY. A boiler leak is more serious — often $200-$400 to repair.
- Grinder burrs: Replace burrs every 500-700 pounds of coffee, which for a home user is every 3-5 years. A set of burrs costs $30-$60.
Add it up: over five years, you’ll spend $500-$1,200 on maintenance and consumables, depending on the machine’s quality and how well you care for it. A cheap machine might need more frequent repairs, while a well-built one can go five years with just gaskets and descaling.
To reduce costs, use soft or filtered water. Hard water is the #1 killer of espresso machines. Scale builds up inside the boiler and blocks the pump. If you live in an area with hard water, invest in a water softener or use bottled water with low mineral content.
Buying Used: How to Inspect a Pre-Owned Machine Like a Pro
The used market is full of deals, but also full of machines that look fine on Craigslist and die a week later. Here’s how to inspect a used machine before you hand over cash.
- Ask about the water history: “What water have you been using?” If they say tap water, expect scale. Ask when they last descaled. If they don’t know, assume it’s overdue.
- Check the group head: Remove the portafilter and look at the shower screen. Is it clean or caked with coffee? Does the gasket look worn? A clean machine is a good sign; a dirty one suggests neglect.
- Run a water cycle: Fill the tank and turn it on. Listen for the pump. It should sound consistent, not sputter. Run water through the group head for 30 seconds and check for leaks around the boiler and fittings.
- Test the steam wand: Wait for the machine to heat up, then open the steam valve. Steam should come out forcefully within a few seconds. If it sputters or drips, the wand or boiler might be clogged.
- Check the portafilter and baskets: Look for dents, scratches, or rust. A bent portafilter won’t seal properly, and a worn basket will affect extraction.
- Ask about repairs: “Has the pump or boiler been replaced?” If yes, that’s a plus. If no, factor the cost into your offer.
- Test the grinder: If they’re selling a grinder, plug it in and run a few beans through. Listen for a consistent hum. Burrs should sound even, not like they’re grinding rocks.
One more tip: check the machine’s age. A 10-year-old HX machine might be a bargain, but parts availability is a concern. Brands like Rancilio and Gaggia have great parts support, while lesser-known brands might be impossible to fix. Stick to machines from brands with a long history in espresso.
If you’re buying a refurbished machine from a dealer, ask about the warranty. A 90-day warranty is common, but 1-year is better. Avoid machines sold “as-is” unless you’re comfortable doing your own repairs.
The Upgrade Path: Choosing a Machine That Grows With Your Skills
You don’t want to buy a new machine every two years. The smart move is to buy something that lets you improve as a barista without hitting a ceiling too soon.
Start with a semi-automatic machine and a good grinder. This combo gives you control over grind size, dose, and tamping. As you learn to dial in shots, you’ll understand how each variable affects taste. Once you’ve mastered that, you might want to experiment with temperature profiling or pre-infusion (the initial low-pressure wetting of the coffee puck). If your machine has a PID, you can adjust brew temperature. If it doesn’t, you’re stuck with whatever the machine gives you.
A machine like the CASABREWS CM5418 is a good starting point because it’s simple and forgiving. It doesn’t have a PID, but it has a pressure gauge that helps you see what’s happening during extraction. That gauge is a learning tool — you’ll start to correlate pressure with shot quality, and that knowledge carries over to any machine you buy later.
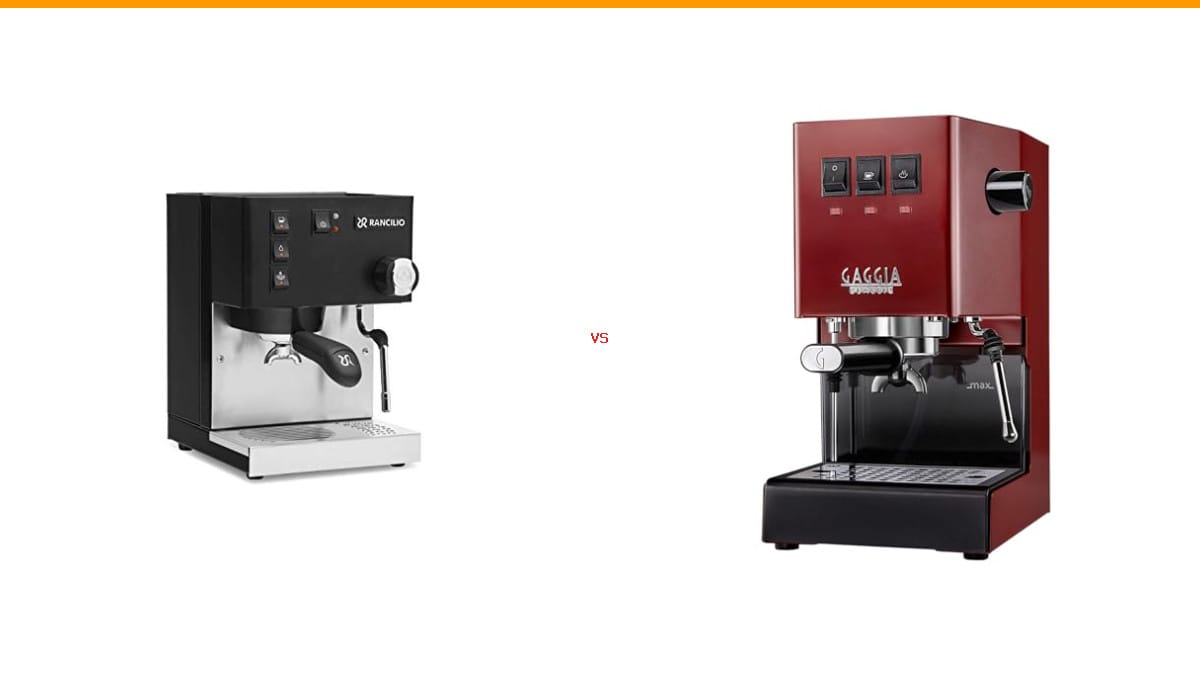
When you’re ready to upgrade, look for a machine with a PID and a larger boiler. The Gaggia Classic Pro is a popular next step, and the Rancilio Silvia is another. Both have huge aftermarket support, so you can add mods like a PID kit or a pressure gauge later.
Consider the resale value too. Machines from well-known brands hold their value better than obscure ones. If you buy a used Gaggia for $300, you can probably sell it for $250 in two years. That’s a $50 rental cost for years of espresso.
Essential Features That Matter (And 3 Marketing Gimmicks to Ignore)
Some features are genuinely useful, and some are just spec sheet padding. Here’s what to care about:
- Brew pressure: 9 bars is the standard for espresso extraction. Many machines advertise 15 or 20 bars, but that’s the pump’s maximum pressure, not what you actually use. The pump pushes against a dry puck, and the pressure at the group head is what matters. A 20-bar pump is fine, but don’t pay extra for it.
- Pre-infusion: This is a low-pressure soak before full pressure. It helps the puck saturate evenly and reduces channeling. Some machines have it automatically, and some let you control it. It’s a nice feature, but not essential for beginners.
- Steam wand quality: A good steam wand should produce dry, powerful steam. Look for a wand with a ball joint so you can angle the pitcher. The CASABREWS CM5418 has a steam wand that works well for basic milk frothing, but it’s not as powerful as a pro-level wand. That’s fine for home use.
- Water tank capacity: A 34-ounce tank (like on the CASABREWS) is enough for 2-3 drinks before refilling. If you make more, look for a plumbed-in option or a larger tank.
- Drip tray and cup clearance: Make sure your favorite mug fits under the group head. A low drip tray can be a dealbreaker.
Now the gimmicks to ignore:
- “20 bar pump”: As mentioned, you only need 9 bars. Marketing uses the higher number to sound impressive. It’s not a sign of quality.
- “Thermocoil” or “thermoblock” heating: These heat water on demand instead of using a boiler. They’re cheaper to make, but they can’t hold a stable temperature. They’re fine for quick shots, but not for serious espresso.
- “One-touch cappuccino”: This usually means the machine automates the milk frothing, but the results are rarely as good as manual steaming. You’ll still need to learn to froth milk properly for great texture.
Focus on the basics: a solid pump, a decent boiler, a good portafilter, and a reliable grinder. Everything else is secondary.
Frequently Asked Questions
Is a pod machine ever okay?
Yes, if your priority is speed and convenience over taste. Pod machines make a decent cup in under a minute, and they’re great for offices or people who don’t want to learn espresso. But the cost per cup is high (60-80 cents per pod), and the coffee is never as fresh as beans you grind yourself. If you’re reading this guide, you probably care about quality, so a pod machine will likely disappoint.
How much should I spend on my first espresso machine?
Set a total budget of $500-$1,000 for machine and grinder. That’s the sweet spot for a setup that will last and produce good shots. Below $300, you’ll struggle with inconsistent temperature and weak steam. Above $1,500, you’re paying for features you might not need until you’re more experienced.
Do I need a separate grinder if the machine has one built-in?
Built-in grinders on machines under $500 are usually inadequate. They have limited adjustment and often grind inconsistently. A separate grinder gives you better control and is easier to replace when it wears out. If you’re on a tight budget, buy a hand grinder like the 1Zpresso JX-Pro for $150 and a machine without a grinder.
How often should I descale my espresso machine?
Every 1-3 months, depending on your water hardness. If you use softened water, you can stretch it to 3 months. If you use tap water, descale monthly. Follow the manufacturer’s instructions, and always use a commercial descaling solution — vinegar can damage the boiler.
What’s the difference between a portafilter and a filter basket?
The portafilter is the handle with the spout that locks into the group head. The filter basket is the metal cup that holds the coffee grounds. You’ll want a basket that matches your dose — a single basket for 7-9 grams, a double for 14-18 grams. Many machines come with both, but a quality replacement basket (like a VST or IMS) can improve extraction.
Final Checklist: Your 10-Point Pre-Purchase Verification
Before you hit the buy button, run through this list. It’ll save you from a costly mistake.
- 1. Measure your counter space. Write down the dimensions and check them against the machine specs.
- 2. Set your total budget. Include grinder, accessories, and a year of maintenance.
- 3. Decide your workflow. How many drinks per day, and how much time per drink?
- 4. Choose your machine type. Semi-auto for control, super-auto for convenience.
- 5. Pick a grinder first. Allocate 40% of your budget to it.
- 6. Check the boiler type. Single boiler is fine for most; dual boiler if you’re a milk drink addict.
- 7. Look for a PID. If the machine has one, it’s a big plus.
- 8. Inspect the steam wand. Test it if you can, or read reviews about its power.
- 9. Factor in maintenance. Water quality, descaling, and parts availability.
- 10. Consider the used market. A well-maintained used machine can save you hundreds.
If you’re ready to start, the CASABREWS CM5418 is a dependable entry-level option that won’t break the bank. It has the essentials — a 20-bar pump, a pressure gauge, and a steam wand — in a compact body. It’s not a pro machine, but it’s a great place to begin your espresso journey. Check the current price on Amazon, and remember: the grinder is your best friend.
For more detailed guidance on specific machines, browse our espresso machine reviews and buying guides. If you’re new to espresso, our how-to guides will walk you through dialing in, steaming milk, and keeping your machine clean.
Products related to this article
Sponsored / affiliate links. As an Amazon Associate I earn from qualifying purchases. I may earn additional commission from eligible campaigns.
 Coffee Espresso Machine Handle Replacement Parts, Cafe Bracket Handle for Lidl Silvercrest CM4621 CM4218 KF5002 KF500S Barista (for 51mm Portafilter Basket - Not included)
 Mixpresso 3 Cup Moka Pot Stovetop Espresso Maker, Italian Cuban Coffee Pot
 Linnkyfloa Coffee Espresso Maker Handle Replacement for Stovetop Moka Pot or Percolator, Black Plastic for Spare Part Compatible with Italian(9-12 Cup)