You pull a shot of espresso and it tastes like yesterday’s ashtray. The crema is thin, the flow is fast, and you know the grinder is the culprit. Every home barista hits this wall. Coffee oils go rancid, fines pack into the burr teeth, and your grinder slowly strangles your coffee’s flavor without you noticing.
This guide covers the full maintenance system for burr grinders — electric and manual, hopper-fed and single-dose. You’ll get a concrete schedule with timeframes, a step-by-step deep clean procedure, and a straight answer on the rice vs tablets debate. No vague advice. Just what works.

Acooruiteng
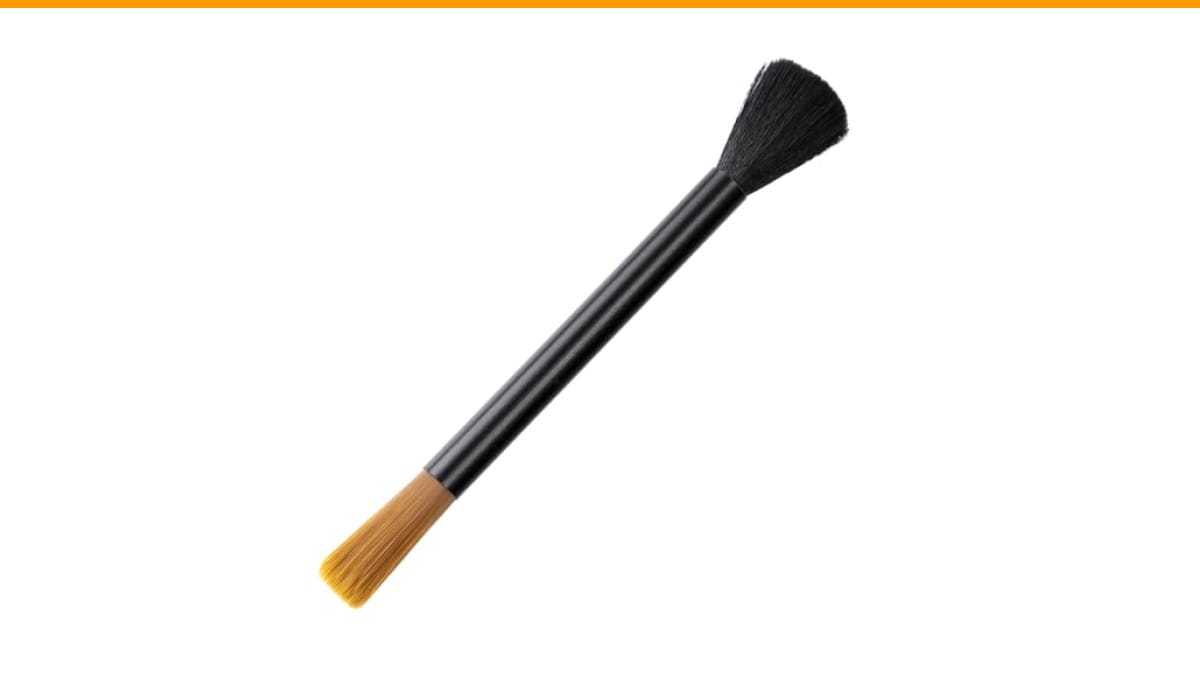
Acooruiteng Coffee Grinder Cleaning Brush Dusting Espresso…
- 🧹【Package Included】The package contains 1 pcs dusting coffee grinder brush,the size is about 13cm × 1cm,can meet your daily use.
- 🧹【High Quality Material】Coffee grinder cleaning brush is made of high quality aluminum + fiber wool,a well made sturdy,durable and…
- 🧹【Soft Brush Hair】Coffee brush gives not too stiff or too soft,have just the right pliancy for a good clean coffee grounds and res…
As an Amazon Associate I earn from qualifying purchases.
Before you start, grab a proper brush. The Acooruiteng coffee grinder cleaning brush has stiff enough fiber wool to knock fines loose from burr teeth without scratching the metal, and the aluminum handle gives you a firm grip. It’s the tool you’ll use daily, so don’t skimp on it.
Why Grinder Cleaning Directly Affects Cup Quality
Stale coffee oils are the main culprit. They coat the burrs and the grind chamber, and every batch of fresh coffee you grind picks up that rancid residue. The result is a flat, bitter cup with muted aromatics. It’s not subtle — side-by-side, a clean grinder produces visibly thicker crema on espresso and a brighter pour-over.
Grind retention makes it worse. Most grinders hold 2 to 5 grams of old grounds in the chute and around the burrs. That retained coffee is stale within hours. If you grind 18 grams for espresso, you’re actually dosing 18 grams of fresh coffee plus 3 grams of yesterday’s dust. That’s a 15% contamination rate.
Extraction yield suffers too. Rancid oils change how water flows through the puck. You’ll see faster shots, uneven extraction, and a hollow aftertaste. Cleaning restores the burr geometry — sharp edges cut cleanly, producing uniform particle sizes. Dull, oil-clogged burrs crush and tear, creating more fines and boulders.
There’s also a mechanical angle. Coffee contains oils and sugars that harden over time. Left alone, they form a crust that’s difficult to remove and can eventually affect the burr alignment. Regular cleaning prevents this buildup rather than fighting it later.
The 4-Level Cleaning Schedule
Most people clean their grinder once and call it done. That’s the wrong approach. You need a schedule that matches how often you grind and what kind of grinder you own. Here’s the system I use and recommend.
Daily: The 30-Second Brush-Out
After your last grind of the day, remove the hopper or lid and brush out the visible grounds. Focus on the burr chamber, the chute opening, and any ledges where fines collect. This takes 30 seconds and prevents the bulk of oil buildup. Do this every day, even if you only grind once.
Weekly: Vacuum and Wipe Down
Once a week, take a small vacuum with a brush attachment and suck out the loose fines from the burr chamber and chute. Then wipe the hopper and the exterior with a dry microfiber cloth. If you see oily residue on the burrs, use the brush to agitate it loose before vacuuming.
Monthly: Tablet Purge
Once a month, run a cleaning tablet through the grinder. Grind the tablet on the coarsest setting, then grind about 50 grams of fresh coffee beans to purge the residue. This removes the oils and hardened particles that brushing can’t reach. It’s the single most effective step for maintaining flavor.
Quarterly: Full Disassembly
Every three months — or every 20 pounds of coffee, whichever comes first — take the grinder apart. Remove the burrs, brush and vacuum every surface, wipe down the carrier threads, and reassemble. This is the deep clean that resets the grinder to near-new performance.
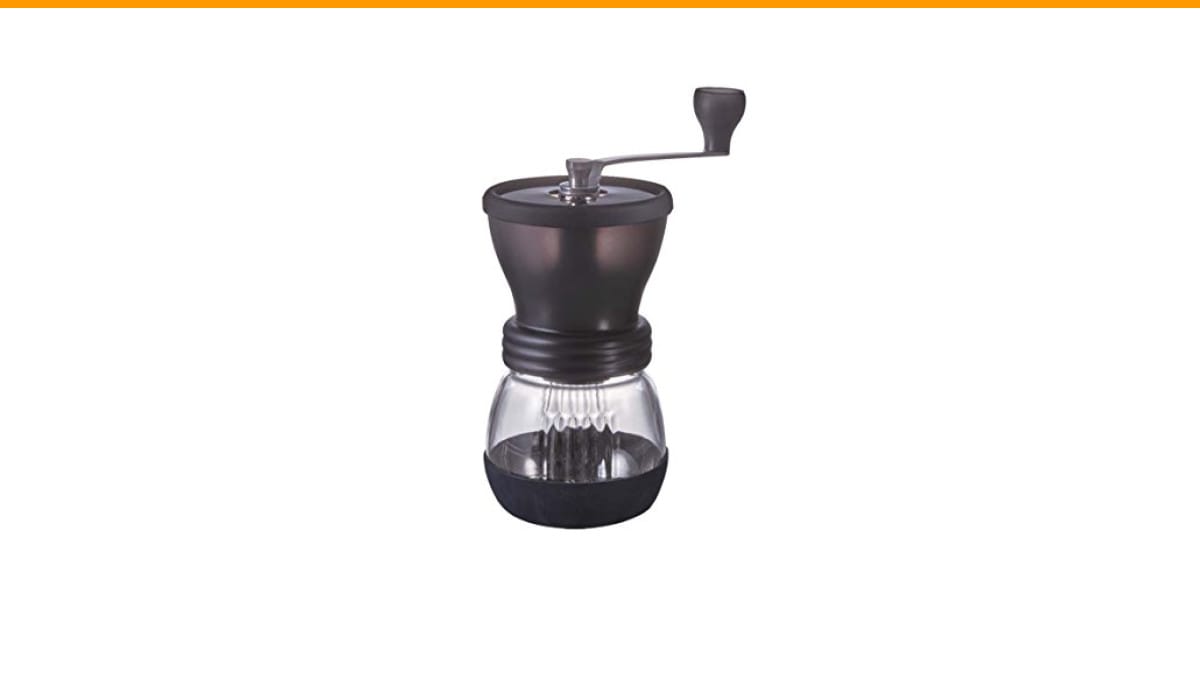
For a manual grinder like the Porlex, the schedule is similar, but you can often get away with monthly disassembly instead of quarterly, since the grind volume is usually lower.
Step-by-Step: Deep Cleaning Your Burr Grinder (Electric & Manual)
Let’s walk through the full disassembly and cleaning process. The steps apply to both electric and manual grinders, with minor differences noted.
Disassembly Safety and Parts Inventory
Unplug the grinder first. Always. Then remove the hopper, the upper burr carrier, and the lower burr. Lay everything out on a towel in the order you removed it. Take a photo with your phone if you’re worried about reassembly. Count the parts — you should have the hopper, two burrs, two carriers (or one carrier and one fixed burr), and the grind chamber.
Check the burr carrier material. Metal carriers are sturdy, but plastic carriers strip threads easily. If yours is plastic, do not force anything. Turn gently and use even pressure. A stripped carrier means a new grinder, so respect the material.
Cleaning the Burrs and Carrier Threads
Use the brush to knock loose grounds off the burrs. Then vacuum the grind chamber thoroughly. For stubborn oils, wipe the burrs with a dry cloth — do not use water on the burrs themselves. Water can cause rust on some steel burrs, and it can seep into the motor housing on electric models.
For the carrier threads, use the brush to sweep out the coffee dust that accumulates in the grooves. This dust hardens over time and makes reassembly difficult. A clean thread should turn smoothly without resistance. If you feel grinding or catching, stop and clean again.
Wipe the hopper with a damp cloth and dry it completely. Do not put wet parts back into the grinder. Moisture is the enemy of coffee and metal alike.
Reassembly and Burr Re-Seating
Reassemble in reverse order. Seat the lower burr first, then the upper carrier. Turn the carrier gently until it drops into place — don’t force it. If it doesn’t seat, there’s still coffee residue in the threads. Remove it, clean again, and retry.
Once assembled, run the grinder empty for 2 seconds to check for unusual noise. Then grind about 10 grams of coffee and discard it. This purges any remaining dust and re-seasons the burrs slightly.
If you’re cleaning a grinder with a removable outer burr, like many hand grinders, the same logic applies. Just be extra careful with the alignment pins — they’re easy to bend.
The Rice vs Tablets vs Brush Debate: What Actually Works
You’ve heard about running rice through a grinder to clean it. It’s a popular hack, but it’s a bad idea for most grinders. Rice is harder than coffee beans and can chip ceramic burrs or dull steel burrs. It also doesn’t absorb oils well. The only time rice makes sense is for a cheap blade grinder you don’t care about.
Cleaning tablets are the right tool for the job. They’re made from food-safe materials that absorb oils and break down residue. They come in two types: grindz-style tablets that you grind directly, and the newer style that you dissolve in water for a deeper clean. Both work, but the grind-through type is more convenient for monthly maintenance.
Brush-only cleaning is fine for daily maintenance but insufficient for monthly deep cleaning. The brush removes loose grounds, not the oils bonded to the burr surface. You need tablets or disassembly to get those.
Here’s a quick comparison to help you decide.
| Method | Best For | Frequency | Risk Level |
|---|---|---|---|
| Brush only | Daily maintenance, removing loose grounds | Daily | None |
| Vacuum + brush | Weekly cleanup, reaching fines in chutes | Weekly | None |
| Cleaning tablets | Monthly oil removal, electric grinders | Monthly | Low — follow instructions |
| Rice (unrecommended) | Cheap blade grinders only | Never on burr grinders | High — can chip burrs |
| Full disassembly | Quarterly deep clean, manual and electric | Quarterly | Medium — risk of misalignment |
My take: buy a jar of cleaning tablets and use them monthly. Skip the rice. Your burrs will last longer and your coffee will taste better.
Troubleshooting Post-Clean Issues
You cleaned the grinder, reassembled it, and now the coffee comes out clumpy or static-filled. Don’t panic. This is normal after a deep clean, and it’s fixable.
Static and clumping. Freshly cleaned burrs are dry and generate more static electricity. The grounds stick to the chute and clump together. The fix is to season the burrs — grind about 50 grams of coffee and discard it. This deposits a thin layer of coffee oils that reduces static. If it persists, try a spritz of water on the beans (the Ross Droplet Technique) or use a grind cup with a metal mesh to break up clumps.
Grind size changed. After reassembly, the burr alignment might be slightly off. This is especially common on grinders with a numbered dial. Re-calibrate by running a few small batches and adjusting the dial until you hit the right particle size. It takes a few shots, but it settles in.
Misalignment or weird noise. If the grinder makes a grinding or scraping sound, you likely didn’t seat the upper burr correctly. Turn it off immediately, disassemble, and reseat. Running it misaligned can damage the burrs permanently.
Shots run too fast or too slow. This is usually a grind size issue, not a cleaning issue. After a deep clean, the burrs cut more efficiently, so you may need to go one or two clicks finer to hit the same extraction time. It’s a sign the grinder is working better, not worse.
How to Clean a Zero-Retention or Single-Dose Grinder
Single-dose grinders, like the Niche Zero or DF64, have almost no retention. That’s their selling point. But they still need cleaning, and they have a different challenge — the grind chamber and chute are often harder to access.
For these grinders, skip the daily brush-out of the hopper (there isn’t one). Instead, brush the grind chamber and chute after each use. The bellows on many single-dose grinders help push out retained grounds, but they don’t remove oils. You’ll still need a monthly tablet purge and quarterly disassembly.
The disassembly process is the same, but pay attention to the anti-popcorning cap and the bellows. These parts collect fines and need regular cleaning. Remove the bellows and wash it in warm soapy water monthly. Dry it completely before reattaching.
One thing to watch: zero-retention grinders often have tighter tolerances. When you reassemble, make sure the burr carrier is seated exactly as it was. A half-millimeter offset can change your grind size dramatically. Mark the carrier with a permanent marker before removal to help with re-seating.
FAQ: Cleaning Frequency, Tools, and Common Mistakes
How often should I actually clean my burr grinder?
Daily brush-out, weekly vacuum, monthly tablet purge, quarterly full disassembly. If you grind more than 100 grams a day, move the tablet purge to every two weeks. If you grind less than once a week, you can stretch the deep clean to every six months, but always brush after each use.
Can I use water to clean the burrs?
No. Water causes rust on steel burrs and can damage the motor on electric grinders. Use a dry brush and vacuum. For stubborn oils, use cleaning tablets, which absorb the residue without moisture. The only exception is ceramic burrs on some manual grinders, but even then, dry cleaning is safer.
Will cleaning tablets leave a chemical taste in my coffee?
Not if you purge properly. Grind about 50 grams of fresh coffee after the tablet to remove all residue. The first batch after a tablet purge might taste slightly different — that’s the seasoning effect, not the tablet. Discard that batch and the next one will be clean.
My grinder has a plastic carrier. Is it safe to disassemble?
Yes, but be gentle. Plastic threads strip easily, especially if there’s hardened coffee dust in the grooves. Clean the threads thoroughly before reassembly and turn the carrier slowly. If you feel resistance, stop and clean again. Never use tools to force it.
Can I use a vacuum cleaner directly on the burrs?
Yes, with a brush attachment. The brush prevents the burrs from getting scratched by the vacuum nozzle. Avoid using a high-power vacuum without a brush, as it can suck up small parts like screws or alignment pins. A handheld vacuum or a computer vacuum works well for this.
Build a Cleaning Habit, Not a Cleaning Event
The difference between a grinder that lasts five years and one that lasts two is maintenance. Not fancy tools, not expensive tablets — just consistency.
- Brush out the grind chamber every day after your last grind. Thirty seconds, no exceptions.
- Vacuum and wipe down the hopper weekly. It takes two minutes.
- Run a cleaning tablet monthly and purge with 50 grams of fresh beans.
- Disassemble and deep clean quarterly, or every 20 pounds of coffee.
- Never use rice in a burr grinder. It chips burrs.
- Season new burrs after a deep clean with 50 grams of discarded coffee to reduce static and clumping.
- If shots taste off after cleaning, re-calibrate the grind size — it’s a sign the burrs are cutting better, not worse.
Your grinder is the most important piece of equipment in your coffee setup. Treat it like it. For more on keeping your whole workflow clean, check out our guide on coffee grinder maintenance and the difference between burr and blade grinders if you’re still deciding on the right tool. A clean grinder makes better coffee. That’s not marketing — it’s chemistry.
Products related to this article
Sponsored / affiliate links. As an Amazon Associate I earn from qualifying purchases. I may earn additional commission from eligible campaigns.
 Krylon Glitter Blast 6 Oz. Clear Sealer Spray - 1 Each
 SOLUSTRE Electric USB Coffee Cup Warmer with Temperature Settings Portable Milk and Beverage Heating Coaster for Office Desk Small Lightweight Design Easy to Clean Surface Multi Functional
 Supvision 3 Cup Moka Pot Aluminum 150ml Italian Coffee Maker