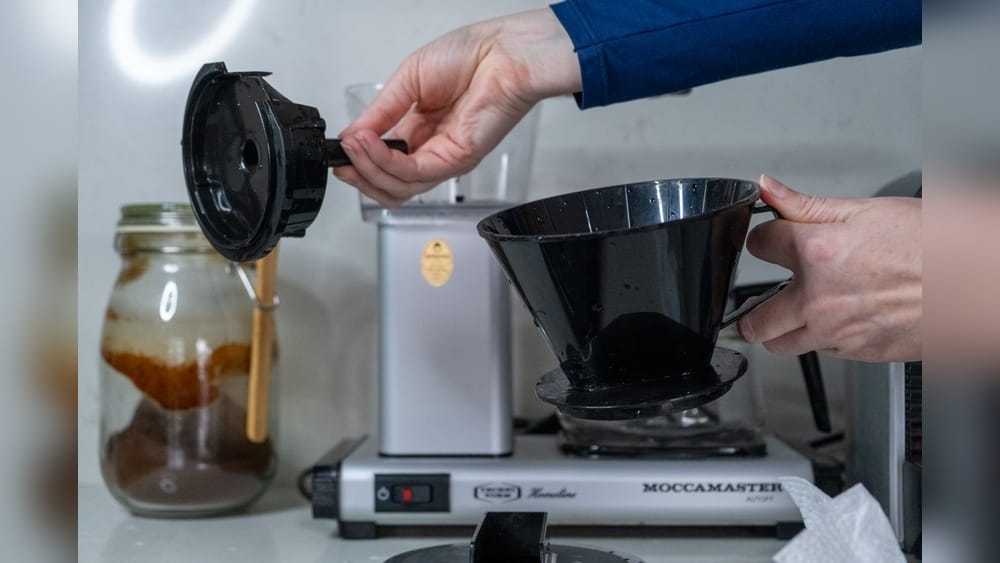
You just brewed a fresh pot. The beans are expensive, the grind is spot on, and the machine is clean. But the coffee tastes flat. Or worse, it has a faint chemical note. You blame the beans. You blame yourself. The real culprit is probably the water.
Tap water carries chlorine, sediment, and dissolved minerals like calcium and magnesium. Those particles alter the flavor profile of your brew and, over time, build scale inside your machine. A water filter sits between the tap and your coffee, stripping out the junk before it touches the grounds.

BRENSTEN
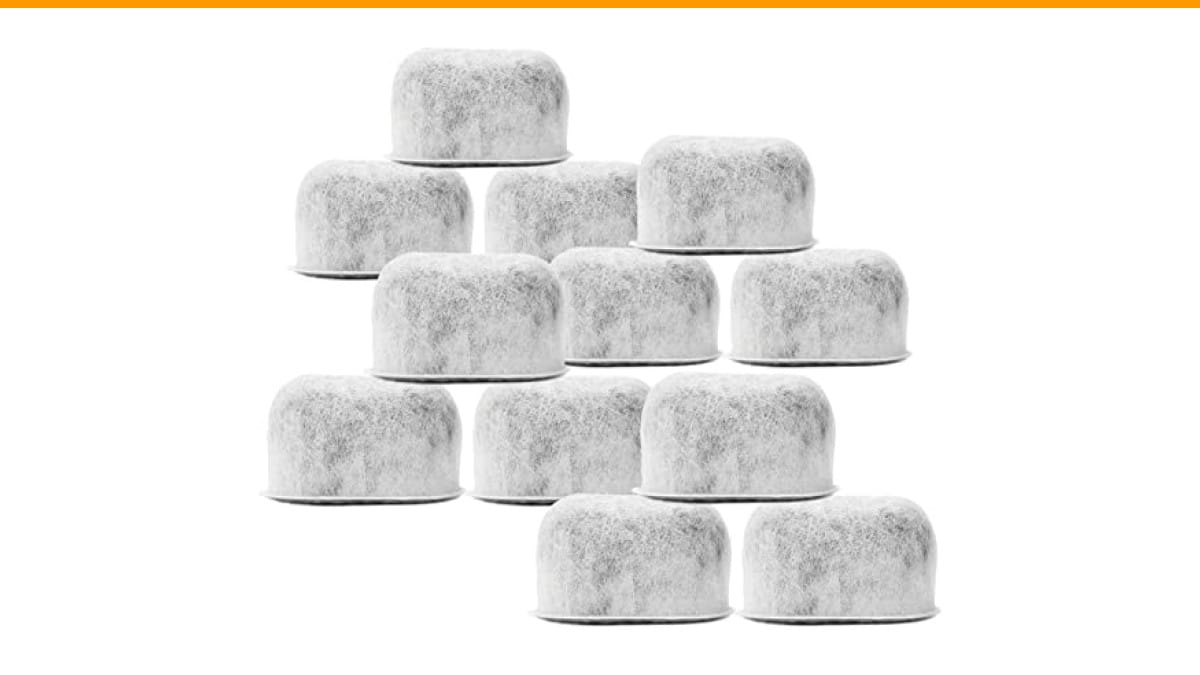
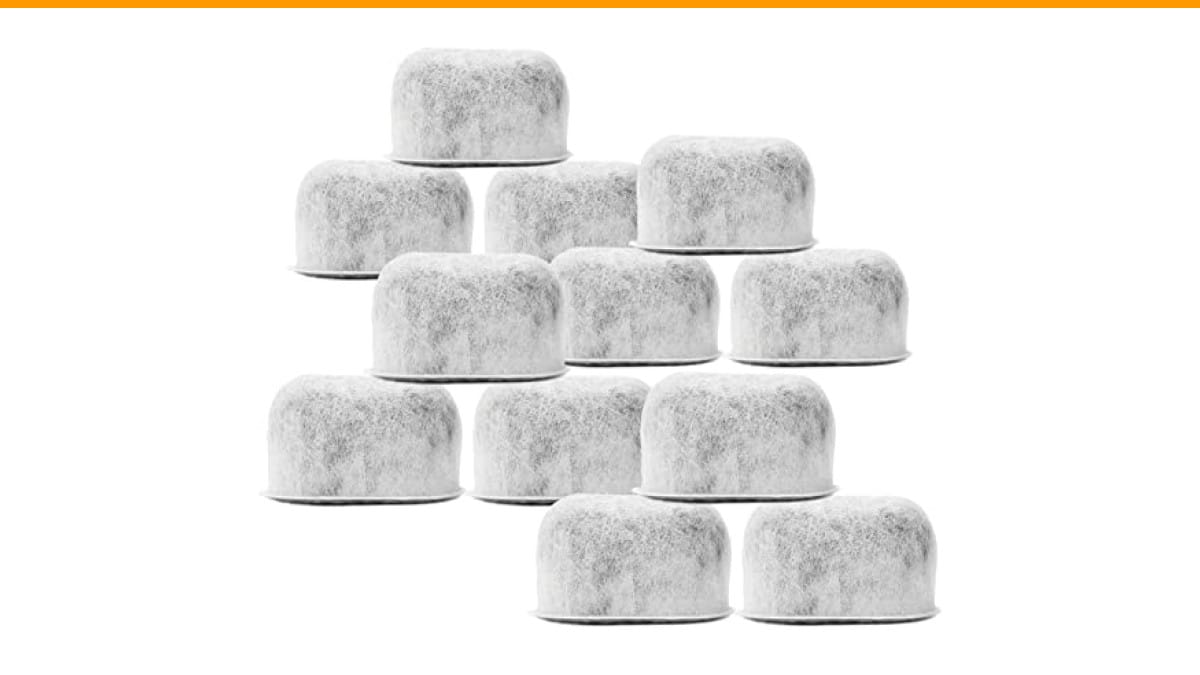
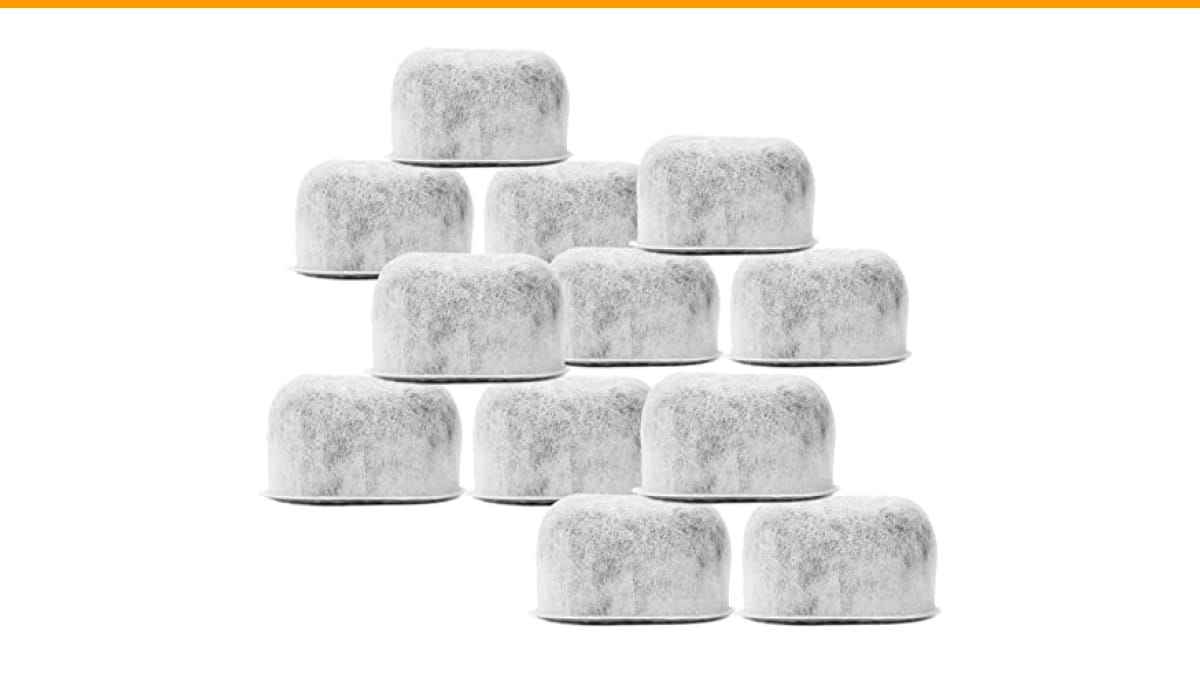
12 Pack Replacement Charcoal Water Filters for…
- ENJOY THE DELICIOUS TASTE AND AROMA OF BREWED COFFEE - Removes chlorine, odors, calcium, and other water impurities prior to brewi…
- COMPATIBLE WITH CUISINART COFFEE MAKERS – Specially designed for Cuisinart coffeemakers, these set of charcoal filter refills will…
- EASY TO INSTALL – Not only will these filters provide a less expensive way for you to enjoy delicious coffee, but they are also ve…
As an Amazon Associate I earn from qualifying purchases.
This guide walks you through how to choose coffee machine water filter options that fit your specific situation. You will learn how to test your water, understand the three main filter types, match a filter to your machine, and calculate the real cost of ownership. By the end, you will know exactly which category to buy before you compare brands.
If you own a Cuisinart drip machine, a solid starting point is a set of replacement charcoal filters like the BRENSTEN 12-pack. These drop into the reservoir and remove chlorine and odors for about a month each. They are a cheap, low-effort way to see the difference filtered water makes.
Why Your Coffee Machine’s Water Filter Matters More Than You Think
Water makes up over 98% of your cup. The minerals in it directly affect extraction. Hard water with high calcium content slows extraction, pulling bitter compounds from the grounds. Soft water speeds it up, sometimes leaving your coffee sour and weak.
Scale is the other issue. When hard water heats up, calcium and magnesium precipitate out and stick to the heating element and internal tubing. A layer of scale acts as an insulator, so your machine takes longer to heat water. That wastes energy and shortens the machine’s life. Descaling removes existing buildup, but a filter prevents it from forming in the first place.
Chlorine is a third problem. Municipal water systems add it to kill bacteria, but it leaves a distinct chemical taste. Activated carbon filters grab chlorine molecules as water passes through. The difference is noticeable in the first cup.
So the filter is not a luxury add-on. It is a cheap insurance policy for both flavor and equipment longevity. A $5 filter cartridge can save you from a $200 repair or an early replacement.
Step 1: Test Your Water to Identify Your Filtration Needs
You cannot pick the right filter without knowing what is in your water. The right starting point is a simple test. Skip the guesswork and measure.
How to Read a Basic Water Quality Report
Your local water utility publishes an annual Consumer Confidence Report. It is public record and usually online. Look for three numbers: hardness (grains per gallon or mg/L), chlorine level, and total dissolved solids (TDS).
Hardness below 1 grain per gallon (about 17 mg/L) is soft. Between 1 and 7 is moderate. Above 7 is hard. If your report shows hard water, you need a filter with ion exchange resin, not just carbon. If chlorine is the main issue, activated carbon is enough.
TDS measures everything dissolved in the water, including minerals, salts, and organic matter. A reading under 200 mg/L is fine for coffee. Above that, you start tasting the minerals. If your TDS is high, consider a filter with mixed media that handles both carbon and ion exchange.
Simple DIY Hardness Tests You Can Do at Home
You can buy a water hardness test strip kit for a few dollars at any hardware store. Dip a strip in a glass of tap water, wait 30 seconds, and compare the color to the chart. It is not lab-grade accurate, but it is good enough to decide between a basic carbon filter and a softening filter.
Another trick: fill a clear glass bottle halfway with water, add a few drops of pure dish soap, and shake. Lots of suds that last mean soft water. Few suds and cloudy water mean hard water. Soap reacts with calcium and magnesium, so it is a decent rough indicator.
If you want precise numbers, a TDS meter costs about $15 online. It gives you an instant reading of dissolved solids. It will not tell you the specific mineral breakdown, but it tells you whether your water is clean enough for good coffee.
Step 2: Understand the 3 Main Types of Coffee Machine Filters
There are three common ways to filter water for coffee. Each has trade-offs in cost, convenience, and effectiveness. Your choice depends on your counter space, your budget, and how much effort you want to put into maintenance.
In-Line Filters vs. Reservoir Filters vs. Pitcher Filters
In-line filters connect directly to your water supply or to the machine’s intake hose. Plumbed espresso machines use them. They sit out of sight and treat water as it flows. Replacement is usually every six months. They are the most permanent solution and often the most expensive per cartridge.
Reservoir filters are the ones you drop into the water tank. Cuisinart, Mr. Coffee, and many drip makers use this style. They are small, cheap, and last about 30 days. You have to remember to replace them monthly, which is easy to forget. They only treat the water that sits in the tank, so if you refill with unfiltered water, the first few cups use filtered water and the rest use a mix.
Pitcher filters, like a Brita, treat water before it goes into the machine. You fill the pitcher, wait for it to filter, then pour it into the reservoir. This works with any machine, including pour-over and espresso. The downside is extra steps and another appliance on your counter. Pitchers also have a slower flow rate, so you need to plan ahead.
| Filter Type | Best For | Replacement Frequency | Cost per Year (Est.) | Installation Effort |
|---|---|---|---|---|
| In-Line | Plumbed espresso machines | Every 6 months | $40 – $100 | Requires plumbing |
| Reservoir | Drip coffee makers | Every 30 days | $20 – $60 | Drop-in, no tools |
| Pitcher | Any machine, pour-over | Every 2 months (filter) | $30 – $80 | None, but extra step |
The reservoir filter is the easiest entry point. You do not need to plumb anything or change your routine. Just swap the cartridge once a month. For most home drip coffee drinkers, that is the sweet spot.
Step 3: Match the Filter to Your Machine Type (Drip vs. Espresso vs. Pour-Over)
Your machine dictates the filter you need. A drip maker has a small reservoir and a slow flow rate. An espresso machine pushes water at high pressure through finely ground coffee. A pour-over relies on gravity and your pour technique. Each has different water requirements.
For a drip coffee maker, a basic activated carbon filter is usually enough. The water sits in the reservoir, so a drop-in filter has time to work. Chlorine and odors get removed, and the flavor improves noticeably. You do not need heavy-duty softening unless your water is very hard.
Espresso machines are more sensitive. The high pressure and tight grind amplify any mineral imbalance. Hard water causes scale inside the boiler, which is expensive to repair. Soft water, on the other hand, can over-extract and make your shot bitter. Espresso machines benefit from a filter that balances minerals, not just removes them. Look for a filter with both carbon and ion exchange resin. If your machine is plumbed, an in-line filter is the standard choice.
Pour-over is the simplest. You control the water entirely. A pitcher filter works well because you can pour the filtered water directly into your kettle. The key is to use water that is not too soft, or your extraction will be fast and weak. A standard carbon pitcher filter removes chlorine without stripping all minerals, which is ideal.
If you own a machine that requires a specific filter shape, like a Cuisinart, check the model number before buying. The BRENSTEN charcoal filters fit a wide range of Cuisinart models, including the DCC series and Brew Central lines. They measure about 1-7/8 by 3/4 by 1 inch, so they drop into the standard reservoir slot.
Step 4: Key Filter Specs to Compare (Micron Rating, Capacity, NSF Certification)
When you compare filters, three specs matter: micron rating, capacity, and certification. Ignore marketing buzzwords and focus on these numbers.
Micron rating tells you the size of particles the filter can catch. A 5-micron filter removes sediment and rust visible to the naked eye. A 1-micron filter catches finer particles. For coffee, a 5-micron rating is plenty. You are not trying to remove bacteria; you are removing sediment and chlorine. Smaller micron ratings often mean slower flow, which can be annoying.
Capacity is the total volume of water a filter can treat before it is exhausted. It is usually listed in gallons. A typical reservoir filter handles about 40 gallons, or roughly a month of daily brewing. In-line filters have higher capacity, often 300 to 600 gallons, which is why they last six months or longer. Check the capacity against your daily brew volume to estimate replacement frequency.
NSF certification is a third-party verification that the filter actually removes what it claims. NSF Standard 42 covers chlorine and taste and odor reduction. NSF Standard 53 covers health contaminants like lead and cysts. For coffee, Standard 42 is the relevant one. A filter with NSF 42 certification has been tested and verified. It is not a guarantee of flavor, but it is a baseline of quality.
One more thing: check the filter’s flow rate. Some filters restrict water flow too much, which slows down your brewing cycle. If your machine takes noticeably longer to brew after installing a filter, the flow rate is too restrictive. A good filter should not add more than a few seconds to your brew time.
Step 5: Calculate the True Cost of Ownership (Filter Price + Replacement Frequency)
The sticker price of a filter is only half the story. You also need to factor in how often you replace it. A cheap filter that lasts two weeks costs more per year than a pricier one that lasts three months.
Do the math. A reservoir filter that costs $6 and lasts 30 days runs about $72 per year. A pitcher filter that costs $40 and lasts two months runs about $240 per year, but it also filters water for drinking and cooking. An in-line filter that costs $50 and lasts six months runs about $100 per year, but it may require professional installation.
Here is a simple way to compare: divide the filter price by the number of gallons it treats. That gives you a cost per gallon. A reservoir filter treating 40 gallons at $6 is 15 cents per gallon. An in-line filter treating 300 gallons at $50 is about 17 cents per gallon. They are roughly equivalent. The real difference is convenience and whether you need the higher capacity.
Buying in bulk saves money. A 12-pack of filters, like the BRENSTEN replacement set, brings the per-cartridge cost down significantly compared to buying singles. If you replace monthly, a 12-pack covers a full year. That is one less thing to remember.
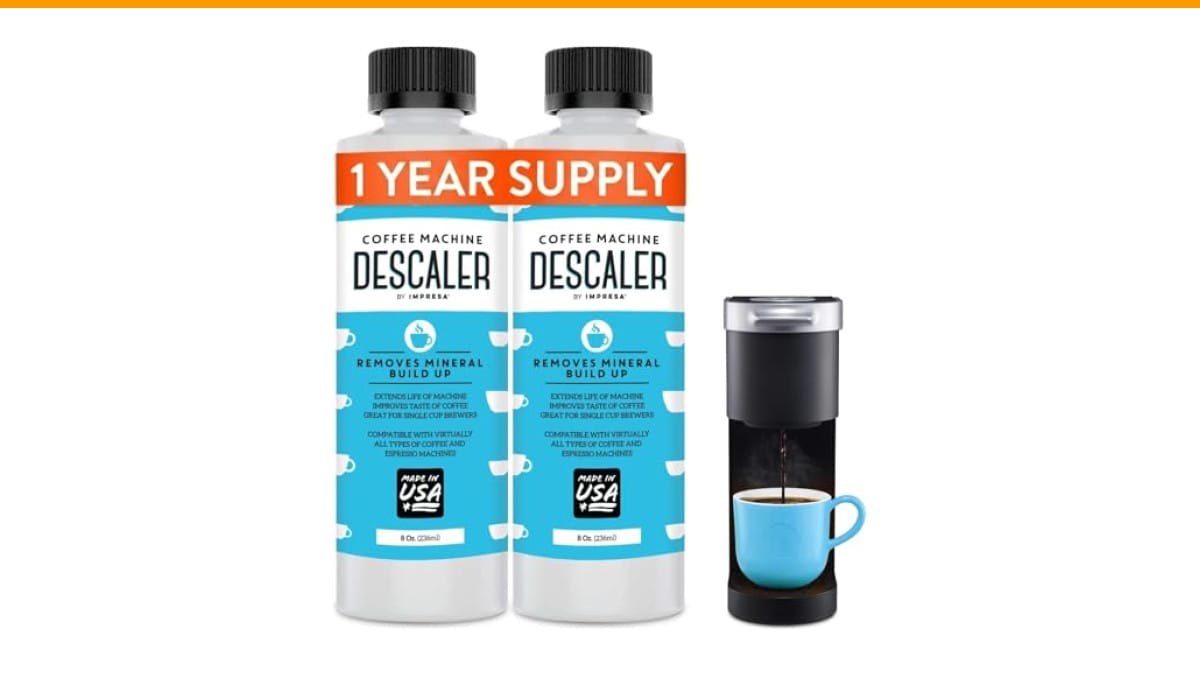
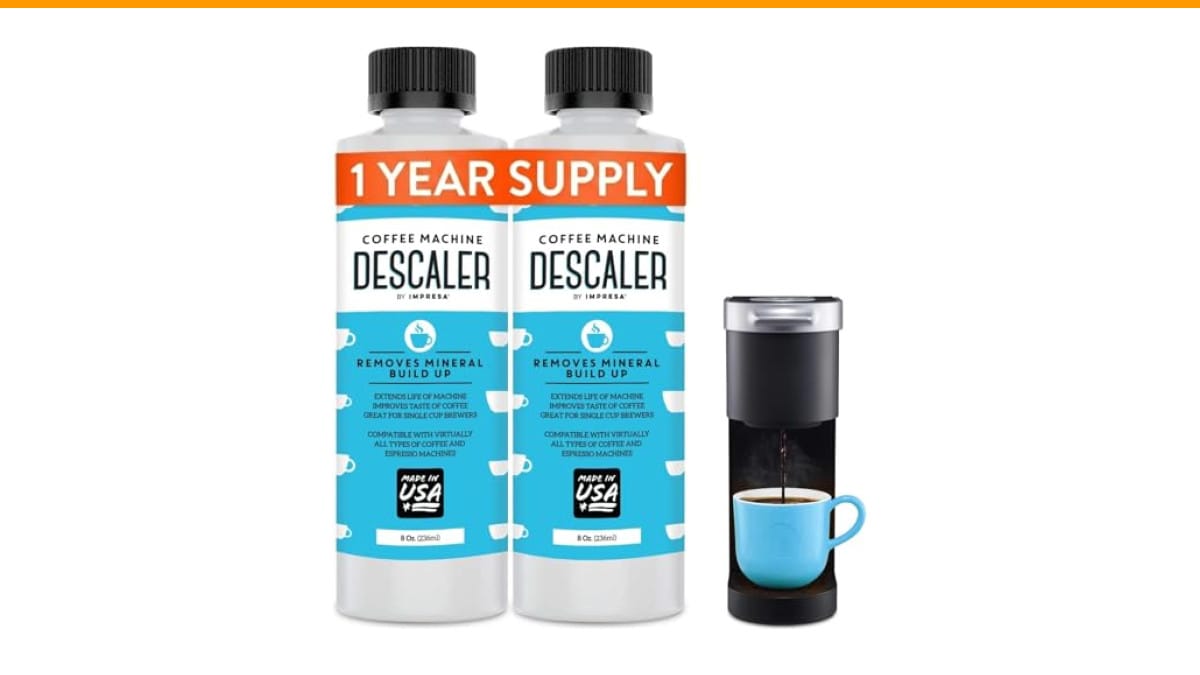
Do not forget the cost of not using a filter. Descaling solution costs $10 to $20 per bottle, and you will use it more often with hard water. A new coffee maker costs $50 to $300. The filter is the cheap option.
Signs Your Filter Needs Replacing (Before the Schedule Says So)
Manufacturers give you a schedule, but real-world conditions vary. Hard water, high usage, and warm temperatures all exhaust a filter faster. Watch for these signs and change the filter early if you see them.
Slow brewing is the first clue. A clogged filter restricts water flow. If your machine takes noticeably longer to finish a pot, the filter is likely spent. The same applies to espresso machines with a slower extraction time.
Off-taste is the second sign. If your coffee suddenly tastes flat, metallic, or has a hint of plastic, the filter is no longer removing contaminants. It might even be releasing absorbed impurities back into the water. That is a clear signal to swap it out.
Visible sediment in the reservoir or in your cup means the filter has failed. Sediment passing through indicates a crack or a complete exhaustion of the media. Stop using the machine and replace the filter immediately.
Scale buildup around the water tank or on the heating element is another indicator. If you see white flakes, your filter is not softening the water effectively. This is common when the ion exchange resin is exhausted. Change the filter and consider descaling your machine to remove existing buildup.
Finally, trust the calendar. If you cannot remember the last time you changed the filter, it is time. Most filters last 30 days. Write the date on the filter with a marker when you install it. That takes five seconds and removes all guesswork.
Environmental Impact: Disposable vs. Refillable Filter Options
Disposable cartridges are convenient, but they create plastic waste. Most reservoir filters are a plastic shell with carbon inside. You throw the whole thing away each month. Over a year, that is 12 pieces of plastic per machine. Multiplied by millions of coffee drinkers, that is a lot of landfill.
Some brands offer refillable cartridges. You buy a reusable shell and refill it with loose carbon or ion exchange resin. This cuts down on plastic waste significantly. The trade-off is mess and effort. Refilling a small cartridge is fiddly, and you have to source the right media.
Pitcher filters have the same problem. The cartridges are plastic and disposable. Some brands, like Brita, have started recycling programs where you mail back used cartridges. Check if your brand offers this. It is a small effort that keeps plastic out of the trash.
In-line filters are the worst for waste per replacement because they are larger. But they last longer, so the annual waste is similar to a reservoir filter. There are no widely available refillable in-line options, so you are stuck with disposables.
If environmental impact matters to you, look for a filter with a recyclable cartridge or a brand with a take-back program. The long-term maintenance of your machine also reduces waste, since a well-maintained machine lasts longer and avoids the need for replacement.
Frequently Asked Questions About Coffee Machine Water Filters
How often should I replace my coffee machine water filter?
Most manufacturers say every 30 days. That assumes you brew one pot per day. If you brew more, replace it sooner. If you brew less, you can stretch it to 45 days. Hard water exhausts filters faster, so err on the side of early replacement if your water is hard.
Can I use a Brita pitcher instead of a built-in filter?
Yes. A pitcher filter treats water before it enters the machine, so it works with any coffee maker. The main drawback is the extra step. You have to fill the pitcher, wait for it to filter, then pour it into the reservoir. It also takes up counter space. But the water quality is comparable to a built-in filter.
Do I need to descale my machine if I use a water filter?
Yes. A filter reduces scale buildup but does not eliminate it. Even filtered water contains some minerals. You should still descale every three to six months, depending on your water hardness. The filter slows down the process, but it does not stop it. Check our guide on removing limescale from your coffee machine for the full routine.
What is the difference between activated carbon and ion exchange filters?
Activated carbon removes chlorine, odors, and organic compounds. It improves taste and smell. Ion exchange resin removes calcium and magnesium, which softens the water. For coffee, you usually want both. Carbon for taste, resin for scale prevention. Many filters combine both media in one cartridge.
Will a water filter change the taste of my coffee?
It should improve it. Filtered water removes chlorine and other off-flavors, letting the coffee’s natural flavors come through. The change is most noticeable if your tap water has a strong chlorine smell or taste. If your water is already clean and soft, the difference might be subtle.
Final Checklist: Your 5-Step Action Plan for Perfect Water
- Test your tap water hardness and TDS. Use a test strip or a TDS meter. Know what you are dealing with before you buy anything.
- Decide on a filter type based on your machine. Drip makers take reservoir filters. Espresso machines need in-line or high-quality reservoir filters. Pour-over works with a pitcher.
- Compare micron rating, capacity, and NSF certification. Look for NSF 42 certification and a capacity that matches your monthly brew volume.
- Calculate the cost per gallon. Divide the filter price by its rated capacity. Buy in bulk to lower the per-cartridge cost.
- Set a replacement reminder. Write the install date on the filter. Watch for slow brewing or off-taste as signs of early exhaustion.
Choosing the right water filter is not complicated once you know your water. Test it, match the type to your machine, and replace it on schedule. Your coffee will taste cleaner, and your machine will last longer. That is a win on both fronts.
Products related to this article
Sponsored / affiliate links. As an Amazon Associate I earn from qualifying purchases. I may earn additional commission from eligible campaigns.
 Coffee Espresso Machine Handle Replacement Parts, Cafe Bracket Handle for Lidl Silvercrest CM4621 CM4218 KF5002 KF500S Barista (for 51mm Portafilter Basket - Not included)
 HomeBeyond Espresso Coffee Maker 12 Cups, Classic Stovetop Espresso Maker, 600ml / 20oz Coffeemaker for Gas & Ceramic Stovetops (Silver)
 Aluminum Moka Funnel Filter Replacement, for Espresso Coffee Maker, for Compatible for 1/2 /3/6/9/12 Cup Percolators, Silver(150ML)