You wake up, stumble to the kitchen, and press the brew button. Nothing happens. Or the machine groans for 20 minutes and produces a half-pot of lukewarm brown water. We’ve all been there. That morning frustration is real, and it usually hits right before you need caffeine the most.
Most drip coffee maker problems are not fatal. In fact, the majority of issues come down to three things: mineral scale buildup, a clogged internal line, or a simple part that needs a reset. You can fix most of these at home in under an hour with things you already own — vinegar, water, and a little patience.

IMPRESA
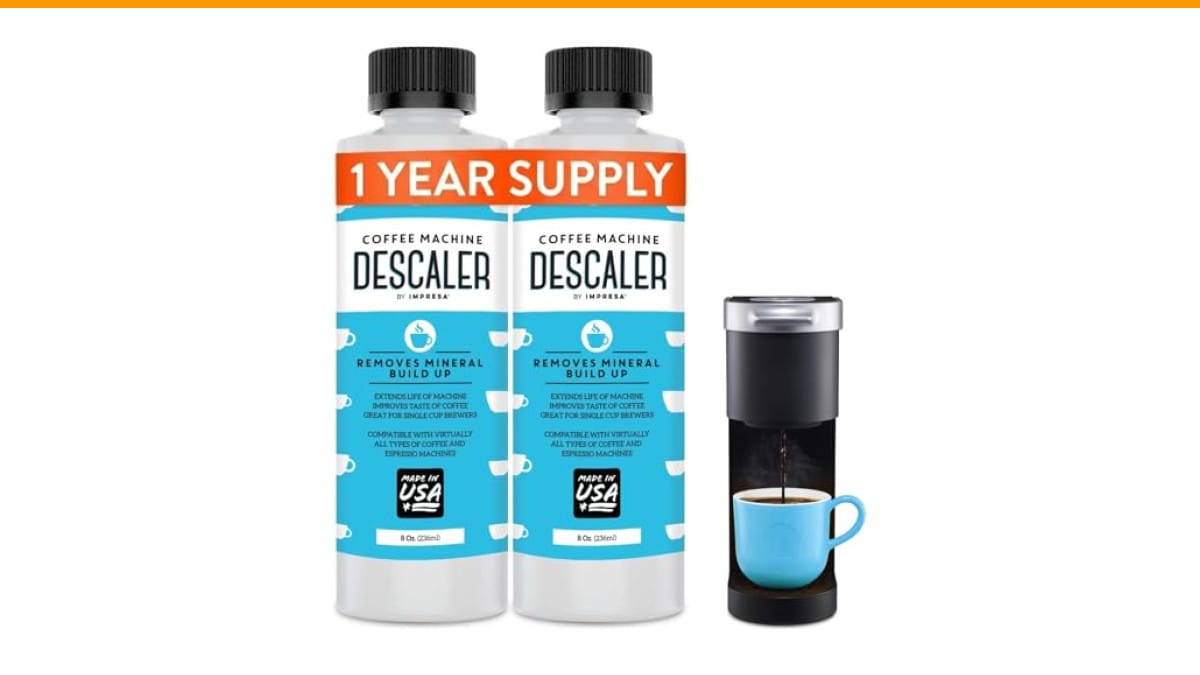
IMPRESA Coffee Machine Descaler, 2-Pack (1-Year Supply)…
- 2-Pack Coffee Descaler and Cleaner - Clean and rinse away residue and oil buildup in your coffee maker with Impresa's Coffee Desca…
- Highly Effective, Made in USA Formula - Unlike most common solutions, our coffee machine cleaner uses just 4 ounces (1/2 bottle) p…
- Preserves Your Machine - Using a coffee descaling solution eliminates limescale and mineral build-up to prevent corrosion, signifi…
As an Amazon Associate I earn from qualifying purchases.
This guide walks you through the exact steps to diagnose and fix the most common drip coffee maker failures. You’ll learn what each symptom means, how to test for it, and the specific fix that works. No vague advice. No theory. Just the practical steps I use when a machine lands on my counter for repair.
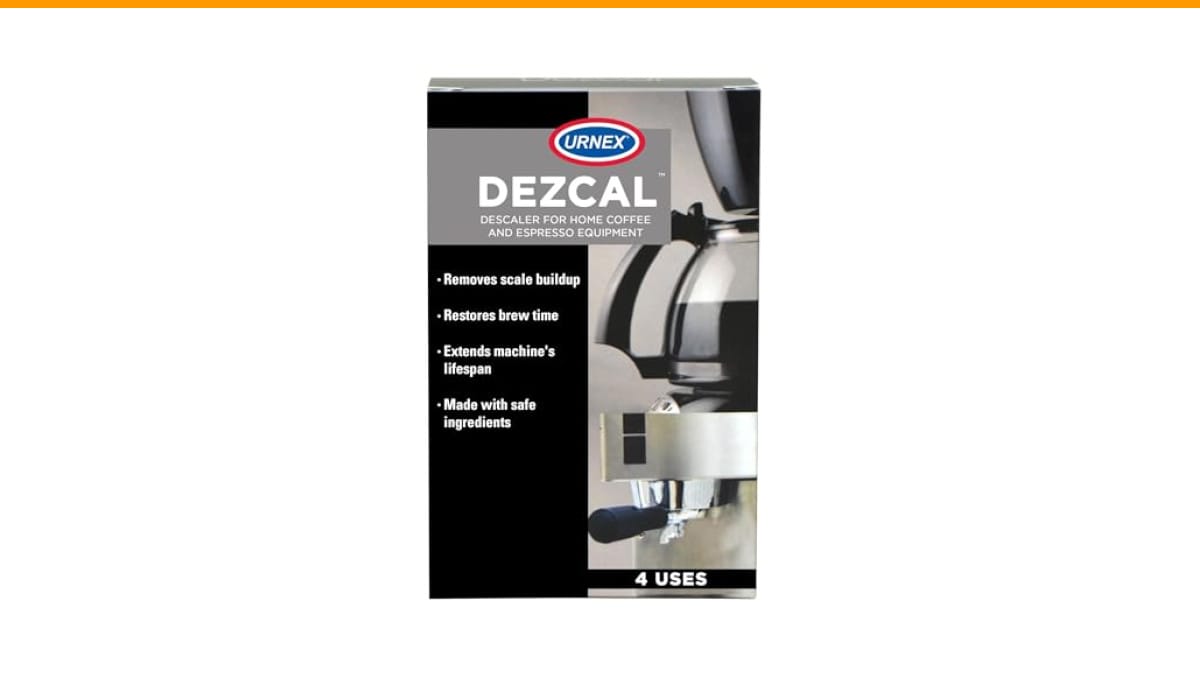
One tool I keep on hand for this work is the IMPRESA Coffee Machine Descaler. It’s a two-bottle kit that handles four descaling sessions, and it works with virtually every drip machine I’ve tested, including Cuisinart, Braun, and Hamilton Beach models. A good descaler saves you from the vinegar smell that lingers for days.
Start Here: The 10-Minute Diagnostic Routine
Before you take anything apart, run this quick check. It solves about 40% of all drip coffee maker complaints without any tools.
- Unplug the machine and wait 60 seconds. Plug it back in. Many electronic control boards need a full power cycle to reset a stuck relay or a blinking light.
- Check the water reservoir seating. Lift the tank off and set it back down firmly. Most machines have a small valve at the base that must align perfectly. If it’s off by a millimeter, the machine thinks the tank is empty and refuses to brew.
- Inspect the carafe position. The brew basket has a lever that only opens when the carafe pushes against it. If you’re using a mug instead of the carafe, the machine won’t drip. Place the carafe in, then remove it and check that the lever moves freely.
- Look at the brew basket. Is it seated all the way down? A basket that sits even slightly crooked can block the water inlet valve.
If the machine still won’t brew or brews poorly, move on to the specific fixes below. Each section targets a distinct symptom, so find yours and jump straight there.
Problem: The Machine Brews Slowly or Drips One Drop at a Time
This is the most common complaint I hear. A machine that used to brew a full pot in six minutes now takes fifteen. The cause is almost always mineral scale — calcium and magnesium deposits that narrow the internal water tube. When that tube gets restricted, the water heater can’t push water through fast enough.
The fix: Descale the machine. Here’s the process I use, and it works on every drip model I’ve tested.
- Mix a descaling solution according to the bottle’s instructions. For the IMPRESA solution, that’s 4 ounces of descaler per 8 cups of water.
- Pour the mixture into the water reservoir.
- Place a clean carafe in position.
- Run a full brew cycle without coffee grounds.
- When the cycle finishes, let the machine sit for 15 minutes. This lets the solution soak into the scale.
- Run a second full cycle with the remaining descaling solution.
- Fill the reservoir with fresh water and run two full cycles to rinse.
If you don’t have a commercial descaler, white vinegar works. Use a 1:1 ratio of vinegar to water and run the same cycle. Vinegar is cheaper, but it leaves a smell that takes two or three rinse cycles to clear. I’ve found the commercial solutions rinse out faster and don’t eat at rubber seals as aggressively.
After descaling, most machines return to their original brew time. If yours still drips slowly, the problem may be a clogged check valve — a small plastic piece at the bottom of the water tube. You can usually pop it out with a flathead screwdriver, rinse it under hot water, and snap it back in.
For a step-by-step guide on this exact process, check out our article on cleaning a clogged coffee maker.
Problem: The Coffee Tastes Weak or Watery
Weak coffee is rarely a machine failure. It’s almost always a ratio problem or a dirty brew basket. But there are two machine-related causes worth checking.
Cause 1: The shower head is blocked. The metal or plastic plate where water enters the brew basket has small holes. Over time, coffee oils and grounds clog those holes. Water then channels through just a few openings, leaving the grounds partially dry. Remove the shower head if your model allows it, scrub it with a soft brush under hot water, and soak it in a vinegar solution for 10 minutes.
Cause 2: The water temperature is too low. Drip machines should brew between 195°F and 205°F. If the heating element is failing or coated in scale, the water never gets hot enough to extract properly from the grounds. You’ll notice this as weak, sour-tasting coffee. Descale the machine first. If that doesn’t help, the heating element may need replacement — a job that’s often not worth the cost of a new machine.
Also, check your coffee-to-water ratio. For a standard 12-cup pot, you need about 6 tablespoons of ground coffee. Most people use less. If you’re using supermarket pre-ground coffee, it’s also possible the grind is too coarse for your machine’s basket. A finer grind extracts more flavor, but don’t go too fine or you’ll clog the filter.
For a deeper dive on this, read our guide on proper coffee maker cleaning.
Problem: The Machine Makes Gurgling or Hissing Noises
A little gurgling is normal — that’s the sound of water boiling in the heating chamber and pushing up the tube. But loud hissing or sputtering is not. That sound usually means steam is escaping somewhere it shouldn’t, or the water level in the heating chamber is too low.
The fix: First, turn the machine off and let it cool completely. Then check the water tube — the clear plastic line that runs from the reservoir to the heating element. If it’s kinked or pinched, water can’t flow smoothly. Straighten it out.
Next, check the one-way valve at the bottom of the reservoir. This small rubber or plastic piece lets water flow down into the machine but prevents it from flowing back up. If it’s stuck, water pools in the reservoir and the heating chamber runs dry, causing the hissing. Remove the valve, rinse it, and make sure it moves freely.
If the noise persists after cleaning, the heating element may have a small crack. This is rare, but it happens on older machines. Water seeps into the electrical housing and boils, creating a dangerous situation. If you see any steam coming from the base of the machine, stop using it immediately and replace it.
Regular descaling prevents most of these issues. Scale buildup makes the heating element work harder and run hotter, which accelerates wear. A regular cleaning schedule keeps the machine running quietly and efficiently.
Problem: The Machine Won’t Turn On or the Lights Are Flashing
No power at all is usually a simple fix. Check the outlet first — plug in a phone charger to confirm it works. Then check the power cord for damage, especially near the base where it bends. If the cord is frayed, stop using the machine and replace it. That’s a fire hazard, not a repair.
If the machine has power but the lights flash in a pattern, that’s often a diagnostic code. Many modern machines flash a specific sequence when the reservoir is empty, the carafe is missing, or the machine needs descaling. Check your manual for the code. If you’ve lost the manual, search online for your model number plus “flashing light” — you’ll usually find a forum post or official PDF.
For Cuisinart machines specifically, flashing lights often mean the machine is in a locked state. Unplug it for 10 minutes, then plug it back in. If that doesn’t work, check the water filter — a clogged charcoal filter can restrict water flow and trigger the sensor. Replace the filter if it’s older than 60 days.
If the machine still won’t turn on after all this, the internal thermal fuse may have blown. This is a safety mechanism that cuts power if the machine overheats. Replacing it requires disassembling the base and soldering in a new fuse — a job that’s only worth it if you’re comfortable with electronics and the machine is expensive. For most $50-100 drip machines, replacement is the smarter move.
Comparing Your Repair Options
Not every fix makes financial sense. Here’s a quick comparison table to help you decide when to repair and when to replace.
| Problem | Repair Time | Cost | Worth It? |
|---|---|---|---|
| Slow brew (scale buildup) | 30-45 minutes | $10-15 for descaler | Yes, always |
| Weak coffee (dirty shower head) | 15 minutes | $0 | Yes, always |
| Gurgling noise (kinked tube) | 10 minutes | $0 | Yes, always |
| Flashing lights (locked state) | 5 minutes | $0 | Yes, try reset first |
| Heating element failure | 2-3 hours | $20-40 for part | Only if machine is $150+ |
| Cracked base or steam leak | N/A | N/A | No, replace immediately |
My general rule: if the machine is under three years old and the repair takes less than an hour, fix it. If it’s older, or the repair involves the heating element, buy a new one. The cost of a replacement machine has come down so much that it’s often not worth the hassle.
Prevention: How to Avoid These Problems in the First Place
Every problem in this article is preventable with one habit: regular descaling. Mineral buildup is the root cause of slow brewing, weak coffee, and most mechanical failures. It’s not a matter of if scale will form — it’s when. Every pot of water you brew leaves behind a tiny amount of calcium and magnesium.
Here’s the schedule I recommend:
- Every 3 months: Run a full descaling cycle with a commercial descaler.
- Every month: Remove the brew basket and carafe, wash them in warm soapy water, and wipe down the shower head.
- Every 2 weeks: Rinse the reservoir with fresh water and let it air dry.
- When you travel: Empty the reservoir completely. Stagnant water breeds mold.
Also, use filtered water if your tap is hard. Hard water contains more minerals, which means faster scale buildup. A simple pitcher filter cuts the mineral load significantly and extends the time between descaling sessions.
One product that makes this routine painless is the IMPRESA descaler two-pack. Each bottle handles two sessions, so the kit covers a full year of maintenance. It’s a small investment that keeps a $100 machine running like new.
Frequently Asked Questions
How often should I descale my drip coffee maker?
Every three months is the standard recommendation for machines used daily. If you use hard tap water, move that up to every two months. If you use filtered water, you can stretch it to four months. The machine itself will tell you — when brew time starts creeping up, descale.
Can I use vinegar instead of a commercial descaler?
Yes, white vinegar works. Use a 1:1 vinegar-to-water ratio and run a full cycle. The downside is the smell — it takes several rinse cycles to clear completely, and the acid can degrade rubber seals over time. Commercial descalers are gentler and rinse out faster. I use vinegar in a pinch, but the commercial stuff is better for your machine’s longevity.
Why does my coffee maker stop brewing halfway through?
This is usually a thermal cutoff issue. The machine overheats and trips a safety switch, killing power to the heating element. It could also be a clogged water line that causes the pump to work too hard. Descale first. If the problem persists, the thermal fuse may need replacing.
Is it safe to clean the heating element with vinegar?
Vinegar is safe for the internal water lines and the heating element’s exterior. But never submerge the base of the machine in water or vinegar. The heating element is electrical — you’re cleaning the internal water path, not the element itself. Always pour the solution into the reservoir, never directly onto the base.
My machine makes a loud pop and then stops. What happened?
That pop is often the sound of a small steam bubble collapsing in the water line, which can happen when the machine is overdue for descaling. It could also be a failing heating element cracking. If the machine stops working after the pop, unplug it and inspect the base for any signs of water leakage or burn marks. If you see either, replace the machine.
What to Do Next: A Simple Action Plan
You don’t need to be a repair technician to keep your drip coffee maker running for years. The steps above cover 95% of the problems you’ll ever face. Here’s the short version for when you’re standing in the kitchen, staring at a dead machine:
- Unplug the machine and plug it back in after 60 seconds — this resets the control board.
- Check the reservoir, carafe, and brew basket are all seated correctly.
- Descale with a commercial solution or vinegar if brew time has slowed.
- Clean the shower head and check the water tube for kinks.
- Replace the machine if you see steam escaping from the base or smell burning plastic.
- Build a 3-month descaling habit to prevent most of these issues.
- Keep a descaler like the IMPRESA two-pack in your pantry so maintenance doesn’t get postponed.
Most of these fixes take less than 30 minutes and cost nothing. The ones that cost money — descaler, a new filter — are still far cheaper than a replacement machine. And if you’re already shopping for a new model, the cleaning habits you’ve built will make that machine last longer too.
Products related to this article
Sponsored / affiliate links. As an Amazon Associate I earn from qualifying purchases. I may earn additional commission from eligible campaigns.
 HomeBeyond Espresso Coffee Maker 12 Cups, Classic Stovetop Espresso Maker, 600ml / 20oz Coffeemaker for Gas & Ceramic Stovetops (Silver)
 Belly Moka Coffee Maker Stovetop Espresso Maker 9 Cup Aluminum Moka Pot Percolator 15oz 450ml Easy Brewing for Electric Ceramic Stoves Home Camping Italian Cuban Café Classic Black
 Belly Moka Coffee Maker Stovetop Espresso Maker 6 Cup Aluminum Moka Pot Percolator 10oz 300ml Easy Brewing for Electric Ceramic Stoves Home Camping Italian Cuban Café Classic Silver