You pull a shot and it’s a sad, thin trickle. Or it blasts out in five seconds with pale foam. The machine is warm, the portafilter is locked in, but something is off. You’re not alone. Most home espresso problems come down to a handful of repeating causes: grind size, dose weight, water temperature, and internal scale buildup. Once you learn to read the symptoms, you can fix almost anything without calling a technician.
This guide walks through the six most common failures, explains the mechanics behind each one, and gives you a step-by-step path to get back to a proper 25-30 second extraction. You’ll also learn when the problem is actually your machine’s internal parts needing attention, not your technique. I’ve tested these fixes on a range of semi-automatic and super-automatic machines, and they work.

ACTIVE
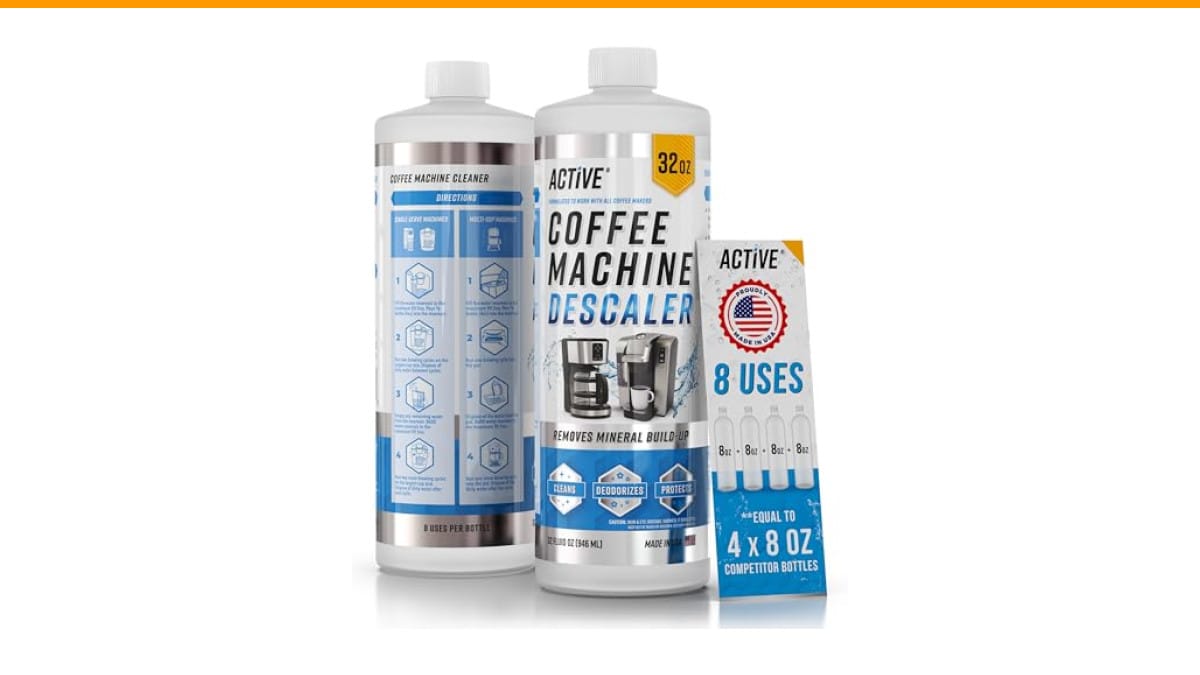
ACTIVE Coffee Machine Descaler Descaling Solution -…
- 8 Uses Value-Size Bottle: Same as 4 x 8oz bottle kit of other products! Less Waste, Better Value!
- Works with All Coffee Machines: Our Coffee Maker Descaler is compatible with Nespresso pod and K-cup brewer, multi-cups drip coffe…
- Descaling and Cleaning Formula: ACTIVE Coffee Descaler and Cleaner, a natural Calcium & Scale Remover. Compare to Descaling Tablet…
As an Amazon Associate I earn from qualifying purchases.
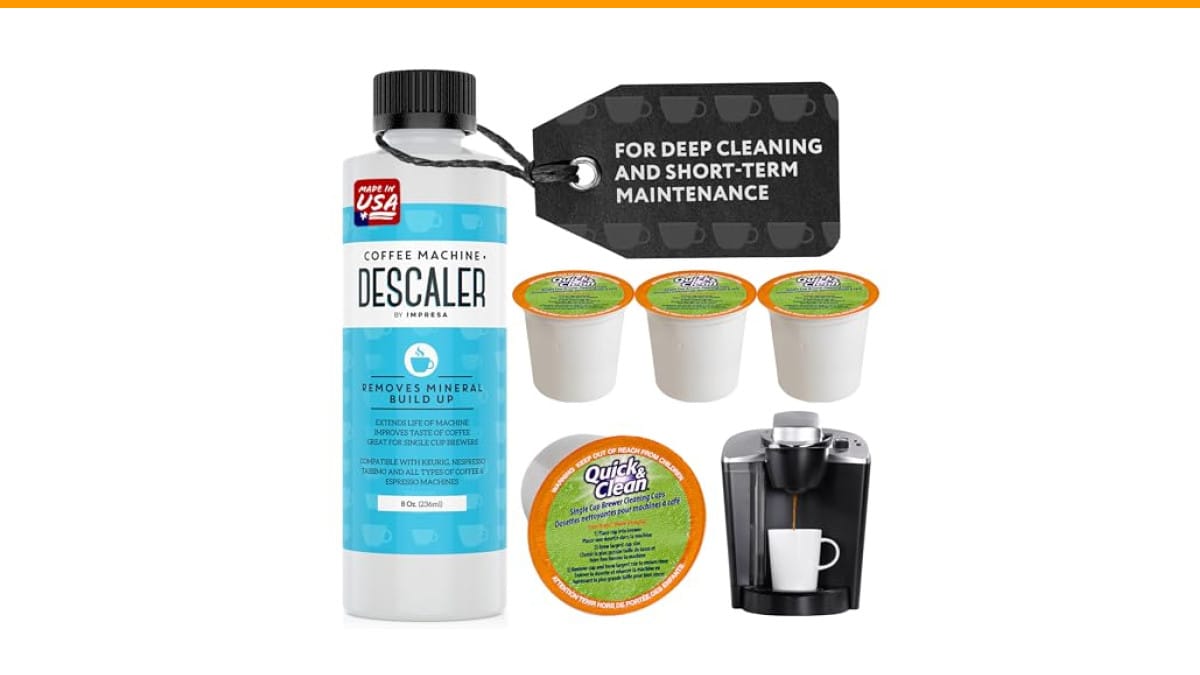
Before we start, one quick note on maintenance. If your shots have been degrading slowly over a month, the culprit is usually scale, not your tamping. A quality descaler like the ACTIVE Coffee Machine Descaler handles the internal cleaning in about 20 minutes. It’s a citric acid formula that dissolves calcium deposits without the harsh smell of some commercial products, and one 32oz bottle covers eight descaling cycles. I keep a bottle on hand because hard water scale is the number one silent killer of home espresso machines.
Why Your Shot Runs Too Fast (Under 20 Seconds)
A shot that finishes in under 20 seconds almost always means water is pushing through the puck too easily. The classic cause is a grind that’s too coarse. Your coffee bed acts as a resistance barrier; when the particles are large, water slips through the gaps and extracts only the surface of each particle. The result is a sour, thin, weak cup.
Fix this by adjusting your grinder one or two steps finer. If you don’t have a stepless grinder, that’s fine. Make a small change, pull another shot, and time it. You’re looking for a yield of about 36 grams of liquid from an 18 gram dose in 25 to 30 seconds. That ratio matters more than any single variable.
Another fast-shot culprit is under-dosing. If your basket holds 18 grams but you’re only putting in 15, the puck is too thin. Water finds the path of least resistance around the edges. Weigh your dose every time. Guessing by volume is the fastest way to inconsistent shots.
Why Your Shot Runs Too Slow or Chokes
The opposite problem is a shot that drips for 40 seconds or comes out as a few dark drops. That means the water can’t get through the puck. Your grind is too fine, or you’ve over-packed the basket. The machine’s pump will keep pushing, but the pressure builds up and the water stalls.
Go coarser by two or three steps and try again. Also check your dose. If you’re tamping 20 grams into a basket designed for 18, you’re compressing the coffee into a brick. Reduce the dose to match the basket rating, then adjust grind from there.
One thing people miss: stale beans. Coffee that’s been sitting in the bag for three weeks produces excessive fines—tiny particles that clog the puck. If your grind setting hasn’t changed but shots suddenly choke, try a fresh bag of beans roasted within the last two weeks. It’s a cheap test that solves a surprising number of problems.
When the Pressure Is the Problem
Most home machines have a pressure gauge or at least a spec sheet. You want to see around 9 bars during extraction. If your machine has no gauge, you can infer pressure from how the shot behaves. A fast, gushing flow with no crema usually means pressure is too low. A choked flow often means it’s too high, though that’s usually a grind issue first.
Low pressure has a few common causes. The most frequent is a clogged or dirty group head. Coffee oils accumulate on the shower screen and block water distribution. Remove the screen and soak it in a deep cleaning solution for 30 minutes, then scrub it with a brush. A clean screen makes a noticeable difference in flow evenness.
Another cause is a failing pump. If your machine is over five years old and pressure has dropped gradually, the pump may be worn. Replacement pumps run about $40 to $80 and are a straightforward DIY fix on most semi-automatics. Before you buy one, though, check the water inlet filter. A clogged filter starves the pump and mimics pump failure.
The Bitter or Burnt Taste Problem
Bitter espresso isn’t always over-extraction. Sometimes it’s temperature. If your machine’s thermostat drifts high, water hits the coffee at 205°F or hotter, and you get harsh, ashy flavors. The ideal brew temperature is 198°F to 202°F. Most machines don’t let you set this directly, but you can work around it.
Run a blank shot (no coffee) through the group head for five seconds before locking in the portafilter. This warms the group head and stabilizes the temperature. If you’re still getting bitter shots, and your grind and dose are dialed in, then scale is likely insulating the boiler and causing temperature swings. This is where descaling becomes a taste fix, not just a maintenance task. A machine with heavy scale will fluctuate wildly in temperature, and you’ll taste it in every cup.
Use a descaler like the ACTIVE solution every two to three months if you have moderately hard water. If you use softened water, you can stretch it to four months. The process is simple: fill the reservoir with the solution, run it through a brew cycle, let it sit for 15 minutes, then run two full reservoirs of fresh water to rinse. Skip the rinse step and you’ll taste citric acid in your next shot—trust me, you’ll notice.
Water Leaks and Drips You Can Fix Yourself
Leaks fall into two categories: annoying and dangerous. An annoying leak is a few drops pooling under the portafilter after a shot. That’s usually just a worn group gasket. The gasket is a rubber ring that seals the portafilter to the group head. Over time it hardens and loses its grip. Replacing it takes five minutes and a flathead screwdriver. Gaskets cost around $10 and are sold in standard sizes (8mm, 8.5mm, 9mm). Check your machine’s manual for the right one.
A dangerous leak is water streaming from the bottom of the machine during operation. Don’t ignore that. It’s often a loose hose clamp or a cracked fitting inside. Unplug the machine, open the case, and look for wet spots. If you see a cracked plastic T-fitting, that’s a $5 part. If you’re not comfortable opening the case, call a repair shop. Water and electricity don’t mix, and this isn’t the place to learn.
If your machine is leaking from the steam wand, that’s usually a worn steam valve seal. It’s a small o-ring that costs a couple of dollars. You’ll need to disassemble the wand assembly, but videos online walk you through most models. It’s a 20-minute job.
Strange Noises and What They Mean
A vibrating pump makes a loud buzzing sound—that’s normal. What’s not normal is a high-pitched whine or a grinding noise. A whine often means the pump is struggling to draw water. Check the reservoir level first; low water causes cavitation. If the tank is full, the inlet filter is probably clogged. Pull it out and rinse it under running water.
A grinding or rattling noise from inside the machine usually points to a loose screw or a failing pump bearing. Turn off the machine, open the case, and check that the pump and its mounting brackets are tight. If the noise persists, the pump is likely at the end of its life. You can replace it, or if the machine is older and lower-end, it might be more cost-effective to upgrade. For a detailed breakdown of noise issues, check this troubleshooting guide for loud machines.
Flow Rate Test: The 10-Second Check
Here’s a quick diagnostic you can run right now. Remove the portafilter and place an empty cup under the group head. Start a manual brew cycle and time how long it takes to fill the cup to 2 ounces (about 60ml). A healthy machine delivers that in 8 to 12 seconds. If it takes longer than 15 seconds, your shower screen or internal pipes are restricting flow. If it fills in under 5 seconds, you might have a pump pressure issue.
This test isolates the machine from your coffee technique. If the flow rate is good but your shots are bad, the problem is grind, dose, or beans. If the flow rate is bad, you have a hardware issue. Run this test first, and you’ll save yourself a lot of wasted coffee dialing in a machine that needs a cleaning.
Comparing Fixes by Difficulty and Cost
| Problem | Likely Cause | Difficulty | Cost | Time |
|---|---|---|---|---|
| Shot runs fast | Grind too coarse / under-dosing | Easy | $0 | 5 min |
| Shot chokes | Grind too fine / stale beans | Easy | $0–$15 (new beans) | 10 min |
| Low pressure | Clogged screen / failing pump | Medium | $0–$80 | 30 min–2 hrs |
| Bitter taste | High temp / scale buildup | Medium | $15–$25 (descaler) | 30 min |
| Leak under portafilter | Worn group gasket | Easy | $10 | 15 min |
| Leak from base | Loose hose / cracked fitting | Hard | $5–$50 | 1–2 hrs |
| Loud whine | Low water / clogged inlet filter | Easy | $0 | 5 min |
Use this table as a starting point. If you’re not comfortable with the medium or hard fixes, most local repair shops handle espresso machines for a flat fee. But I’d argue that the group gasket and the inlet filter are well within reach of anyone who can use a screwdriver.
When to Stop Troubleshooting and Call It Quits
Not every machine is worth fixing. If your espresso machine is a basic $150 unit and the pump fails, the replacement part plus labor will exceed the value of the machine. In that case, put the money toward a better machine. A good rule of thumb: if the repair costs more than 60% of the machine’s current value, replace it.
Also, if you’ve replaced the pump, gasket, and heating element and you’re still getting inconsistent shots, the problem might be the boiler itself. Corroded boilers on old machines are a death sentence. They can’t be cleaned back to spec, and they’ll keep ruining shots no matter what you do.
You can extend the life of any machine significantly with regular care. A maintenance routine that includes weekly backflushing and monthly descaling will keep most home machines running for a decade. The backflush is the part people skip, but it’s the one that prevents the oily buildup that causes so many flow problems.
Frequently Asked Questions
Why does my espresso machine lose pressure halfway through the shot?
This is often a pump or pressure stat issue. If the pressure drops after the first 10 seconds, the pump may be struggling to maintain output. Check the water inlet filter for clogs first. If that’s clean, the pump is likely worn. On some machines, the pressure stat needs recalibration, but that’s less common.
How often should I descale my espresso machine?
Every two to three months with hard water, every four to six months with soft water. If you see white flakes in your water tank or the shot flow has slowed, descale immediately. Ignoring scale is the most expensive mistake you can make with an espresso machine.
Can I use vinegar to descale my espresso machine?
You can, but I don’t recommend it. Vinegar leaves a lingering taste and odor that’s hard to rinse out of internal pipes. It can also degrade rubber gaskets over time. A citric acid based cleaner like the ACTIVE descaler does the job without the smell or the residue. Your next few shots will taste noticeably cleaner.
Why is my espresso machine not making a full cup?
If you’re using a pod machine, check the water tank and the needle that pierces the pod. A clogged needle stops the flow. On semi-automatics, check the brew switch and the flow meter. A similar issue affects Nespresso machines, and you can find specific Nespresso flow fixes here.
What’s the ideal shot time and volume?
For a standard double shot, aim for 36 grams of liquid out from an 18 gram dose in 25 to 30 seconds. That’s the baseline. Adjust to taste from there. If it runs faster than 25 seconds, grind finer. If it runs slower, grind coarser. Keep everything else constant.
What You Can Do Right Now
- Run the 10-second flow test before you change anything else. It tells you if the issue is the machine or your technique.
- Clean the shower screen and group head. A quick brush and a soak solves a surprising number of flow problems.
- Weigh your dose. Guessing leads to inconsistency, and inconsistency hides the real problem.
- Check your beans. If they’re older than three weeks, buy fresh ones before you adjust any machine settings.
- Descale if you haven’t in the last three months. Scale affects temperature, flow, and taste simultaneously.
- Replace the group gasket if you see any water dripping around the portafilter during a shot.
- If the pump is dead and the machine is over five years old, consider whether a replacement is smarter than a repair.
Products related to this article
Sponsored / affiliate links. As an Amazon Associate I earn from qualifying purchases. I may earn additional commission from eligible campaigns.
 Coffee Espresso Machine Handle Replacement Parts, Cafe Bracket Handle for Lidl Silvercrest CM4621 CM4218 KF5002 KF500S Barista (for 51mm Portafilter Basket - Not included)
 Linnkyfloa Coffee Espresso Maker Handle Replacement for Stovetop Moka Pot or Percolator, Black Plastic for Spare Part Compatible with Italian(9-12 Cup)
 Quick Heating Cup Warmer, Three Temperature Settings, Splashproof and Portable, for Coffee, Milk, Lightweight ABS Material