An AeroPress ratio calculator lets you turn a finished cup size into the right coffee and water weights in one step: choose your target ounces or water grams, pick a ratio, and the calculator gives you the dose. Skip that step and you can end up with a cup that’s too concentrated, too diluted, or too small for your mug. This guide shows how to match ratio to finished ounces, then turn that choice into coffee and water grams for common AeroPress sizes.
How is this calculated?
Press Calculate to see the math with your numbers.
Three brew styles and their coffee to water ratios

Start with the drink you want in the cup, then choose the brew style that fits it. A standard cup lands in the 1:12 to 1:17 range, a concentrate sits around 1:5 to 1:8 before dilution, and an espresso-style shot uses about 1:3 to 1:5. Those ranges line up with the AeroPress manual’s chamber capacity of 237 ml for the Original/Go and 473 ml for the XL, and with Specialty Coffee Association guidance that brewing water should be kept in the roughly 195 to 205 F range for filtered coffee, adjusted here for AeroPress recipes that often run a little cooler. The right choice depends on final ounces, not the filter basket or the grinder label.
If you want a clean cup you can drink as-is, the standard range is the simplest place to begin. If you want room for hot water or milk after pressing, calculate as a concentrate. If you want a small, strong shot, use the espresso-style range and keep the output in the 40 to 80 ml zone.
How to read the numbers
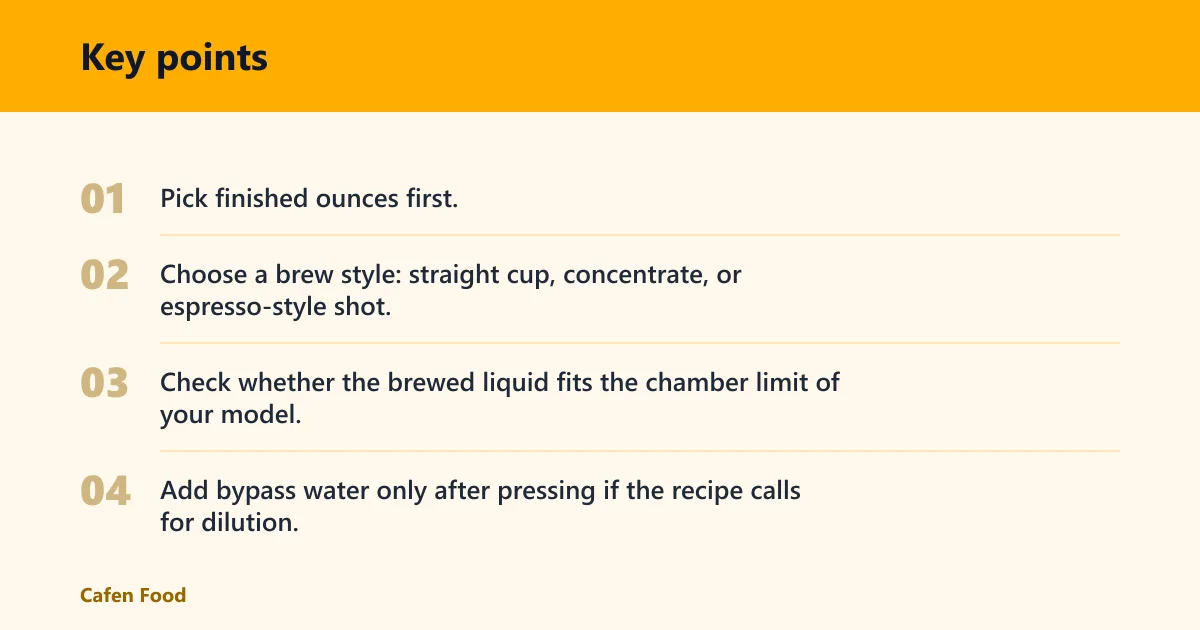
- Pick finished ounces first.
- Choose a brew style: straight cup, concentrate, or espresso-style shot.
- Check whether the brewed liquid fits the chamber limit of your model.
- Add bypass water only after pressing if the recipe calls for dilution.
Say your mug holds 12 oz and you want a cup you can sip right away. A standard recipe around 1:15 gives you a balanced starting point, and the brewed liquid stays within the chamber limit of the Original, Go, and XL. Suppose you want the same mug filled with a concentrate for milk; then brew a smaller dose first, then add hot water after pressing.
What size cup do you want?
Choose the finished drink first, then match the ratio to that goal. A straight cup should fit your mug and your taste in one step. A concentrate should leave space for bypass water. An espresso-style AeroPress shot should stay small on purpose, because the output is meant to be concentrated, not mug-sized.
Straight cup targets
For a drink-as-is cup, the standard AeroPress ratio range is 1:12 to 1:17, with many recipes landing near 1:15. That puts the sweet spot in the stronger-than-drip range without moving the cup into concentrate territory. The standard brew sweet spot is 150 to 200 ml, which is why many home brewers aim there first.
Concentrate targets with dilution
A concentrate uses the 1:5 to 1:8 press ratio, then hot water goes in after pressing. This is the right choice when you want an americano-style cup, a milk drink, or a larger final volume than the chamber can hold in one press. The brewed liquid is only part of the final drink.
Espresso-style shot targets
An espresso-style AeroPress recipe often uses about 1:3 to 1:5 and typically yields about 40 to 80 ml. That output is concentrated enough for a short cup or a milk drink, but it is still not true espresso. The Aeropress uses pressure from a hand press, not an espresso machine’s pump system.
AeroPress ratio lookup table
This table starts with finished ounces, then shows a practical coffee-and-water setup for three brew styles. The straight-cup column uses a 1:15 starting point. The concentrate column uses a 1:6 brew ratio, then adds bypass water to reach the finished size. The espresso-style column uses a 1:4 shot ratio.
| Finished size | Straight cup at 1:15 | Concentrate at 1:6, then dilute | Espresso-style at 1:4 | Capacity and bypass note |
|---|---|---|---|---|
| 2 oz / 60 ml | 4 g coffee, 60 g water | 10 g coffee, 60 g brew water, then add 60 g bypass | 15 g coffee, 60 g water | Fits Original, Go, and XL. No bypass needed for straight cup. |
| 4 oz / 120 ml | 8 g coffee, 120 g water | 20 g coffee, 120 g brew water, then add 120 g bypass | 30 g coffee, 120 g water | Fits Original, Go, and XL. Concentrate needs bypass water. |
| 6 oz / 177 ml | 12 g coffee, 177 g water | 30 g coffee, 177 g brew water, then add 177 g bypass | 44 g coffee, 177 g water | Fits Original, Go, and XL. Straight cup sits in the sweet spot. |
| 8 oz / 237 ml | 16 g coffee, 237 g water | 40 g coffee, 237 g brew water, then add 237 g bypass | 59 g coffee, 237 g water | At the max for Original and Go. XL also handles it easily. |
| 12 oz / 355 ml | 24 g coffee, 355 g water | 59 g coffee, 355 g brew water, then add 355 g bypass | 89 g coffee, 355 g water | Exceeds Original and Go chamber capacity. Requires bypass for any full-size drink. |
| 16 oz / 473 ml | 32 g coffee, 473 g water | 79 g coffee, 473 g brew water, then add 473 g bypass | 118 g coffee, 473 g water | At the max for XL. Exceeds Original and Go. Requires bypass for a full mug. |
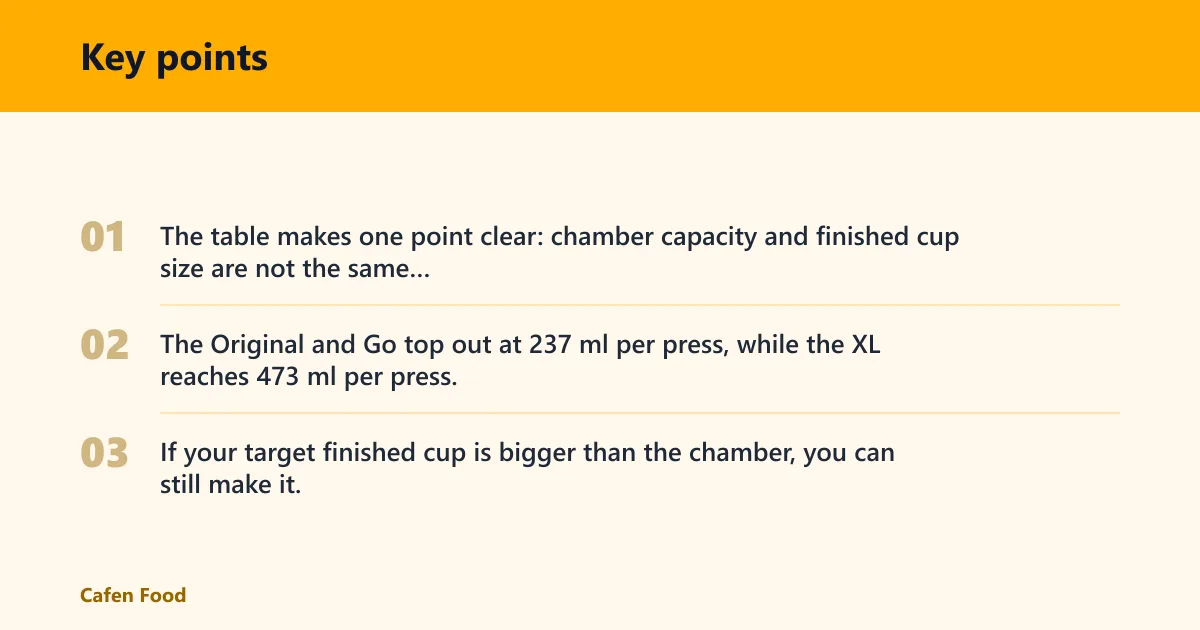
The table makes one point clear: chamber capacity and finished cup size are not the same thing. The Original and Go top out at 237 ml per press, while the XL reaches 473 ml per press. If your target finished cup is bigger than the chamber, you can still make it, but you need bypass water after pressing.
Which AeroPress model should you use?
The Original and Go are single-cup brewers with the same 237 ml max capacity. The XL is the 2-cup model and brews up to 473 ml per press. Choose the model by the volume you want to brew at once, not by the mug size alone, because dilution can change the final drink size.
Original and Go capacity
AeroPress Original brews up to 237 ml per press. AeroPress Go has the same 237 ml max capacity as the Original and uses the same internal chamber. Both fit standard single-cup brewing, and both work well for the 150 to 200 ml sweet spot.
XL capacity
AeroPress XL brews up to 473 ml per press. That extra room makes it the better fit for larger straight cups and for concentrate recipes that need more liquid before dilution. It also uses a larger filter cap than the smaller models.
Filter cap and batch size differences
The Original and Go use the standard filter size. The XL uses a larger filter cap, which matches its larger brew volume. If you mainly brew one smaller cup at a time, the smaller models are easier to size; if you want a two-cup batch, the XL is the better fit.
How much coffee should you use?
The right coffee dose depends on the brew style. A standard cup usually starts around 1:15, a concentrate sits around 1:6, and an espresso-style shot starts near 1:4. Those numbers are more useful than tablespoon counts, because scoop size changes with roast, grind, and how tightly you pack it.
Standard ratio range
The standard AeroPress ratio range is 1:12 to 1:17. A practical middle ground is 1:15, which gives a cup that reads as stronger than drip without moving into concentrate territory. If you want a slightly fuller cup, move toward 1:12; if you want something lighter, move toward 1:17.
Concentrate ratio range
The concentrate AeroPress press ratio is 1:5 to 1:8. This is where bypass water matters, because the pressed coffee is only the base of the drink. If you are building a milk drink or an americano-style cup, this range gives you enough strength before dilution.
Espresso-style ratio range
Espresso-style AeroPress uses a 1:3 to 1:5 ratio and usually produces 40 to 80 ml. That range is useful when you want a very small, strong shot for milk drinks or a short cup. It does not make true espresso, but it does make a dense concentrate with a similar feel.
A common first-timer mistake is using the same dose for every mug and then changing only the water. That usually creates either a weak cup or a stalled press. Say your grinder is set very fine and your target is 8 oz straight: use less coffee than a concentrate recipe, keep the ratio in the standard range, and shorten the steep slightly if the press feels slow.
Paper or metal filter?
Paper gives a cleaner, brighter cup because it traps more oils and fine particles. Metal lets more oils through, which gives the drink more body. Filter choice does not change the math much, but it does change flavor, flow, and grind choice.
Cup clarity and body
Use a paper filter if you want a cleaner cup and a clearer finish. Use a metal reusable filter if you want fuller body and a heavier mouthfeel. The paper filter is the safer default for most straight cups; metal is a good choice when you want more texture in a concentrate or milk drink.
Grind change for metal filters
If you switch to metal, go one notch coarser than your paper-filter grind. That helps reduce fines through the screen and can keep the press from slowing down too much. A finer grind paired with metal can make the cup muddy and the press resistant.
When to rinse the paper filter
Rinse the paper filter before brewing. That removes paper taste and helps the filter sit flat. If you skip the rinse, the cup can read slightly papery, especially in a lighter roast or a smaller straight cup.
Steep time, water temperature, and grind size
Water temperature, steep time, and grind size work together. A fine grind extracts faster and usually needs a shorter steep. A coarser grind extracts more slowly and can need more time. Temperature changes extraction too, so a small shift can move the cup from sour to balanced or from balanced to bitter. Specialty Coffee Association guidance for brewed coffee generally centers around 195 to 205 F, while AeroPress recipes often sit a little lower for smoother results and easier handling.
Water temperature range
A good AeroPress water temperature range is 175 to 185 F, or 79 to 85 C. A common default water temperature is about 185 F / 85 C. Lower temperatures can soften bitterness and keep a lighter roast bright; higher temperatures can help extract more from a coarser grind or a darker roast.
Steep time by grind size
A common steep time range is about 1 to 2 minutes. Go shorter with a finer grind and longer with a coarser grind. If the cup tastes sour, the steep was likely too short or the water too cool. If it tastes bitter, the steep may have gone too long or the grind may be too fine.
How to fix sour, bitter, or slow presses
If the cup is sour, increase steep time a little, raise the water temperature, or grind a touch finer. If it is bitter, do the opposite: shorten the steep, lower the temperature a bit, or go slightly coarser. If the press stalls, the grind is probably too fine, especially with a metal filter.
Should you use standard or inverted AeroPress?
Use standard brewing if you want the simplest workflow and less spill risk. Use inverted brewing if you want more control over steeping and want to avoid early drip-through before you place the cap. Neither method is required for every recipe, and neither changes the ratio you choose.
Standard method basics
The standard method is the safest default. You place the brewer on the mug, add coffee and water, steep, then press. That makes it easier to manage hot liquid and keeps cleanup straightforward. It also fits most straight-cup recipes with fewer moving parts.
Inverted method tradeoffs
The inverted method can give more control over steeping because the coffee and water stay inside the chamber before you flip. The tradeoff is spill risk during the turn. If you are new to the brewer, standard is easier to manage; if you want a longer steep without drip-through, inverted can help.
Which method fits your ratio?
For a standard cup, either method works. For a concentrate, inverted can help if you want to hold the brew longer before dilution. For a small espresso-style shot, standard is usually easier to keep tidy because the output is already small and the press is quick.
Frequently asked questions
How many ounces does an AeroPress make?
The Original and Go brew up to 237 ml per press. The XL brews up to 473 ml per press. Final drink size can be larger if you add bypass water after pressing, but the brewed liquid still has to fit the chamber.
What ratio of coffee to water for AeroPress?
A good starting point is 1:15 for a drink-as-is cup. Move toward 1:12 if you want more strength, or toward 1:17 if you want a lighter cup. For a concentrate, use about 1:5 to 1:8. For an espresso-style shot, use about 1:3 to 1:5.
What is the standard AeroPress ratio?
The standard AeroPress ratio range is 1:12 to 1:17. Many recipes land close to 1:15 because it gives a balanced cup without pushing into concentrate strength. If you want a simple default, 1:15 is the cleanest place to start for most home brewers.
How much coffee do I use in an AeroPress?
For a standard cup, a useful starting point is 1:15 by weight. That means 16 g coffee for 237 g water, or 24 g coffee for 355 g water. If you are brewing a concentrate, the dose rises quickly, because the ratio is much stronger before you add bypass water.
What grind size works best for AeroPress?
A medium-fine grind is the usual starting point for paper filters, and one notch coarser works well with a metal filter. If the press is slow or bitter, go coarser. If the cup is sour or thin, go a little finer. Grind and steep time should change together, not by themselves.
Can the AeroPress make real espresso?
No. It can make an espresso-style shot, but it is not true espresso equipment. Espresso machines force hot water through coffee at high pressure and produce a defined shot volume. AeroPress recipes can reach about 40 to 80 ml of concentrated output, but they do not replicate a real espresso machine.
What water temperature should I use for AeroPress?
A good working range is 175 to 185 F, or 79 to 85 C. A simple default is 185 F / 85 C. Cooler water can mute extraction and make the cup taste sour; hotter water can pull more bitterness, especially with a fine grind or a longer steep.
Products related to this article
Sponsored / affiliate links. As an Amazon Associate I earn from qualifying purchases. I may earn additional commission from eligible campaigns.
 Quick Heating Cup Warmer, Three Temperature Settings, Splashproof and Portable, for Coffee, Milk, Lightweight ABS Material
 HomeBeyond Espresso Coffee Maker 12 Cups, Classic Stovetop Espresso Maker, 600ml / 20oz Coffeemaker for Gas & Ceramic Stovetops (Silver)
 Coffee Espresso Machine Handle Replacement Parts, Cafe Bracket Handle for Lidl Silvercrest CM4621 CM4218 KF5002 KF500S Barista (for 51mm Portafilter Basket - Not included)