Your morning routine hits a wall. You pop in a pod, press the button, and nothing happens. Or the machine sputters out half a cup. Or it leaks all over the counter. Single-serve coffee makers are convenient, but they’re also prone to a handful of predictable failures.
The good news: most of these problems are fixable in under five minutes with tools you already own. A paperclip, a paper towel, maybe a screwdriver. You don’t need to be handy. You don’t need to ship the machine back. You just need to know what to look for.

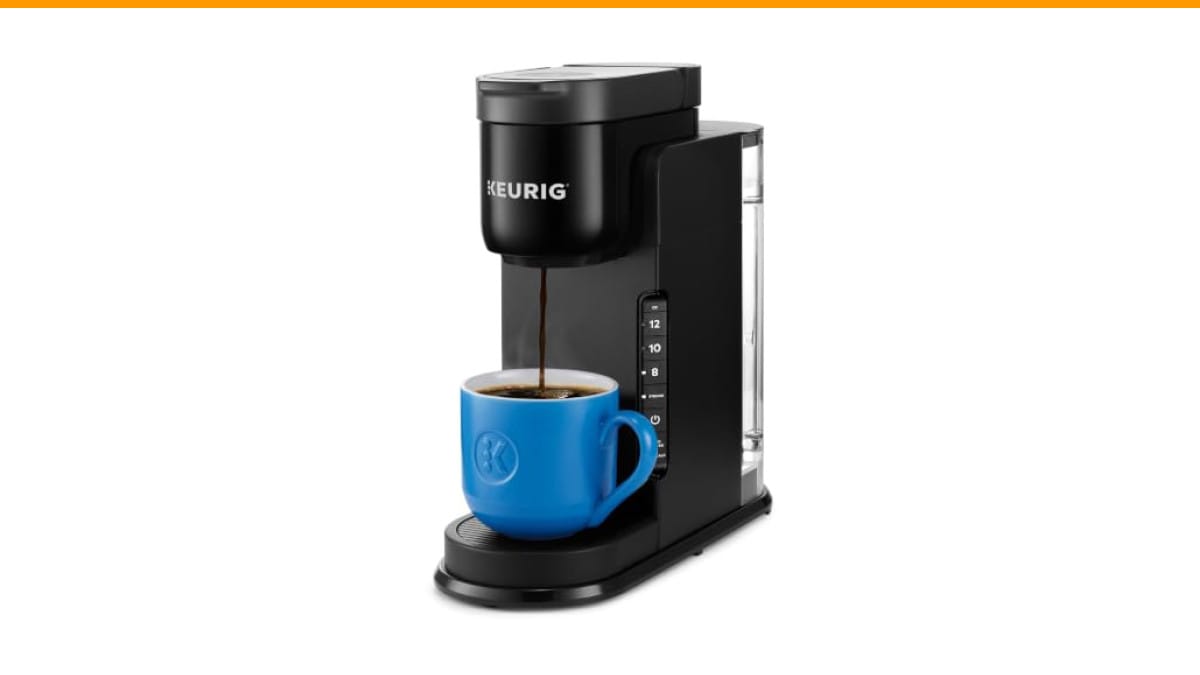
Keurig
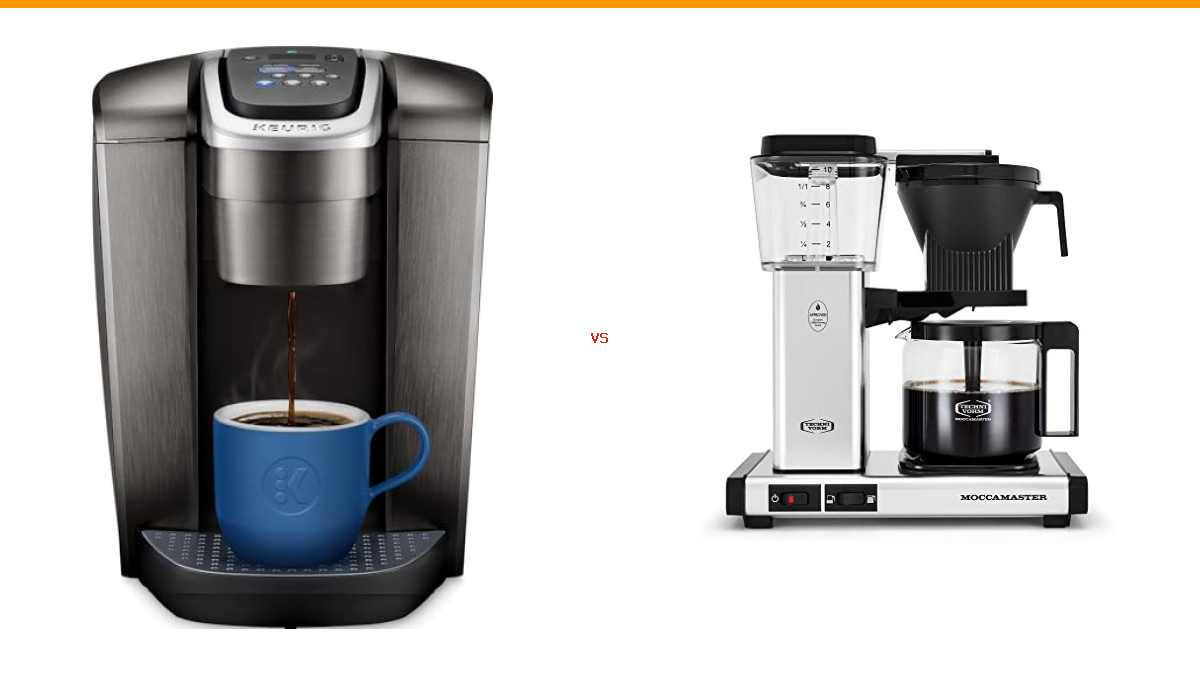
Keurig K-Express Single Serve K-Cup Pod Coffee…
- STRONG BREW: Increases the strength and bold taste of your coffee’s flavor.
- 3 CUP SIZES: Brew an 8, 10, or 12 oz. cup at the push of a button.
- MULTIPLE CUP WATER RESERVOIR: 42oz. removable reservoir lets you brew up to 4 cups before refilling. 8 oz. cup size
As an Amazon Associate I earn from qualifying purchases.
This guide walks through the most common single serve coffee maker problems and fixes. I’ll show you the exact mechanical steps for clearing a clogged needle, resetting a frozen unit, and fixing water flow issues. If you’re shopping for a replacement, the Keurig K-Express offers a 42oz removable reservoir and a strong brew button. But first, let’s try to fix what you have.
Why Single-Serve Coffee Makers Fail (And How to Fix Them Fast)
These machines are simple. A pump pushes water from a reservoir through a heating tube, then through a needle into the pod, and out into your cup. When something goes wrong, it’s almost always one of three things: a blockage, an air pocket, or a mechanical jam.
Mineral buildup from hard water is the biggest culprit. Scale accumulates inside the heating tube and narrows the passage. The pump works harder, the flow slows, and eventually the machine gives up. Coffee grounds and pod fragments cause the second most common issue. They lodge in the needle that punctures the pod, blocking water entirely.
Here’s the thing about these fixes: they’re all mechanical. Cleaning solutions help, but you need to physically clear the blockage first. That’s the repair-first approach this guide takes.
The #1 Fix: How to Clear a Clogged Needle in 2 Minutes
The needle that pierces the K-cup is the most common failure point. Coffee grounds, foil fragments, and mineral scale all collect inside it. When it clogs, the machine either brews nothing or drips painfully slow.
Here’s the fix. Unplug the machine and remove the pod holder. You’ll see a metal or plastic needle at the top of the brewing chamber. Take a paperclip and straighten it out. Insert the tip into the needle opening and push it in and out a few times. You’ll feel resistance, then a sudden give when the blockage clears.
For deeper clogs, use a pipe cleaner. Twist it gently as you push it through. Don’t force it — you can bend the needle if you’re too aggressive. After clearing, run a water-only cycle to flush out the debris.
This exact problem often happens with off-brand or reusable pods. They don’t always align perfectly with the needle, so the puncture is off-center and leaves more grounds behind. If you use reusable pods frequently, expect to clear the needle more often.
Machine Won’t Brew? Try the 60-Second Power Cycle Reset
A frozen display, unresponsive buttons, or a machine that just hums without brewing usually means the internal controller has locked up. It’s not broken. It just needs a reset.
Unplug the machine from the wall. Wait 60 seconds. Plug it back in. That’s the whole trick. The capacitors discharge, the controller resets, and most software glitches clear. It’s the same logic as restarting a phone.
If the power cycle doesn’t work, check the thermal fuse. This is a small safety component that trips when the machine overheats. It’s usually located near the heating element. If it’s blown, the machine won’t power on at all. Testing it requires a multimeter, but you can often spot a burned fuse by smell or visible discoloration.
One thing to note: a power cycle won’t fix a clogged needle or an airlock. It only addresses electronic glitches. If the machine resets but still won’t brew, move on to the water flow fixes below.
Fixing Water Flow Problems: Airlocks, Pump Issues, and Descaling
Water flow problems are the most frustrating because the machine sounds like it’s working. The pump hums, but no water comes out. This is almost always an airlock or a scale buildup.
An airlock happens when air gets trapped in the water line between the reservoir and the pump. The pump can’t compress air, so it just spins uselessly. To clear it, remove the reservoir and fill it completely to the top. Reattach it firmly. Then run a brew cycle without a pod. The weight of the water often pushes the air pocket through.
If that doesn’t work, you need to prime the pump manually. Some machines have a small access point near the pump where you can insert a syringe to push water through. Check your manual. If you don’t have one, search for your model number plus ‘prime pump’ online.
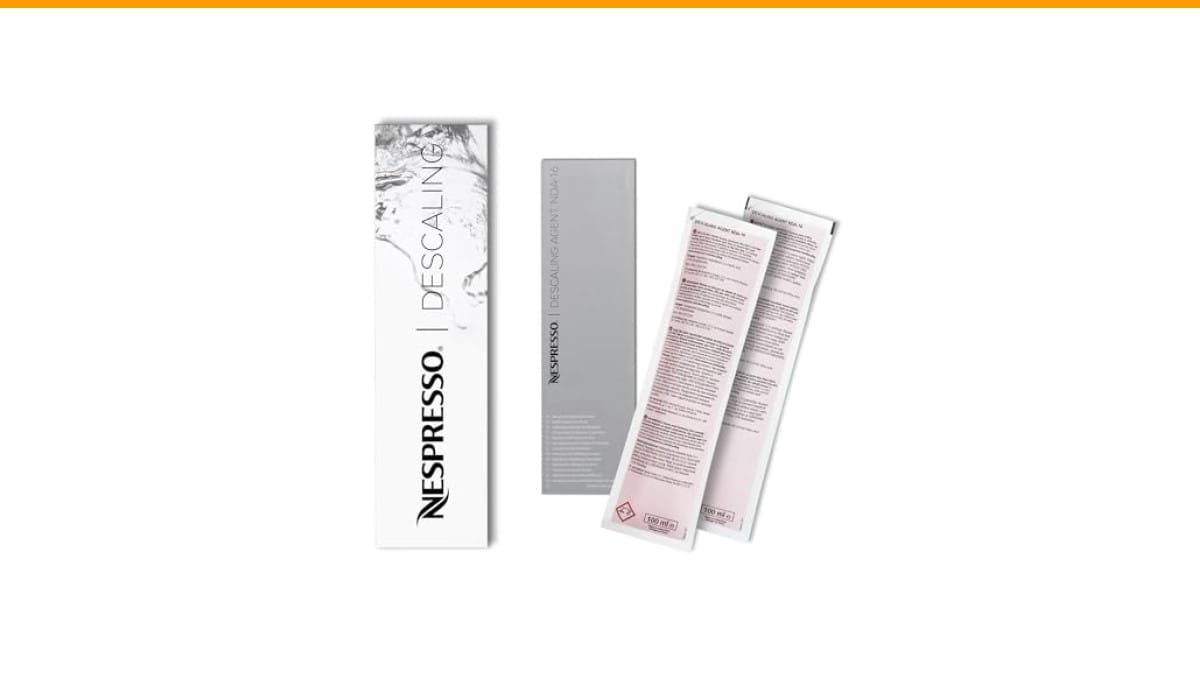
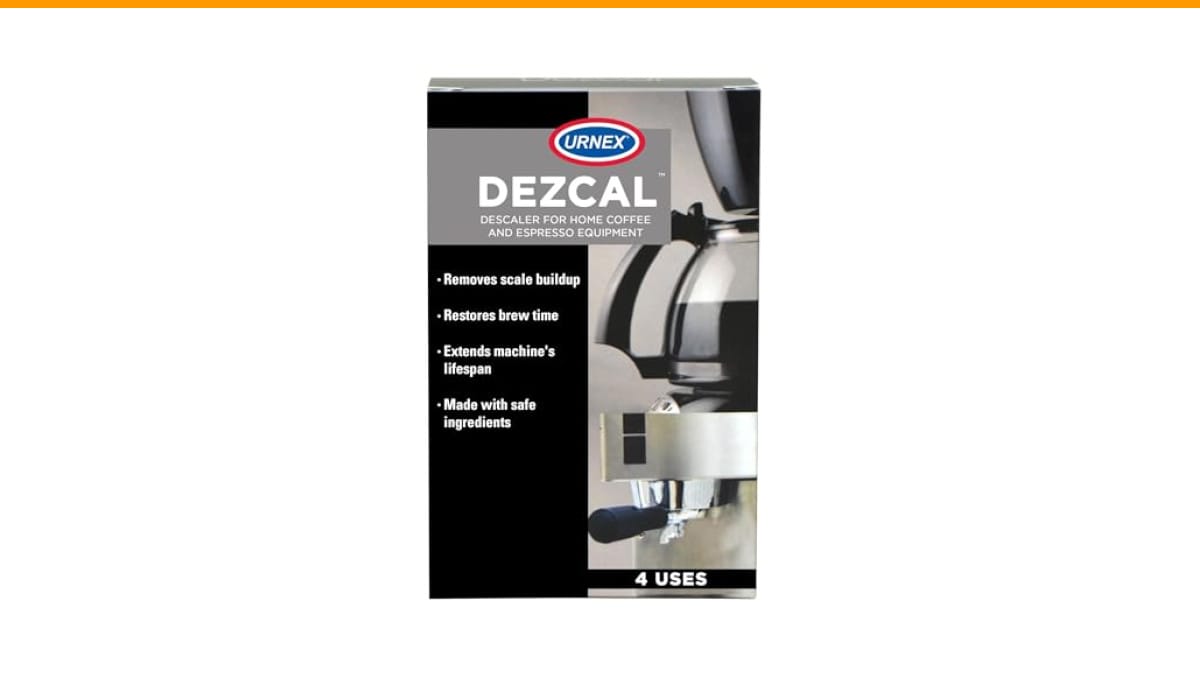
Scale buildup is the other major cause. When mineral deposits coat the heating tube, they restrict flow and reduce heating efficiency. The fix is descaling. Use a commercial descaling solution or white vinegar mixed 50/50 with water. Run the solution through a full brew cycle, then follow with two or three water-only cycles to flush the lines. For heavy buildup, leave the solution in the reservoir for 30 minutes before running it through.
Pod Problems: Why Your Coffee Maker Won’t Puncture or Eject
If the machine punctures the pod but doesn’t brew, the exit needle at the bottom is likely clogged. Same fix as the top needle — clear it with a paperclip. If the machine doesn’t puncture at all, the puncture mechanism itself is jammed.
On most Keurig models, the pod holder slides forward and the top needle presses down. If you hear a grinding sound or the holder won’t latch, something is stuck. Remove the holder and inspect the mechanism. Coffee grounds often accumulate in the tracks and prevent full travel. Wipe the tracks clean and apply a drop of food-grade lubricant to the moving parts.
Ejection problems are usually caused by a worn or misaligned pod holder. The spring that pushes the pod up loses tension over time. You can often fix this by removing the holder, stretching the spring slightly, and reinstalling it. If the holder is cracked, replacement parts are cheap and available online.
Leaks, Slow Brewing, and Weak Coffee: Quick Mechanical Fixes
Leaks come from three places: the reservoir seal, the drip tray, or the internal tubing. The reservoir seal is the easiest fix. A dirty or warped gasket lets water escape. Remove the reservoir, clean the gasket with warm soapy water, and reseat it firmly.
Slow brewing usually means scale. A descaling cycle will restore flow. If that doesn’t help, check the pump pressure. You can test this by running a water-only cycle and timing it. A healthy machine should brew 8 ounces in under a minute. If it takes two or three minutes, the pump is weak and likely needs replacement.
Weak coffee is a different problem. It’s not a mechanical failure. The machine is working fine; the brew ratio is off. If you’re using the 12oz setting, you’re diluting the coffee. Use the 8oz setting or the strong brew button. The Keurig K-Express has a dedicated strong brew feature that increases the strength and bold taste of your coffee’s flavor. It’s a useful option if you prefer a bolder cup.
Preventive Maintenance Schedule to Avoid Future Breakdowns
Regular cleaning prevents most of these problems. Here’s a realistic schedule:
- Daily: Empty the drip tray and wipe down the pod holder.
- Weekly: Run a water-only cycle to flush grounds out of the needle.
- Monthly: Clear the needle with a paperclip and clean the reservoir.
- Every 3 months: Descale with a commercial solution or vinegar.
- Every 6 months: Check the internal tubing for cracks and replace the water filter if your machine has one.
Hard water accelerates scale buildup. If you live in an area with hard water, descale monthly instead of quarterly. It takes 20 minutes and costs almost nothing. The alternative is a dead pump or a clogged heating tube that requires disassembly.
When to Stop Fixing and Just Buy a New Coffee Maker
Some failures aren’t worth fixing. A burnt-out heating element is one. The part costs $20 to $30, but replacing it requires disassembling the machine, desoldering the old element, and soldering in a new one. That’s a two-hour job for someone with electronics experience. For everyone else, it’s not worth it.
A dead pump is another borderline case. Replacement pumps cost $15 to $25, but installation is fiddly. You need to remove the bottom panel, disconnect the tubing, and reattach everything without introducing new leaks. If you’re not comfortable with that, a new machine makes more sense.
Here’s a simple rule: if the repair costs more than half the price of a new machine, buy new. A Keurig K-Express is a solid replacement option if you need something reliable without a lot of bells and whistles. It brews three cup sizes, has a removable 42oz reservoir, and includes a strong brew button. Check the current price on Amazon before deciding.
Frequently Asked Questions
Can I use vinegar instead of descaling solution?
Yes, white vinegar works. Mix it 50/50 with water and run it through a full brew cycle. The downside is the smell. It lingers for a few days and the first few cups after descaling may taste faintly of vinegar. Run two or three water-only cycles afterward to flush the lines thoroughly. Commercial descaling solutions are more expensive but leave no residue and smell much better. For heavy scale, vinegar is actually more aggressive, so it works well for machines that haven’t been cleaned in a long time.
Why does my coffee maker stop mid-brew?
This is usually a thermal overload. The heating element gets too hot, trips the thermal fuse, and the machine shuts down to protect itself. It’s most common in machines with heavy scale buildup, because the scale insulates the heating element and prevents proper heat transfer. Descaling usually fixes it. If it happens after descaling, the fuse itself may be weak and need replacement. Some machines also stop mid-brew if the reservoir runs low, which triggers a safety cutoff.
How often should I descale a single-serve machine?
Every three months is the standard recommendation. If you have hard water, do it monthly. You can tell it’s time when the brew time gets noticeably longer or the coffee tastes slightly burnt. A simple test: run a water-only cycle and time it. If it takes more than 90 seconds to produce 8 ounces, descale immediately. For more on cleaning routines, see our guide on cleaning frequency.
Why does my machine make a loud noise but not brew?
That’s the pump running against an airlock. The pump is spinning but there’s no water to move. Remove the reservoir, fill it to the brim, and reattach it. Run a water-only cycle. If the noise persists, check the inlet tube for a kink or blockage. A paperclip can clear debris from the tube opening. If the pump still runs dry, it may be damaged from running without water, which is a more serious repair.
Can I put reusable pods in any single-serve machine?
Mostly, but not always. Reusable pods need to match the machine’s puncture pattern. A pod designed for a Keurig 2.0 won’t work in an older model, and vice versa. Using a mismatched pod can cause the needle to puncture the plastic instead of the filter, which leads to grounds in your cup and a clogged needle. Check the compatibility list before buying a reusable pod. If you’re having trouble, stick with branded pods or check our clogged coffee maker guide for more details.
What to Remember When Your Machine Acts Up
- Unplug and wait 60 seconds before any repair. A power cycle fixes more than you’d think.
- A paperclip and pipe cleaner clear 90% of clogged needle issues. No disassembly needed.
- Fill the reservoir completely to clear airlocks. The weight of the water pushes the air pocket through.
- Descale every 3 months with vinegar or a commercial solution. Hard water means monthly.
- Slow brewing and weak coffee are different problems. Slow is scale; weak is brew size or pod quality.
- If the repair costs more than half the price of a new machine, buy new. The Keurig K-Express is a reasonable replacement.
- Regular cleaning prevents nearly every failure on this list. A 2-minute daily wipe-down saves you a 20-minute descaling session later.
Products related to this article
Sponsored / affiliate links. As an Amazon Associate I earn from qualifying purchases. I may earn additional commission from eligible campaigns.
 HomeBeyond Espresso Coffee Maker 12 Cups, Classic Stovetop Espresso Maker, 600ml / 20oz Coffeemaker for Gas & Ceramic Stovetops (Silver)
 Linnkyfloa Coffee Espresso Maker Handle Replacement for Stovetop Moka Pot or Percolator, Black Plastic for Spare Part Compatible with Italian(9-12 Cup)
 Belly Moka Coffee Maker Stovetop Espresso Maker 9 Cup Aluminum Moka Pot Percolator 15oz 450ml Easy Brewing for Electric Ceramic Stoves Home Camping Italian Cuban Café Classic Black