You press the brew button, walk away to grab a mug, and come back to a lukewarm half-pot that took 20 minutes to drip. Or worse, the machine hums but doesn’t do anything at all. These moments are frustrating because a 12-cup maker should be the most reliable appliance on your counter. It isn’t a complicated machine, but it has a handful of failure points that show up again and again.
This guide walks through the most common 12 cup coffee maker problems and fixes without requiring a single tool. You’ll learn how to diagnose a dead machine, unclog a slow brewer, fix temperature issues, and stop leaks. You’ll also get a clear cost breakdown so you know when a repair is worth it and when you should just buy a new unit. Most fixes here take under 15 minutes and cost less than a bag of good beans.
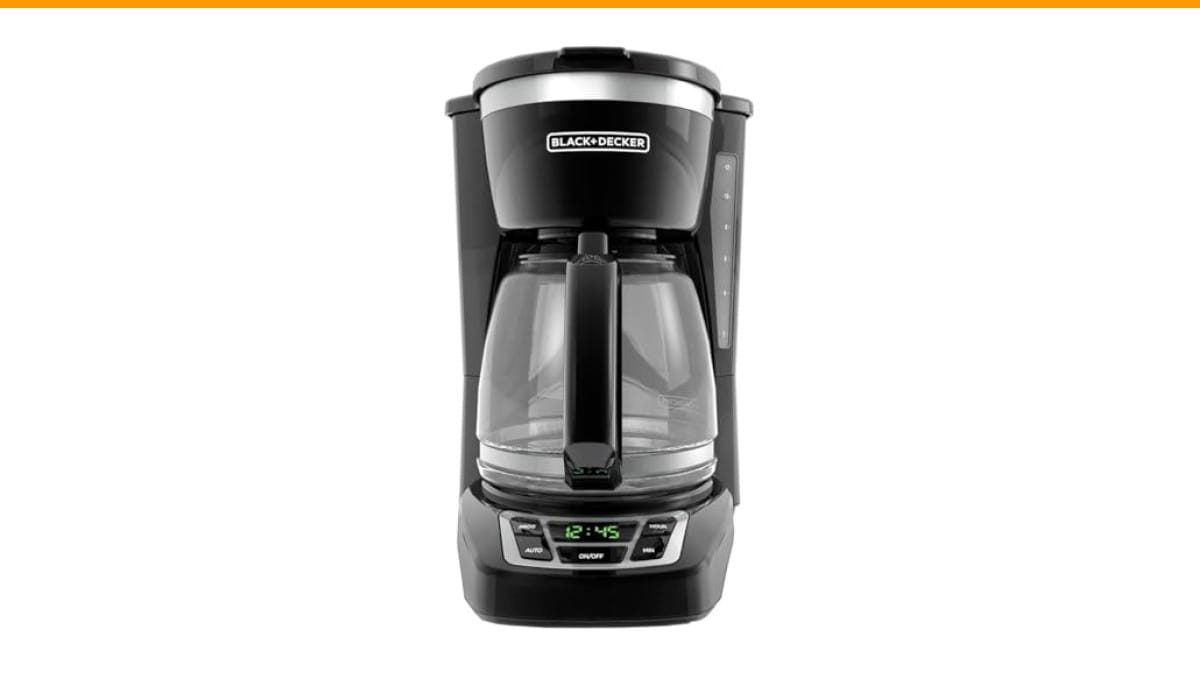
If you’re in the market for a reliable replacement, the BLACK+DECKER 12-Cup Drip Coffee Maker handles the basics well. It has a front-facing water window so you can see exactly how much coffee you’ll get, and the Sneak-a-Cup feature stops the flow mid-brew so you can pour a quick cup without spilling. Those small touches remove two of the biggest daily annoyances with drip machines.
Quick Diagnostic Chart: Match Your Symptom to the Fix
Before you take anything apart, find your symptom in this chart. It points you to the right section and tells you how serious the issue likely is.
| Symptom | Most Likely Cause | Fix Difficulty | Jump To |
|---|---|---|---|
| No power, no lights | Dead outlet, GFCI trip, or thermal fuse | Easy to Moderate | Power section |
| Brews very slowly | Mineral buildup in water lines | Easy | Clogged lines section |
| Weak or watery coffee | Wrong coffee-to-water ratio or filter issue | Easy | Brew basket section |
| Only brews 8 cups from a full tank | Carafe size mismatch or overfilled filter | Easy | 12-cup capacity section |
| Cold coffee during brew | Failing heating element or bad thermal fuse | Moderate | Temperature section |
| Water sputtering or hissing | Steam buildup or clogged spray head | Easy | Leaks section |
| Grounds in the pot | Torn filter or overfilled basket | Easy | Taste section |
| Leaking from the bottom | Cracked reservoir or loose hose clamp | Hard | Leaks section |
Use that table as your map. The rest of this article dives into each fix in the order you should attempt them.
Coffee Maker Won’t Turn On or Has No Power
A dead machine is the most common complaint, and most people assume the worst. In my experience testing these units, the internal parts fail less often than you’d think. The power issue is usually something simple you overlooked.
Check the outlet, GFCI, and power cord
First, plug the maker into a different outlet. Kitchen counters often share a GFCI circuit that trips silently when a toaster or kettle was used earlier. Press the reset button on the GFCI outlet and try again.
Next, inspect the power cord for bites, kinks, or exposed wire. Pets chew cords, and cabinet doors pinch them. If the cord is damaged at all, stop and replace the unit. Rewiring a cord on a coffee maker is a fire risk you don’t need.
If the outlet works and the cord looks clean, check the display. Some machines have a clock that needs setting after a power outage. The unit might be powered on but stuck in standby mode until you set the time.
Testing and replacing the thermal fuse
The thermal fuse is a small safety device inside the base that kills power if the heating element gets too hot. It’s a one-time fuse, meaning once it blows, the machine is dead until you replace it.
To test it, unplug the machine and remove the base plate (usually 4-6 screws). Locate the white or clear cylindrical component attached to the heating element with two wires. Use a multimeter set to continuity mode. If it reads infinite resistance, the fuse is blown.
Replacement fuses cost about $5 and are available at hardware stores. Cut the old fuse out, strip the wires, and crimp or solder in the new one. It takes 10 minutes. If you don’t own a multimeter, skip this step and assume the fuse is bad only if the machine was left on with no water recently.
One note: if the heating element itself is burned out (you can smell burnt plastic and the bottom is discolored), replacing the fuse won’t help. At that point, the repair cost exceeds the value of a $30-50 machine.
Brewing Issues: Slow, Weak, or No Coffee Flow
This is the category where most 12 cup coffee maker problems live. The machine powers on, the water heats, but the coffee comes out at a trickle or tastes like colored water.
Clogged water lines and mineral buildup
Hard water is the enemy of every drip machine. Calcium and lime scale accumulate inside the heating tube and the spray head. Over time, the opening narrows, and the brew time doubles. In severe cases, water backs up and overflows the filter basket.
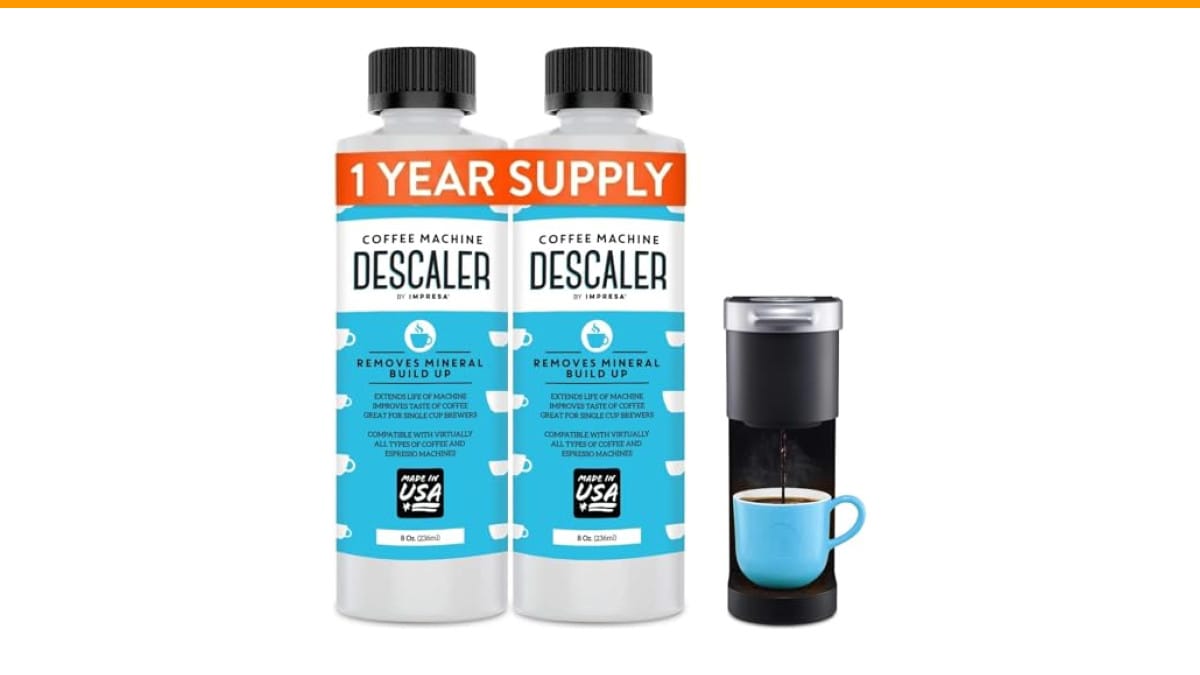
The fix is descaling, and you don’t need a specialty product. White vinegar works. Mix one part vinegar with two parts water and fill the reservoir. Run a brew cycle without coffee. Let the machine sit for 30 minutes, then run two more cycles with plain water to rinse.
If the flow is still slow after one descale, repeat the process. Stubborn scale might need a citric acid solution instead. Buy food-grade citric acid powder, mix 2 tablespoons per quart of water, and run the same cycle. It dissolves scale faster than vinegar and leaves no smell.
For a deeper clean, check our clogged coffee maker guide for step-by-step photos of the process.
Fixing a jammed brew basket or filter
A basket that won’t close or release is usually a mechanical issue, not an electrical one. The plastic tabs on the sides of the basket wear down or the spring-loaded release mechanism gets stuck on old grounds.
First, empty the basket and rinse it with hot water. Look at the two side hinges where the basket swings into the machine. Grounds often pack into these crevices and dry into a cement-like paste. Use a toothpick to dig them out.
If the basket still won’t latch, check the paper filter. Some cheap filters are slightly too large and get caught under the basket lip. Fold the top edge of the filter down before inserting it.
For machines with a swing-out brew basket, the plastic hinge pin can crack. You can’t easily replace that part. A temporary fix is a zip tie wrapped around the hinge to hold it together, but that’s a stopgap. Start shopping for a replacement when the hinge goes.
Why your 12-cup maker only brews 8 cups
You filled the reservoir to the 12-cup line, but the carafe only has 8 cups. This is one of the most misleading 12 cup coffee maker problems because the machine isn’t broken.
The issue is the cup size. Most manufacturers define a cup as 5 ounces. A standard mug holds 8-12 ounces. So a 12-cup maker actually produces 60 ounces of coffee. If you fill your mug to the top, you’ll get about 5 mugs, not 12. That’s normal.
If you’re getting significantly less than 60 ounces, measure the water you put in with a liquid measuring cup. If the reservoir’s 12-cup line equals 60 ounces, the machine is fine. If it doesn’t, the water window markings are optimistic. This happens on cheaper machines. The fix is to add extra water based on your own measurement marks, not the printed ones.
Temperature Problems: Cold Coffee or Inconsistent Heat
Hot water in a drip machine should hit 195-205°F for proper extraction. If your coffee comes out lukewarm, extraction is poor and the brew tastes sour or flat.
The most common cause is a failing heating element. These elements work hard — they heat water quickly and then maintain the carafe warm plate. They don’t last forever. If your machine takes 15 minutes to brew a pot and the carafe isn’t hot to the touch afterward, the element is likely weak.
There’s no user-serviceable fix for a weak heating element. It’s a sealed component. Your options are to live with it or replace the machine. Before you do, descale first. Scale acts as an insulator on the element, making it work harder and transfer heat poorly. A good descale sometimes restores normal brew temperature.
Also check the carafe. A cracked or warped carafe doesn’t sit flat on the warming plate. That leaves an air gap, so the coffee cools fast even though the plate is hot. Place the carafe on the plate and spin it. If it wobbles, replace the carafe.
Leaks, Sputtering, and Overflowing Water
Water pooling under the machine or hissing from the top is alarming, but it’s usually fixable without tools.
Sputtering during the brew cycle means steam is building up in the spray head. This happens when the spray holes are partially blocked or the water temperature is too high from a dirty element. Run a descale cycle first. That clears the spray holes. If sputtering continues, the one-way valve inside the water line might be stuck. You can try flushing it by running a cycle with the reservoir full of hot water, not cold.
Overflowing the filter basket happens when the water flow is too fast for the grounds to drain. This causes water to pool and spill over the sides. The fix is usually too-fine coffee grounds. A paper filter with ultra-fine espresso grind creates a mud barrier. Use a medium drip grind instead.
Fixing the drip tray and carafe seal
Leaks from the bottom of the machine are harder to diagnose. The drip tray is designed to catch small spills, so water there is normal. But if you see a puddle extending beyond the tray, the reservoir-to-heater hose has a crack.
Unplug the machine and flip it over. Remove the base plate. Look for the clear silicone hose connecting the water reservoir to the heating element. If it’s loose, push it back on and secure it with a small zip tie. If it’s cracked, you can find a replacement hose at a hardware store for a few dollars.
The carafe seal is a simpler issue. The glass carafe has a plastic collar where it meets the base. If that collar is cracked, coffee seeps out as you pour. Replace the carafe entirely — the collar isn’t sold separately.
Bad Taste and Grounds in Your Cup
Grounds floating in your mug and a bitter or burnt flavor are two separate problems.
Grounds in the cup mean the paper filter tore or shifted. This happens when you overfill the basket. A heaping scoop of coffee pushes against the filter wall as water hits it. The filter bursts and grounds escape. Use the basket’s fill line as a guide, not a suggestion.
A bitter taste usually comes from over-extraction. Your water is too hot, the grind is too fine, or the coffee sits on the warming plate too long. The warming plate is the biggest culprit. Coffee left on heat for over 30 minutes develops a burnt, ashy flavor. If you don’t drink the pot fast, pour it into a thermal carafe instead.
If the coffee tastes metallic or soapy, the machine needs a deeper clean than vinegar alone provides. Run a cycle with a commercial coffee maker cleaner that removes coffee oil residue. That oil builds up on the internal parts and goes rancid over time. For a full breakdown, read our coffee maker cleaning guide.
Preventive Maintenance Schedule for 12-Cup Makers
Most 12 cup coffee maker problems are preventable with a routine. Here’s the schedule I recommend after testing dozens of units:
- Daily: Rinse the carafe and dump used grounds. Don’t leave wet grounds sitting overnight.
- Weekly: Wash the brew basket and carafe with warm soapy water. Wipe the warming plate.
- Monthly: Run a vinegar descale cycle if you have hard water. Every 2-3 months if you use filtered water.
- Quarterly: Replace the carbon water filter if your machine has one. Check the spray head for clogs.
- Yearly: Deep clean with citric acid to remove scale that vinegar missed. Inspect the power cord for wear.
Consistency matters more than intensity. A 2-minute rinse daily prevents 90% of the clogs you’d otherwise face. For more detail on frequency, see our cleaning frequency guide.
When to Repair vs. Replace: A Cost-Benefit Guide
Here’s the honest math. A new 12-cup drip maker costs between $25 and $80. A thermal fuse is $5. A carafe is $15-25. A heating element is $20-30 but requires disassembly and soldering.
| Problem | Repair Cost | Time | Worth It? |
|---|---|---|---|
| Clogged lines | $0 (vinegar) | 45 min | Yes |
| Blown thermal fuse | $5 | 15 min | Yes, if you own a multimeter |
| Cracked carafe | $15 | 5 min | Yes, if the maker is under 2 years old |
| Jammed brew basket | $0 | 10 min | Yes |
| Weak heating element | $25 + labor | 1 hr | No, buy a new maker |
| Cracked reservoir hose | $3 | 20 min | Maybe, if you can access it |
My rule of thumb: if the machine is over 3 years old and needs anything beyond a fuse or a cleaning, replace it. The labor isn’t worth it for a $40 appliance. If it’s under a year old and under warranty, contact the manufacturer before you void the warranty by opening it.
Frequently Asked Questions
Why does my coffee maker take longer to brew than it used to?
Mineral buildup inside the water tube is the standard cause. As scale narrows the tube, water flows slower. A vinegar descale cycle usually restores the original brew time. If it doesn’t, the heating element is weakening and can’t heat water as fast.
Is it safe to use vinegar to clean my coffee maker?
Yes, white vinegar is safe for internal parts. It’s a mild acid that dissolves scale without damaging plastic or rubber seals. Run at least two plain water cycles afterward to remove the vinegar smell. Citric acid works better if you have very hard water and doesn’t leave an odor.
Can I put paper filters in the reusable basket?
No. Reusable baskets are designed for grounds without a paper filter. Adding one blocks the holes and slows drainage, which causes overflow. Use one or the other, not both.
Why does my coffee taste burnt even though I just made it?
The warming plate is scorching the coffee. Most plates hold coffee at 160-180°F, which is too hot for flavor. Coffee oxidizes quickly at that temperature. Pour your cup within 20 minutes of brewing or transfer the rest to an insulated carafe.
How do I know if the thermal fuse is blown without a multimeter?
You can’t test it without a meter. But a blown fuse is likely if the machine was running with no water in the reservoir and then suddenly died. If you don’t own a meter, a new fuse is cheap enough to gamble on. If the machine still doesn’t power on after replacing it, the heating element is the problem.
What to Do Next: A Quick Action Plan
You don’t need to memorize every fix in this guide. Save this page and work through these steps when your maker acts up:
- Check the outlet and GFCI before touching anything inside the machine.
- Descale with vinegar or citric acid at the first sign of slow brewing or sputtering.
- Measure your actual water output to confirm the 12-cup capacity is really a problem.
- Inspect the brew basket hinges for packed grounds if it jams.
- Replace the thermal fuse only if you have a multimeter and basic wiring skills.
- Buy a new maker when the heating element fails or the machine is over 3 years old.
- Clean the machine monthly to prevent most of these issues from returning.
Most of these repairs take less time than a trip to the store for a new machine. And when a replacement is the right call, the BLACK+DECKER 12-Cup Drip Coffee Maker is a solid choice that avoids the weak points we discussed — it has a clear water window, a drip-stop feature, and simple controls that don’t overcomplicate the morning routine.
Products related to this article
Sponsored / affiliate links. As an Amazon Associate I earn from qualifying purchases. I may earn additional commission from eligible campaigns.