You pull a shot on Saturday morning, and it takes 45 seconds to dribble out. The crema looks thin. The taste is bitter, almost burnt. Your first thought is the beans. Your second thought should be the machine.
Most home baristas treat their espresso machine like a kitchen appliance that occasionally needs wiping down. In reality, it’s a precision instrument with valves, gaskets, and a boiler that sees extreme temperature swings every day. Coffee oils turn rancid. Minerals from your water bake onto metal surfaces. Milk residue dries into a film that traps bacteria. None of that shows up in the cup until it’s too late.

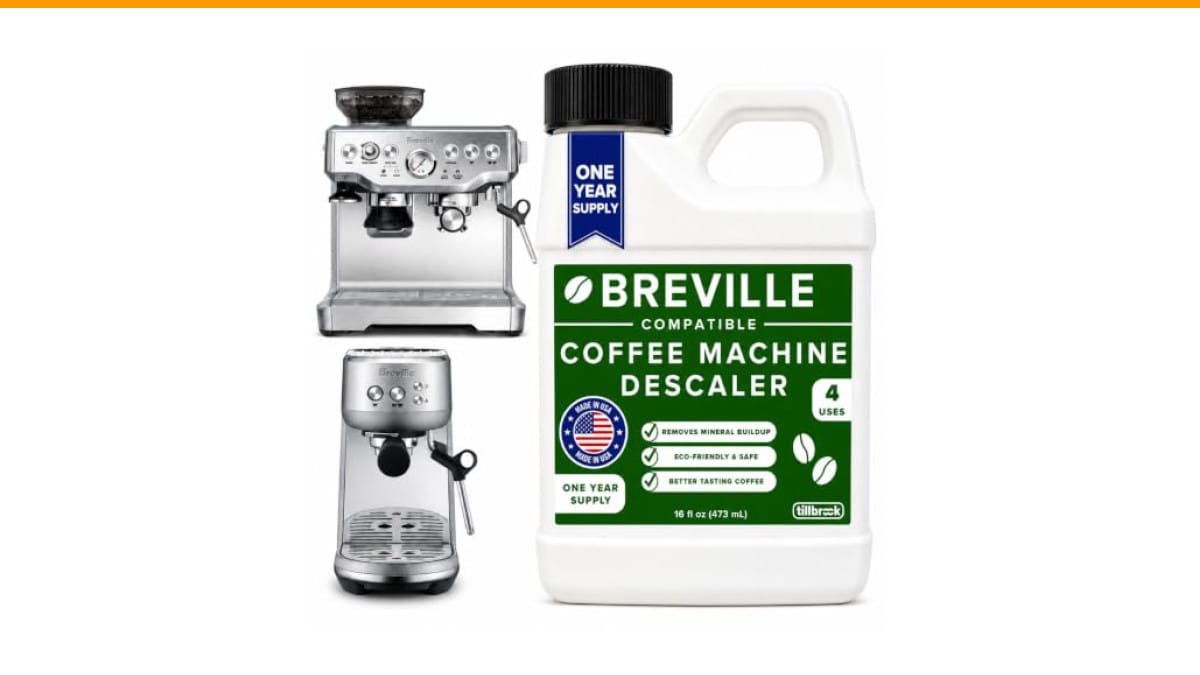
Tillbrook
Breville Espresso Machine Compatible Descaler, 4 Uses,…
- EXCEPTIONAL RESULTS: Introducing Tillbrook Coffee Machine Descaler specifically formulated for Breville—the best choice for removi…
- 1 YEAR SUPPLY: Our concentrated formula is easy to use and provides remarkable value with 4 cleanings per bottle. Simply add 1/2 c…
- SCIENTIFICALLY ENGINEERED: Our advanced descaling solution is carefully crafted with powerful, all-natural ingredients that remove…
As an Amazon Associate I earn from qualifying purchases.
This guide gives you a concrete schedule for how often to clean a semi automatic espresso machine, with step-by-step instructions for backflushing, descaling, and steam wand care. You’ll also learn how to diagnose common symptoms like slow flow or bitter taste, and what skipping maintenance actually costs you in repairs. No vague advice, just numbers and steps you can use today.
For descaling, a product like Tillbrook's Breville-compatible descaler makes the job straightforward — one bottle handles four cleanings, so it lasts a full year. It’s formulated for Breville machines but works across most major brands, which saves you from buying separate products for each appliance.
The 5-Minute Rule: Why Frequency Beats Intensity
Here’s the thing about espresso machines: the most expensive repair you’ll ever face is usually caused by the cheapest habit to ignore. A $10 backflush tablet and 10 minutes of your time can prevent a $300 repair bill.
Think about what happens inside the group head after every shot. Coffee oils coat the shower screen and the dispersion block. They polymerize, turning into a sticky varnish that traps grounds. Over weeks, that varnish restricts water flow. Your shot times stretch out. The water temperature drops because it spends too long in contact with the cool metal. The result is sour, bitter espresso that no bean can fix.
The solution isn’t a monthly deep clean. It’s a daily routine that takes under five minutes. Wipe the group head, purge the steam wand, knock out the portafilter, and run a quick water flush. That’s it. Do that every day and your weekly backflush will be 80% easier.
I’ve tested machines that went a month without any cleaning. The difference between a daily wipe and a monthly scrub is night and day. The daily routine takes less time than waiting for your water to boil.
The Ultimate Cleaning Schedule (Quick-Reference Chart)
Here’s the cheat sheet you can screenshot. Print it, tape it to your machine, whatever works.
| Frequency | Task | Time | Products Needed |
|---|---|---|---|
| After every session | Purge steam wand, wipe group head, empty portafilter, run water flush | 2–3 minutes | Microfiber cloth |
| Daily | Backflush with water only (no detergent) | 5 minutes | Blind basket |
| Weekly | Backflush with espresso cleaning detergent | 10–15 minutes | Cleaning tablets, blind basket |
| Monthly | Remove and soak shower screen, inspect gasket, deep clean steam wand | 20–30 minutes | Detergent, soft brush, food-safe lubricant |
| Every 3–4 months | Descale the boiler and internal lines | 30–45 minutes | Descaling solution (like Tillbrook’s) |
| Every 6–12 months | Replace group head gasket, clean grinder burrs | 30 minutes | Replacement gasket, brush, grinder cleaning tablets |
This schedule assumes you use your machine daily. If you only pull shots on weekends, stretch the weekly and monthly tasks to match your usage. The key is consistency, not calendar dates.
Daily (After Every Session)
Start with the steam wand. Purge it for 2–3 seconds with the steam valve open, then wipe the outside with a damp cloth. Milk residue dries fast and becomes nearly impossible to remove once it’s baked on.
Next, knock out the portafilter. Rinse the basket under hot water. Wipe the group head gasket and shower screen with a cloth to remove loose grounds. Run a blank shot (no coffee) for 5 seconds to flush the system.
That’s the whole daily routine. It takes longer to read this paragraph than to do it.
Weekly (Backflush & Deep Clean)
Weekly maintenance centers on the backflush. This process forces water backward through the three-way valve and solenoid valve, flushing out coffee oils that accumulate in places you can’t see.
You’ll need a blind basket — a basket with no holes — and espresso machine cleaning detergent. Most brands sell tablets or powder. Follow the step-by-step instructions in the next section.
After the backflush, remove the shower screen and soak it in hot water with a drop of detergent. Scrub it with a soft brush to remove any remaining residue. Inspect the group head gasket for cracks or wear. If it looks flat or feels hard, order a replacement now.
Monthly (Descaling & Chemical Backflush)
Monthly is when you do a chemical backflush with a stronger detergent, then follow with a descaling cycle. This removes mineral scale from the boiler and internal lines.
Descaling is the most skipped maintenance task, and it’s also the one that causes the most expensive damage. Hard water deposits act as an insulator, making the boiler work harder to maintain temperature. The heating element can overheat and fail. A new boiler costs $200–$400 installed. A bottle of descaler costs about $20.
If you live in an area with hard water, descale every 2–3 months. If you use filtered water, you can stretch to 4–6 months. The product label on most descalers recommends every 3–4 months, which is a safe default.
How to Backflush a Semi-Automatic (Step-by-Step)
Backflushing sounds technical, but it’s simple once you’ve done it a few times. Here’s the exact process for most semi-automatic machines like Breville, Gaggia, Rancilio, or De’Longhi.
- Insert the blind basket into the portafilter.
- Add one cleaning tablet or the manufacturer’s recommended amount of powder.
- Lock the portafilter into the group head.
- Press the brew button. Let water run for 10 seconds, then stop.
- Wait 10 seconds for the pressure to build and the detergent to dissolve.
- Repeat the 10-second on/off cycle 5–10 times.
- Remove the portafilter and rinse the blind basket thoroughly.
- Replace the portafilter empty and run 3–4 blank shots to rinse the system.
Pro tip: run the blank shots until the water coming out of the group head is completely clear. Any soapy taste in your next shot means you didn’t rinse enough.
For machines with a three-way valve, you’ll hear a hiss when you stop the brew cycle. That’s the valve releasing pressure — it’s normal. If you don’t hear it, your machine may not have a three-way valve, and backflushing could damage it. Check your manual.
Some machines, like the Breville Barista series, have a dedicated backflush mode. You hold the button for a few seconds and the machine cycles automatically. Read your manual to see if yours has this feature.
Descaling 101: Protecting Your Boiler (Brass vs. Aluminum)
Descaling is where most home users mess up. The wrong descaler can corrode your boiler from the inside.
Brass boilers are common in higher-end machines like Rancilio Silvia and Gaggia Classic. They’re heavy, hold heat well, and tolerate most descaling solutions. Aluminum boilers, found in many budget machines, are lighter but more reactive. They require a descaler specifically formulated for aluminum, usually citric acid-based. Using a strong acid descaler on aluminum can eat through the protective oxide layer and cause pitting.
Check your machine’s manual to confirm the boiler material. If you’re unsure, contact the manufacturer. Most modern descalers like Tillbrook’s are tested on a wide range of machines, but you should still verify compatibility.
Here’s a safe descaling procedure that works for most machines:
- Empty the water tank.
- Fill it with a descaling solution mixed with water per the product instructions. Tillbrook’s uses a 1:1 ratio — 4 oz of concentrate plus enough water to fill the tank.
- Place a large container under the steam wand.
- Turn on the machine and run half the solution through the group head, then switch to the steam wand and run the rest.
- Turn off the machine and let the solution sit for 15–20 minutes.
- Empty the tank, fill with fresh water, and run 2–3 full tanks through to rinse.
Pro tip: after descaling, pull a blank shot and taste the water. If it tastes sour or metallic, run another rinse cycle. Residual descaler is worse than no descaling at all.
The Steam Wand: The Most Overlooked Bacteria Trap
The steam wand gets ignored more than any other part of the machine. People wipe the outside, but the inside harbors milk residue that turns into a crusty, bacteria-friendly film.
Here’s the test: after steaming milk, purge the wand for 2–3 seconds. If you see any white or yellow chunks, you’ve got a problem. That’s dried milk protein, and it’s also a breeding ground for mold.
To deep clean the steam wand, remove the tip (if it’s removable) and soak it in a solution of hot water and espresso detergent. Use a thin brush or a pipe cleaner to scrub the inside of the wand. Rinse thoroughly and reattach.
For a thorough guide on this specific task, check out our steam wand cleaning guide.
Do this weekly. It takes five minutes and prevents the kind of buildup that makes your milk taste sour, no matter how fresh it is.
Cleaning Your Grinder: The Missing Link to Fresh Espresso
Your grinder holds onto stale coffee oils and ground particles that go rancid. Those rancid particles end up in your next dose, contaminating the flavor. Most people never clean their grinder, and it shows.
Once a month, remove the hopper and the burrs. Brush out any residual grounds with a stiff brush. Use grinder cleaning tablets (like Urnex Grindz) if you want a deeper clean — they’re food-safe and absorb oils.
If your grinder has a doser, remove it and brush out the chute. A small vacuum with a crevice attachment works well for this.
For a step-by-step walkthrough, see our coffee grinder cleaning guide.
Clean burrs also produce a more consistent grind size. Dull, oily burrs create a mix of fine powder and boulders, which leads to uneven extraction. You’ll notice the difference in your shot clarity and sweetness.
Symptom Checker: What Your Machine is Telling You
Your machine talks to you through the cup and the sounds it makes. Here’s how to decode the messages.
- Slow flow, 40+ seconds for a shot: Clogged shower screen or group head. Backflush with detergent, then remove and soak the screen.
- Bitter, burnt taste: Rancid coffee oils in the group head. Chemical backflush needed.
- Sour, under-extracted shot: Water temperature too low, often caused by scale build-up on the boiler. Descaling is the fix.
- Loud hissing or gurgling during brewing: Air in the lines or a failing solenoid valve. Check for scale and descale.
- Steam wand sputters: Milk residue blocking the tip. Soak in detergent solution.
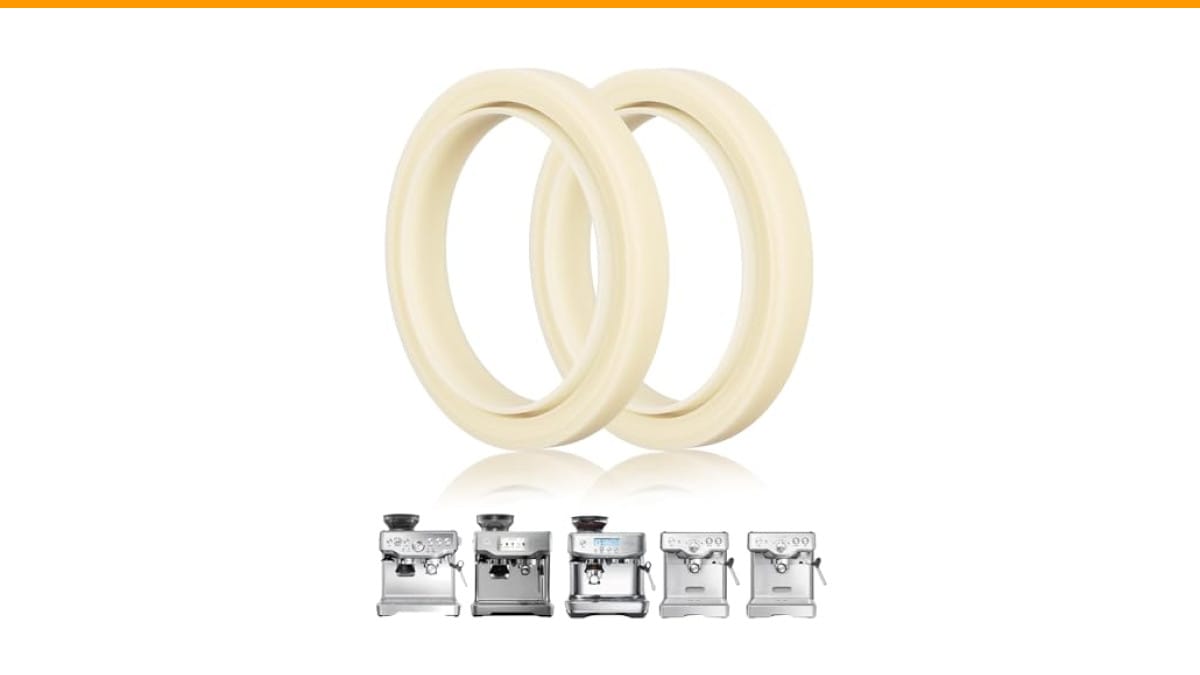
- Water leaking from the group head: Worn gasket. Replace it — it’s a $10 part.
- Machine makes a high-pitched whine: Scale on the pump or a clogged line. Descaling usually fixes it.
If you’re dealing with a noisy machine, our loud espresso machine troubleshooting guide covers common causes and fixes.
Address these symptoms early. A clogged group head is a 15-minute fix. A burnt-out heating element is a $300 repair.
The Real Cost of Skipping Maintenance (Repair vs. Supplies)
Let’s talk money. A typical home espresso machine costs $300–$1,500. The repair costs for common failures:
- Group head gasket replacement: $10 part, $50–$80 labor if you pay a tech
- Shower screen replacement: $15–$30 part
- Boiler replacement: $150–$400 part plus labor
- Pump replacement: $80–$150 part
- Solenoid valve replacement: $50–$120 part
Compare that to the cost of cleaning supplies:
- Cleaning tablets: $10–$20 for a jar of 50
- Descaling solution: $15–$25 per bottle (4 uses)
- Microfiber cloths: $5 for a pack
- Blind basket: $10–$15
You can buy a year’s worth of cleaning supplies for less than the cost of a single service call. And that’s before you factor in the wasted coffee from shots that taste terrible because the machine is dirty.
In testing, I’ve seen machines that were descaled regularly last 10+ years without a single repair. The same model, neglected, needed a new boiler in year three. The math is simple.
Frequently Asked Questions
How often should I backflush my espresso machine?
Backflush with water after every day of use, and with detergent once a week. If you pull more than 4–5 shots a day, backflush with detergent twice a week. The water backflush takes 5 minutes and prevents oil buildup.
Can I descale with vinegar instead of a commercial descaler?
You can, but it’s not recommended. Vinegar is acetic acid, which is weaker than commercial descaling acids. It also leaves a strong smell and taste that’s hard to rinse out. Plus, it can damage aluminum boilers. Use a purpose-made descaler — it’s cheap insurance.
How do I know if my machine needs descaling?
Look for these signs: slow shot flow, longer brew times, a high-pitched whine from the pump, or visible scale in the water tank. If your shots taste bitter or metallic, scale is likely the culprit. Most manufacturers recommend descaling every 3–4 months, so if you can’t remember the last time you did it, it’s time.
Is it safe to use a descaling solution on all espresso machines?
No. Check your manual first. Some manufacturers (like Breville) have specific descaling instructions and may void the warranty if you use the wrong product. Universal descalers like Tillbrook’s are tested on most machines, but it’s your responsibility to verify compatibility.
What happens if I never clean my espresso machine?
The coffee will taste progressively worse — bitter, sour, or burnt. Eventually, the machine will fail. Common failures include a clogged solenoid valve, a failed pump, or a burnt-out heating element. Repairs cost $100–$400. Cleaning supplies cost less than $50 a year.
The Bottom Line: Build a Habit, Not a Chore
- Wipe and purge after every session — it takes 2 minutes and prevents 80% of buildup.
- Backflush with water daily, with detergent weekly.
- Descale every 3–4 months, or more often with hard water.
- Clean the steam wand weekly — it’s the most ignored bacteria trap.
- Clean your grinder burrs monthly for consistent extraction.
- Replace the group head gasket when it shows wear — a $10 part prevents leaks.
- Invest in a good descaler like Tillbrook's — one bottle lasts a year.
Your espresso machine isn’t a one-and-done appliance. It rewards attention with better shots and a longer life. The schedule above is realistic — it fits into your morning routine without adding stress. Set a reminder on your phone for the weekly and monthly tasks. Your future self (and your taste buds) will thank you.
For more on choosing between semi-automatic and fully automatic machines, check out our comparison guide.
Products related to this article
Sponsored / affiliate links. As an Amazon Associate I earn from qualifying purchases. I may earn additional commission from eligible campaigns.
 Coffee Espresso Machine Handle Replacement Parts, Cafe Bracket Handle for Lidl Silvercrest CM4621 CM4218 KF5002 KF500S Barista (for 51mm Portafilter Basket - Not included)
 MRS. MEYER'S CLEAN DAY Automatic Dishwasher Pods, Lavender, 20 Count - Pack of 3 (60 Total Pods)
 Quick Heating Cup Warmer, Three Temperature Settings, Splashproof and Portable, for Coffee, Milk, Lightweight ABS Material