You bought a water filter pitcher to make your coffee taste cleaner. A month later, your morning brew tastes flat or slightly bitter. Or the drip coffee maker takes twenty minutes to finish a pot. Maybe the pitcher itself started leaking from the lid. You’re not alone, and the fix is usually simpler than you think.
This is a troubleshooting manual for the three most common failures: bad taste, slow flow, and physical leaks. We’ll cover how to tell whether the culprit is the filter, the pitcher, or your coffee routine. You’ll also get a maintenance schedule that prevents most of these issues before they start.

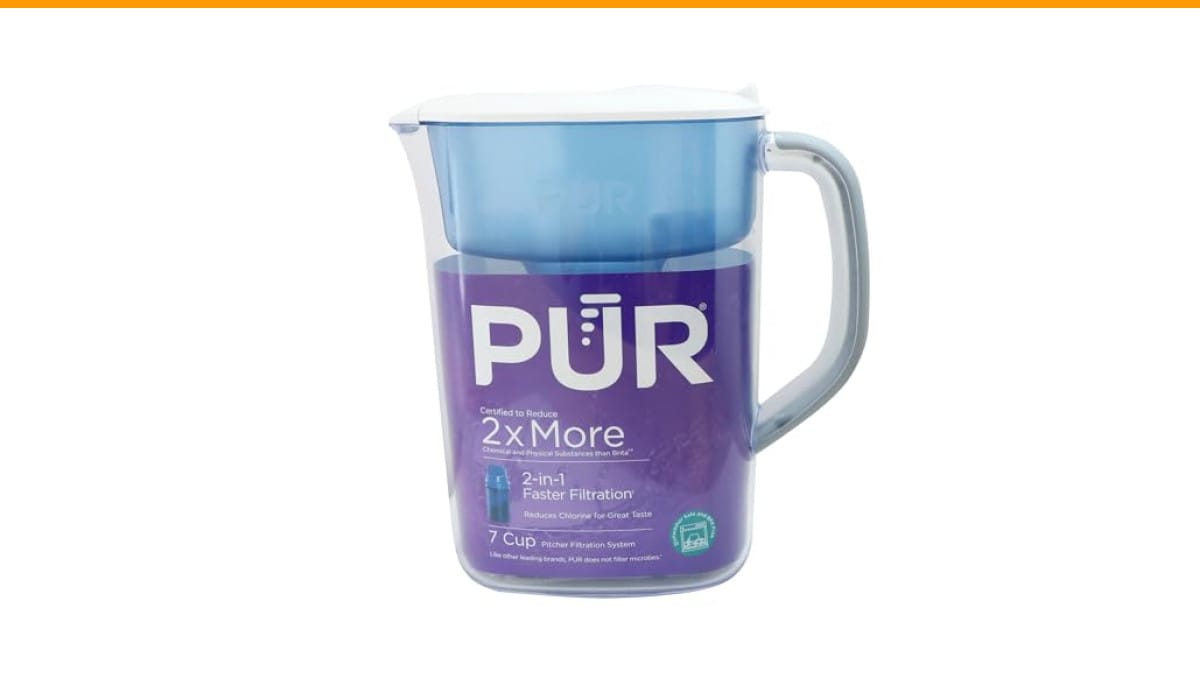
PUR
PUR Water Filter Pitcher, 7-Cup Water Pitcher…
- Powerful filtration - This 7-cup water pitcher has been certified by NSF to reduce microplastics, chlorine, and other chemical and…
- Better tasting water - Enjoy superior protection and refreshing, great-tasting water with every pour. This water purifier pitcher…
- Convenient, space-saving design - The 7-cup water pitcher filter features a sleek, fridge-friendly design, a stay-tight lid for fi…
As an Amazon Associate I earn from qualifying purchases.
The PUR 7-Cup Water Filter Pitcher is a solid starting point for this setup. It uses a genuine carbon filter certified to reduce chlorine and other contaminants, and the filter change light takes the guesswork out of replacement timing. If you’re shopping for a pitcher to pair with your coffee gear, it’s worth a look.
Diagnose the Problem: Is It the Pitcher, the Filter, or the Coffee?
Before you buy a new filter or throw out the pitcher, run this quick diagnostic. It saves time and money.
- Taste is off: Fill a glass directly from the pitcher. Let it sit for five minutes. If it smells or tastes like plastic or musty, the pitcher needs cleaning. If it tastes flat or mineral-heavy, the filter may be exhausted or the water chemistry is wrong for your beans.
- Flow is slow: Time how long it takes to fill a 12-ounce cup. A fresh filter takes about 30 seconds. If it takes over two minutes, the filter is clogged or the air vent in the lid is blocked.
- Leaks: Dry the outside of the pitcher completely. Fill it, then place it on a paper towel. Wait an hour. If water appears, check the lid seal and the spout. If the paper towel stays dry, the condensation is normal.
Most people skip this step and replace parts that aren’t broken. The rest of this guide assumes you’ve done this basic check.
Fix #1: Slow Brewing or Stalled Flow — Clearing Clogs and Valve Jams
A slow drip from the pitcher into your coffee maker is the most common complaint. It’s almost never the coffee maker. It’s the filter cartridge or the pitcher’s air valve.
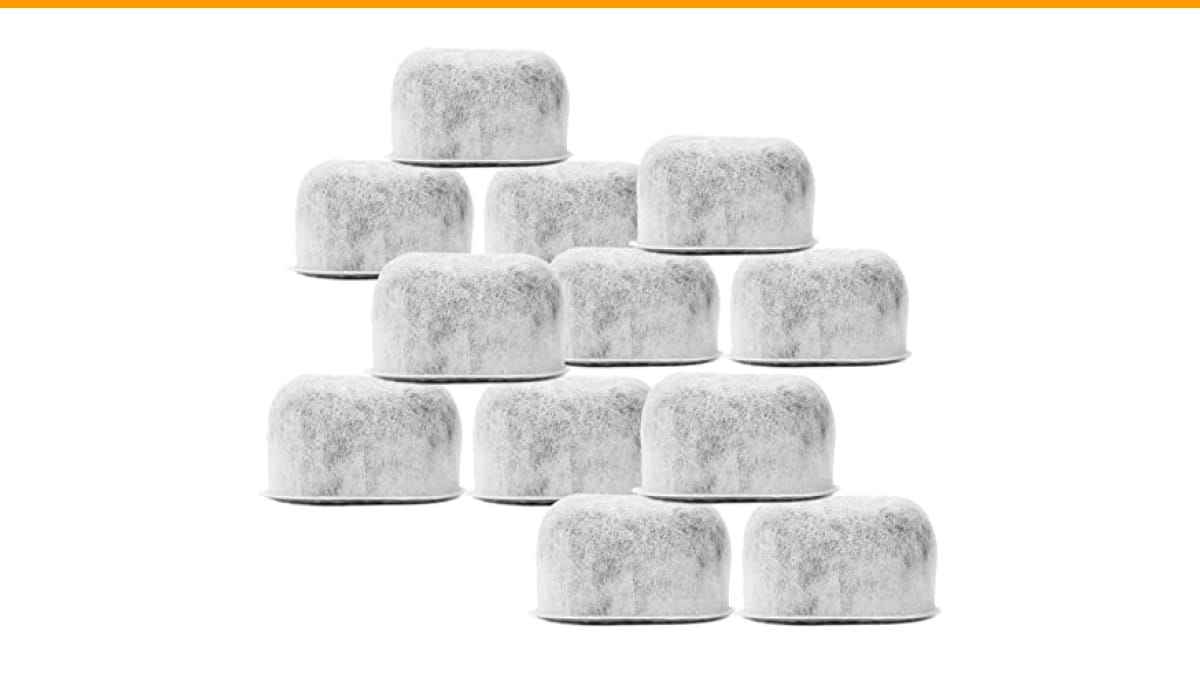
Carbon filters trap sediment and contaminants. Over time, the pores fill up. Hard water makes this worse because calcium deposits coat the carbon. A filter that should last two months might die in four weeks if your tap water is heavy with minerals.
First, try soaking the filter in cold water for 15 minutes. Sometimes air bubbles get trapped inside the carbon block, creating a vapor lock. A good soak releases them and restores flow.
If that doesn’t work, check the air vent. Most pitchers have a small hole in the lid or the top of the funnel. When water drains, air needs to enter the reservoir to replace it. If that hole is blocked by a stray coffee ground or mineral scale, the water flow stalls. Clean it with a toothpick.
For persistent clogs, the filter itself is done. Don’t force water through it. A clogged filter doesn’t just slow brewing; it can also harbor bacteria that ruin the taste of your next pot. If you’re dealing with a coffee maker that won’t pull water, check our guide on Mr. Coffee not pumping water for related fixes.
Fix #2: Bad-Tasting Coffee — When Your Filter Makes Things Worse
Here’s the counterintuitive part. A water filter pitcher can make your coffee taste worse if the chemistry is wrong. Most people assume filtered water equals better coffee. That’s true, but only to a point.
The pH and Alkalinity Trap
Fresh carbon filters remove chlorine and odors. They don’t remove all minerals. The ideal coffee water has some hardness — about 150 parts per million (ppm) of calcium and magnesium. These minerals help extract the flavor compounds from coffee grounds. Water that’s too pure, or water that’s been stripped of alkalinity, extracts acids too aggressively. The result is sharp, sour, or bitter coffee.
If your tap water is already soft, a filter pitcher might over-purify it. You’ll notice the coffee tastes thin or metallic. The fix is to mix filtered water with a little tap water, or switch to a filter that adds minerals back. Some pitchers do this, but most basic carbon pitchers don’t.
Test your filtered water with a TDS (total dissolved solids) meter. You can find one for under $15. If the reading is below 50 ppm, your water is too soft for good coffee extraction. If it’s above 250 ppm, the filter isn’t doing much. The sweet spot is 100–150 ppm.
Biofilm and Pitcher Hygiene
The second cause of bad taste is the pitcher itself. A slimy film can develop on the inside walls, especially if the pitcher sits in the fridge for days. This biofilm is a community of bacteria and mold. It smells musty and ruins the flavor of everything you pour through it.
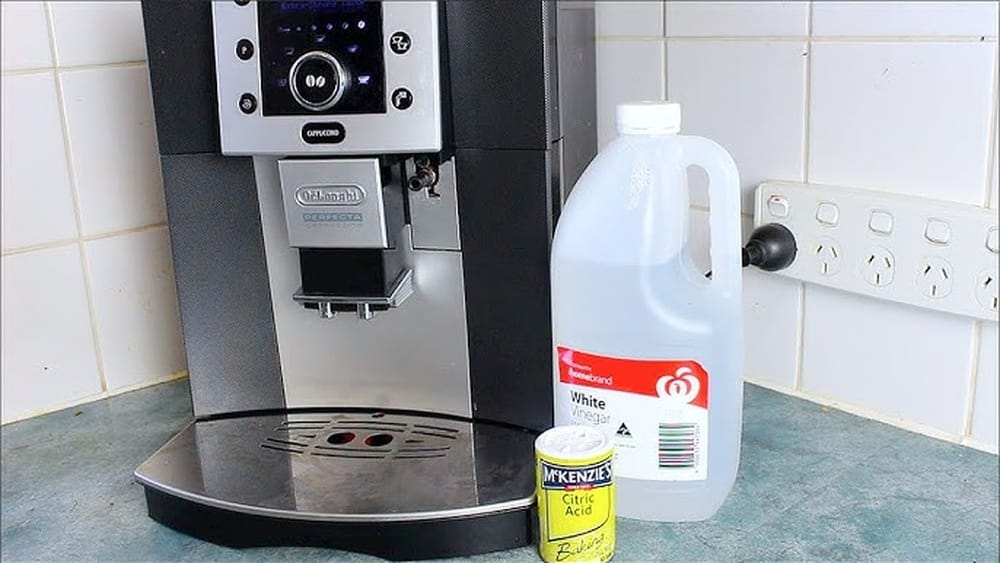
Washing with dish soap isn’t enough. The biofilm sticks to the plastic. You need to deep-clean the pitcher with a vinegar solution. Fill it with a 50/50 mix of white vinegar and water. Let it sit for 30 minutes, then scrub with a soft sponge. Rinse thoroughly. Do this every two weeks if you use the pitcher daily.
Don’t forget the filter funnel and the lid. These parts trap moisture and are prime spots for mold. If your coffee tastes bitter even after cleaning the pitcher, check our article on coffee bitter after cleaning for other causes.
One more tip: don’t store the pitcher in direct sunlight. UV rays degrade plastic and accelerate algae growth inside the reservoir.
Fix #3: Leaks and Drips — Sealing the Pitcher Properly
Leaks usually come from two places: the lid and the spout. The lid has a rubber gasket that creates a seal. Over time, that gasket gets compressed or displaced. If the lid doesn’t click into place, water will escape when you pour.
Check the gasket for debris. A single coffee ground caught between the gasket and the lid is enough to break the seal. Remove the gasket, wash it, and reinstall it. Make sure it sits flat.
The spout is trickier. Some pitchers have a small valve at the spout that opens when you tilt. If that valve sticks, water can dribble down the side. Clean it with a toothbrush and hot water. If it’s cracked, you’ll need to replace the lid assembly.
Also check the base of the pitcher. Hairline cracks in the plastic happen when the pitcher is over-tightened or dropped. A cracked base can’t be repaired. You’ll need a new pitcher. For other appliance leak issues, the espresso machine leak guide covers similar valve problems.
Filter Lifespan: How to Know It’s Truly Dead (Don’t Guess)
Manufacturers say to replace the filter every two months or 40 gallons, whichever comes first. That’s a good rule, but it’s not universal. Your water quality and usage affect it. Hard water kills filters faster. Heavy coffee brewing uses more water.
Here are three ways to test if your filter is exhausted before you buy a replacement.
- Taste test: Fill a glass from the pitcher and a glass from the tap. Let both sit for a minute. If they taste identical, the filter is spent.
- Flow rate: Time a full pitcher pour. A fresh filter flows quickly. A clogged filter trickles. If the flow has slowed to half its original speed, the filter is done.
- TDS meter: Measure the tap water and the filtered water. A working carbon filter reduces TDS by 10–30 percent. If the numbers are nearly the same, the filter has no capacity left.
Don’t wait for the filter change light if you notice these signs. The light is a timer, not a sensor. It doesn’t know if you have sediment-heavy water.
| Filter Status | Taste | Flow Rate | TDS Reading |
|---|---|---|---|
| Fresh | Clean, neutral | Fast (30 sec per cup) | Below tap water |
| Working | No chlorine, no off-flavors | Normal | 10–30% reduction |
| Exhausted | Same as tap water or musty | Slow (2+ min per cup) | Same as tap water |
| Clogged | Bitter or metallic | Drips only | Higher than tap water |
Keep a log of when you change filters. Write the date on the filter with a marker. That way you know when the two months are up, regardless of what the light says.
The Maintenance Schedule That Prevents 90% of Problems
Consistency beats intensity. A little regular care prevents the big failures. Here’s a schedule that works for daily coffee drinkers.
- Weekly: Empty the pitcher, wash with warm soapy water, rinse the filter under cold running water for 10 seconds. This clears surface sediment.
- Bi-weekly: Deep-clean the pitcher with vinegar solution (50/50 mix). Soak for 30 minutes, scrub, rinse. Clean the lid gasket and air vent.
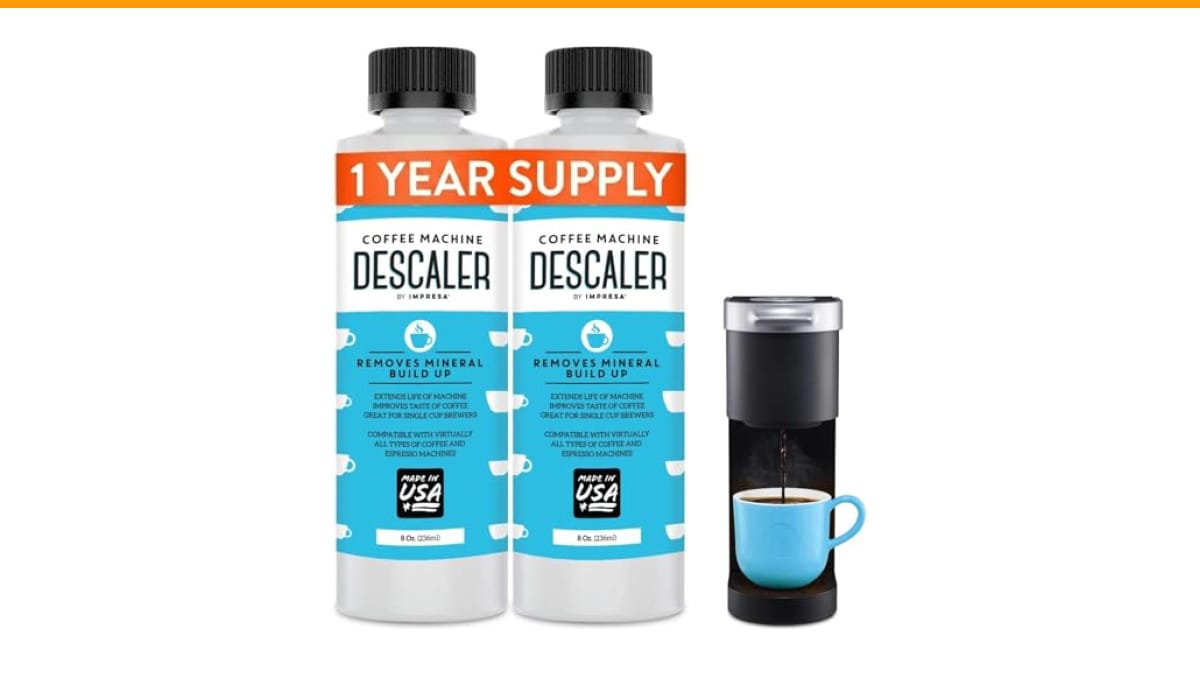
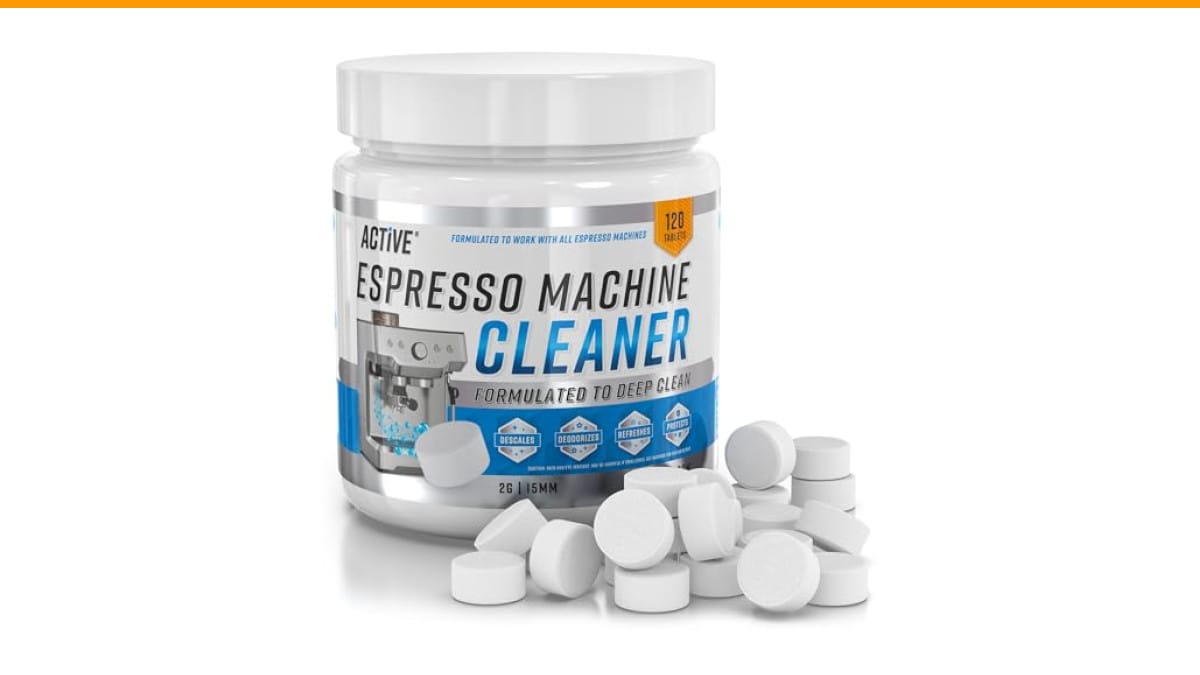
- Monthly: Descale your coffee maker with a commercial descaler or vinegar. Scale in the machine restricts water flow and affects brewing temperature. This matters more than you think — a 10-degree drop in brewing temperature changes extraction.
- Quarterly: Replace the filter, even if the light hasn’t come on. Also inspect the pitcher for cracks or worn gaskets.
This schedule assumes you brew coffee daily. If you use the pitcher less often, adjust the cleaning frequency. A pitcher that sits unused for a week needs a rinse before the next use.
When to Upgrade: Pitcher vs. Countertop Filter Systems
A pitcher is the cheapest entry point, but it has limits. The 7-cup capacity means you refill it often if you brew multiple pots. The filter replacement cost adds up over a year, though it’s still far cheaper than bottled water.
If you have hard water, a countertop system with a sediment pre-filter might be a better fit. These systems handle higher volumes and last longer between filter changes. They also give you more control over water chemistry, which is useful if you’re serious about pour-over coffee.
That said, a pitcher is fine for most home users. The key is to treat it as a consumable system, not a permanent fixture. Filters are the cost of doing business. If you find yourself fighting with the pitcher constantly, that’s a sign to upgrade.
Final Checklist: Quick Reference for Daily Brewing
Here’s what to check when your coffee routine goes sideways.
- Bad taste? Clean the pitcher, check the filter age, test TDS.
- Slow brew? Soak the filter, clear the air vent, check flow rate.
- Leaks? Inspect the lid gasket, clean the spout valve, look for cracks.
- Filter change light on? Replace it. Don’t push it another week.
- Musty smell? Vinegar soak the whole pitcher and funnel.
- Bitter coffee? Check water hardness and brewing temperature.
- Consistent issues? Upgrade to a countertop system.
Most pitcher problems are maintenance issues, not product defects. A few minutes of cleaning every two weeks will keep your coffee tasting right and your pitcher flowing fast. When in doubt, replace the filter. It’s the cheapest insurance you can buy for a good cup of coffee.
Products related to this article
Sponsored / affiliate links. As an Amazon Associate I earn from qualifying purchases. I may earn additional commission from eligible campaigns.
 Aluminum Moka Funnel Filter Replacement, for Espresso Coffee Maker, for Compatible for 1/2 /3/6/9/12 Cup Percolators, Silver(150ML)
 Coffee Espresso Machine Handle Replacement Parts, Cafe Bracket Handle for Lidl Silvercrest CM4621 CM4218 KF5002 KF500S Barista (for 51mm Portafilter Basket - Not included)
 Quick Heating Cup Warmer, Three Temperature Settings, Splashproof and Portable, for Coffee, Milk, Lightweight ABS Material