You pull a shot, and it channels. The puck looks like a crater. You blame the grinder or the beans, but the real culprit sits in your hand. An espresso tamper is a precision tool, and like any tool, it needs care. Most people never clean theirs, and it shows in the cup.
This guide covers the practical side of tamper maintenance. You will learn what to clean, how often, and what products to avoid. We will also cover storage, drop damage, and when a tamper is actually worn out. By the end, you will know exactly how to keep your tamper in top shape for years of consistent espresso.

WYLOSUA
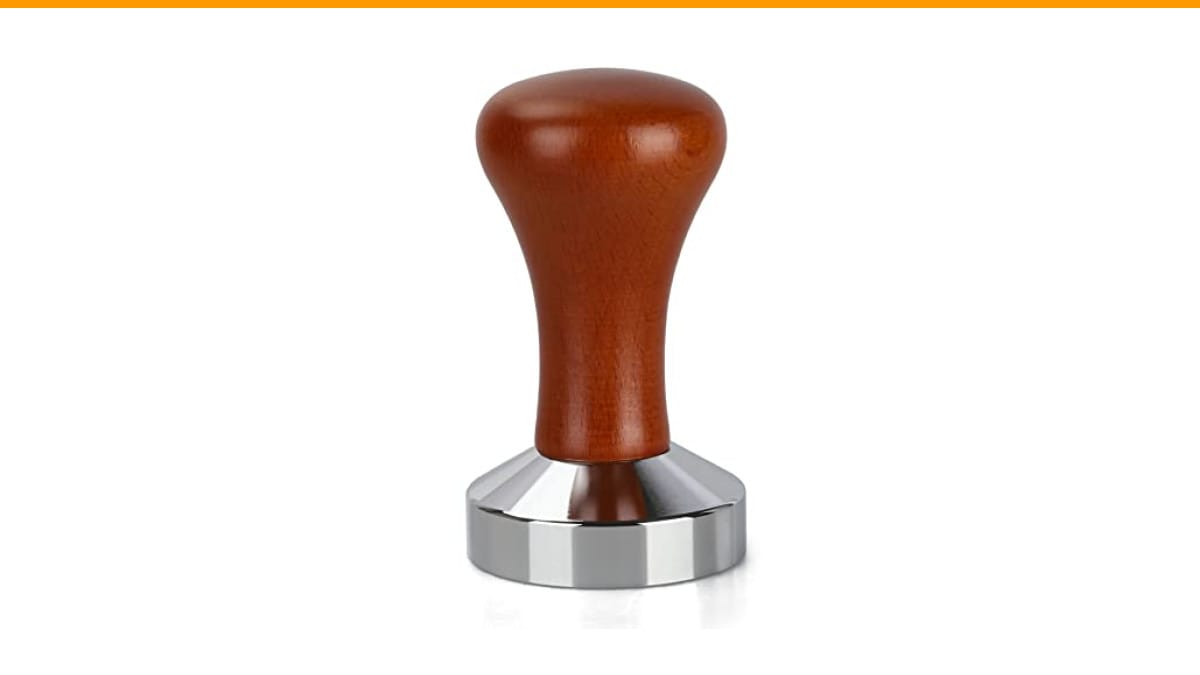
51mm Espresso Tamper-Premium Barista Coffee Tamper Coffee…
- THE DIAMETER OF THIS TAMPER IS 51MM - please check that this will fit your filter basket before purchasing.Fits all 51mm Commercia…
- UNIQUE DESIGN - The tamper has an exquisite appearance, Stainless steel design, the handles were ergonomically designed to ensure…
- PROFESSIONAL HANDMADE - Due to the high quality of the steel espresso control, the tamper has an ideal size and weight, because of…
As an Amazon Associate I earn from qualifying purchases.
If you are using a Check Price on Amazon, the care routine splits into two parts: the stainless steel base and the wooden handle. Each material needs a different approach, which we will break down below.
Why Your Tamper Gets Dirty (and Why It Matters)
Coffee oils are sticky. They cling to metal surfaces and oxidize over time. That brown film on your tamper base is not just ugly; it can affect your puck prep.
Here is the problem: a dirty base does not sit perfectly flat on the coffee bed. Even a thin layer of oil creates micro-gaps. Those gaps cause uneven pressure, which leads to channeling. You get a sour or bitter shot, and you cannot figure out why.
Your hands also transfer oils and sweat to the handle. On a wood handle, this builds up into a dark, grimy layer. On a stainless steel base, it just looks bad. The good news is that the fix takes less than two minutes.
I keep a small microfiber cloth next to my grinder. After every tamp, I give the base a quick wipe. It takes three seconds. This habit alone prevents 90% of the buildup problems.
Daily and Weekly Cleaning Routines
You do not need fancy chemicals. You need a routine that matches how often you pull shots.
Daily Wipe-Down (After Every Session)
- Wipe the base with a dry microfiber cloth while it is still warm. The oils wipe off easier when warm.
- Check the edges for stray grounds. Use a soft brush or your fingertip to dislodge them.
- Do not use soap on the base daily. It can leave a residue that tastes like soap in your next shot.
Weekly Deep Clean
Once a week, do a proper cleaning. Use a damp cloth with a drop of mild dish soap. Wipe the base and the handle. Rinse the cloth and wipe again to remove any soap film. Dry immediately with a separate cloth.
For the wooden handle, this is critical: do not soak it. Water swells the wood and can crack the finish. A damp wipe and immediate dry is all it needs.
If the wood looks dry, apply a tiny amount of food-safe mineral oil. Rub it in with your fingers, let it sit for ten minutes, then buff off the excess. Do this once a month, not every week.
Seasoning, Rust, and Common Mistakes
Seasoning a tamper is not a myth, but it is often misunderstood. The idea is that a thin layer of coffee oil fills the microscopic pores of the metal, creating a non-stick surface. It is the same concept as a cast iron skillet.
Here is the honest take: seasoning matters less with a polished stainless steel base. The surface is already smooth. But it does not hurt. If you want to season yours, wipe a drop of coffee oil (from a fresh shot) onto the base and let it dry. Do not wash it off.
Rust is a real concern, but not where you think. Stainless steel resists rust, but the edge where the base meets the handle can trap water. If you ever rinse your tamper under a tap, dry that seam thoroughly. Water left there can cause discoloration over time.
One mistake I see constantly: people tap the tamper against the portafilter to knock off grounds. Stop doing this. It damages the edge of the base. A dinged edge means you can no longer level the puck evenly. Use your hand or a brush instead.
Dropping the tamper on a hard floor is the other killer. A fall can bend the base slightly. You will not see the bend with your naked eye, but you will taste it in the shot. If you drop it, test it on a flat surface. Place the base on a counter and check for rocking.
When to Replace vs. When to Repair
Most tampers last for years. But they do not last forever. Here is a quick decision guide.
| Symptom | What It Means | Action |
|---|---|---|
| Base has visible scratches or grooves | Normal wear after 2+ years of daily use | Replace if scratches affect leveling |
| Wood handle is cracked or splintering | Exposure to water or dry air | Replace; repair is not worth it |
| Base rocks on a flat surface | Dropped or bent | Replace immediately |
| Handle feels loose | Adhesive wear or impact | Try tightening with a wrench, or replace |
| Discoloration on steel | Oxidation from coffee acids | Clean with a dedicated stainless steel cleaner |
Repairing a bent base is not practical. You cannot reliably bend it back to perfect flatness. A new tamper is cheaper than the bags of beans you will waste on bad shots.
For a loose handle, you can sometimes fix it. Apply a drop of food-safe epoxy to the joint and let it cure for 24 hours. This works if the handle is still structurally sound.
Storage and Handling Best Practices
Where you store your tamper matters more than you think. Leaving it loose in a drawer means it bangs against other tools. Those small impacts add up.
Stand it upright on its handle, not on its base. Resting on the base can wear down the flat surface over time. If you have a knock box with a tamper holder, use it. If not, a simple cup or jar works.
Keep it away from direct sunlight. UV rays fade and dry out the wood handle. A dark cabinet or a dedicated drawer insert is ideal.
Do not store it in a damp area. The steam from your espresso machine can cause the wood to swell and the steel to oxidize. Keep it at least a few feet away from the group head.
Frequently Asked Questions
Can I put my tamper in the dishwasher?
No. The heat and moisture will ruin the wood handle and can warp the metal base. Hand washing with a damp cloth is the only safe method.
How often should I replace my tamper?
For home use, a good stainless steel tamper should last 3 to 5 years. Replace it when you notice uneven tamping or visible damage to the base. If you use it multiple times daily, inspect it every six months.
Is it okay to use rubbing alcohol to clean the base?
Yes, but only occasionally. Rubbing alcohol removes stubborn coffee stains and disinfects. Wipe it on, then wipe it off immediately. Do not let it sit, as it can dry out the handle if it touches the wood.
Does the tamper size matter for maintenance?
No. A 51mm tamper requires the same care as a 58mm one. The size affects fit, not maintenance. However, a correctly sized tamper will have cleaner edges because it does not scrape the basket walls.
My tamper base has a sticky film that won’t come off. What is it?
That is polymerized coffee oil. It has baked onto the surface over time. Use a paste of baking soda and water. Gently rub with a soft cloth in a circular motion. Rinse and dry. This breaks down the oil without scratching the steel.
Quick Maintenance Checklist
Here is the short version you can save for later.
- Wipe the base with a dry cloth after every use.
- Deep clean with mild soap once a week.
- Oil the wood handle monthly with food-safe mineral oil.
- Never soak the handle in water.
- Never tap the tamper against the portafilter.
- Store upright on its handle, away from heat and moisture.
- Check the base for flatness every few months.
- Replace the tamper if the base rocks or the handle cracks.
Good maintenance is not complicated. It is just consistency. A clean tamper gives you a flat, even puck, which gives you a better shot. The two minutes you spend wiping it down saves you from a week of frustrating pulls. If you have a machine that is acting up, check your coffee machine maintenance guide for related tips. And if your shots taste off, the problem might be elsewhere—take a look at why espresso tastes burnt to rule out other variables.
Products related to this article
Sponsored / affiliate links. As an Amazon Associate I earn from qualifying purchases. I may earn additional commission from eligible campaigns.