You pull a shot, and it takes 45 seconds instead of 28. The crema looks thin, and there’s a bitter edge you don’t recognize. You check your grind, your dose, your water temperature — everything looks fine. Then you flip the tamper over and see it: a crusted ring of old coffee oils and fines baked into the base. That thin layer is stealing your extraction.
Most home baristas treat the tamper like a hammer — use it, put it down, forget it. But the tamper is the last thing that touches your coffee before water does. A dirty base means uneven pressure, channeling, and a shot that tastes worse than your grinder deserves. This guide walks through every cleaning method, what works best for different tamper materials, and how often you actually need to do this.
WISSXOER
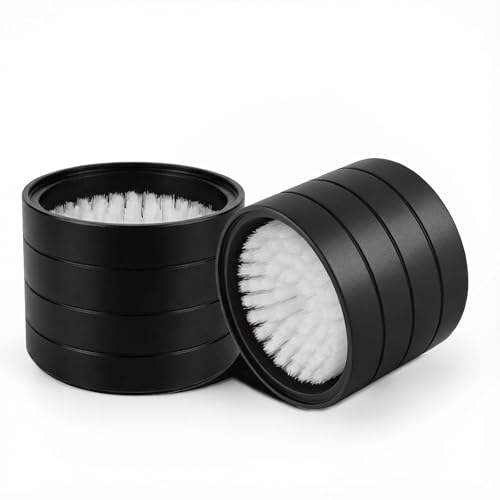
54 mm Coffee Tamper Clean Mat Barista…
- 【Universal 54mm Cleaner mat Compatibility for All Espresso Tools】Boasting a precisely calibrated 54mm inner diameter, this base fi…
- 【360° Twist Cleaning in Seconds】Dense, soft bristles inside instantly scrub away stubborn coffee grounds, residue, and powder from…
- 【2-in-1 Storage Stand for a Clutter-Free Counter】More than just a cleaner, it doubles as a dedicated tamper holder — standing upri…
As an Amazon Associate I earn from qualifying purchases.
You’ll leave with a routine that takes 10 seconds a day and a deeper clean that takes two minutes once a week. No guesswork, no overthinking it.
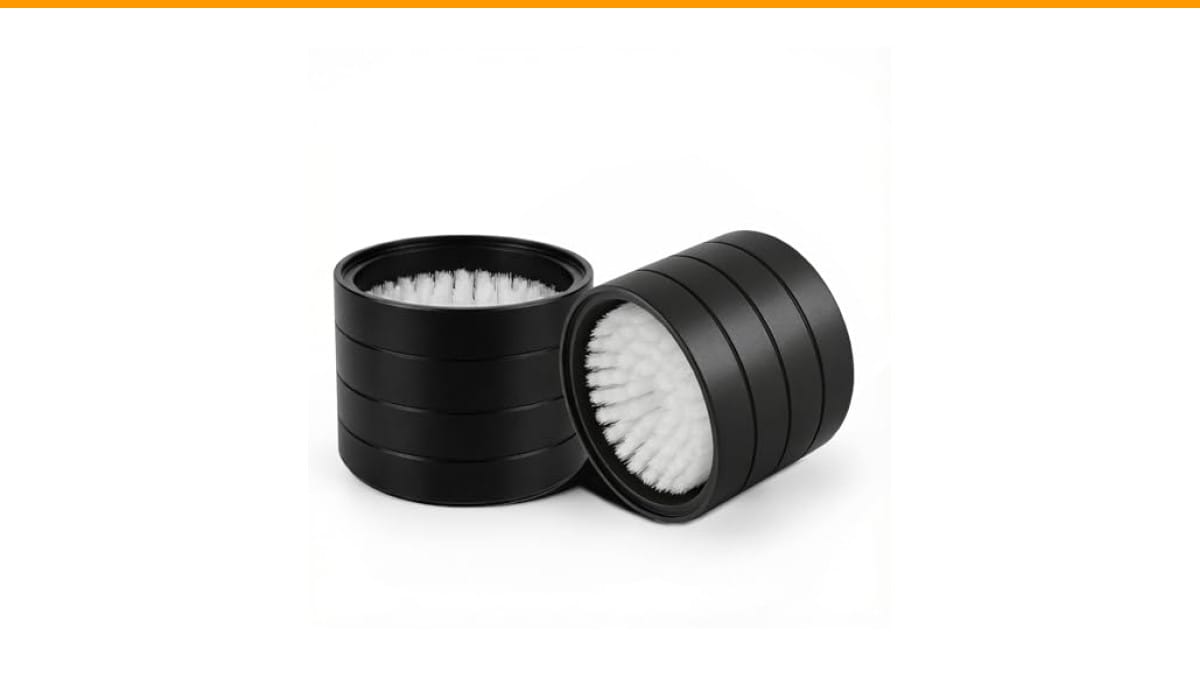
If you’re tired of brushing grounds off your tamper by hand, a dedicated cleaning station changes the workflow. The WISSXOER 54 mm Coffee Tamper Clean Mat uses dense nylon bristles inside an aluminum base — you drop the tamper in, twist once or twice, and it pulls the residue off without scratching the surface. It doubles as a storage stand, so the tool stays clean and off the counter between shots.
Why a Dirty Tamper Ruins Your Shot
Think of the tamper base like a rubber stamp. If the stamp has dried ink on it, the image comes out patchy. Same thing happens with coffee: old grounds and oils create micro-high spots on the tamper’s face, so the pressure you apply doesn’t distribute evenly across the puck. The result is channeling — water finds the path of least resistance and carves a hole through the coffee, leaving the rest under-extracted.
There’s also a hygiene angle. Coffee oils go rancid over time. That sticky residue on your tamper is a breeding ground for bacteria, and it will transfer into your next puck. You don’t taste it directly, but you might taste the staleness it introduces. Your portafilter basket gets cleaned regularly, right? The tamper should get the same respect.
Daily Cleaning: The 10-Second Habit
After every session, do this. Keep a dry microfiber cloth or a paper towel next to your grinder. Wipe the tamper base and sides immediately after you finish tamping. The grounds are still loose at this point — they haven’t bonded with the metal yet. A quick wipe removes 90% of the residue before it has a chance to dry.
For the sides of the tamper, pay attention to the area right above the base. That’s where grounds accumulate as you twist or polish. Run the cloth around the full circumference. If you use a spring-loaded tamper, wipe the moving parts too — grounds can get into the mechanism and make it gritty over time.
Don’t use water for daily cleaning. Water mixed with coffee oils creates a paste that’s harder to remove later. Dry cloth only. If you’ve let it sit for a few hours and the grounds have dried, a quick tap on the edge of the counter usually knocks the big chunks loose before you wipe.
Deep Cleaning: When and How
Once a week, or every 20-30 shots, your tamper needs more than a wipe. Dried coffee oils build up in a thin film that doesn’t come off with a dry cloth. Here’s the routine I use and recommend:
- Rinse the tamper under warm running water. Not hot — hot water can warp wooden handles or damage certain finishes. Warm is fine.
- Apply a drop of mild dish soap to the base and sides. Use your fingers to work it into a lather. Don’t use abrasive scrubbers on the face — they’ll scratch the metal and create rough spots that hold onto grounds even harder.
- Use a soft nylon brush (a clean toothbrush works well) to scrub the base, the edges, and any grooves in the handle. Pay extra attention to the rim where the base meets the shaft.
- Rinse thoroughly. Soap residue will affect the taste of your next shot, so make sure it’s completely gone.
- Dry immediately with a clean cloth. Don’t let it air-dry, especially if you have a stainless steel or aluminum tamper — water spots and mineral deposits will form.
For wooden handles, be careful. Don’t submerge the whole tamper. Hold it by the handle and only clean the metal base. Wood absorbs water and can crack or swell. Wipe the handle with a barely damp cloth and dry it right away.
If you have a tamper with a textured or coated base (some have a rough surface for better grip on the puck), skip the soap and use a dedicated coffee cleaner like Cafiza. Mix a small amount with warm water, dip a cloth in it, and wipe the base. Rinse with a damp cloth and dry. The chemical cleaner breaks down the oils without scrubbing.
Cleaning Tools Compared: Which Method Wins?
I tested four common approaches side by side over two weeks: dry cloth, damp cloth with soap, a dedicated cleaning brush, and the brush-and-base cleaner combo. Here’s how they stack up:
| Method | Time per Clean | Removes Daily Grime | Removes Baked-On Oils | Risk of Scratching | Best For |
|---|---|---|---|---|---|
| Dry microfiber cloth | 10 seconds | Yes | No | Very low | Daily routine |
| Warm water + dish soap | 2 minutes | Yes | Yes | Low | Weekly deep clean |
| Handheld brush | 30 seconds | Yes | Partial | Medium — depends on bristle stiffness | On-the-go touch-ups |
| Tamper cleaner mat with built-in bristles | 5 seconds | Yes | Yes | Very low — soft nylon | Daily use with minimal effort |
The dry cloth is fine for maintenance, but it won’t fix a neglected tamper. The soap-and-water method works but takes time and requires drying. The handheld brush is decent but leaves oils behind unless you scrub hard. The cleaner mat is the fastest option because the bristles do the work — you just twist the tamper inside the base and pull it out. It won’t replace a weekly soap wash for the truly caked-on stuff, but it cuts your deep-cleaning frequency in half.
One thing to watch with any bristle-based cleaner: make sure the bristles are soft enough for your tamper’s finish. A brushed stainless tamper can handle more abrasion than a mirror-polished one. When in doubt, test on the side of the base first, not the face.
How to Clean a Tamper Mat (Yes, Those Need Cleaning Too)
If you use a cleaning mat or base, it collects everything you’re wiping off your tamper. That means it needs its own maintenance. Most mats have a removable bristle insert — the WISSXOER model unscrews into two pieces for exactly this reason. Once a week, pull the bristles out and rinse them under warm water with a drop of soap. Squeeze out the excess water and let them air-dry completely before reassembling.
Don’t leave the bristles wet in the base. Moisture trapped against the aluminum can cause corrosion over time, and damp bristles are a breeding ground for mold. Dry them thoroughly and you’ll get years of use out of the tool.
If your mat doesn’t have a removable insert, use a soft brush to sweep the bristles clean and wipe the base with a damp cloth. Just know that without a removable insert, you can’t fully clean between the bristles, and that’s where the oils hide.
Prevention: Keep It Clean Longer
The best way to clean a tamper is to not let it get dirty in the first place. A few habits that make a real difference:
- Tap the tamper against the edge of the knock box before wiping. This dislodges loose grounds that would otherwise smear into a paste.
- Wipe the tamper immediately after the last shot of the day, not before the first shot of the next day. Dried residue is ten times harder to remove.
- Store the tamper face-down on a clean surface, not in a drawer with other tools. A dedicated holder like the cleaning mat keeps it upright and dust-free.
- If you use a distribution tool or WDT tool, clean those too — they pick up oils and transfer them to the basket, which then transfers to your tamper.
I’ll be honest: I skipped the daily wipe for a week once to see what happened. By day five, the tamper had a visible film, and my shots were running slower with more channeling. The difference was subtle but noticeable. Once I cleaned it properly and went back to the daily wipe, the shots evened out. That’s the kind of thing you don’t notice until it’s wrong.
Frequently Asked Questions
How often should I clean my espresso tamper?
Wipe it dry after every use. Do a soap-and-water deep clean once a week if you pull 2-3 shots a day. If you’re a heavy user — 5+ shots daily — bump that to twice a week. A tamper used once a day can go two weeks between deep cleans, but the daily wipe is non-negotiable.
Can I put my tamper in the dishwasher?
Don’t. The heat and detergent will damage wooden handles, strip coatings, and can cause metal parts to corrode. Dishwasher detergent is too aggressive for the precision surface of a tamper base. Hand-wash only.
Is it safe to use vinegar or citric acid on my tamper?
No. Vinegar and citric acid are acidic enough to etch metal finishes, especially aluminum and coated surfaces. Use warm water and mild dish soap. For stubborn coffee oils, use a dedicated espresso machine cleaner like Cafiza — it’s formulated to break down coffee residue without damaging metal. If you’re cleaning your whole setup, check our vinegar cleaning guide for the right places to use it, but keep it away from the tamper.
My tamper has a wooden handle. How do I clean it without ruining the wood?
Never submerge the handle. Hold the tamper by the metal base and clean only the metal parts with soap and water. For the wood, wipe with a barely damp cloth and dry immediately. Once a month, apply a food-safe mineral oil to the handle to keep it from drying out and cracking. Avoid oil-based polishes — they can transfer to your hands and then to the coffee.
What’s the best way to clean a spring-loaded or adjustable tamper?
These have more moving parts, so they need extra attention. After daily use, wipe the base and the outer sleeve. Weekly, unscrew the adjustment mechanism if it’s accessible and wipe the threads with a dry cloth. Don’t lubricate the spring — coffee oil will build up on the lubricant and make the mechanism sticky. If it starts to feel gritty, unscrew it completely, rinse the parts in warm soapy water, dry thoroughly, and reassemble. This is also a good time to check that your tamping pressure hasn’t drifted from the settings you’ve dialed in — something we cover in our espresso machine comparison if you’re weighing manual vs. automated options.
Can a dirty tamper really affect the taste of espresso?
Yes, and it’s not subtle once you know what to look for. Old coffee oils on the tamper face create an uneven surface, which leads to uneven pressure distribution. That causes channeling, which means part of your puck over-extracts and part under-extracts. The cup tastes bitter and sour at the same time — a classic sign of channeling. A clean tamper gives you a level, uniform puck, which is the foundation of a balanced shot. If your shots have been inconsistent lately, clean the tamper before you adjust your grinder. It’s the cheaper fix.
What to Remember
- Wipe the tamper dry after every session — 10 seconds saves you 10 minutes later.
- Deep clean weekly with warm water and mild soap, not hot water and not vinegar.
- Never put a tamper in the dishwasher, regardless of material.
- Wooden handles need dry wiping and occasional mineral oil, never soaking.
- Cleaning mats with bristles speed up the daily routine and double as storage — just clean the mat itself weekly.
- A clean tamper is the cheapest upgrade you can make to your espresso quality. It costs nothing and changes everything.
- If you’re deep-cleaning your whole setup, don’t forget the grinder — our grinder cleaning guide covers that side of the routine.
Your tamper is the one tool that touches every shot you pull. Treating it like a precision instrument instead of a hammer is the difference between a good espresso setup and a great one. The routine is simple, the tools are cheap, and the payoff is in every cup.
Products related to this article
Sponsored / affiliate links. As an Amazon Associate I earn from qualifying purchases. I may earn additional commission from eligible campaigns.
 Coffee Espresso Machine Handle Replacement Parts, Cafe Bracket Handle for Lidl Silvercrest CM4621 CM4218 KF5002 KF500S Barista (for 51mm Portafilter Basket - Not included)
 Cascade Platinum Plus Dishwasher Detergent Pods Dish Soap Lemon 57 Count
 12 Pcs Stainless Steel Cooking Utensil Set - Rustproof Cooking Food Utensils Tool Kit with Non-Slip Wooden Handles, for Kitchen Cooking, Frying, Draining, Mashing, Stirring, Serving