You just upgraded your morning routine with a combo unit—a drip machine with a built-in grinder. It saves counter space and delivers freshly ground beans on demand. But then life happens. You travel for two weeks, or you buy a separate espresso setup, and the combo unit ends up in a closet. When you pull it out, the first brew tastes like dusty cardboard.
That flavor isn’t from the beans. It’s from improper storage. Moisture and old coffee oils are the enemies here. This guide walks through the exact process for storing a coffee maker with grinder so it comes out of the cupboard ready to brew, not ready for the trash.

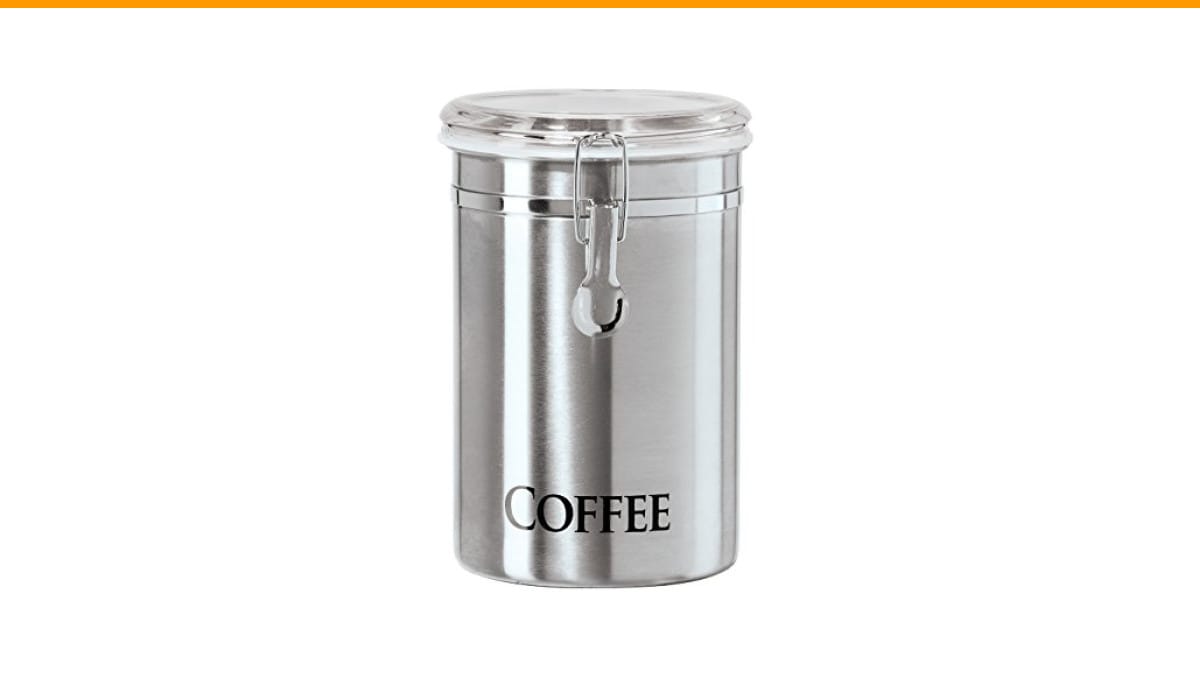
Oggi
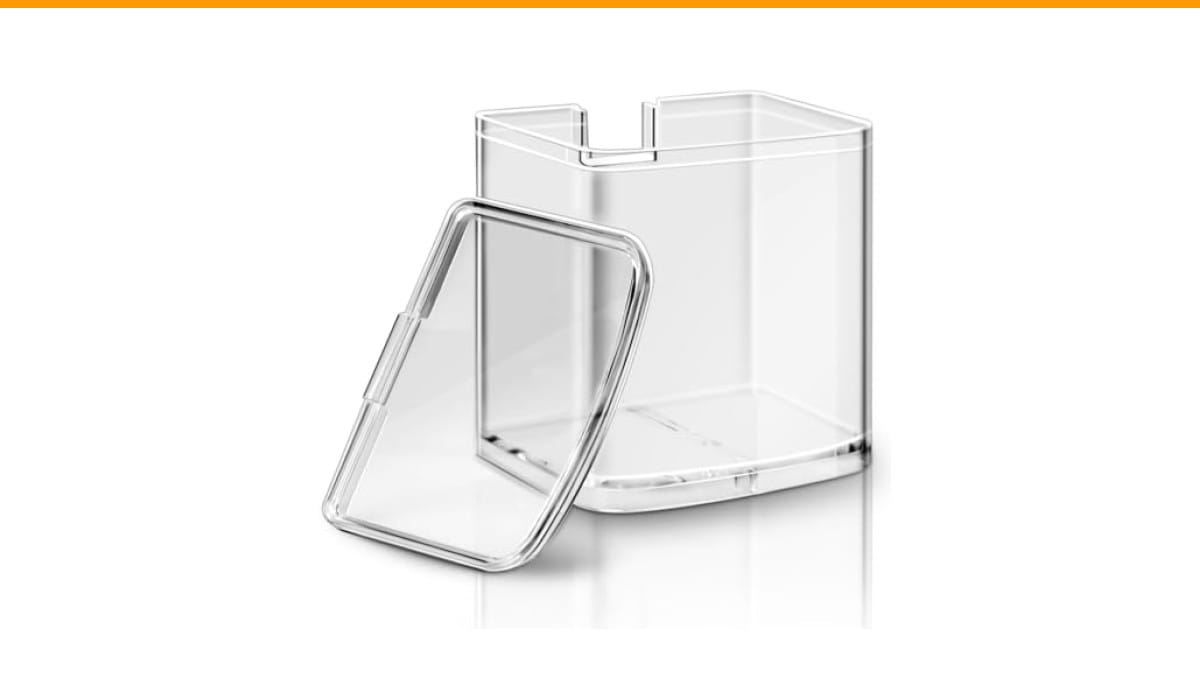
Oggi Stainless Steel Coffee Canister 62 fl…
- DURABLE & CONTEMPORARY: These stylish, large 62 fluid ounces, airtight coffee beans or grounds storage containers made from durabl…
- AIRTIGHT & SEE-THRU LIDS: Clear lids enable you to see the coffee beans or grounds which are kept fresh and dry due to the silicon…
- SLEEK ON YOUR COUNTER: These stylish coffee canisters are great looking and will enhance your countertops. Place them with your co…
As an Amazon Associate I earn from qualifying purchases.
You’ll learn the cleaning steps that matter, the drying tricks that prevent mold, and the common mistakes that ruin machines in storage. No fluff, just the practical stuff.
Before you pack it away, consider where the beans will live while the machine is out of sight. A separate airtight container keeps your next batch of beans fresh. The Oggi Stainless Steel Coffee Canister works well here—it has a clamp lid with a silicone gasket that seals out air and moisture, and the clear top lets you see how much is left without opening it. It’s a simple way to protect beans that would otherwise go stale in a bag.
Why Storage Kills Combo Units (and How to Stop It)
Built-in grinders have a specific weakness: they trap coffee dust and oil in places you can’t easily see. That residue goes rancid. Rancid oil smells like old paint and ruins any fresh beans you add later.
Moisture is the second problem. A machine packed away while still damp becomes a petri dish. Mold spores settle in the water reservoir, the brew basket, and the grinder burrs. You won’t see it until you run a cycle and get a musty, earthy smell in your cup.
The fix is a thorough clean and a complete dry. That means taking apart every removable piece, scrubbing the grinder chamber, and letting everything air out for at least 24 hours before sealing it in a box.
Step-by-Step: Cleaning Before Storage
Don’t skip this. A machine cleaned after its last use is far easier to revive than one cleaned after months in a closet. Here’s the order that works best.
- Empty the bean hopper. Remove every bean. If you leave them, the oils will coat the hopper and go stale. You can’t wash this off easily without risking water damage to the motor below.
- Run the grinder empty. Pulse it a few times to eject the ground coffee trapped in the chute and burrs. You’ll see a small pile of dust come out. That’s the stuff that causes rancid flavors.
- Remove and wash all detachable parts. This includes the water reservoir, carafe, brew basket, and filter holder. Wash them in warm, soapy water. Rinse thoroughly. Do not put any of these in the dishwasher unless the manual explicitly says it’s safe—the heat can warp plastic parts and ruin the seals.
- Clean the grinder burrs. Use a stiff brush (a pastry brush works) to sweep out the grind chamber. For stubborn oil buildup, use a grinder cleaning tablet or a few raw white rice grains. Run them through the grinder to absorb the oils. This is the same method we recommend in our coffee grinder cleaning guide.
- Wipe the exterior. Damp cloth, mild detergent, then a dry cloth. Pay attention to the area around the grinder chute where coffee dust settles.
- Descale the internal lines. Run a cycle with a descaling solution or a 50/50 white vinegar and water mix. This clears mineral deposits from the heating element and tubes. Follow up with two full cycles of fresh water to rinse out the vinegar taste. For more detail, check our guide on cleaning with vinegar.
Drying: The Step Everyone Gets Wrong
You washed everything, but you didn’t dry it. That’s the mistake. Water trapped in the reservoir or the internal tubing will stagnate.
Here’s what to do:
- Leave the water reservoir off the machine, upside down, on a drying rack for 24 hours.
- Leave the brew basket and carafe out on the counter, not stacked inside the machine.
- Prop the machine’s lid open so air circulates inside the brew chamber.
- If your machine has a removable water line, disconnect it and dry it separately.
Pro tip: after 24 hours, touch the inside of the reservoir. If it feels cool or damp at all, give it another half day. Patience here saves you from a moldy surprise later.
Packing and Positioning for Long-Term Storage
Once everything is bone dry, you need to think about how the machine sits.
First, wrap the carafe in a soft cloth or bubble wrap. Glass carafes are fragile and a common breakage point during storage. The carafe should go in the box beside the machine, not inside the brew basket. Wedging it in puts stress on the glass and the machine’s plastic housing.
Second, place the machine upright in the box. Laying it on its side can cause residual water in the internal lines to pool in the motor housing. Even a few drops can cause corrosion over months.
Third, stuff the empty spaces in the box with packing paper or cloth. This prevents the machine from sliding around. Use the original box if you have it; otherwise, a sturdy moving box with plenty of padding works.
Finally, label the box. Write ‘Coffee Maker – Glass Inside’ on the outside. You’ll thank yourself in six months when you’re moving or digging through the garage.
Comparing Storage Methods
Not all storage situations are the same. Here’s how different approaches stack up.
| Storage Method | Best For | Time Needed | Key Risk |
|---|---|---|---|
| Countertop (in use) | Daily brewing | None | Dust buildup on grinder |
| Cabinet (short-term) | 1–4 weeks away | 30 min clean | Lingering moisture in reservoir |
| Boxed storage (long-term) | 1+ months | Full deep clean + 24h dry | Rancid oils in grinder burrs |
For short-term breaks, a quick rinse and empty hopper might be enough. For anything over a month, do the full process above. The difference in effort is about 20 minutes, but the difference in outcome is significant.
Common Mistakes That Ruin Stored Machines
I’ve seen these three mistakes ruin more combo units than normal wear and tear.
Mistake 1: Storing with beans in the hopper. The oils in coffee beans are volatile. Over time, they oxidize and turn sticky. That sticky residue clogs the grinder chute and is a nightmare to clean. Always empty the hopper.
Mistake 2: Sealing the machine while damp. You wiped down the exterior and felt it was dry. But the water reservoir had a few drops at the bottom. Those drops breed mold. The first brew after storage will taste like a basement. Dry everything, including the inside of the reservoir, with a lint-free cloth before packing.
Mistake 3: Closing the lid. If you store the machine with the brew basket lid closed and latched, you trap any residual moisture inside. Leave the lid unlatched or place a piece of crumpled paper between the lid and the base to allow airflow.
Bringing It Back Out of Storage
When you’re ready to use the machine again, don’t just plug it in and brew. Run one cycle with plain water first. This flushes out any dust that settled in the lines and confirms the pump still works.
Check the grinder burrs for any debris that might have shaken loose during transport. If the first grind looks uneven, run a small batch of beans through and discard them.
If you notice any off smells during that first rinse cycle, stop and run a vinegar cycle. That’s the same process you’d use for a clogged machine, and it usually clears things up.
Then brew a full pot and toss it. The second pot is the one you drink.
Frequently Asked Questions
How long can I store a coffee maker with grinder?
You can store it for years if you clean and dry it properly. The main risk is oil rancidity in the grinder, not the electronics. A machine stored with clean burrs and dry internals will work fine after 12 months in a box.
Can I store the coffee maker on its side?
No. Always store it upright. Laying it on its side allows any residual water in the internal tubing to pool against the motor or heating element, which can cause corrosion or a short circuit over time.
Should I put the carafe inside the machine for storage?
No. Wrap the carafe separately and place it next to the machine. Putting it inside the brew basket risks cracking the glass if the box gets bumped, and it puts unnecessary pressure on the machine’s plastic components.
Is it safe to use rice to clean the grinder before storage?
Yes, but use plain white rice, not instant or seasoned rice. Run about two tablespoons through the grinder on a coarse setting. The rice absorbs oils and cleans the burrs. Follow up by running the grinder empty to clear the rice dust.
What if I already stored it and now it smells bad?
Don’t panic. Run a vinegar cycle (one part vinegar to two parts water) through the brew path, then two fresh water cycles. For the grinder, run a batch of rice through it, then a small batch of cheap beans to absorb the odors. Discard all of it. The smell usually disappears after that.
Smart Storage Habits for the Long Run
Getting this right is about building a routine, not a one-time deep clean.
- Empty the bean hopper after every use, even if you plan to brew again tomorrow.
- Run the grinder empty for a few seconds after grinding to clear the chute.
- Wipe the grinder area with a dry cloth once a week to prevent oil buildup.
- Deep clean the machine right before you store it, not the week before.
- Always store the machine upright with the lid unlatched.
- Keep the carafe wrapped separately in the box.
- When you pull it out, run a water cycle before your first real brew.
Your combo unit is a workhorse. It deserves better than being shoved in a closet with stale beans and damp internals. Spend the 30 minutes to prep it right, and it will reward you with a fresh-tasting first cup every time you bring it back.
Products related to this article
Sponsored / affiliate links. As an Amazon Associate I earn from qualifying purchases. I may earn additional commission from eligible campaigns.
 Belly Moka Coffee Maker Stovetop Espresso Maker 9 Cup Aluminum Moka Pot Percolator 15oz 450ml Easy Brewing for Electric Ceramic Stoves Home Camping Italian Cuban Café Classic Black
 Belly Moka Coffee Maker Stovetop Espresso Maker 6 Cup Aluminum Moka Pot Percolator 10oz 300ml Easy Brewing for Electric Ceramic Stoves Home Camping Italian Cuban Café Classic Silver
 HomeBeyond Espresso Coffee Maker 12 Cups, Classic Stovetop Espresso Maker, 600ml / 20oz Coffeemaker for Gas & Ceramic Stovetops (Silver)