You press the switch, wait for the familiar rumble, and nothing happens. The kettle sits there, cold and silent. It’s a small annoyance, but it usually hits at the worst moment — right when you need hot water for coffee or tea. Before you toss it in the recycling bin, know this: most dead kettles are fixable in under five minutes with nothing but a Q-tip and some vinegar.
This guide walks you through a simple diagnostic checklist, from the most likely external causes to the internal failures that actually mean the end of the road. You’ll learn what to test, what to clean, and exactly when it’s not worth your time to keep troubleshooting. I’ve repaired enough small appliances to tell you straight: the fix is often embarrassingly simple.
Cosori
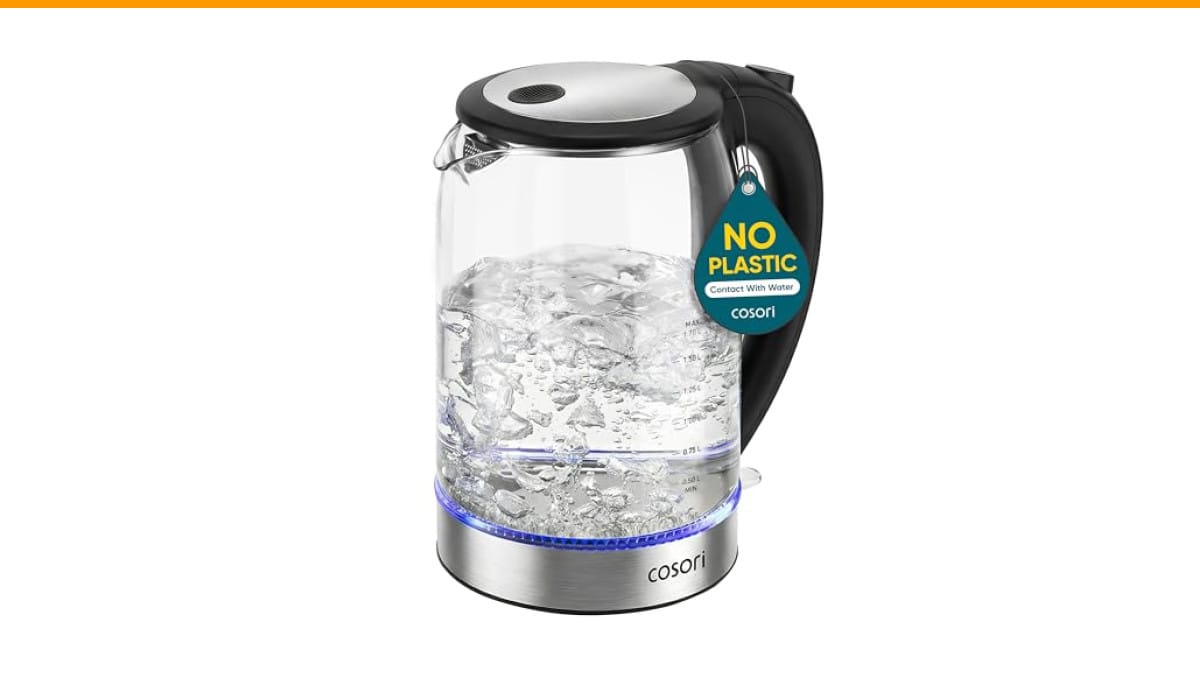
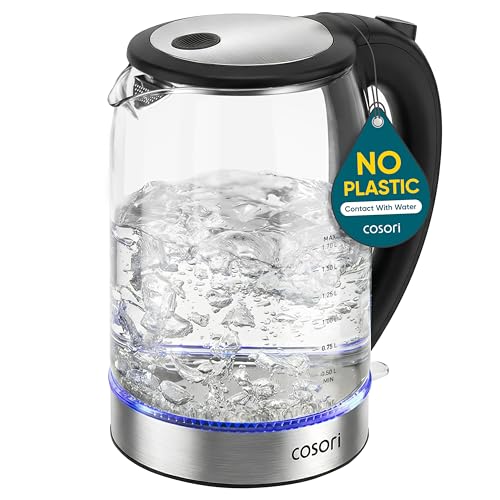
Cosori Electric Kettle, No Plastic Contact with…
- No Plastic Contact with Your Water——With no plastic inside, water never touches plastic, ensuring a pure taste and safer drinking…
- Faster Than a Stovetop Kettle——Heats 0.5L (2 Cups) water in under 3 minutes for less wait time
- Easy to Clean——Wide mouth and large-angle lid lets you reach every corner with ease
As an Amazon Associate I earn from qualifying purchases.
If you do end up replacing it, the Check Price on Amazon is a solid choice — it has no plastic inside the water chamber, which means no off-flavors, and it heats two cups in under three minutes. But let’s try to save what you’ve got first.
Safety First: Unplug and Inspect
Before you touch anything, unplug the kettle from the wall. Water and electricity don’t mix, and even a unplugged kettle can hold a charge in its capacitor for a few seconds. Give it a minute.
Look at the power cord along its entire length. Check for chew marks from pets, kinks, or exposed wires. A damaged cord is a fire hazard — if you see one, stop here. Do not use that kettle again. The repair cost isn’t worth the risk.
Also inspect the base unit and the bottom of the kettle. Look for signs of scorching, melting, or discoloration around the electrical contacts. If you see burn marks, that’s a short circuit. Replace the kettle immediately.
If the cord looks fine and there are no burn marks, move on to the diagnostic steps.
Quick Diagnostic: Is It the Kettle or the Outlet?
This is the step most people skip, and it’s the most common reason for a false diagnosis. You need to isolate the problem before you start taking things apart.
Test the Outlet with a Lamp or Phone Charger
Plug your kettle into a different outlet. If it works, the original outlet is the problem. That sounds obvious, but you’d be surprised how many kettles get thrown away because of a dead GFCI outlet in the kitchen.
If the second outlet also fails, plug a lamp or phone charger into the same outlet the kettle just used. If the lamp works, the outlet is fine. If the lamp doesn’t work, check your circuit breaker. A tripped breaker is a common culprit, especially if you run the kettle and a toaster on the same circuit.
Pro tip: don’t just look at the breaker panel. Reset the breaker fully by switching it off, then on. Sometimes a breaker looks fine but the handle hasn’t clicked back into place.
Check the Kettle’s Power Base and Cord
Most electric kettles sit on a separate power base with a short cord. The connection between the kettle and the base is a common failure point. The base has a central connector with spring-loaded pins, and the kettle has matching sockets on its bottom.
Inspect those pins. Are they bent, corroded, or pushed down? If a pin is bent, you can sometimes gently straighten it with a pair of needle-nose pliers. If it’s corroded, you’ll clean it in the next section. If the pins are loose and wobble, the base is worn out.
Also check the cord where it enters the base. This is a flex point, and wires can break inside the insulation without any visible damage. If the kettle only works when you wiggle the cord, you’ve found the problem — but the fix means opening the base, which we’ll discuss later.
The Most Common Culprit: Dirty or Bent Base Contacts
Here’s the thing about kettle contacts: they carry high current, and they get hot. Over time, mineral deposits from hard water and general oxidation build up on the metal surfaces. This creates resistance, which creates more heat, which makes the problem worse. Eventually, the connection fails completely.
This is the single most common reason an electric kettle not turning on is actually a simple fix. The contacts look fine to the naked eye, but they’re coated in a thin, invisible layer of crud.
How to Clean the Contacts Safely
You’ll need a Q-tip, some white vinegar, and a dry cloth. That’s it.
- Unplug the base completely.
- Dampen a Q-tip with white vinegar — not soaking wet, just damp.
- Rub the Q-tip firmly over the metal pins on the base and the matching sockets on the kettle bottom.
- Use a fresh Q-tip to dry the contacts completely. No moisture left behind.
- Do the same for the flat ring contacts around the center pin.
Plug the base back in, set the kettle on it, and try it. In my experience, this fixes roughly 60% of dead kettles. If it doesn’t work, the problem is inside the kettle itself.
The Switch and Thermal Fuse: Internal Issues
If the external contacts are clean and the outlet is fine, the issue is internal. There are two main suspects: the switch mechanism and the thermal fuse.
The Reset Button and Dry-Boil Protection
Some kettles have a small reset button on the bottom or the handle. It’s usually red. If you’ve ever accidentally boiled the kettle dry, this button may have popped out. Press it firmly until it clicks. That’s the dry-boil protection resetting.
If your kettle doesn’t have a visible reset button, it likely uses a thermal fuse. This is a one-time device that blows permanently if the kettle overheats. It’s a safety feature that prevents fires, but it also means the kettle is now a paperweight. There’s no resetting a blown thermal fuse.
How can you tell the difference? If the kettle was boiled dry recently and then died, it’s almost certainly the thermal fuse. If the kettle just stopped working one day without any dry-boil event, it’s more likely the switch or the contacts.
When to Open the Base (and When Not To)
You can open the base plate with a screwdriver. There are usually three or four screws on the bottom. Once inside, you’ll see the heating element, the switch, and the thermal fuse. You can test the thermal fuse with a multimeter set to continuity mode. If it reads infinite resistance, it’s blown.
Here’s the honest truth: replacing a thermal fuse is possible, but it’s rarely worth it. The fuse costs a few dollars, but you have to disassemble the kettle, solder the new fuse in, and reassemble everything perfectly. If you make a mistake, you’ve created a fire hazard. And you’ve voided the warranty by opening the base — the warranty sticker usually tears when you unscrew it.
Unless you’re comfortable with soldering and appliance repair, don’t do it. A new kettle costs less than the time and risk involved.
The Mineral Buildup Problem: Descale Before You Panic
Hard water is the silent killer of electric kettles. Calcium and lime scale build up on the heating element at the bottom of the kettle. This acts as an insulator, so the element has to work harder to heat the same amount of water. It gets hotter and hotter, and eventually trips the thermal fuse or burns out the element entirely.
If your kettle has been slowing down over the last few weeks, then suddenly stopped working, scale is likely the root cause. Even if the kettle still turns on, a heavy scale buildup can make it shut off prematurely before the water boils.
To descale: fill the kettle halfway with equal parts water and white vinegar. Boil it (if it still works), or just let it sit for an hour if it doesn’t. Pour it out, rinse thoroughly, and run one full cycle with fresh water to remove the vinegar taste. You’ll be amazed at the flakes that come out.
Prevention is simple: empty the kettle after each use and wipe the interior dry. Don’t let water sit in it overnight. That single habit will double the lifespan of any kettle.
Repair vs. Replace: The Cost-Benefit Verdict
Let’s be honest about the economics. A basic electric kettle costs between $20 and $40. A good one, like the Cosori model with the stainless steel interior, costs a bit more but still well under $100. A replacement thermal fuse costs maybe $5, but you’ll spend an hour of your time and risk turning your kitchen into a fire hazard if you install it wrong.
| Problem | Difficulty | Cost to Fix | Time | Worth It? |
|---|---|---|---|---|
| Dirty base contacts | Easy | $0 | 5 minutes | Yes |
| Tripped reset button | Easy | $0 | 1 minute | Yes |
| Mineral buildup | Easy | $1 (vinegar) | 30 minutes | Yes |
| Damaged power cord | Moderate | $10 (cord) | 45 minutes | Only if you’re handy |
| Blown thermal fuse | Hard | $5 (fuse) + soldering | 1-2 hours | No — replace |
| Burnt out heating element | Hard | $15 (element) + soldering | 2+ hours | No — replace |
My rule of thumb: if the kettle is less than two years old and the fix takes under ten minutes, do it. If it’s older than that or the fix requires opening the base, buy a new kettle. The time you spend troubleshooting is worth more than the $30 you’d spend on a replacement.
If you do decide to replace, consider one with a wide mouth for easy cleaning — it makes descaling less of a chore. The Cosori kettle has that feature, plus the dual-angle lid that reduces splashing when you open it mid-boil.
Preventing Future Failures: Maintenance Tips
Most kettle failures are preventable. Here’s what I do with my own appliances, and it takes about two minutes per week.
- Empty the kettle after every use. Standing water breeds scale and corrosion.
- Wipe the base contacts with a dry cloth once a month. Just a quick pass to remove dust and moisture.
- Descale every 4-6 weeks if you have hard water, every 3 months if you have soft water. If you see white flakes in your cup, you’re overdue.
- Don’t overfill past the max line. Boiling water can spit into the base mechanism.
- Unplug the kettle when not in use. This prevents power surges from damaging the internal electronics.
These habits will extend a kettle’s life from the typical 2-3 years to 5 years or more. I’ve seen a well-maintained kettle last a decade. The ones that die young are almost always the ones that get boiled dry or never descale.
If you’re dealing with other small appliance failures, the same logic applies. A coffee maker that won’t pump water often has a similar scale problem. The diagnostic approach is the same: isolate the power source, check the obvious, then decide if it’s worth the tear-down.
Frequently Asked Questions
Why did my kettle stop working after I boiled it dry?
You tripped the dry-boil protection. This is a safety feature designed to prevent the kettle from melting or catching fire. Look for a small reset button on the bottom or handle. If there’s no button, the thermal fuse has blown permanently, and the kettle needs replacing.
Can I use a multimeter to test the kettle?
Yes, if you have one. Set it to continuity mode and test the power cord first — it should show near-zero resistance. Then test the heating element by touching the probes to its two terminals. A working element reads between 20 and 50 ohms, depending on wattage. If it reads infinite resistance, the element is burnt out.
Is it safe to open the bottom of an electric kettle?
It’s safe as long as it’s unplugged and you wait a few minutes for the capacitors to discharge. But you’ll void the warranty, and you take responsibility for any mistakes. If you’re not confident in your repair skills, don’t do it — the risk of creating an electrical hazard isn’t worth saving $30.
How long should an electric kettle last?
With regular descaling and proper use, expect 3-5 years. Kettles that get boiled dry or never cleaned often fail within the first year. The heating element and thermal fuse are the two components that wear out first.
Why does my kettle turn on but not heat the water?
This points to a burnt-out heating element or a faulty connection between the element and the power supply. It could also be a jammed switch that makes contact but doesn’t actually engage the element. Either way, this is an internal repair that usually costs more in time than a new kettle.
Final Thoughts: Know When to Call It
There’s a certain satisfaction in fixing something yourself. Cleaning the contacts and watching the kettle roar back to life is a small victory. But there’s also wisdom in knowing when to stop. I’ve spent too many hours with a soldering iron on appliances that were never going to work again, and I don’t recommend it.
- Start with the outlet — test it before you blame the kettle.
- Clean the base contacts with vinegar and a Q-tip. This fixes most problems.
- Look for a reset button after any dry-boil incident.
- Descale regularly to prevent scale from killing the heating element.
- Never use a kettle with a damaged cord or burn marks.
- If you need to open the base, seriously consider buying a new kettle instead.
- If you replace it, get one with a wide mouth and no plastic in the water path — it’ll taste better and last longer.
For more troubleshooting on your kitchen gear, check out our guide on Keurig not brewing a full cup — it’s a different appliance, but the same diagnostic mindset applies. And if you’re dealing with a Breville cleaning cycle issue, the descaling advice here will help you there too.
Now go check that outlet, grab a Q-tip, and see if you can save the day.
Products related to this article
Sponsored / affiliate links. As an Amazon Associate I earn from qualifying purchases. I may earn additional commission from eligible campaigns.
 SOLUSTRE Electric USB Coffee Cup Warmer with Temperature Settings Portable Milk and Beverage Heating Coaster for Office Desk Small Lightweight Design Easy to Clean Surface Multi Functional
 VOBAGA Coffee Mug Warmer with 15oz Mug Set, Electric Coffee Cup Warmer
 Coffee Mug Warmer & You are Awesome Mug Set, Electric Cup Warmer for Desk