You pull a shot, and the puck comes out muddy. Or you walk into the kitchen and find a puddle under your grinder that wasn’t there an hour ago. A wet grinder is a headache. It clumps your grounds, rusts the burrs, and makes a mess you have to clean every single day.
Most people panic and assume they need a new machine. That’s rarely true. Water in a grinder almost always comes from one of a few specific places, and most of those are cheap, quick fixes you can do yourself in under an hour. This guide walks you through a simple diagnostic path so you can find the leak, fix it, and get back to pulling shots.
Generic
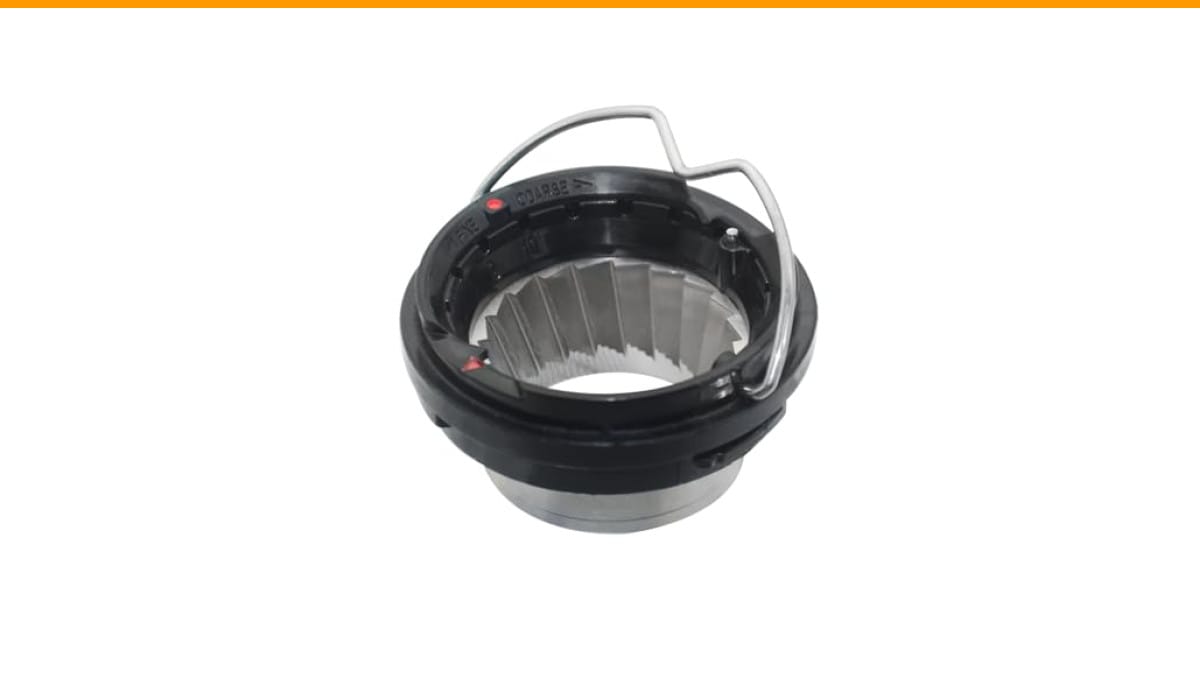
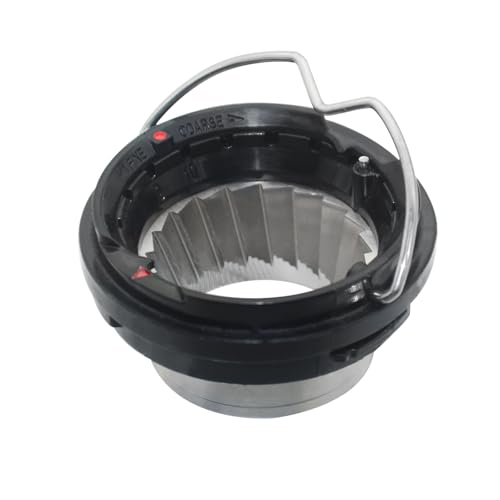
BES870XL/06.8 Upper Burr Assembly with Handle for…
- [Replacement Part] Package contains 1 replacement part numbered BES870XL/06.8, designed to fit select espresso and grinder models.…
- [Replacement Part] Work to replace the worn-out or broke part, ensurs perfect compatibility and reliable performance. also ensures…
- [Quality Material] Made of upgraded high quality materials, the metal gear and the plastic casing are both hard and wear-resistant…
As an Amazon Associate I earn from qualifying purchases.
You’ll learn how to tell a real leak from condensation, how to trace the water to its source, and exactly which parts to replace. We’ll also cover when it’s smarter to call a pro or buy a new machine instead of throwing money at an old one.
If your grinder’s upper burr assembly is worn or cracked from water exposure, a replacement like the BES870XL/06.8 Upper Burr Assembly can restore proper grinding performance. It’s a direct replacement part with a built-in handle, so swapping it out takes just a few minutes.
Immediate Safety Protocol: Unplug and Isolate
Water and electronics don’t mix. Before you touch anything, unplug the machine from the wall. Do not just turn it off. A switch can still pass current, and a short circuit inside a wet grinder is a real shock hazard.
Next, move the machine away from the counter edge. Place it on a towel or a cutting board on the floor. This gives you room to work and keeps water from dripping into outlets or other appliances.
If you see water pooling near the base, do not tilt the machine to drain it. Tilting can push water deeper into the motor housing. Instead, use a turkey baster or a clean syringe to remove standing water from the drip tray or base. Pat the interior dry with a lint-free cloth.
Wait at least 30 minutes after unplugging before you start any disassembly. Capacitors hold a charge, and hot surfaces need time to cool. Patience here prevents burns and electrical surprises.
Is It a Leak or Just Messy? (Condensation vs. Splashing)
Not every drop of water under your grinder is a leak. Two common culprits mimic a leak perfectly: condensation and splashing.
Condensation forms when warm, humid air hits a cold surface. If you run your grinder right after steaming milk, the internal metal parts are warm. The surrounding air cools quickly, and water droplets form on the grinder’s exterior. This looks like a leak but feels dry to the touch after a few minutes.
Splashing is more obvious. If you purge the steam wand into the drip tray and the tray is nearly full, water splashes over the edge. Same thing happens when you knock out a portafilter with too much force. The water on the counter is from your technique, not a failed seal.
Here’s a quick test: wipe the area completely dry with a paper towel. Place a fresh, dry paper towel under the machine. Wait 15 minutes. If the new towel is wet, you have a true leak. If it’s dry, you’re dealing with condensation or splash-back. This simple test saves you from replacing parts that aren’t broken.
The Diagnostic Flowchart: Locating the Source
Follow this logic path. It takes about 60 seconds and points you to the exact fix.
- Where is the water? Under the portafilter, at the steam wand, under the base, or near the water tank?
- When does it appear? During brewing, during steaming, or when the machine is idle?
- What color is the water? Clear, brownish (coffee residue), or rusty?
- Is the machine over 3 years old? Older machines have more worn seals and limescale buildup.
Match your answers to the sections below. The solution is almost always a gasket, an O-ring, or a descaling job.
Leak Under the Portafilter (Group Head)
Water dripping from the portafilter spout or around the rim usually means the group head gasket is worn. This rubber ring creates a seal between the portafilter and the brew head. Over time, it hardens, cracks, or gets compressed. The result is water escaping around the edges instead of through the coffee puck.
Another sign: the portafilter turns too far when you lock it in. A new gasket should stop the handle around the 6 o’clock position. If it swings past 7 o’clock, the gasket is shot.
Sometimes the leak is not the gasket but the shower screen. A clogged screen creates backpressure, forcing water out around the gasket. Remove the screen and soak it in a descaling solution to clear the holes.
Leak From the Steam Wand
Steam wand leaks show up in two ways. First, a steady drip from the tip when the wand is closed. That means the valve seat or the O-ring inside the wand assembly is worn. Second, steam escaping from the base of the wand where it attaches to the machine. That points to a loose fitting or a cracked O-ring at the swivel joint.
For a tip drip, you need a new steam wand valve seal. For a base leak, tighten the brass nut with a wrench. If it still leaks, replace the O-rings. Both are inexpensive parts available online.
Puddle Under the Machine (Base/Boiler)
A puddle under the base is the most serious leak. It usually means the boiler is leaking from a weld, a fitting, or a pressure relief valve. It could also be a failed solenoid valve that’s dumping water into the drip tray, which overflows onto the counter.
If the water is clear and the machine is hot, check the overpressure valve. This valve releases excess boiler pressure. If it’s stuck open, it will continuously drain water. Replace the valve if it’s leaking.
If the water is rusty or brown, the boiler itself is likely corroded. This is a bigger repair that often costs more than the machine is worth. See the cost-benefit section below.
Water Around the Reservoir/Tank
Water around the water tank usually means the tank has a crack or the seal at the bottom where it connects to the machine is broken. Inspect the tank carefully for hairline cracks, especially around the bottom edges and the outlet valve.
Check the rubber gasket on the machine side of the tank connection. If it’s dry, cracked, or missing, water will leak during the pump cycle. Replace the gasket first, as it’s the cheapest fix. If the tank itself is cracked, a new tank is the only option.
Step-by-Step Fixes for Common Leaks
These are the three most common repairs. Each takes less than 30 minutes and requires basic tools.
Replacing the Group Head Gasket
- Unplug the machine and remove the portafilter and shower screen.
- Use a flathead screwdriver to pry out the old gasket. It may be brittle, so take your time.
- Clean the groove where the gasket sits. Use a damp cloth to remove old coffee oils and debris.
- Press the new gasket into place. Make sure it sits flat and even.
- Reinstall the shower screen and lock in the portafilter. Run a blank shot (no coffee) to test the seal.
If the gasket is stuck, use a gasket removal tool. They cost a few dollars and save you from scratching the brew head.
Replacing Steam Wand O-Rings
- Unplug the machine and remove the steam wand tip.
- Use a wrench to loosen the nut at the base of the wand.
- Pull the wand out of the machine. You’ll see the O-rings on the shaft.
- Note the size and thickness of the old O-rings. Take them to a hardware store or order a replacement kit.
- Slide the new O-rings into place. Lubricate them with a food-safe silicone grease.
- Reinsert the wand, tighten the nut, and test with steam.
Do not overtighten the nut. Snug is enough. Overtightening crushes the O-rings and causes the same leak you just fixed.
Descaling Blocked Valves
Limescale buildup is a silent killer. It blocks the solenoid valve, causing water to back up and leak into the drip tray. It also coats the boiler heating element, making it work harder and run hotter.
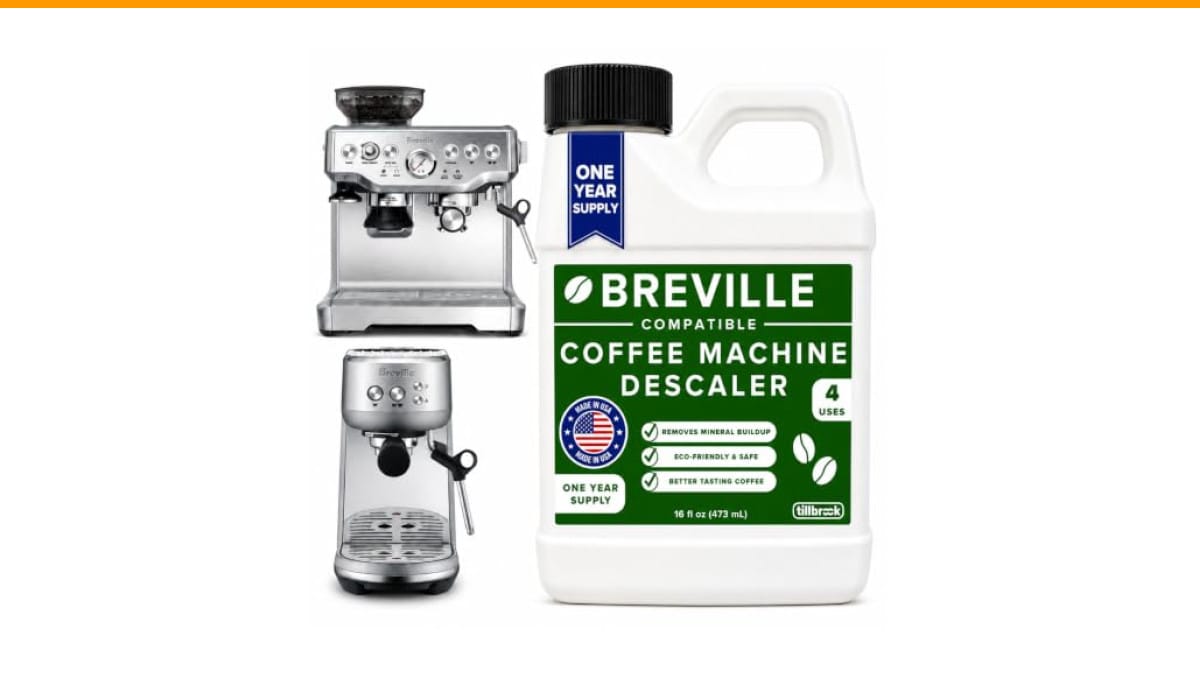
Use a commercial espresso machine descaler. Follow the instructions on the bottle. Most require you to run a diluted solution through the brew head and steam wand, then rinse thoroughly with fresh water.
Do not use vinegar. It’s too weak for heavy buildup and leaves a residual taste that’s hard to rinse out. A proper descaler is worth the few extra dollars.
The Cost-Benefit Analysis: Repair vs. Replace
Here’s the honest math. A group head gasket costs $5 to $15. A steam wand O-ring kit costs $10 to $20. A descaling treatment costs $10. These are no-brainer repairs. Do them yourself.
A boiler replacement or a new solenoid valve assembly runs $100 to $250 in parts, plus labor if you hire a pro. If your machine is over 5 years old and you’re facing this cost, ask yourself a hard question: how much did you pay for the machine?
If you bought it for $300 and the repair is $200, the repair is worth it only if you love the machine. If you bought it for $1,000, a $200 repair extends its life by years. That’s a good deal.
If the machine has multiple issues — a leaking boiler and a broken pump — the repair cost can exceed the value of a new machine. In that case, cut your losses. A new grinder with a warranty is a better investment than a money pit.
| Issue | DIY Cost | Pro Repair Cost | Repair or Replace? |
|---|---|---|---|
| Group head gasket leak | $5–$15 | $50–$80 | Repair DIY |
| Steam wand O-ring leak | $10–$20 | $60–$100 | Repair DIY |
| Clogged solenoid valve | $10 (descaler) | $80–$150 | Repair DIY |
| Boiler leak (weld/corrosion) | $100–$250 (part) | $200–$400 | Replace if machine is old |
| Cracked water tank | $30–$60 (part) | $80–$120 | Repair if part is available |
The table above assumes you can find the parts. For less common brands, parts may be harder to source. Check online marketplaces and the manufacturer’s website before you commit to a repair.
Preventative Maintenance Schedule (By Usage)
Prevention is cheaper than repair. Here’s a realistic schedule based on how often you use your machine.
- Daily use (5+ shots): Backflush the group head with a blind basket and cleaning detergent once a week. Wipe the steam wand after every use.
- Moderate use (2–4 shots daily): Backflush every two weeks. Descale every 3 months.
- Light use (a few shots per week): Backflush monthly. Descale every 6 months.
- Hard water area (any usage): Descale twice as often. Consider using filtered or bottled water to reduce limescale buildup.
Set a recurring reminder on your phone. It’s easy to forget, but a 15-minute descaling session every quarter prevents a $200 repair bill.
Also, inspect your gaskets and O-rings every 6 months. Look for cracks, hardening, or flattening. Replace them at the first sign of wear, not after they start leaking. A $10 part replaced early saves you from a wet counter and a ruined bag of beans.
Frequently Asked Questions (FAQs)
Why is water leaking from the bottom of my espresso machine?
Water on the base usually means a boiler leak, a failed overpressure valve, or a clogged solenoid valve that’s overflowing the drip tray. Check the drip tray first. If it’s full, the solenoid is likely the culprit. If the tray is dry, inspect the boiler area for rust or moisture.
Can I use my espresso machine if it’s leaking water?
No. A leak can cause electrical shorts, motor damage, and rust. Unplug the machine and fix the leak before using it again. Running a leaking machine risks permanent damage and creates a safety hazard.
How often should I replace the group head gasket?
Every 6 to 12 months, depending on usage. If you pull 5 shots daily, replace it every 6 months. If you use it a few times a week, once a year is fine. Replace it sooner if you notice water leaking around the portafilter.
Is it normal for my espresso machine to drip from the steam wand?
A few drops after steaming is normal as residual pressure releases. A continuous drip or a small stream means the valve seal is worn. Replace the O-ring or valve seat to stop the flow.
Will descaling fix a water leak?
Sometimes. If limescale is blocking the solenoid valve, descaling clears the blockage and stops the backup. If the leak is from a cracked boiler or a worn gasket, descaling won’t help. You’ll need to replace the damaged part.
What to Do Next: Your Action List
- Unplug the machine and wipe it down before you diagnose anything.
- Use the paper towel test to confirm a real leak versus condensation.
- Trace the water source using the flowchart. Match the location to the fix.
- Replace gaskets and O-rings at the first sign of wear. They’re cheap and easy to swap.
- Descale on a schedule based on your usage and water hardness.
- If the boiler is leaking or the repair cost exceeds half the machine’s value, consider a new grinder instead.
- Check the upper burr assembly for water damage if the grinder has been exposed to moisture for a while.
For more troubleshooting help, read our guide on automatic espresso machine leaks or learn how to keep your equipment clean with our grinder cleaning steps. If your grinder is making odd noises instead of leaking, check out our loud noise troubleshooting guide.
Products related to this article
Sponsored / affiliate links. As an Amazon Associate I earn from qualifying purchases. I may earn additional commission from eligible campaigns.
 Coffee Espresso Machine Handle Replacement Parts, Cafe Bracket Handle for Lidl Silvercrest CM4621 CM4218 KF5002 KF500S Barista (for 51mm Portafilter Basket - Not included)
 Linnkyfloa Coffee Espresso Maker Handle Replacement for Stovetop Moka Pot or Percolator, Black Plastic for Spare Part Compatible with Italian(9-12 Cup)
 Wrenmor Replacement Handle For Coffee Espresso Moka Stove Pot, Black Plastic Accessory Compatible With 1/3/6/9/12 Cup Sizes For Easy Installation And Long-Lasting Use(1 Cup)