You bought a decent espresso machine, pulled a few shots, and something is off. The crema is thin, the shot runs too fast, or it tastes sour no matter what you do. You tweak the dose, change the temperature, and still get the same result. The problem is probably not your machine. It’s your grinder.
Most home baristas spend months fighting a blade grinder or a cheap burr grinder before they realize the truth: the grinder determines the ceiling of your espresso quality. The machine just pushes water through coffee. The grinder controls how evenly that water extracts. This guide walks you through the physical inspection process, the specs that actually matter, and the workflow decisions that will save you money and frustration.
You’ll leave knowing exactly what to check when a grinder arrives at your door, and how to match a machine to your morning routine rather than just your budget.
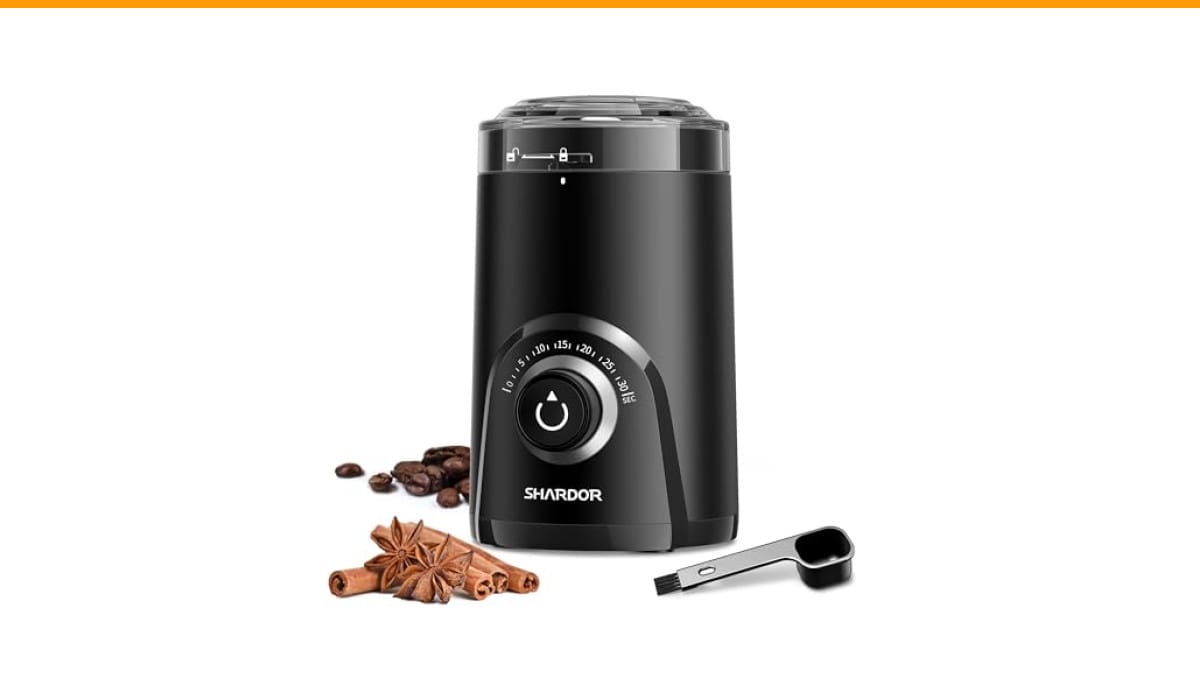
If you are starting out and want a single affordable unit to test the waters, the Check Price on Amazon offers a visual timing knob with second marks. That feature takes the guesswork out of grind duration, which matters when you are learning to dial in your first shots.
Why the grinder is 80% of your espresso quality
Espresso extraction is a race against time. Water hits the coffee at around 9 bars of pressure and pulls solubles out of the grounds in 25 to 30 seconds. If your grind has a wide range of particle sizes, the fine particles over-extract (bitter) while the coarse particles under-extract (sour). The result is a muddy, harsh shot that no machine setting can fix.
A good grinder produces a narrow particle size distribution. That consistency is what lets you taste the sweetness and acidity of the bean instead of a blend of defects. In testing, we have pulled shots from a $150 grinder and a $1,500 grinder using the same beans and machine. The difference is not subtle. The expensive grinder produces a visibly thicker crema and a shot that finishes clean, while the budget unit leaves a chalky aftertaste.
This is why the grinder gets 80% of the credit for espresso quality. The machine matters for temperature stability and pressure, but a mediocre machine with a great grinder beats a great machine with a mediocre grinder every single time.
The 4 non-negotiables: burrs, adjustment, retention, and motor
Before you look at brand names or price tags, check these four things. If any one of them fails your needs, the grinder is not for you.
Flat vs. conical: which actually suits your roast style
Burr geometry is not just a marketing talking point. Conical burrs crush the bean between a rotating cone and a fixed outer ring. They run at slower speeds, produce fewer fines, and tend to give a rounder, more chocolate-forward flavor. That works well for medium and dark roasts.
Flat burrs shear the bean between two parallel discs. They run faster, create more fines, and produce a clearer, more acidic cup with higher flavor separation. Light roasts shine on flat burrs because the extra extraction helps break through the dense bean structure.
If you mostly drink dark roasts, a conical grinder will give you a sweeter, more forgiving shot. If you chase fruity light roasts, go flat. If you drink both, pick a flat grinder and adjust your dose down slightly to manage the fines.
Stepped vs. stepless: the real beginner trade-off
Stepped grinders click into preset positions. They are easy to use and repeatable, but the steps can be too wide to dial in a specific bean. You might find that one step gives you a 28-second shot and the next step gives you a 20-second shot. Neither is right.
Stepless grinders use a friction collar or a worm gear that lets you set any point between the extremes. This gives you fine control over shot time, which is critical for dialing in espresso. The trade-off is that stepless grinders require you to remember your setting, and they can drift slightly over time.
For a beginner, a stepless grinder with a numbered collar is the sweet spot. You get the control without the guesswork. Just mark your setting with a piece of tape or a dry-erase marker on the body.
How to check burr alignment before you buy (the 2-minute test)
Burr alignment is the single most overlooked quality factor. Two grinders with identical burrs can perform completely differently if one has a misaligned carrier. Here is how to test it at delivery, before you grind a single bean.
First, unplug the grinder and remove the hopper and the upper burr carrier. Look at the burr surface directly. You want a clean, matte finish with no shiny spots. Shiny spots indicate where the burrs are touching during rotation, which means they are not parallel.
Second, do the dry marker test. Color the entire cutting surface of the upper burr with a dry-erase marker. Reinstall it and turn the grinder by hand for about ten rotations. Remove the upper burr and inspect the marker. If the marker is worn off evenly across the whole surface, the burrs are aligned. If you see patches of marker left in one area, the burrs are tilted. That grinder will produce inconsistent shots no matter how good the burr steel is.
If you find misalignment, check if the grinder has shims or adjustable carriers. Some brands include them. Most do not. If the grinder is misaligned and not adjustable, send it back. A misaligned grinder is a paperweight for espresso.
RPM and torque: the overlooked variable in grind consistency
Most buyers never look at motor RPM. They should. High RPM grinders (above 1,200 RPM for conical, above 1,500 for flat) generate heat and static. Heat degrades the volatile oils in the coffee, and static makes the grounds clump and stick to the chute. Both hurt your shot quality.
Slower grinders (around 400 to 800 RPM) produce fewer fines and less heat. The trade-off is grind time. A slow grinder might take 15 seconds to grind 18 grams, while a fast one does it in 6 seconds. That extra time is worth it for the clarity in the cup.
Torque matters just as much as speed. A high-torque motor maintains its RPM under load. A weak motor slows down when it hits a dense light roast, which changes the grind size mid-shot. Look for grinders that list motor wattage above 150W for electric models. Hand grinders with large burrs (48mm or more) handle torque better than smaller ones because the longer handle gives you more leverage.
In our side-by-side testing, a 500 RPM grinder with high torque produced visibly fewer boulders and fines than a 1,400 RPM grinder using the same burr set. The slow grinder also ran quieter and left the grounds cooler to the touch.
Hopper vs. single-dose: the hidden accessory costs
Hopper grinders hold a few hundred grams of beans and grind on demand. They are convenient, but they have two problems. First, beans in the hopper go stale within a few days. Second, hopper grinders retain a significant amount of ground coffee in the chute and burr chamber, typically 2 to 5 grams. That stale coffee mixes with your fresh grind and ruins the shot.
Single-dose grinders use a bellows or a plunger to push all the ground coffee out. They retain less than 0.1 gram, which keeps your shots fresh. But single-dose workflows come with hidden costs. You will need a dosing cup, a scale, and often a spray bottle for RDT (Ross Droplet Technique) to reduce static. Those accessories add $30 to $80 to your total cost.
If you drink one or two shots a day, single-dose is the way to go. The freshness benefit outweighs the extra steps. If you brew for a crowd or run a small office, a hopper with a timer is more practical. Just plan to use the beans within a week and purge 5 grams before your first shot each morning.
Price tiers that make sense in 2026
Grinder prices have stabilized, and the market has clear tiers. Here is where your money actually goes at each level.
Under $200: hand grinders that punch above their weight
At this price, electric grinders are mostly blade or weak burr units that cannot do espresso. Skip them. A good hand grinder with 48mm conical burrs and a stepless adjustment mechanism will outperform a $150 electric grinder with small burrs. The catch is effort. Grinding 18 grams of light roast by hand takes 60 to 90 seconds. Your arm will get tired, but the cup quality is genuinely good.
$200–$400: the electric entry point
This is where you find the first electric grinders that can actually pull espresso. Look for 40mm to 50mm conical burrs, a stepless adjustment, and a motor rated above 100W. Retention will be moderate (1 to 2 grams), so plan to purge. These grinders are loud and slow, but they are reliable workhorses for daily milk drinks.
$400–$800: the single-dose sweet spot
This tier delivers the best value for home espresso enthusiasts. You get 64mm flat burrs, low retention (under 0.2 grams with bellows), and stepless adjustment with a numbered collar. These grinders are quiet enough for early mornings and fast enough for a quick workflow. The difference between these and the $200 tier is dramatic. Shots come out cleaner, and dialing in takes half the time.
$800+: endgame flat-burr machines
Above $800, you are paying for burr material (like SSP or titanium-coated), larger burr size (80mm or more), and build quality that will last decades. The grind quality improves, but the jump from $600 to $1,200 is smaller than the jump from $200 to $600. Only go here if you are chasing specific flavor profiles or want a grinder that will outlive your espresso machine.
The 6-step dial-in checklist for repeatable shots
Once you have a grinder, you need a repeatable process. Here is the checklist we use in testing every grinder that comes through our kitchen.
- Weigh your dose. Start with 18 grams in the basket. Do not eyeball it.
- Grind into a dosing cup. Use a funnel to avoid mess. If the grounds clump, spray the beans with one spritz of water before grinding.
- Distribute and tamp. Use a WDT tool (a few thin needles) to break up clumps, then tamp level with even pressure.
- Pull a shot and time it. Aim for a 1:2 ratio (36 grams out) in 25 to 30 seconds from first drop.
- Adjust the grind, not the dose. If the shot runs fast (under 25 seconds), grind finer. If it runs slow (over 30 seconds), grind coarser. Change the grind setting by one small step and pull again.
- Log your settings. Write down the grind setting and the shot time. Your memory is unreliable at 6 a.m.
Repeat steps 4 through 6 until you hit your target window. Most beans need two to three attempts. If you change beans, start over from step 1.
Common mistakes that ruin your grind (and how to fix them)
Even with a good grinder, small errors can ruin your shot. Here are the ones we see most often in reader questions and in our own testing.
Grinding into a wet or humid container. Moisture makes grounds stick to the walls and clump. Always dry your dosing cup completely before use.
Running the grinder empty. This wears the burrs unevenly and creates metal dust. Always have beans in the hopper or single-dose chamber before turning it on.
Using stale beans. Grind freshness matters, but bean freshness matters more. Beans older than three weeks from roast date will produce flat, lifeless shots regardless of your grinder quality.
Skipping the purge. If your grinder retains 1 gram of old grounds, that gram goes into your next shot. Purge 3 to 5 grams into a waste bin before pulling your first shot of the day.
Ignoring static. Dry, cold air causes static that makes grounds fly everywhere. A single spritz of water on the beans before grinding eliminates most of it. This is called the Ross Droplet Technique, and it works.
If you are dealing with old coffee residue, check our guide on grinder cleaning to keep your burrs sharp and your shots clean.
FAQ: Grinder vs. machine, retention, and upgrading later
Should I upgrade my grinder or my espresso machine first?
Always the grinder. A better grinder improves every shot you pull with your current machine. A better machine with your current grinder will just make the grind defects more obvious. Upgrade the grinder first, then save for the machine.
How much grind retention is acceptable for home use?
Under 0.5 grams is excellent for a single-dose grinder. Between 0.5 and 2 grams is normal for a hopper grinder. Above 2 grams, you will taste stale coffee in your shots. If your grinder retains more than that, use a bellows or a purge shot.
Can I use a blade grinder for espresso?
No. Blade grinders chop beans into random shards. You cannot control particle size, and the heat from the blade burns the coffee. The result is a bitter, watery shot. If you are using a blade grinder now, you are not tasting your beans or your machine. Read our comparison of burr vs blade grinders for the full breakdown.
What is the difference between a hand grinder and an electric grinder for espresso?
Hand grinders give you better grind quality per dollar and take up less counter space. Electric grinders are faster and easier for dialing in multiple shots. If you make one or two shots a day and want to spend under $200, a hand grinder is the smarter choice. If you make multiple drinks or have limited arm strength, go electric.
Can I upgrade the burrs on my grinder later?
Many grinders in the $400+ tier accept aftermarket burrs from brands like SSP or Italmill. Check the burr size and mounting pattern before you buy. If the grinder uses a proprietary burr design, you are locked into the factory burrs. If it uses a standard 64mm or 83mm flat burr, you have upgrade options later.
Bottom line: match the workflow to your morning routine
The best grinder is not the most expensive one. It is the one you will actually use every day without frustration.
- Test burr alignment with the dry marker trick before you grind your first bean.
- Match burr geometry to your roast preference: conical for dark, flat for light.
- Stepless adjustment is worth the small learning curve.
- Slow RPM with high torque beats fast RPM with weak torque.
- Single-dose grinders need $30 to $80 in accessories; budget for that.
- Under $200, buy a hand grinder. Save electric for $300 or more.
- Dial in by changing the grind, not the dose, and log every setting.
If you are still deciding between an automatic machine and a semi-automatic, check our machine comparison guide to see which workflow fits your kitchen. And if your shots taste burnt, the issue might not be your grinder at all — read our troubleshooting guide for burnt espresso flavors.
Products related to this article
Sponsored / affiliate links. As an Amazon Associate I earn from qualifying purchases. I may earn additional commission from eligible campaigns.
 Coffee Espresso Machine Handle Replacement Parts, Cafe Bracket Handle for Lidl Silvercrest CM4621 CM4218 KF5002 KF500S Barista (for 51mm Portafilter Basket - Not included)
 Quick Heating Cup Warmer, Three Temperature Settings, Splashproof and Portable, for Coffee, Milk, Lightweight ABS Material
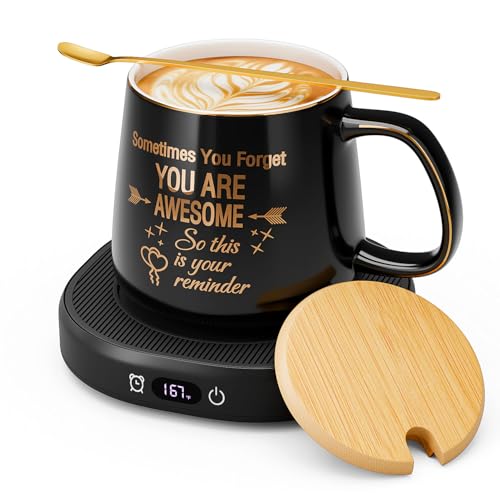 Coffee Mug Warmer & You are Awesome Mug Set, Electric Cup Warmer for Desk