You finally cleared the counter, packed the drip machine into a box, and shoved it in the garage. Three months later you pull it out, brew a pot, and the coffee tastes like the cardboard box it sat in. The water reservoir smells musty. The heating element sputters. You wonder if you should have just thrown it away instead.
Storing a drip coffee maker is not the same as putting it in a cupboard. Water left in the lines grows mold. Coffee oils turn rancid inside the brew basket. And if you don’t dry everything completely, you’re giving bacteria a head start before the next brew. This guide walks through the exact steps to store a drip coffee maker so it comes out clean and ready to use. You’ll also learn when a travel bag makes sense, what to do for short-term versus long-term storage, and the mistakes that ruin machines.

BAGLHER
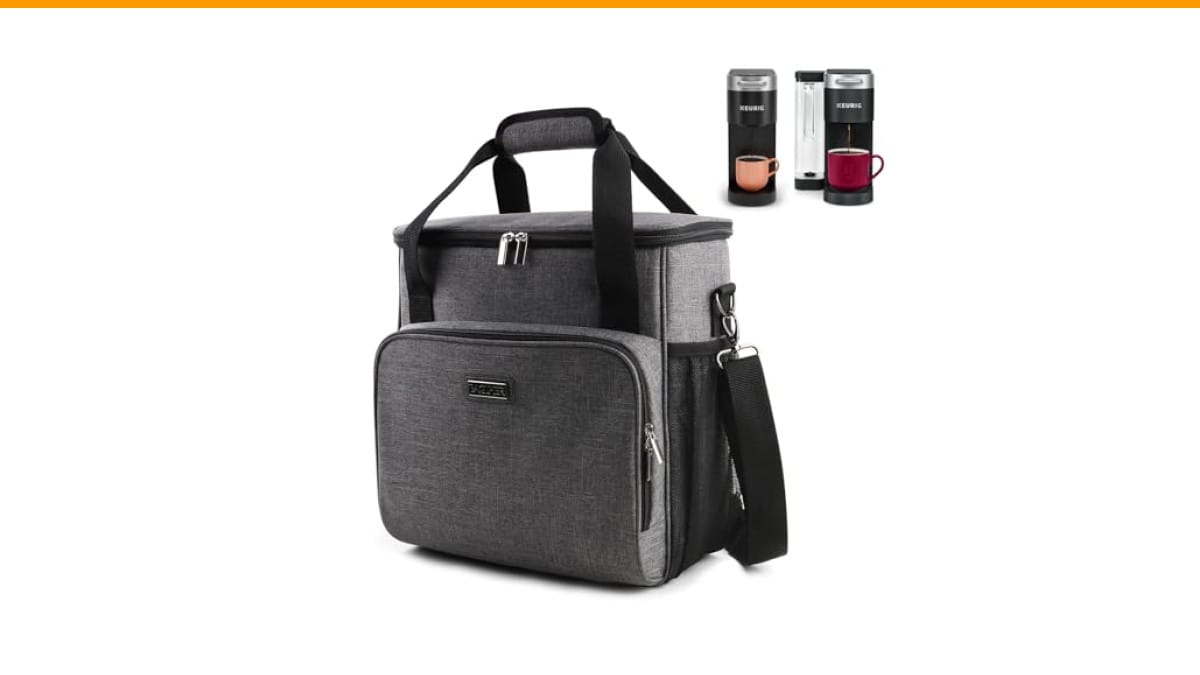
BAGLHER Coffee Maker Travel Bag Compatible with…
- 【Size Description】A cup of coffee away, talk about traveling. Small size: 13 x 5.5 x 13 inches, Medium size: 16 x 6 x 13.5 inches,…
- 【Applicable Model Description】Compatible and widely adapted: designed for a wide range of coffee machines.Compatible with Keurig K…
- 【Multi-Pocket Design】Coffee maker carrying bag has side pockets for K-Cups or travel mugs; a front pocket for coffee capsules, sug…
As an Amazon Associate I earn from qualifying purchases.
If you travel with your coffee maker or need to keep it protected between moves, a padded case like the BAGLHER Coffee Maker Travel Bag handles the job. It fits Keurig K-Slim and K-Supreme models, plus Nespresso Vertuo machines, and has side pockets for K-Cups, mugs, and creamer. It won’t solve mold issues, but it will stop scratches and dings during transport.
What Happens When You Store a Drip Coffee Maker Wrong
Most people skip the drying step. They dump the carafe, wipe the outside, and call it done. That leaves water in the internal tubing, the check valve, and the heating element. Over weeks, that water turns into a biofilm you can’t see. When you brew again, you’re drinking that film.
Coffee oils are the second problem. The brew basket and carafe retain a thin layer of oil that goes rancid. Even a clean-looking machine can produce bitter, stale coffee after storage. You don’t need harsh chemicals to fix this, but you do need a thorough cleaning before you pack it away.
Then there’s the physical damage. Stacking boxes on top of the machine cracks the water reservoir or bends the drip tray. Storing it in a damp basement invites rust on the heating plate. Storing it in direct sunlight fades the plastic and makes it brittle.
Short-Term vs. Long-Term Storage: Know the Difference
Short-term means you’ll use the machine again within a week or two. A weekend trip, a kitchen remodel, or a temporary move. Long-term means more than a month, like seasonal storage or a cross-country relocation. The steps are similar, but long-term requires extra care with the water system.
- Short-term (under 2 weeks): Empty the carafe, remove the filter, and wipe the brew basket. Leave the reservoir lid open so air circulates. No need to run a cleaning cycle unless the machine was already due for one.
- Long-term (over 1 month): Full descale, complete drying, and sealed storage. You want zero moisture anywhere. That includes the water lines, which means running a dry cycle at the end.
For long-term storage, also consider the environment. A climate-controlled closet beats a garage that swings 30 degrees between day and night. Condensation forms inside the machine when warm air hits cold plastic. That moisture is exactly what you’re trying to avoid.
Step-by-Step: How to Store a Drip Coffee Maker the Right Way
Follow these steps in order. It takes about 30 minutes, most of it waiting for the machine to dry.
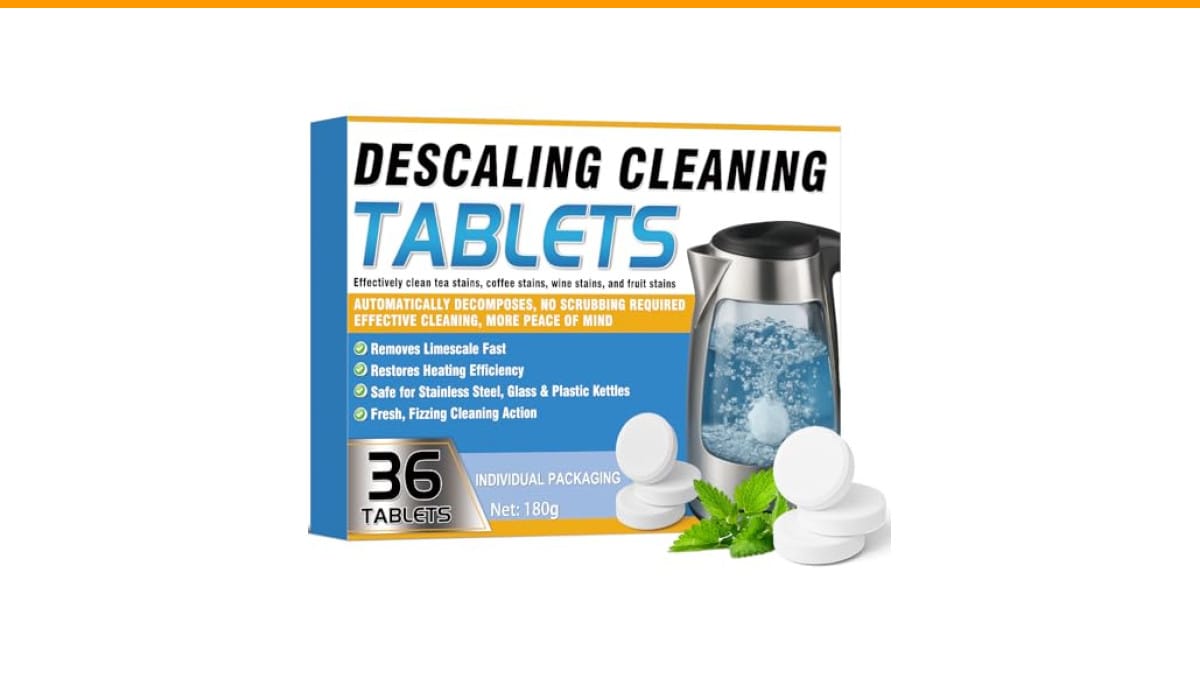
- Run a descaling cycle. Mix a solution of equal parts white vinegar and water, or use a commercial descaler. Run a full brew cycle without coffee. This dissolves mineral scale inside the heating element and tubing. If your machine has a cleaning cycle setting, use that instead.
- Run two plain water cycles. This flushes out the vinegar taste and any loosened scale. Don’t skip this. Vinegar left in the lines will eat at rubber seals over months of storage.
- Disassemble everything removable. Take out the brew basket, filter holder, carafe, and drip tray. Wash each with warm soapy water. Rinse thoroughly. Do not put plastic parts in the dishwasher unless the manual says it’s safe—high heat warps thin plastic.
- Dry every part completely. Use a lint-free cloth on the outside. For the inside of the reservoir and the carafe, let them air dry upside down on a drying rack. The brew basket needs a full 24 hours to dry if you don’t towel it. Tilt the machine itself forward so any trapped water in the base can drain out.
- Run a dry cycle. Plug the machine in with the reservoir empty and the carafe in place. Run a brew cycle with no water. This heats the internal lines and evaporates residual moisture. You’ll hear the pump run dry—that’s normal. Let it cool completely before packing.
- Wrap the carafe and basket separately. Use bubble wrap or a soft cloth. The carafe is the most fragile piece. If it breaks in storage, you’re buying a replacement before you can brew again.
- Place the machine in a box or padded bag. Put the machine upright, not on its side. Water residue can pool in the base if it’s laid flat. Fill empty space with packing paper or towels so nothing shifts.
Pro tip: Leave the reservoir lid unlatched during storage. A sealed reservoir traps moisture and odors. A cracked-open lid lets air move and prevents that musty smell.
Comparing Storage Methods: Bag, Box, or Bare Shelf
| Method | Best For | Protection Level | Watch Out For |
|---|---|---|---|
| Padded travel bag (like the BAGLHER case) | Frequent travel, moving, or keeping dust off in a closet | High for bumps and scratches; no moisture barrier | Make sure the machine is fully dry before zipping it closed |
| Original cardboard box | One-time moves or long-term garage storage | Moderate; cardboard absorbs moisture | Add a plastic bag liner if the box sits on concrete |
| Plastic storage bin with lid | Garage, basement, or attic storage | High for dust and pests; traps moisture if sealed wet | Add silica gel packets to absorb humidity |
| Bare shelf or counter | Short breaks of 1–2 weeks | Low; dust settles in the reservoir | Cover with a clean towel or a fitted cloth cover |
For most people, a padded bag is the sweet spot. It protects the machine during a move, keeps dust off in a closet, and doubles as a carry case for camping or vacation. The BAGLHER bag has a shoulder strap and fits over a suitcase handle, which beats wrestling a cardboard box through an airport. Just remember that no bag prevents mold—you still have to dry the machine first.
Where to Store It: Room-by-Room Advice
Not all storage spots are equal. Here’s what works and what doesn’t.
Kitchen cabinet: Fine if it’s dry and not above the stove. Heat and steam from cooking will get inside the machine. If you have a cabinet above the refrigerator, skip it—that space runs warm and accelerates plastic aging.
Garage: Risky. Temperature swings cause condensation. If you have no choice, put the machine in a sealed plastic bin with a few silica gel packets. Check it every couple months for moisture.
Basement: Damp basements are the worst spot. The humidity will find its way into the reservoir and brew basket. If you must use the basement, elevate the bin off the floor on a shelf or pallet.
Under the sink: Only if you have a leak-free environment. Plumbing leaks are rare but catastrophic. A single drip onto a stored coffee maker can ruin it.
The best place is a dry, climate-controlled closet or pantry shelf. Keep it away from direct sunlight and heat sources.
Common Mistakes That Ruin Stored Coffee Makers
Three mistakes show up again and again in repair forums and from people who bring machines back after a break.
1. Storing it wet. The number one killer. Even a few tablespoons of water in the reservoir can grow mold in a month. When you pull the machine out, the first brew tastes like a swamp. If you already stored it wet, don’t panic. Run a vinegar cycle twice, then two water cycles, and it should be salvageable.
2. Leaving old coffee grounds in the basket. Grounds go moldy fast. They also attract pantry pests. Always empty the basket, rinse it, and let it dry completely before storing.
3. Stacking things on top. The water reservoir is thin plastic. A heavy box of books will crack it. Even if it doesn’t crack, it can warp the lid so it doesn’t seal properly. Store the machine on its own shelf, or pack it in a box with nothing on top.
Frequently Asked Questions
How long can I leave water in a drip coffee maker before it goes bad?
Stagnant water starts growing bacteria within 24–48 hours at room temperature. If you’re not brewing daily, empty the reservoir. For storage longer than a week, follow the full drying process above.
Can I store a drip coffee maker on its side?
No. Laying it flat lets residual water pool in the base near the heating element. That can cause corrosion or a short circuit when you plug it back in. Always store it upright.
Do I need to descale before storing if I just cleaned it last month?
Yes. Scale builds up even with regular cleaning, and it hardens during storage. A fresh descale before storing means you won’t have to do a deep clean when you pull it out. It also prevents mineral deposits from baking onto the heating element during the dry cycle.
What’s the best way to remove a musty smell from a stored coffee maker?
Run a cycle with a 50/50 vinegar and water solution, then two cycles with fresh water. If the smell persists, wipe the reservoir interior with a baking soda paste, rinse, and run one more water cycle. For stubborn odors, leave the reservoir filled with a vinegar solution overnight before the cycles.
Is it okay to store a coffee maker in a travel bag long-term?
Yes, as long as the machine is completely dry first. The BAGLHER bag is padded and breathable, so it won’t trap moisture the way a sealed plastic bin might. Just don’t zip it shut while the machine is still damp from a wash.
What to Do When You Pull It Back Out
After weeks or months in storage, don’t just brew. Run a quick cleaning cycle first. Fill the reservoir with fresh water, run a full cycle without coffee, then dump the water. This flushes out any dust or stale air that settled in the lines. Wipe the carafe and brew basket with soapy water, rinse, and you’re ready.
Check the power cord for cracks or chew marks, especially if it was stored in a garage or basement. Rodents love chewing on rubber. If the cord looks damaged, replace it before plugging in.
If the machine was stored in a very cold space, let it warm to room temperature for a few hours before running water through it. Cold plastic is more brittle, and sudden temperature changes can crack the reservoir.
Final Storage Checklist
- Descale with vinegar or descaler before any long-term storage.
- Run two plain water cycles to flush out the vinegar.
- Wash and dry every removable part—carafe, basket, drip tray, reservoir lid.
- Run a dry cycle to evaporate water from the internal lines.
- Store upright in a padded bag or box with nothing stacked on top.
- Keep it in a dry, climate-controlled space away from heat and sunlight.
- Add silica gel packets to the storage container for extra moisture protection.
Storing a drip coffee maker correctly takes an extra 20 minutes before you pack it away. That time saves you from a moldy first brew, a rancid taste, or a dead machine. For regular maintenance between uses, check out our cleaning frequency guide and make sure you’re not letting scale build up in the first place. And if you ever run into a machine that won’t start after storage, the fix is often just a thorough deep clean rather than a replacement.
One last thing: the BAGLHER travel bag is a solid purchase if you move your machine more than twice a year. It’s not a moisture barrier, so dry the machine first. But for protecting your investment during a car trip or a closet shuffle, it does the job without taking up much space.
Products related to this article
Sponsored / affiliate links. As an Amazon Associate I earn from qualifying purchases. I may earn additional commission from eligible campaigns.
 HomeBeyond Espresso Coffee Maker 12 Cups, Classic Stovetop Espresso Maker, 600ml / 20oz Coffeemaker for Gas & Ceramic Stovetops (Silver)
 Belly Moka Coffee Maker Stovetop Espresso Maker 9 Cup Aluminum Moka Pot Percolator 15oz 450ml Easy Brewing for Electric Ceramic Stoves Home Camping Italian Cuban Café Classic Black
 Belly Moka Coffee Maker Stovetop Espresso Maker 6 Cup Aluminum Moka Pot Percolator 10oz 300ml Easy Brewing for Electric Ceramic Stoves Home Camping Italian Cuban Café Classic Silver