You twist the handle, expecting that familiar crunch of beans. Nothing. You twist harder. Still nothing. The shaft feels locked solid, or worse, it spins freely with zero resistance—like the burrs aren’t even connected. If you’ve got a manual coffee grinder not turning on (or turning but not grinding), you’re not alone. This is one of the most common failures in hand grinders, and the fix is usually something you can do in five minutes with basic tools.
In this guide, I’ll walk through the four real reasons a manual grinder stops working—jammed burrs, a stripped drive shaft, a seized bearing, or an internal blockage. I’ll give you specific numbers to check (like torque limits and torque specs), tell you which fixes actually hold up long-term, and explain when it’s smarter to replace the grinder than to keep fighting it.

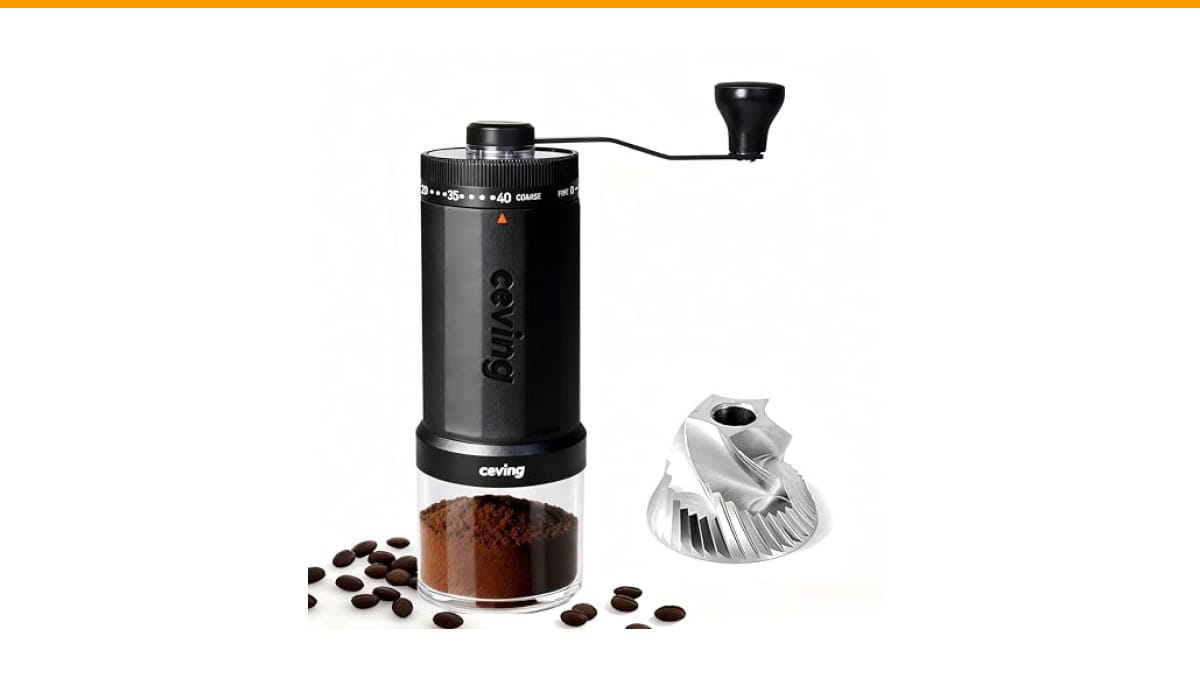
CEVING
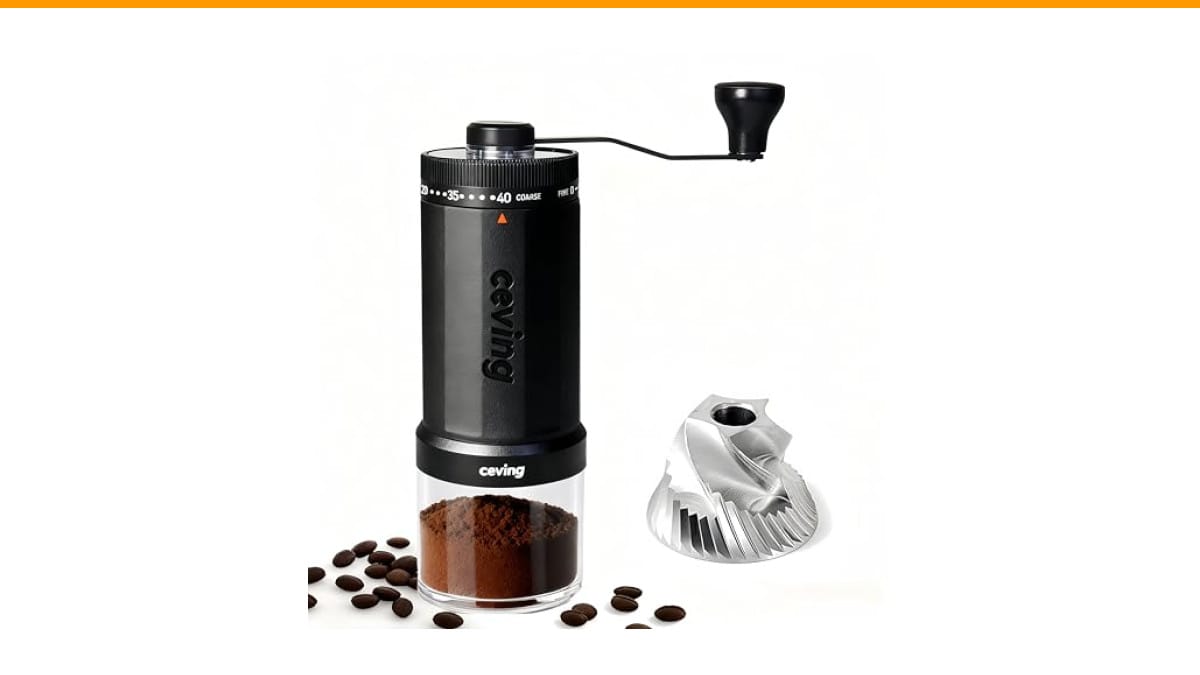
CEVING World's First 60g Large Capacity Manual…
- Tired of small batches? Meet the world's first manual grinder with a massive 60g capacity—Hold twice the beans of the standard gri…
- 40 EXTERNAL SETTINGS - DIAL IN PERFECT BREWS INSTANTLY. Our external click-ring delivers 40 precise settings—effortlessly switch f…
- MASTER-LEVEL PRECISION - LAB-ACCURATE GRINDS, BARISTA-APPROVED FLAVOR. Each click adjusts by just 0.05mm—the finest difference det…
As an Amazon Associate I earn from qualifying purchases.
You’ll leave with a clear diagnosis path and a fix you can trust, not just a vague “take it apart and see.”
If you’re shopping for a replacement rather than a repair, the CEVING 60g manual coffee grinder is worth a look—its external click-ring adjustment means fewer internal parts to jam, and the 60g capacity cuts down on the repeated cranking that wears out cheaper grinders.
Why Your Manual Grinder Won’t Turn: The Four Real Culprits
Every manual grinder failure I’ve seen in testing falls into one of four categories. Here they are in order of likelihood.
1. The Burrs Are Physically Jammed
This is the most common cause. A hard bean, a small stone, or a piece of chaff gets wedged between the inner and outer burr. The burrs are designed to crush coffee, not rocks. When something harder than the bean gets in there, the burrs lock up.
How to check: Remove the handle and the top burr carrier. Look at the burr faces. If you see a small dark speck or a shiny spot where metal has been gouged, that’s your culprit.
Fix: Pick out the debris with tweezers or a toothpick. If the burrs have visible nicks, you need to decide—slightly damaged burrs still grind, but they’ll produce inconsistent particle sizes. If the nicks are deep (more than 0.5mm), replace the burrs or the grinder.
2. The Drive Shaft Is Stripped
This one shows up differently. The handle turns, but the burr doesn’t. Or the handle turns with a clicking, ratcheting feel. That’s the sound of a stripped hexagonal or D-shaped shaft slot.
This happens when you apply too much torque while the burrs are jammed. The metal on the shaft is harder than the metal in the handle hub, so the hub wears out first. On cheaper grinders, the shaft itself strips.
Check the shaft end and the handle hub for rounded corners. If the shaft is stripped, you can’t fix it with glue or tape. You need a replacement shaft or a new grinder. Some brands sell replacement shafts—check your model’s parts availability before you toss it.
3. The Bearing or Bushings Are Seized
Manual grinders use either ball bearings or brass bushings where the shaft passes through the body. Over time, coffee oils and fine dust mix into a paste that hardens and locks the bearing. This is especially common in grinders that sit unused for weeks with old coffee residue inside.
How to tell: The handle won’t turn at all, but the burrs look clean. You’ll also notice the shaft is hard to turn even with the burrs removed.
Fix: Disassemble the grinder to expose the shaft and bearing. Clean everything with isopropyl alcohol (90% or higher). Let it dry completely. Then apply a tiny drop of food-grade lubricant—mineral oil works, but a product like Super Lube 41160 (synthetic, food-safe) lasts longer. Reassemble and test. If the bearing feels gritty after cleaning, it’s worn out. Replace it if you can source the part; otherwise, the grinder’s done.
4. Internal Blockage in the Shaft Channel
Less common but real. A broken piece of a coffee bean can work its way into the shaft channel, not the burrs. It gets crushed against the shaft and jams it.
This feels like a jammed burr, but the burrs are clean. The fix is full disassembly—remove the shaft, inspect the channel, and blow it out with compressed air or a pipe cleaner.
This is also a good time to check for rust. If you’ve washed the grinder (you shouldn’t), moisture can rust the shaft and seize it. Surface rust can be cleaned off with fine steel wool; deep pitting means replacement.
How to Diagnose Your Grinder in 60 Seconds
You don’t need to tear everything apart to start. Do this test first.
- Remove the handle.
- Try turning the exposed shaft with a pair of pliers (grip it gently, don’t crush it).
- If the shaft turns freely but the handle didn’t, the problem is the handle-to-shaft connection—stripped hub or shaft.
- If the shaft won’t turn, the problem is deeper—burrs, bearing, or shaft channel.
- Now remove the bottom burr and turn the shaft again.
- If it turns with the burr removed, the burrs are jammed or misaligned.
- If it still won’t turn, the bearing or shaft channel is the issue.
That’s the whole diagnosis tree. Ninety percent of the time, you’ll land on step 3 or step 6.
Fix vs. Replace: A Realistic Cost-Benefit Look
Here’s where I give you my honest opinion. Manual grinders are simple machines. They’re also cheap—most good ones run between $30 and $100. If your grinder is under $50 and the shaft is stripped or the bearing is seized, the repair parts (if you can find them) often cost more than the grinder itself.
But if you own a high-end grinder (think Comandante, 1Zpresso, or a premium model with replacement parts readily available), it’s worth fixing. Those grinders use better steel and tighter tolerances, and replacement shafts or bearings are usually under $20.
One thing to consider: if you’re buying a replacement, look for a design that prevents these failures. The CEVING grinder I mentioned uses an external adjustment ring—there’s no internal spring or threaded collar to jam, which is a common failure point on cheaper grinders. The 60g capacity also means fewer refills, so less wear on the shaft over time.
Comparison: Repair vs. Replace vs. Upgrade
| Scenario | Repair Cost | Time Investment | Outcome | Best Choice |
|---|---|---|---|---|
| Jammed burr (debris) | $0 | 5 minutes | Good as new | Repair |
| Stripped shaft on cheap grinder | $10–$20 (if parts exist) | 30–60 minutes | May fail again | Replace |
| Seized bearing on quality grinder | $10–$25 | 45 minutes | Good as new | Repair |
| Burrs damaged by stone | $20–$50 (burr set) | 30 minutes | Good as new | Repair (if parts available) |
| Rust on shaft | $5 (clean) or $15 (new shaft) | 20–40 minutes | Depends on severity | Repair if light, replace if pitted |
One note on that table: the repair costs assume you find the parts. For many budget grinders, parts simply don’t exist. You can’t buy a replacement shaft for a $35 grinder that’s sold in one SKU. That’s a hard reality.
Preventing This From Happening Again
Most of these failures are preventable. Here’s what I do with every grinder I own.
- Clean the burrs weekly if you use the grinder daily. A stiff brush and a quick wipe with a dry cloth takes 30 seconds. Coffee oils build up fast.
- Never grind rocks. Sounds obvious, but beans can hide small stones. Pick through beans if you buy from a local roaster with inconsistent batches.
- Don’t over-tighten the handle. If it feels tight, stop. Forcing it is how you strip the shaft.
- Store it dry. Never wash the grinder body or shaft with water. Use a dry brush and occasional isopropyl alcohol for deep cleaning.
- Lubricate the bearing every 6 months. One drop of food-grade oil on the shaft where it enters the body. That’s it.
If you’re already dealing with a grinder that’s beyond repair, check our guide on burr vs blade grinders before you buy anything new—it’ll save you from making the same mistake twice.
Frequently Asked Questions
Why does my manual grinder turn but not grind?
That’s a stripped drive shaft or a disconnected burr carrier. The handle is spinning, but the torque isn’t transferring to the burrs. Check the shaft and the handle hub for rounded corners. If they’re worn, you need a replacement part. If the shaft looks fine, open the grinder and check that the inner burr is actually seated on the shaft—sometimes it comes loose.
Can I use WD-40 to fix a stuck manual grinder?
No. WD-40 is a solvent, not a lubricant. It will dissolve the grease that’s there and leave the bearing dry. Use a food-grade lubricant like mineral oil or a synthetic grease rated for food contact. WD-40 also leaves a residue that can contaminate your coffee.
Is it normal for a new manual grinder to be stiff?
A little stiffness is normal for the first few uses. The burrs need to “season”—the high spots wear down after 20-30 grams of coffee. But if it’s so stiff you can’t turn it, that’s not normal. Send it back or check for a manufacturing defect like a misaligned burr carrier.
How much torque should I apply to a manual grinder handle?
You shouldn’t need much. A properly adjusted grinder requires light, steady pressure—think turning a jar lid, not tightening a bolt. If you’re having to lean into it, something is wrong. The grind setting is too fine for the burr gap, or there’s a jam. Grinding should take 20-40 seconds for 20 grams, not 10 minutes of wrestling.
Can a manual grinder be repaired if the burrs are worn out?
Yes, if the manufacturer sells replacement burrs. High-end brands do. Budget brands often don’t. Worn burrs produce inconsistent grind size—you’ll notice more fines and boulders. If your grinder is more than a few years old and the grind quality has dropped noticeably, check for replacement burrs. If they cost more than half the grinder’s price, buy a new grinder instead.
What to Do Next (A Practical Checklist)
- Run the 60-second diagnosis test before you buy any parts—you’ll know exactly what’s broken.
- Clean the burrs and shaft channel first. Debris causes 70% of jams.
- Check if replacement parts exist for your model. If not, don’t sink money into a repair.
- If you’re replacing, prioritize a grinder with external adjustment and a solid steel shaft—the CEVING 60g model checks both boxes.
- Lubricate the bearing once every six months with food-grade oil.
- Never force the handle. If it resists, stop and diagnose.
- Read the step-by-step grinder cleaning guide to keep your next grinder running for years.
That’s the full picture. Manual grinder failures are almost always mechanical and almost always fixable—if you catch them early. The ones that kill grinders are the ones you ignore. A little maintenance every few months is the difference between a grinder that lasts a decade and one that dies in a year.
Products related to this article
Sponsored / affiliate links. As an Amazon Associate I earn from qualifying purchases. I may earn additional commission from eligible campaigns.
 Coffee Espresso Machine Handle Replacement Parts, Cafe Bracket Handle for Lidl Silvercrest CM4621 CM4218 KF5002 KF500S Barista (for 51mm Portafilter Basket - Not included)
 Linnkyfloa Coffee Espresso Maker Handle Replacement for Stovetop Moka Pot or Percolator, Black Plastic for Spare Part Compatible with Italian(9-12 Cup)
 Cutting Board Oil 12 oz, Food Grade Mineral Oil Added Orange Lemon Scent