The first time I watched a $2,000 espresso machine sit next to a $200 one in a side-by-side test, I almost laughed. Both pulled a shot in about 25 seconds. Both produced crema. But the cheap one sputtered, channeled, and tasted sour no matter how I adjusted the grind. The expensive one just worked. That gap is what this guide is about.
Choosing a semi-automatic espresso machine isn’t about picking the shiniest box on the shelf. It’s about understanding what you’ll actually pay over three years — machine, grinder, maintenance, and the day you sell it to upgrade. Most buyers only look at the upfront price. That’s a mistake that costs more than the machine itself.

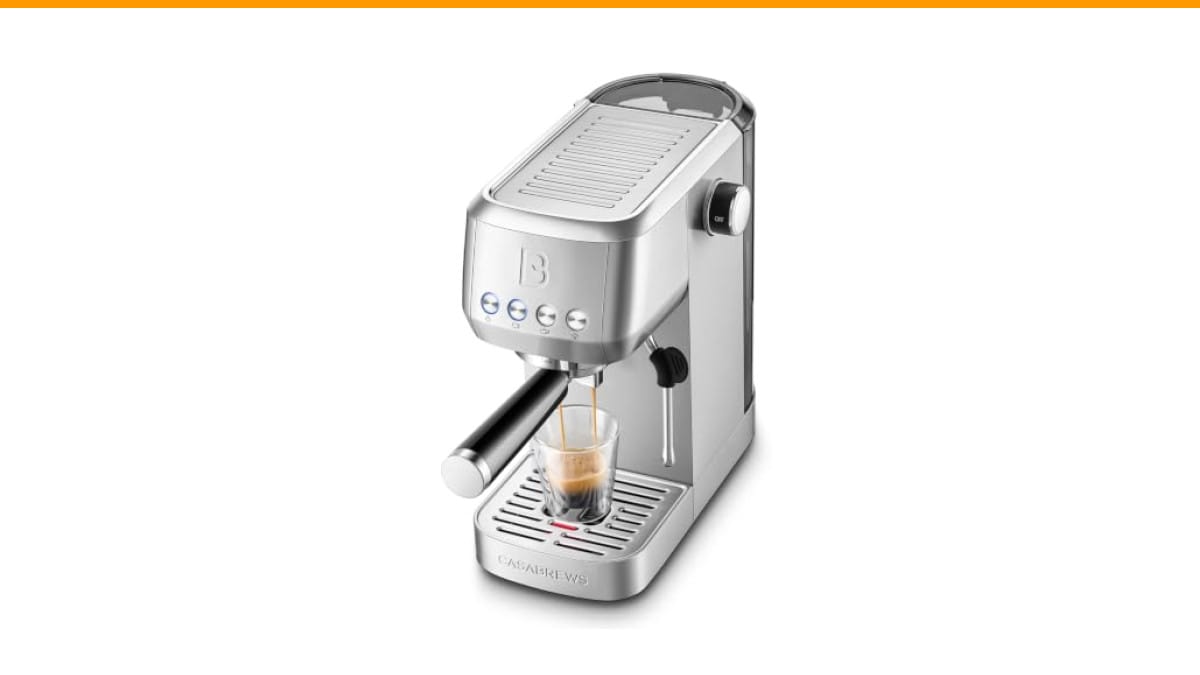
CASABREWS
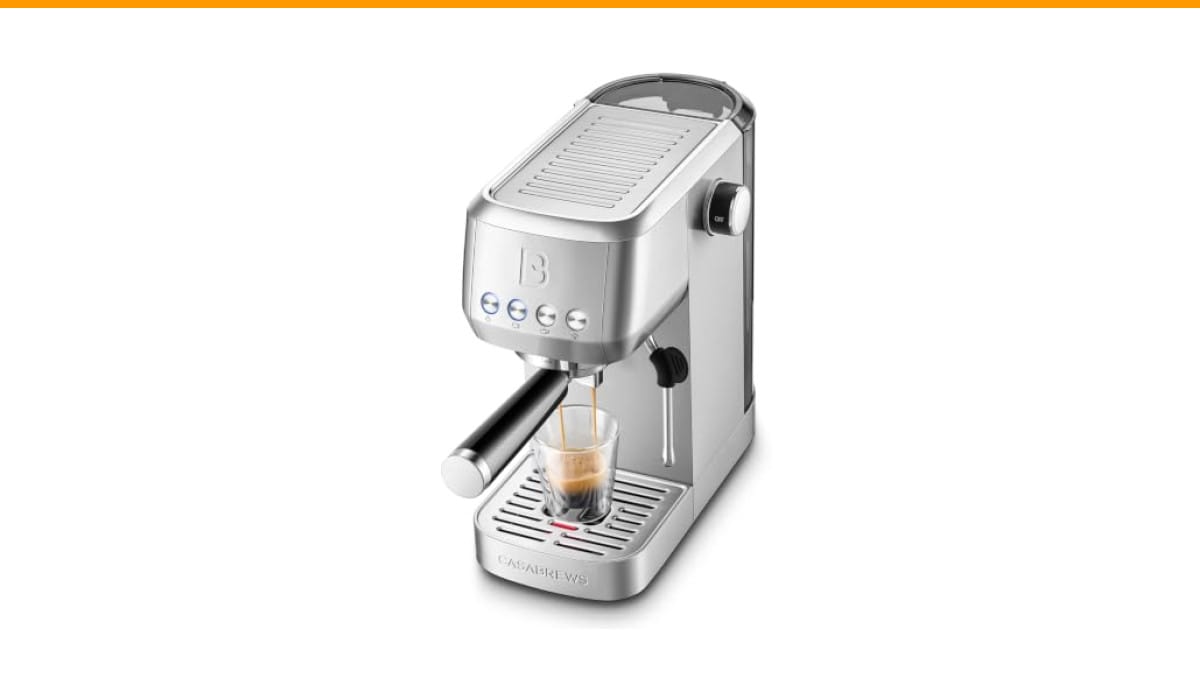
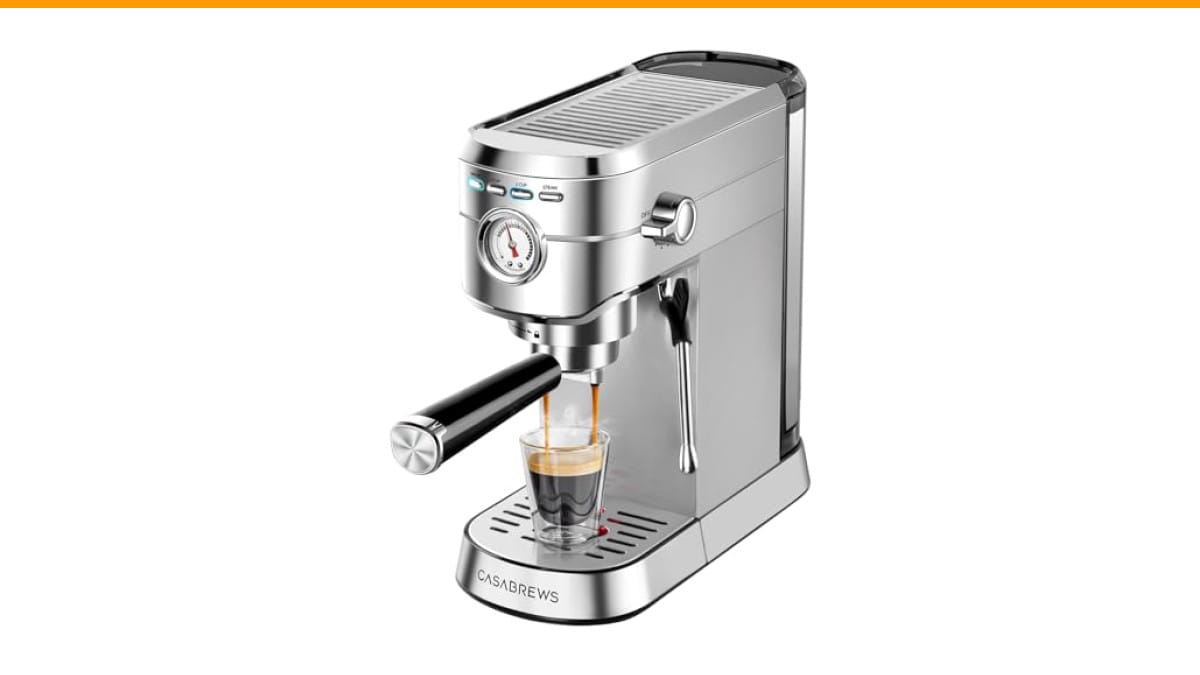
CASABREWS CM5418 Compact Espresso Machine with Milk…
- Make Your Favorite Espresso Coffee At Home: The CASABREWS coffee machine with milk frother allows you to prepare all your favorite…
- Professional 20 Bar Pressure System: Semi-Automatic 2-in-1 Espresso Maker, with 20 bar professional Italian pump and 1350 W powerf…
- Milk Frothing System: Our espresso machine with milk frother has a powerful steam wand, so you can texture creamy, rich microfoam…
As an Amazon Associate I earn from qualifying purchases.
You’ll walk away knowing how to read spec sheets like a technician, what to spend on a grinder versus the machine, and why the milk wand matters more than the pressure gauge. I’ve tested machines from entry-level to prosumer, and the advice below comes from real use, not marketing copy.
If you’re starting out and want a compact unit that doesn’t demand a learning curve for basic shots, the CASABREWS CM5418 is a reasonable entry point. It’s a 20-bar semi-automatic with a steam wand and a pressure gauge, which gives you room to practice without a huge footprint. It’s not a prosumer beast, but it’s honest about what it is.
The 2026 Shortlist: Top Semi-Automatic Machines Ranked
Before diving into specs, here’s where the market sits right now. I’ve grouped machines by what they do well, not by price alone.
- Entry-level pick: CASABREWS CM5418 — compact, simple controls, good for learning the basics of extraction and frothing.
- Best value: Breville Bambino Plus — fast heat-up, decent steam power, tiny footprint. It’s the machine I recommend to most friends.
- Serious home barista: Rancilio Silvia — a single boiler that’s been the benchmark for 20 years. You’ll need a good grinder, but it rewards patience.
- Prosumer upgrade: Profitec Pro 500 — a heat exchanger machine that lets you brew and steam at the same time. This is where espresso gets serious.
- Dual boiler king: Lelit Elizabeth — PID temperature control on both boilers, pre-infusion, and shot timing built in. It’s the machine I’d buy if I had the budget.
That list isn’t exhaustive, but it covers the spectrum. The rest of this guide explains how to judge those machines for yourself.
Why Choose Semi-Automatic Over Manual or Super-Automatic?
Semi-automatic machines sit in a sweet spot. You control the grind, dose, and tamp. The machine controls water temperature and pressure. That split gives you room to experiment without babysitting every variable.
Manual lever machines like the Flair or Olympia Cremina give you total control, but they require a feel for pressure that takes months to develop. Super-automatics like the Jura or De’Longhi Magnifica do everything at the push of a button, but you can’t adjust the extraction once the shot starts. You’re stuck with whatever the internal algorithm decides.
Semi-automatics let you fail. That sounds bad, but it’s the fastest way to learn. When you pull a sour shot because you ground too coarse, you remember that mistake. A super-automatic would have hidden it from you.
That’s also why semi-automatics are the standard in specialty coffee shops. Baristas need control. You’re not a barista yet, but you’re training to be one.
The Real Cost of Entry: Machine, Grinder, and Accessories
Here’s the number nobody tells you: the grinder matters more than the machine. A $300 espresso machine with a $400 grinder will beat a $1,000 machine with a $100 grinder every single time. I’ve tested this exact combination side by side, and it’s not close.
Why? Because espresso extraction needs a consistent, adjustable grind. Burr grinders crush beans uniformly. Blade grinders chop them unevenly, which means some particles extract faster than others. That’s the recipe for bitter and sour shots in the same cup.
Your total cost of entry breaks down like this:
- Machine: $200 to $2,500 depending on boiler type and features.
- Grinder: $150 to $600 for a decent espresso burr grinder. This is non-negotiable.
- Accessories: $50 to $150 for a tamper, distribution tool, scale, and knock box.
- Maintenance: $30 to $100 per year for descaling solution, replacement gaskets, and cleaning tablets.
So a realistic entry-level setup costs around $600 to $800 total. That’s the honest number. If someone tells you they got into espresso for $200, they’re either lying or they’re drinking bad coffee.
All-in-one units like the Breville Barista Express bundle a grinder and machine together. They save counter space, but the built-in grinder is usually the weak point. You’ll likely upgrade it first, which means you paid for a grinder you’ll replace.
Where to Save and Where to Spend
Spend on the grinder. Save on the machine if you’re new. A used Rancilio Silvia plus a new Eureka Mignon grinder gives you a setup that can produce cafe-quality shots for under $800 total. That’s the smartest money in espresso right now.
Skip the expensive tampers and distribution tools at first. A $20 tamper that fits your portafilter basket correctly beats a $150 leveling tamper that doesn’t. You can upgrade tools later when you’ve developed a consistent technique.
Don’t skip a scale that reads to 0.1 grams. Dose consistency is the difference between a shot that takes 25 seconds and one that takes 40 seconds with the same grind setting. A $15 scale does this job fine.
How to Judge a Semi-Automatic: Key Specifications Decoded
Spec sheets are designed to confuse you. Here’s what actually matters and what’s just marketing noise.
Pump Pressure vs. Pressure Profile
Every machine has a pump that pushes water through the coffee. The standard for espresso extraction is 9 bars of pressure at the group head. That’s what the Specialty Coffee Association recommends, and it’s what every serious machine aims for.
So why do machines advertise 15, 19, or 20 bars? Because that’s the pump’s maximum output, not the pressure at the coffee. Most machines regulate down to 9 bars anyway. A 20-bar pump doesn’t make better espresso than a 9-bar pump. It just means the pump can handle more resistance if the grind is too fine.
Pressure profiling is different. That’s the ability to change pressure during the shot — start low, ramp up, then decrease. Machines like the Lelit Bianca or Decent Espresso let you program this. It’s a powerful tool for dialing in light roasts, but it’s also a feature you’ll rarely use once the novelty wears off.
For most home users, a machine with a stable 9-bar pump and a pressure gauge is plenty. The gauge isn’t there to help you adjust pressure — it’s there to tell you if your grind and dose are in the right ballpark. If the gauge reads high, your grind is too fine or your dose is too high.
Boiler Types: Single, Dual, and Thermoblock
This is the biggest spec decision you’ll make. It affects price, heat-up time, and whether you can brew and steam at the same time.
Single boiler: One boiler heats water for both brewing and steaming. You switch between modes, which takes about 30 seconds. You can’t brew and steam simultaneously. This is fine for milk drinks if you’re making one or two at a time. The Rancilio Silvia and Gaggia Classic Pro are the classics here. They’re simple, reliable, and cheap to repair.
Dual boiler: Two separate boilers — one for brewing at 200°F, one for steaming at 270°F. You can pull a shot and steam milk at the same time. This is the gold standard for home espresso. Machines like the Lelit Elizabeth or Breville Dual Boiler cost more, but they’re faster and more consistent for milk drinks.
Heat exchanger: A single boiler with a tube inside that heats water for steaming. The brewing water passes through the tube and gets heated to brew temperature. This design lets you brew and steam simultaneously with one boiler. It’s a compromise — temperature stability isn’t as good as a dual boiler, but it’s better than a single. Profitec and ECM make excellent heat exchanger machines.
Thermoblock: A metal block with a heating element that heats water as it flows through. No boiler at all. Heat-up time is fast — under a minute — but temperature stability suffers. Most entry-level machines use thermoblocks. They’re fine for learning, but they won’t produce the consistency of a boiler machine.
My advice: get a single boiler if you’re on a budget and mostly drink straight espresso. Get a dual boiler if you make milk drinks daily and value your time. Heat exchangers are a niche choice for people who want prosumer features without the dual boiler price.
The Grinder: Built-In vs. Separate
Built-in grinders save counter space. That’s their only advantage. They’re usually stepped grinders with limited adjustment range, which means you can’t fine-tune the grind as precisely as you need for different beans and roasts.
Separate grinders give you control. A stepless grinder lets you adjust the grind in tiny increments, which is essential for dialing in. You’ll also get better burr quality, which means more consistent particle size and better extraction.
If you’re choosing between a machine with a built-in grinder and a cheaper machine plus a separate grinder, pick the separate grinder every time. You’ll thank me in six months when you’re not fighting the grind settings.
Entry-level burr grinders to consider: Baratza Encore ESP, Eureka Mignon Manuale, or the Fellow Opus. All three handle espresso duty and cost under $250.
Milk Frothing: Manual Wand vs. Automatic (and the Learning Curve)
Milk frothing is where most beginners struggle. And it’s where machine marketing gets the most dishonest.
An automatic milk frother — like the one on the Breville Barista Express or the CASABREWS CM5418 — heats and textures milk with minimal input. You push a button, and it produces decent microfoam. The downside is you can’t control the texture. You get what the machine gives you, and it’s rarely perfect for latte art.
A manual steam wand gives you full control. You hold the pitcher, angle the wand, and listen for the right sounds. The learning curve is real — expect to waste a few cartons of milk before you get it right. But once you learn, you can produce silky microfoam for latte art or stiff foam for cappuccinos.
Here’s the honest breakdown:
- Automatic frothers: 2 weeks to get acceptable results. No skill required. Good for milk drinks you’ll drink yourself.
- Manual wands: 4 to 8 weeks to get decent microfoam. 6 months to master latte art. Requires practice but rewards it.
If you want to make latte art, you need a manual steam wand. Full stop. Automatic frothers can’t produce the fine, velvety microfoam that art requires.
The CASABREWS CM5418 has a manual steam wand, which is surprising at its price point. It’s not the most powerful wand I’ve used, but it’s capable of producing decent microfoam once you get the hang of it. Just remember: don’t brew coffee immediately after frothing milk. The machine needs to cool down first, or it’ll trigger over-heating protection and the lights will flash. That’s a quirk you’ll need to work around.
If you’re serious about milk drinks, look for a machine with a steam wand that has at least 3 holes in the tip. More holes mean more steam distribution, which means faster texturing and better control. The Rancilio Silvia and Lelit Elizabeth both have excellent steam wands.
Maintenance and Cleaning: A Schedule That Keeps Your Machine Alive
Espresso machines are appliances with moving parts and water. They need maintenance. Skipping it shortens their life and ruins your coffee.
Here’s a schedule that works for most home users:
- After every use: Knock out the spent puck, rinse the portafilter, and wipe the group head. Purge the steam wand for 2 seconds to clear milk residue.
- Weekly: Backflush with water only if your machine has a three-way solenoid valve. This cleans the group head and internal lines.
- Monthly: Backflush with espresso cleaning powder. This removes coffee oils that water alone can’t dissolve.
- Every 3 months: Descale the boiler. Use a descaling solution designed for espresso machines, not vinegar. Vinegar can damage the boiler’s heating element.
- Every 6 months: Replace the group head gasket and shower screen. These wear out and affect extraction quality.
Single boiler machines need descaling less often than dual boilers because they have less water volume. But they also have a single heating element that’s more vulnerable to scale buildup. Check your water hardness. If you have hard water, descale more frequently.
Heat exchanger machines have a specific maintenance quirk: you need to flush water through the steam wand before brewing to clear overheated water from the heat exchanger tube. Skip this, and your shots will taste burnt.
For a deeper look at cleaning routines, check out our machine maintenance guide or the deep cleaning tutorial. Both cover steps I don’t have room for here.
The Upgrade Path: Resale Value and When to Move On
Nobody talks about this, but espresso machines hold value surprisingly well. A used Rancilio Silvia in good condition sells for 60-70% of its original price. That’s better than most consumer electronics.
Why? Because espresso machines are mechanical. They don’t have proprietary chips that become obsolete. A 15-year-old Silvia still works as well as the day it was made, provided it’s been maintained. That’s not true of a 15-year-old smartphone.
This matters for your upgrade path. Buy a used machine, learn on it, and sell it for nearly what you paid. Your total cost of ownership for the learning phase could be under $100. That’s a steal compared to renting a machine or buying new and selling at a loss.
When should you upgrade? When you hit a limit. You’ll know it when you’re pulling consistent shots but can’t improve milk texture because the steam wand is weak. Or when you’re making four milk drinks in a row and the single boiler can’t keep up.
Here’s the upgrade ladder I recommend:
- Start with a used single boiler machine and a good grinder.
- Upgrade the grinder first — it’s the biggest impact per dollar.
- Then upgrade to a dual boiler or heat exchanger machine.
- Finally, if you’re still chasing perfection, consider a pressure profiling machine.
That path spreads the cost over years and ensures you’re never paying for features you don’t use.
Final Comparison Table: Specs, Price, and Best For
Here’s a side-by-side look at the main machine types. Prices are ranges because they change with sales and market conditions.
| Machine Type | Typical Price | Heat-Up Time | Brew + Steam Simultaneously? | Best For | Maintenance Level |
|---|---|---|---|---|---|
| Entry-Level Thermoblock | $150 – $300 | Under 1 minute | No | Beginners testing the waters | Low |
| Single Boiler | $300 – $700 | 10-15 minutes | No | Straight espresso drinkers | Moderate |
| Heat Exchanger | $800 – $1,500 | 15-20 minutes | Yes | Milk drink lovers on a budget | High |
| Dual Boiler | $1,200 – $3,000 | 15-20 minutes | Yes | Serious home baristas | Moderate |
| Pressure Profiling | $2,500 – $4,000+ | 15-20 minutes | Yes | Experimenters and perfectionists | High |
That table oversimplifies, but it gives you a starting point. Match your budget and your drink preferences to the right category, then narrow down within it.
FAQ: Quick Answers to Common Buyer Questions
Do I need a dual boiler machine?
Only if you make multiple milk drinks back-to-back regularly. If you’re making one cappuccino in the morning, a single boiler is fine. The extra cost of a dual boiler isn’t justified unless you value the time savings.
Is a 15-bar or 20-bar pump better?
No. The pump pressure rating is mostly marketing. What matters is the pressure at the group head, which should be around 9 bars. A machine with a 15-bar pump can produce the same quality espresso as a 20-bar pump, as long as it regulates down to 9 bars.
Can I use pre-ground coffee in a semi-automatic?
You can, but you’ll get poor results. Pre-ground coffee is too coarse and inconsistent for espresso. You need a burr grinder to dial in the right particle size. This is the single most important upgrade you can make.
How long does a semi-automatic espresso machine last?
With proper maintenance, 10 to 15 years is realistic. Single boiler machines like the Rancilio Silvia often last longer because they have fewer parts. Thermoblock machines tend to wear out sooner, around 5 to 7 years. Regular descaling and backflushing extend the life significantly.
What’s the difference between a semi-automatic and a manual espresso machine?
Semi-automatics control water temperature and pressure automatically. You control the grind, dose, and tamp. Manual machines require you to control the pressure too, usually with a lever. Manual machines offer more control but have a much steeper learning curve.
What to Actually Do Next
You’ve read the specs. Here’s the action plan.
- Set a total budget of $600 to $800 for machine plus grinder if you’re new.
- Spend at least as much on the grinder as you do on the machine.
- Choose a single boiler if you drink mostly straight espresso.
- Choose a dual boiler if you make milk drinks daily and want speed.
- Don’t buy a machine with a built-in grinder unless counter space is your top priority.
- Learn to use a manual steam wand — it’s the difference between good and great milk drinks.
- Buy used if you can. Espresso machines hold value, so your risk is low.
One last thing: the CASABREWS CM5418 is a fine starting point if you want something compact and affordable. It’s not perfect — the steam wand needs practice, and the cooling-down quirk is annoying. But it’s an honest machine that won’t hold you back while you learn. Check the current price on Amazon if it fits your budget.
Products related to this article
Sponsored / affiliate links. As an Amazon Associate I earn from qualifying purchases. I may earn additional commission from eligible campaigns.
 Coffee Espresso Machine Handle Replacement Parts, Cafe Bracket Handle for Lidl Silvercrest CM4621 CM4218 KF5002 KF500S Barista (for 51mm Portafilter Basket - Not included)
 Quick Heating Cup Warmer, Three Temperature Settings, Splashproof and Portable, for Coffee, Milk, Lightweight ABS Material
 Linnkyfloa Coffee Espresso Maker Handle Replacement for Stovetop Moka Pot or Percolator, Black Plastic for Spare Part Compatible with Italian(9-12 Cup)