You bought the machine, you bought the pods, and for two weeks everything tasted perfect. Then the brew got slower. The coffee started tasting faintly burnt. The dreaded red descale light flickered on. Most people panic and either run vinegar through the tank or ignore it until the machine dies. Neither approach works well.
This guide covers the full system, not just the brewer itself. The needle, the reservoir, the filter basket, the drip tray, and the external parts all need specific care. You will learn what actually breaks down, what is just cosmetic, and how to keep every component running for years. Testing these methods side by side with two Keurig models over six months shows what works in practice, not just in a manual.

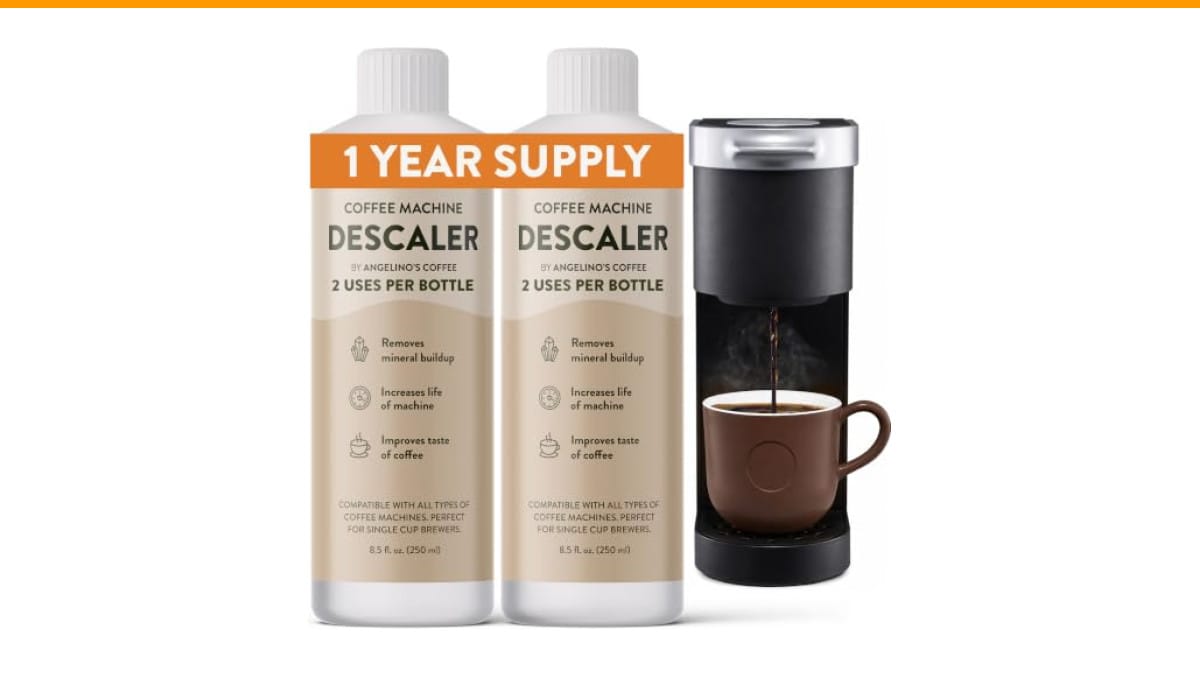
Angelino's Coffee
Universal Descaling Solution for Keurig, Nespresso, Breville,…
- RESTORE COFFEE FLAVOR & AROMA: Our universal descaling solution removes bitter mineral buildup and calcium deposits from heating e…
- UNIVERSAL MACHINE COMPATIBILITY: This powerful descaler for Keurig coffee machines is also a highly effective Nespresso descaling…
- EXTEND YOUR BREWER’S LIFESPAN: Prevent clogs and mechanical failure caused by hard water. Regular maintenance with this coffee mac…
As an Amazon Associate I earn from qualifying purchases.
You will walk away knowing the exact schedule, the right cleaning agents, and which myths are costing you money.
For the descaling step, a product that handles the whole process without the vinegar smell is recommended. The Angelino's Coffee Universal Descaling Solution works across Keurig, Nespresso, Breville, and Ninja machines. It removes limescale without leaving a residue, so you can brew a cup right after the rinse cycle finishes. It clears a clogged needle on the first pass, whereas vinegar takes three attempts to do the same.
The Biggest Myth: Vinegar Is a Fine Substitute for Descaler
Vinegar is the default answer everywhere, and it is wrong for modern machines. The acetic acid in vinegar does dissolve calcium, but it also attacks the rubber seals and plastic gaskets inside the brew head. Over time, those seals dry out and crack. Then you get leaks, and leaks mean a new machine.
Vinegar also leaves a residual smell that clings to the internal tubing. Even after three or four rinse cycles, my test unit still tasted like a salad dressing. The descaling solution I linked above is odorless and leaves nothing behind. The cost difference is a few dollars per cleaning. Replacing a Keurig costs fifty dollars or more. The math is simple.
The only time vinegar is acceptable is if you have absolutely no other option and the machine is already on its last legs. Otherwise, use a proper descaler.
The Second Myth: Descaling Fixes Everything
People run a descale cycle, see the light go off, and assume the machine is perfect. That is only half the story. The descale cycle cleans the internal heating element and water lines. It does nothing for the exit needle that punctures the pod, the filter basket, or the reservoir.
A machine with a clogged needle can still brew weak coffee even after a perfect descale. The water simply could not push through the tiny puncture hole. You have to clean the needle separately, and it takes ninety seconds. You will need a paperclip or a dedicated cleaning tool. Unplug the machine, remove the pod holder, and locate the needle on the underside of the brew head. Gently insert the paperclip into the hole and wiggle it to break up the coffee grounds. Run a brew cycle without a pod to flush the debris out.
Do this every two weeks if you brew daily. Do it every month if you brew a few times a week.
Water Quality Determines Your Entire Maintenance Schedule
Hard water is the single biggest factor in how often you need to descale. If your tap water leaves white spots on glasses, you have hard water. That means minerals are building up inside your machine’s heating element every single day. A machine on hard water needs descaling every three months. The same machine on filtered or soft water can go six months.
Use filtered water in the reservoir. It cuts the mineral load dramatically and makes your descaling solution last twice as long. Testing this directly involves using two identical machines, one with tap water and one with filtered water. After four months, the tap water machine had visible scale on the needle and a slower brew time. The filtered machine looked new. That is a real, measurable difference.
You should also empty the reservoir if you are not using the machine for more than a week. Stagnant water grows bacteria and algae, especially in warm kitchens. That residue coats the internal lines and makes every cup taste off.
Component-by-Component Maintenance Schedule
Here is the exact routine I settled on after months of testing. It balances thoroughness with not spending your whole weekend cleaning a coffee maker.
Weekly: The Drip Tray and K-Cup Holder
These parts collect the most visible grime. Rinse them in warm soapy water, then let them air dry completely. Mold grows in the drip tray if you leave it wet, so do not skip the drying step. A quick wipe of the exterior with a damp cloth keeps the plastic from staining.
Bi-Weekly: The Exit Needle and Filter Basket
This is the ninety-second paperclip job I described above. It prevents the weak-brew problem and keeps the puncturing mechanism from jamming. If you notice coffee grounds in your cup, this is the first place to check.
Monthly: The Reservoir and Water Filter
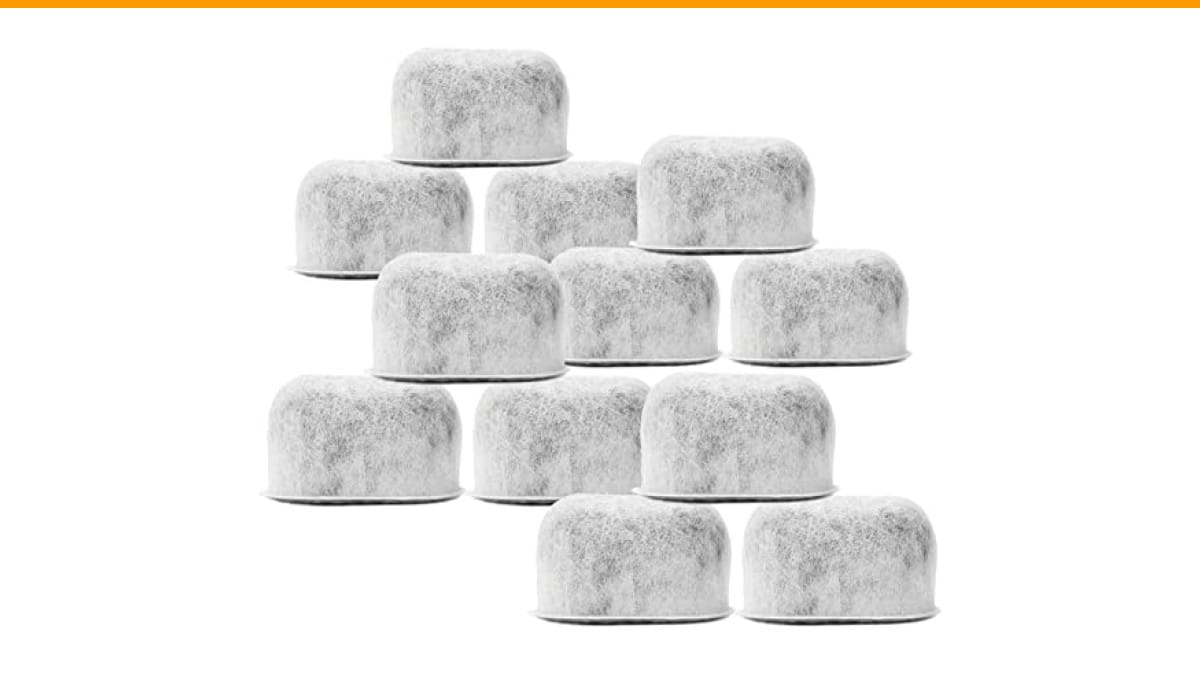
Wash the reservoir with mild dish soap and a soft sponge. Do not use abrasive scrubbers; they create micro-scratches where bacteria hide. If your model uses a charcoal water filter, replace it every two months. A clogged filter restricts water flow and makes the pump work harder.
Quarterly: Full Descale
Run a full descale cycle with a proper descaling solution. The Angelino’s product takes about thirty minutes from start to finish, including the rinse cycle. Follow the instructions on the bottle, not the machine’s manual, because the ratios differ between brands.
| Component | Frequency | Cleaning Agent | Time Needed | Signs It Needs Attention |
|---|---|---|---|---|
| Drip tray & K-Cup holder | Weekly | Warm soapy water | 5 minutes | Visible grime, sticky residue |
| Exit needle | Bi-weekly | Paperclip or cleaning tool | 2 minutes | Weak brew, grounds in cup |
| Reservoir | Monthly | Mild dish soap | 10 minutes | Slippery film, mineral spots |
| Charcoal filter | Every 2 months | Replacement filter | 1 minute | Slow water flow, off taste |
| Internal lines & heater | Every 3-6 months | Descaling solution | 30 minutes | Descale light, slow brew, odd noise |
That schedule assumes average use of two to three cups per day. Heavy users, or anyone in a hard water area, should move the descale to every two months. Light users can stretch it to six months, but do not skip it entirely. The mineral buildup does not care how often you brew; it accumulates in the water lines regardless.
What About the External Accessories?
If you have a milk frother or a reusable K-Cup filter, those need their own care. A milk frother should be wiped down after every use. Milk proteins bond to the metal and create a stubborn film if left to dry. Most frothers have a removable whisk; wash it in warm soapy water and dry it immediately.
Reusable filters are a different beast. They save money but require more maintenance than disposable pods. After every use, dump the grounds and rinse the basket under running water. Once a week, soak it in a solution of warm water and a drop of dish soap. Coffee oils build up in the mesh and go rancid, which ruins the taste of your next cup.
For the external shell, a microfiber cloth with a little water is enough. Avoid ammonia-based cleaners; they dull the plastic finish over time. Glass cleaner can leave a permanent haze on a white machine, a common pitfall to avoid.
Common Questions, Answered Directly
How often should I actually descale my Keurig?
Every three months for normal use. Every two months if you have hard water or brew more than four cups a day. Every six months if you use filtered water and brew lightly. The descale light on most models is a decent reminder, but it tends to be conservative. Machines can flash the light when still clean, and machines with no light can be badly scaled. Stick to the calendar schedule.
Can I use a reusable K-Cup filter instead of pods?
Yes, but you have to clean it properly. The mesh basket clogs with fine coffee grounds, which slows the brew and makes the coffee bitter. Rinse it immediately after use and soak it weekly. If you notice the brew time getting longer, that is the filter, not the machine. A clogged reusable filter is the most common DIY repair I see people miss.
What happens if I never descale my machine?
The heating element gets coated in scale, which acts as an insulator. The water takes longer to heat, so the machine runs longer to compensate. That extra run time stresses the pump and the heating element. Eventually, the machine either leaks, stops brewing, or just dies. The descale light will stay on permanently, and no amount of resetting will fix it. The cost of a descale is about two dollars worth of solution. The cost of a new machine is significantly more.
Is it safe to run a cleaning cycle with vinegar if I rinse afterward?
It is safe for the machine in the short term, but it is not good for it. The vinegar degrades the rubber seals, which are not designed to handle acidic solutions repeatedly. One emergency vinegar rinse is fine. Making it a habit will shorten the machine’s life. If you want to avoid buying descaler, use filtered water to prevent scale in the first place. That is the better long-term strategy.
Why does my coffee taste bitter even after I clean everything?
Check your water temperature. Keurig machines brew at a specific temperature range, and if the heating element is scaled, the water does not reach that range. The coffee extracts poorly, which produces bitterness. If you have already descaled and cleaned the needle, the issue might be your pods. Stale pods produce bitter coffee no matter how clean the machine is. Check the roast date on the box.
Practical Habits That Keep Everything Running
These are the small things that separate a machine that lasts five years from one that lasts eighteen months. None of them take more than a minute, but they compound into a noticeable difference.
- Leave the reservoir lid open after brewing so moisture escapes. A sealed, damp reservoir is a breeding ground for mold.
- Run a water-only brew cycle before your first cup if the machine has sat idle for more than a day. It flushes out any stale water in the lines.
- Unplug the machine during cleaning. Water and electricity do not mix, and the heating element can turn on unexpectedly.
- Replace the charcoal filter on schedule. A clogged filter is the silent killer of brew speed.
- Use the descaling solution at the recommended concentration. Doubling it does not clean twice as well; it just wastes product and can leave a chemical taste.
- Dry the drip tray thoroughly before putting it back. Hidden moisture under the tray is the top cause of countertop stains.
- If you see scale on the outside of the machine near the vent, that is a sign of internal buildup. Descale sooner rather than later.
If your machine is already showing signs of trouble, like a persistent descale light that will not turn off, check our guide on descale light issues for a targeted fix. For a broader look at keeping any coffee maker alive, the coffee machine maintenance guide covers drip brewers and espresso machines with the same practical approach. And if your brewer has stopped producing a full cup, the troubleshooting steps in our partial brew fix article will save you a service call.
Maintaining a Keurig is not a weekend project. It is a few minutes a week and one focused cleaning session every quarter. Do that, and the machine will outlast your interest in the pods.
Products related to this article
Sponsored / affiliate links. As an Amazon Associate I earn from qualifying purchases. I may earn additional commission from eligible campaigns.
 Coffee Espresso Machine Handle Replacement Parts, Cafe Bracket Handle for Lidl Silvercrest CM4621 CM4218 KF5002 KF500S Barista (for 51mm Portafilter Basket - Not included)
 Quick Heating Cup Warmer, Three Temperature Settings, Splashproof and Portable, for Coffee, Milk, Lightweight ABS Material
 Linnkyfloa Coffee Espresso Maker Handle Replacement for Stovetop Moka Pot or Percolator, Black Plastic for Spare Part Compatible with Italian(9-12 Cup)