You bought a super automatic espresso machine because you wanted cafe-quality shots without the steep learning curve of a manual lever machine. Then you pressed a button, got a thin, sour espresso, and wondered if you wasted your money. I see this happen constantly. The machine isn’t the problem. The problem is almost always a few settings that need adjusting to match your beans.
This guide walks through the actual workflow: dialing in the grind, setting the dose, frothing milk properly, and cleaning the brew unit. You’ll learn what each adjustment does, how to troubleshoot a bad shot, and why your first week with the machine will not be your best week. That’s normal.

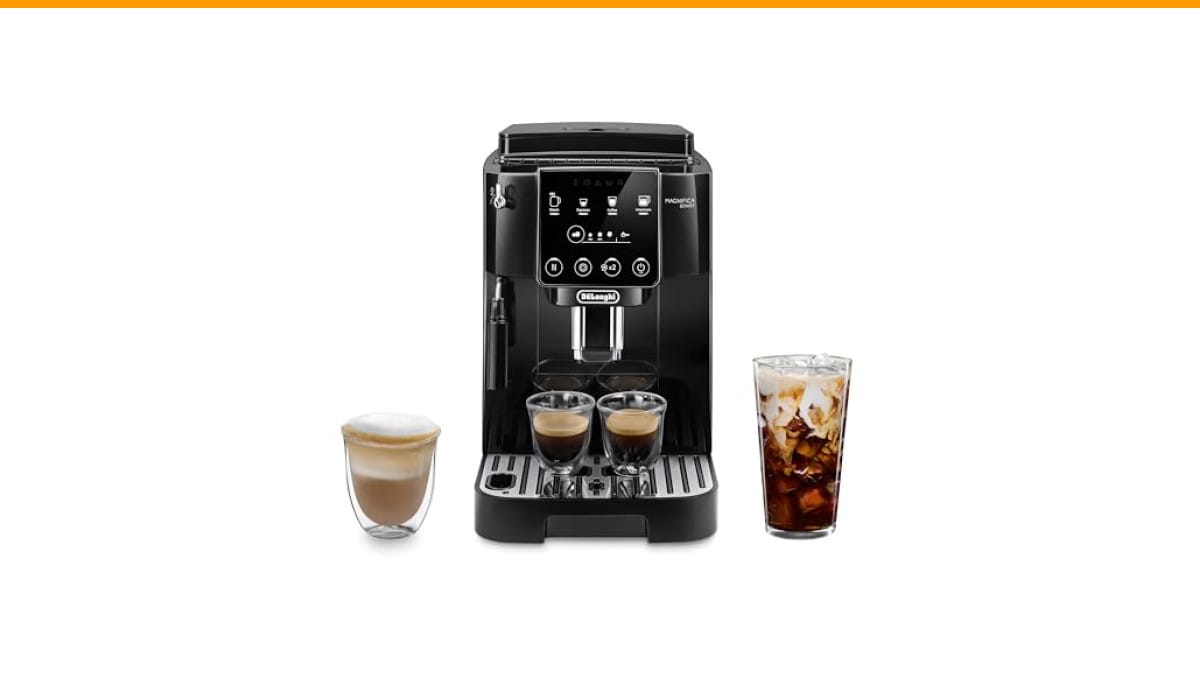
De'Longhi
De'Longhi Magnifica Start Automatic Espresso Machine, Milk…
- #1 Worldwide Espresso Machine Maker* *Independent Research Institute, Sales Leader, Full Year 2025
- 3 ONE-TOUCH RECIPES: Enjoy Espresso, Coffee, and Americano at the touch of a button. Easily adjust the intensity to fit your prefe…
- PERFECT GRINDING: 13 grind settings means all of your bean varieties are optimally prepared for extraction. The conical burr grind…
As an Amazon Associate I earn from qualifying purchases.
We’ll use the De'Longhi Magnifica Start as a reference point because it’s a popular entry-level model that covers all the core functions you need to understand. The principles apply to nearly every super automatic on the market.
Before Your First Shot: Setup and Rinsing
Most people skip the manual, install the water tank, and start brewing. Don’t. The internal pipes and boiler often contain manufacturing residue or dust. Run a full water cycle without coffee beans first.
Fill the tank with fresh, filtered water. Cold water, not hot. Hot water can trigger scale buildup faster inside the boiler.
Plug in the machine, place a large container under both the coffee spout and the steam wand, and run the hot water function until the tank is half empty. This flushes the system. Do this once more, then empty the drip tray.
If you’re setting up the De'Longhi Magnifica Start, the removable brew unit needs to be rinsed under running water before first use. Do not use soap on the brew unit. Just warm water, then let it air dry completely before sliding it back in.
Dialing In: Grind Size and Dose
Here is the part nobody tells you. A super automatic grinds, doses, and brews in one go, but you still have to tell it how fine to grind. The grind setting is your primary lever for flavor.
Start with a medium-fine grind. On the Magnifica Start, that’s around setting 6 or 7 out of 13. If your shot runs too fast — under 20 seconds for a 1:2 ratio — and tastes sour, go finer. If it drips slowly, takes over 35 seconds, and tastes bitter, go coarser.
Change one setting at a time. Grind adjustment affects the shot within one or two brews, but the machine needs a couple of shots to purge the old grounds from the chute. Pull a shot, taste it, adjust, repeat. This takes about 15 minutes the first time. It’s worth it.
You also have control over the dose, or how much ground coffee the machine uses per shot. A standard double shot uses roughly 14 to 18 grams. Most super automatics let you adjust this in the menu. If your shots taste weak and watery even with a fine grind, increase the dose. If the puck comes out muddy and the shot chokes, decrease it.
One honest caveat: the grind range on a $500 machine is narrower than on a $2,000 commercial grinder. You won’t get perfect clarity for a light-roast Ethiopian single origin. But you can absolutely dial in a dark or medium roast to taste better than your local drive-thru.
Brewing Your First Espresso and Adjusting Strength
Once the grind is close, brew a test shot. Use the one-touch espresso button. Watch the flow. A proper shot starts with a few dark drops, then turns into a steady, honey-like stream that thins out near the end.
If the stream looks like water, your grind is too coarse or your dose is too low. If it sputters or stops early, the grind is too fine or the beans are stale.
Most super automatics, including the Magnifica Start, let you adjust strength — this changes the dose slightly and sometimes the pre-infusion time. Start at the middle strength setting. Then brew two shots side by side, one at the lowest and one at the highest, to taste the difference. You’ll likely land somewhere in the middle for daily use.
For an Americano, the machine adds hot water to the espresso. You can control the water volume. I find the default ratio on many machines is too watery — about 1 part espresso to 4 parts water. I prefer 1:2.5. Adjust it to your taste.
If you’re comparing a super automatic to a semi-automatic setup, the trade-off is convenience versus control. Automatic vs semi automatic breaks down which one fits your habits.
Frothing Milk: Manual Wand vs. Automatic Frother
This is where most people get frustrated. The automatic milk frother on many super automatics produces decent microfoam, but it’s not a barista’s wand. The Magnifica Start uses a manual steam wand, which gives you more control once you learn the technique.
Start with cold milk. Whole milk froths best because of the fat content. Oat and almond milks work, but they behave differently — oat milk needs less aeration, and almond milk often separates if you overheat it.
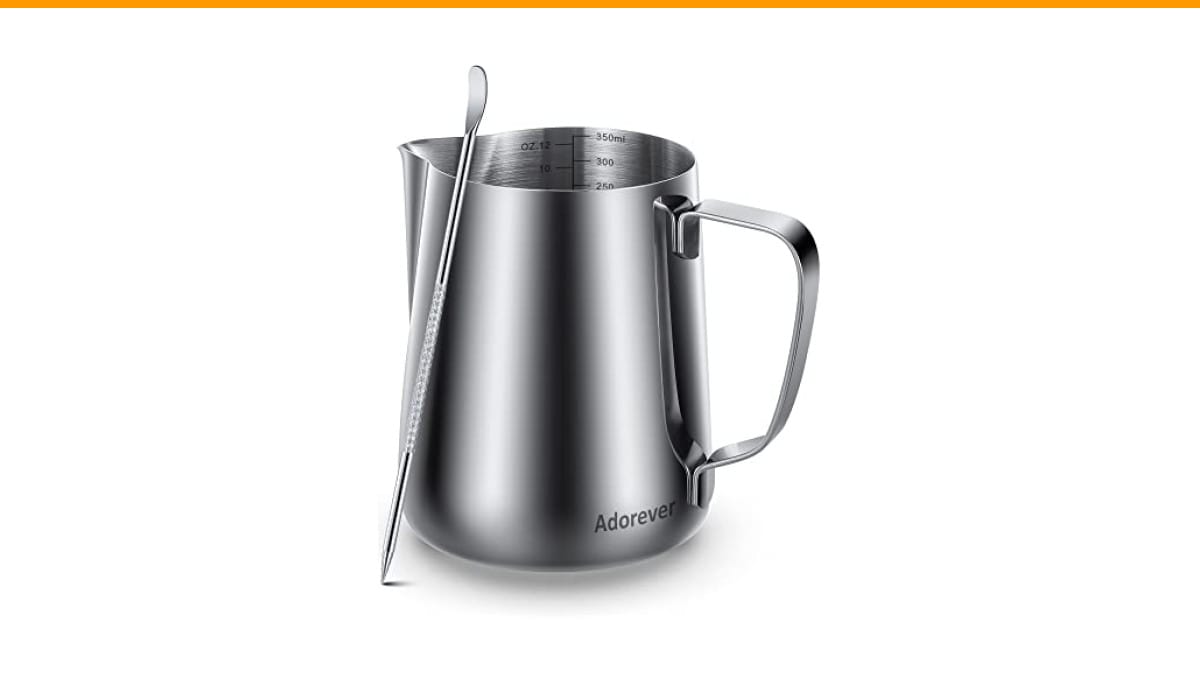
Pour cold milk into a pitcher. Submerge the steam wand tip just below the surface. Turn the steam on. You should hear a light hissing sound, like paper tearing, not a deep gurgle. This is the stretching phase. Hold the tip at the surface for 5 to 10 seconds, then lower the pitcher so the wand is fully submerged. This heats the milk and creates a whirlpool.
Stop steaming when the pitcher is too hot to hold comfortably — around 140°F to 150°F. Tap the pitcher on the counter to pop large bubbles, then swirl it. Your milk should look like wet paint, not a pile of foam.
If you use the one-touch cappuccino recipe, the machine does the timing for you. But you’ll get better texture doing it manually. It took me about a week of daily practice to get consistent microfoam. Don’t give up after two tries.
Cleaning and Descaling: The Part Everyone Skips
I’ll say it directly: a super automatic that isn’t cleaned makes coffee that tastes like an ashtray. The brew unit, the spout, and the milk wand all trap oils and residue. You need a routine.
Rinse the drip tray and spent puck container every day or two. Wipe the steam wand after every use — milk residue hardens and clogs the tip. The Magnifica Start has removable, dishwasher-safe parts, which makes this easier than on machines with fixed wands.
Backflush the brew unit weekly if you can. Some super automatics have a cleaning cycle that runs a solution through the group head. Use the manufacturer’s cleaning tablets, not random descaler, for this step.
Descale every 2 to 3 months, depending on your water hardness. Hard water means more frequent descaling. If you hear the machine making unusual noises during brewing, check the loud noise troubleshooting guide before you assume it’s broken. Scale buildup is a common culprit.
For a full breakdown of the process, see how to descale at home. It takes about 20 minutes and protects the boiler from permanent damage.
Comparing Super Automatic vs. Semi-Automatic vs. Pod Machines
If you’re still deciding which machine type fits your routine, here’s a quick comparison based on my testing.
| Feature | Super Automatic | Semi-Automatic | Pod Machine |
|---|---|---|---|
| Learning curve | Low (press a button) | High (grind, tamp, time) | Very low |
| Shot quality ceiling | Good to very good | Excellent (with skill) | Average |
| Freshness control | Full (whole beans) | Full (whole beans) | None (pre-ground pods) |
| Milk frothing | Automatic or manual wand | Manual wand (skill needed) | Often separate device |
| Daily effort | Press button, rinse tray | Grind, dose, tamp, brew, clean | Insert pod, press button |
| Cost per shot | Lowest (bulk beans) | Lowest (bulk beans) | Highest (pods) |
| Maintenance | Moderate (brew unit, descale) | Moderate (portafilter, grinder) | Low (descaling only) |
My take: if you want to learn the craft and enjoy the ritual, go semi-automatic. If you want good espresso daily with zero fuss, a super automatic is the better tool. Pod machines are fine for a quick caffeine hit, but the flavor ceiling is low and the ongoing cost adds up.
If budget is a factor, read the best automatic espresso machines under $1000 guide for models that balance price and features.
Frequently Asked Questions
Why is my espresso sour even after adjusting the grind?
Sourness usually means under-extraction. The shot ran too fast or the water was too cool. Go one or two grind settings finer, and make sure the machine is fully heated up. Run a blank shot (hot water without coffee) through the group head before brewing to warm the metal parts.
How often should I replace the water filter?
Most super automatics have a filter that lasts about two months or 50 liters of water. If you use very hard water, replace it monthly. The machine will usually remind you, but don’t ignore the reminder. A clogged filter slows flow and makes the pump work harder.
Can I use pre-ground coffee in a super automatic?
Yes, most models have a bypass chute for pre-ground coffee. Use it for decaf or a special blend. But don’t use it as your main method — the whole point of the machine is the built-in grinder. Pre-ground coffee goes stale within days, while whole beans stay fresh for weeks.
Why does my milk frother make large bubbles instead of microfoam?
You’re aerating too aggressively. The wand tip is too high above the milk surface, or the steam pressure is too high. Lower the tip so it’s just barely submerged, and keep the hissing sound gentle. Also, make sure the milk is cold — warm milk won’t stretch properly.
Is it normal for the machine to be loud?
The grinder is the loudest part, and it’s normal for a super automatic to hum or whir during grinding. But if you hear a high-pitched squeal or a loud knocking sound during brewing, that’s not normal. Check the noise troubleshooting guide for specific causes like a blocked valve or air in the pump.
What You Can Do Differently Starting Tomorrow
- Set your grind to the middle setting first, then adjust one click at a time based on shot time (aim for 25–30 seconds).
- Use whole beans roasted within the last 3 weeks. Stale beans produce flat, bitter shots no matter what the machine does.
- Wipe the steam wand immediately after frothing. Milk residue is the #1 cause of clogged wands and bad foam.
- Run a water-only cycle before your first shot each morning to preheat the group head.
- Empty and rinse the drip tray daily. Old coffee sludge breeds bacteria and ruins the taste of your next shot.
- Descale on a schedule, not when you remember. Set a reminder on your phone for every 2–3 months.
- Don’t chase the perfect shot for weeks. Find a setting that makes you happy 80% of the time and stop fiddling.
Products related to this article
Sponsored / affiliate links. As an Amazon Associate I earn from qualifying purchases. I may earn additional commission from eligible campaigns.
 Coffee Espresso Machine Handle Replacement Parts, Cafe Bracket Handle for Lidl Silvercrest CM4621 CM4218 KF5002 KF500S Barista (for 51mm Portafilter Basket - Not included)
 Linnkyfloa Coffee Espresso Maker Handle Replacement for Stovetop Moka Pot or Percolator, Black Plastic for Spare Part Compatible with Italian(9-12 Cup)
 Wrenmor Replacement Handle For Coffee Espresso Moka Stove Pot, Black Plastic Accessory Compatible With 1/3/6/9/12 Cup Sizes For Easy Installation And Long-Lasting Use(1 Cup)