You filled the basket to the rim, screwed the pot together, and watched the top chamber fill with a dark stream. The first sip tasted thin and sour. Or worse, it came out bitter and harsh. We have all been there. The problem is rarely the pot or the beans. It is the dose. Most people either underfill the basket or use the wrong grind.
This guide gives you a precise recipe card. You will learn the exact grams and tablespoons of coffee for every standard moka pot size, why the 2oz cup rule matters, and how to adjust your brew when it tastes off. You will also see how the roast level and water hardness change the final cup. By the end, you will know exactly how much coffee for a moka pot without needing a second guess.
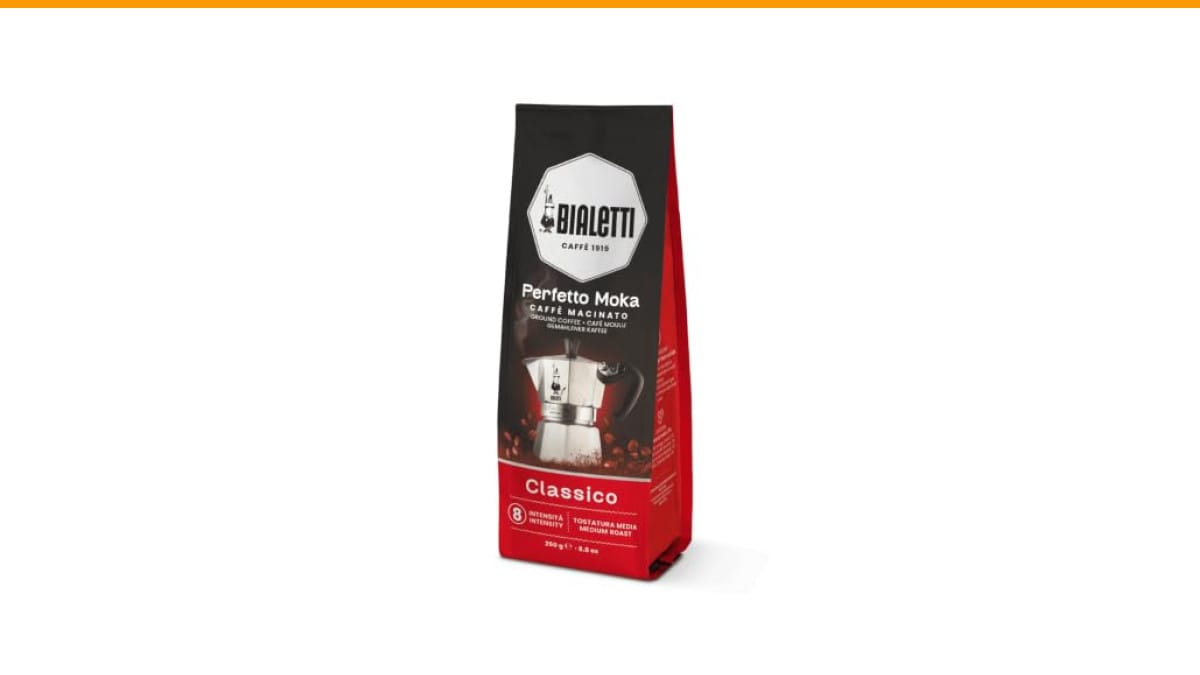
One quick note on beans: the right dose only gets you halfway there. A pre-ground supermarket bag will never taste as clean as fresh coffee ground for your pot. If you want a reliable baseline, the Bialetti Classico ground coffee is a solid starting point. It is roasted and ground specifically for stovetop brewers, so you can rule out the grind variable while you dial in your dose.
The Golden Rule: Full Basket, No Tamping
Here is the single most important rule for a moka pot: fill the filter basket completely, but do not press the coffee down. Tamping creates too much resistance. The water pushes through slowly, over-extracts the grounds, and you get a bitter, muddy cup.
The basket should be heaping full before you level it off. Run a finger across the top to remove the excess. The coffee should sit flush with the rim. A gap of even a few millimeters means the water will rush through too fast, and you will get a weak, sour brew.
This rule applies to every size of pot. A 2-cup basket holds about 10 grams. A 12-cup basket holds closer to 60 grams. The ratio stays the same, but the absolute number changes.
Moka Pot Size vs. Actual Cups (The 2oz Rule)
Moka pot sizes are a lie. A 6-cup moka pot does not brew six standard cups of coffee. It brews six Italian-style cups, which are about 2 ounces each. That is roughly 12 ounces of liquid, or about 1.5 standard mugs.
You need to know this before you buy beans or measure a dose. If you expect a 6-cup pot to fill a large travel mug, you will be disappointed. The chart below shows the real yield for each common pot size.
This matters for your daily routine. A 3-cup pot is perfect for a single strong mug. A 6-cup pot serves two people or one person who likes a larger americano.
Complete Coffee Dose Chart (Grams & Tablespoons)
Here is the definitive reference. These numbers assume a medium-fine grind, similar to table salt. The dose is for the basket only, not the water in the boiler.
| Pot Size | Coffee (grams) | Coffee (tablespoons) | Water (ml) | Yield (oz) |
|---|---|---|---|---|
| 2-cup | 10 g | 2 tbsp | 60 ml | 4 oz |
| 3-cup | 15 g | 3 tbsp | 90 ml | 6 oz |
| 4-cup | 20 g | 4 tbsp | 120 ml | 8 oz |
| 6-cup | 30 g | 6 tbsp | 180 ml | 12 oz |
| 9-cup | 45 g | 9 tbsp | 270 ml | 18 oz |
| 10-cup | 50 g | 10 tbsp | 300 ml | 20 oz |
| 12-cup | 60 g | 12 tbsp | 360 ml | 24 oz |
These numbers are a starting point, not a law. Some roasts need a gram more or less. But if you start here, you are in the right ballpark.
Standard Sizes (2, 3, 4, 6, 9, 10, 12-cup)
The most common pots in homes are the 3-cup and 6-cup. If you own a 3-cup, you need 15 grams of coffee. A 6-cup needs 30 grams. For the larger 9-cup and 12-cup pots, you are making a serious batch, so consider a digital scale to keep the dose consistent.
How to Measure Without a Scale
A scale is the best tool for consistency, but you can get close with tablespoons. One tablespoon of medium-fine ground coffee weighs about 5 grams. Use a proper measuring spoon, not a random spoon from your drawer. Level it off with a knife.
Here is the catch: different roasts weigh differently. A light roast is denser than a dark roast. One tablespoon of light roast might weigh 5.5 grams, while a dark roast weighs 4.5 grams. The volume is the same, but the mass is different. If you rely on tablespoons, you might under-dose a dark roast. This is why a cheap kitchen scale is worth the investment.
The Perfect Coffee-to-Water Ratio
The standard ratio for a moka pot is 1 part coffee to 10 parts water by weight. That means for every gram of coffee, you use 10 grams of water. Since 1 ml of water weighs 1 gram, the math is easy. For a 6-cup pot, use 30 grams of coffee and 300 ml of water.
This ratio produces a strong, concentrated coffee that is meant to be diluted with hot water or milk. If you drink it straight, it will be intense. That is the design. A moka pot does not produce espresso, but it gets close in strength.
You can adjust the ratio slightly. If you want a milder cup, use 1:12. If you want it bolder, use 1:8. But do not change the ratio by underfilling the basket. Change the amount of water in the boiler instead. The basket must always stay full.
Step-by-Step: Filling the Basket and Boiler
Follow these steps exactly to get a clean extraction every time.
- Fill the lower boiler with hot water up to the safety valve line. Do not go above it.
- Insert the filter basket. It should sit flat on the floor of the boiler.
- Scoop coffee into the basket until it is heaping.
- Level off the top with your finger or a flat knife. Do not press down.
- Wipe any stray grounds off the rim of the boiler.
- Screw the top chamber on tightly.
- Place the pot on the stove over medium heat.
- Leave the lid open. Watch the coffee flow.
- When the stream turns from dark brown to light blonde, remove the pot from the heat.
- Run the base under cold water to stop extraction.
That last step is critical. The coffee keeps cooking if you leave the pot on the burner. The steam will push through the grounds and pull out bitter compounds. Stopping the brew early is the easiest way to control bitterness.
Adjusting Strength Without Changing the Dose
You have several levers to pull before you change how much coffee you put in the basket. These adjustments let you fine-tune the cup without messing with the golden rule.
Roast Level and Grind Size Adjustments
Dark roasts extract faster than light roasts. They are more porous and dissolve easily. If you switch from a medium to a dark roast, you might notice more bitterness. Counter this by grinding slightly coarser. A coarse grind slows extraction, which balances the dark roast’s quick release.
Light roasts are the opposite. They are dense and need more contact time. Grind them slightly finer than you would a medium roast. This increases the surface area and helps pull out the sugars. The trade-off is a higher risk of clogging. If the pot sputters or takes forever, you ground too fine.
Single-origin beans also change the equation. A fruity Ethiopian light roast will taste different from a chocolatey Sumatran dark roast. Start with the standard dose, but be ready to adjust the grind by a notch or two based on the bean’s density.
Water Quality and Temperature
Hard water with high mineral content changes extraction. The minerals bind to coffee compounds and can make the cup taste flat or chalky. If your tap water is hard, use filtered water. It makes a noticeable difference in clarity.
Temperature matters too. Always start with hot water from a kettle. Cold water takes longer to heat, which means the coffee sits in hot water longer before extraction begins. That leads to over-extraction and bitterness. Hot water also protects the metal from thermal shock.
If your coffee tastes sour, the water might be too cool. If it tastes bitter, the water is too hot or the brew went too long. Aim for a gentle simmer, not a rolling boil.
Troubleshooting: Sour, Bitter, or Weak Coffee
Diagnose the problem by taste first. Here is a simple decision tree.
Sour and sharp: This means under-extraction. The water did not pull enough flavor out of the grounds. Fix it by grinding finer, using slightly hotter water, or making sure the basket is completely full. A common mistake is underfilling the basket by a few grams, which lets water rush through too fast.
Bitter and harsh: This means over-extraction. The water pulled out too many bitter compounds. Fix it by grinding coarser, using cooler water, or stopping the brew as soon as the stream turns blonde. Also check that you are not tamping the coffee down.
Weak and watery: This usually means the basket was not full, or the coffee was ground too coarse. The water just passed through without resistance. Refill the basket to the rim and tighten the grind.
Burnt taste: The coffee likely sat on the burner too long, or you used boiling water. Always remove the pot from heat when the flow slows. Run the base under cold water to stop the process instantly.
If you are dealing with scale buildup from hard water, that can also ruin the flavor. A clean pot is non-negotiable. Check our guide on descale coffee machine for the proper routine.
Frequently Asked Questions
How many tablespoons of coffee for a 6-cup moka pot?
Use 6 level tablespoons for a 6-cup pot. That equals about 30 grams. Fill the basket to the rim and level it off. Do not tamp.
Is moka pot coffee stronger than drip coffee?
Yes, by concentration. Moka pot coffee has a higher coffee-to-water ratio than drip. A typical drip brew uses about 1:16. A moka pot uses 1:10. The caffeine per ounce is higher, but the total caffeine in a single serving is similar because you drink less volume.
Should I use espresso beans in a moka pot?
You can, but you do not have to. Espresso beans are just dark roasted beans. The moka pot works best with a medium to medium-dark roast. A dark roast will work, but it might taste more bitter. Try a medium roast first.
Why does my moka pot coffee taste metallic?
This is usually a cleaning issue. The aluminum pot builds up old coffee oils that go rancid. Wash the pot with warm water and a soft sponge after every use. Do not use soap, as it can get trapped in the pores of the aluminum. If the taste persists, you might need to run a few empty brews to season the pot again.
Can I use pre-ground coffee from the grocery store?
Yes, but check the grind size. Most grocery store coffee is ground for drip machines, which is too coarse for a moka pot. The water will rush through and produce a weak cup. Look for a fine or espresso grind. The Bialetti Classico is ground specifically for stovetop pots, so it is a safe choice.
Final Checklist for Perfect Moka Pot Coffee
- Use hot water in the boiler, not cold.
- Fill the basket completely, level off the top, and never tamp.
- Start with 10 grams of coffee per 2-ounce cup of yield.
- Use a medium-fine grind, similar to table salt.
- Brew over medium heat with the lid open.
- Stop the brew when the stream turns blonde.
- Run the base under cold water to halt extraction.
- Clean the pot after each use and clean coffee maker regularly to avoid stale flavors.
Getting the dose right is a 30-second change that transforms your morning cup. Measure once, write it down, and stick with it. Your taste buds will thank you.
Products related to this article
Sponsored / affiliate links. As an Amazon Associate I earn from qualifying purchases. I may earn additional commission from eligible campaigns.
 Belly Moka Coffee Maker Stovetop Espresso Maker 9 Cup Aluminum Moka Pot Percolator 15oz 450ml Easy Brewing for Electric Ceramic Stoves Home Camping Italian Cuban Café Classic Black
 Belly Moka Coffee Maker Stovetop Espresso Maker 6 Cup Aluminum Moka Pot Percolator 10oz 300ml Easy Brewing for Electric Ceramic Stoves Home Camping Italian Cuban Café Classic Silver
 Supvision 3 Cup Moka Pot Aluminum 150ml Italian Coffee Maker