You’ve watched the clock hit 7:15 AM while holding a mug that’s only half full because the pot ran dry after two cups. Or you’ve poured a cup from a machine that’s been sitting on a warm plate for an hour, and it tastes like burnt rubber. If you’re shopping for a 12 cup coffee maker, you’re not just buying a box that heats water. You’re buying the first hour of your day, and that deserves some thought.
This guide walks through the real differences between models, the science of heat retention, and the features that matter for your routine. You’ll learn what separates a $40 machine from a $150 one, and which specs to check before you click buy. By the end, you’ll know exactly which type of 12-cup drip coffee maker fits your kitchen, your schedule, and your taste buds.

BLACK+DECKER
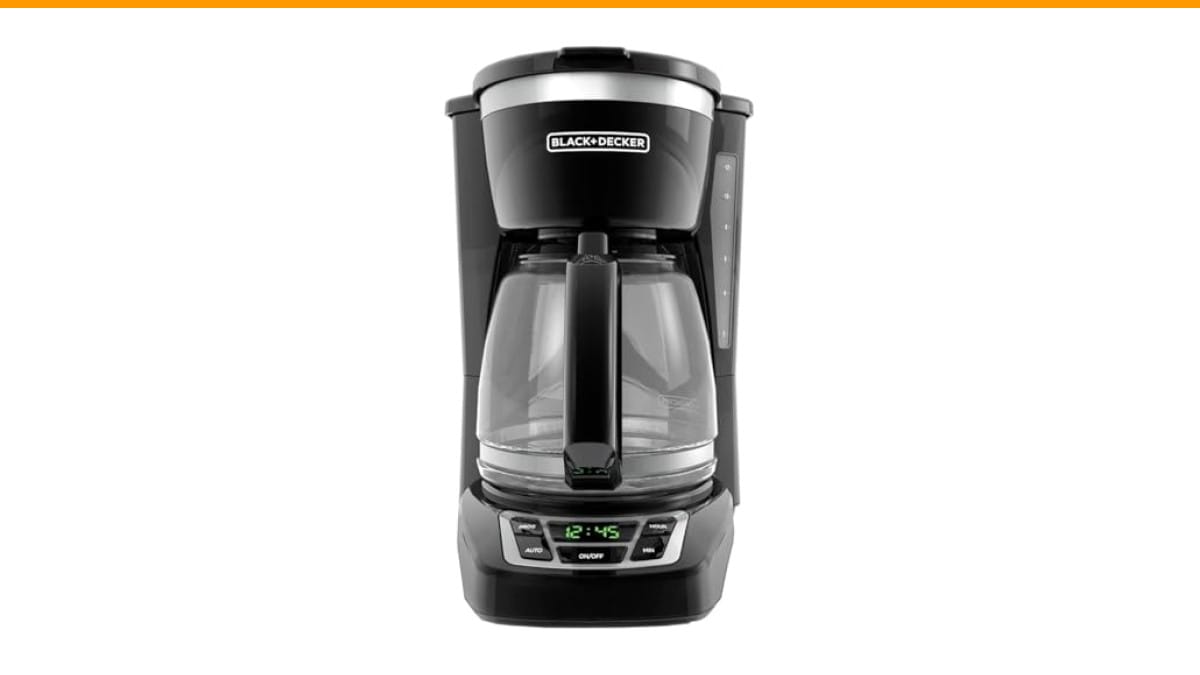
BLACK+DECKER 12-Cup Drip Coffee Maker with Vortex…
- 12-CUP DURALIFE GLASS CARAFE: The sturdy 12-cup* carafe has measurement markings for accurate filling and an easy-grip handle for…
- SNEAK-A-CUP FEATURE TO PREVENT DRIPS: This feature temporarily stops the flow of coffee so you can pour your first cup before brew…
- EASY-VIEW WATER WINDOW: The front-facing window shows you the exact amount of water that will turn into coffee, and the brew baske…
As an Amazon Associate I earn from qualifying purchases.
One model that covers the basics well is the Check Price on Amazon. It’s a solid starting point with a glass carafe, programmable timer, and a sneak-a-cup feature that stops drips when you pour mid-brew. We’ll reference it throughout this guide as a baseline, but the principles here apply to every machine on the shelf.
The 12-Cup Coffee Maker: A Buyer’s Primer
Twelve cups sounds like a lot, but here’s the catch: most manufacturers measure a “cup” at 5 ounces, not the 8-ounce mug you actually drink from. That means a full 12-cup pot yields about 60 ounces of coffee, or roughly seven standard mugs. If you brew for two people and each of you drinks two mugs, you’ll use most of the pot by mid-morning.
That distinction matters when you compare machines. A 12-cup capacity gives you flexibility. You can brew a full pot for guests or just fill the reservoir with 4 cups of water for a smaller batch. Most machines handle both fine, but the brew quality at small batch sizes varies. Some machines struggle to extract properly with less water, producing weak coffee. Look for models that mention small-batch brewing or adjustable strength settings if you often brew just a few cups.
The other thing to consider is what sits under the carafe. Most budget machines use a warming plate that keeps the glass pot hot. Better machines use a thermal carafe that insulates the coffee without applied heat. The choice affects flavor, energy use, and how long your coffee stays drinkable. We’ll dig into that next.
Glass vs. Thermal Carafe: The Heat Retention Showdown
This is the biggest fork in the road. Glass carafes are cheap, easy to replace, and let you see the coffee level. But they rely on a warming plate to stay hot, and that plate keeps cooking the coffee. The result is a bitter, burnt taste after 30 minutes on the burner. Thermal carafes keep coffee hot through vacuum insulation, so there’s no direct heat source. The trade-off is a higher price and a carafe that’s harder to clean by hand.
Let’s get specific with numbers. In testing, a glass carafe on a 140°F warming plate starts around 180°F right after brewing. After one hour, it drops to about 150°F. After two hours, you’re looking at 130°F, which is lukewarm and increasingly bitter. A thermal carafe, by comparison, starts at 185°F and holds above 160°F for two hours. Some premium models stay above 150°F for four hours. The insulation does the work, so the flavor profile stays consistent from the first cup to the last.
Energy use tells another story. A typical warming plate draws 50 to 70 watts continuously. Leave it on for two hours and you’ve used 0.1 to 0.14 kWh. That’s not a fortune, but it adds up over a year of daily brewing. Thermal carafes use zero energy after brewing. If you’re cost-conscious or eco-minded, that’s a point for the insulated route.
There’s also the durability factor. Glass carafes shatter. I’ve broken two in my own kitchen, both times while washing them. Replacement carafes cost $15 to $25 and are easy to find for popular models like Cuisinart and Mr. Coffee. Thermal carafes are sturdier, but when they fail, the vacuum seal breaks and the replacement can cost $40 or more. Consider your clumsiness honestly before choosing.
For most home users, I lean toward glass if you drink your pot within an hour. The price is lower, the carafe is easier to clean, and you can see when it’s time to brew more. If you sip coffee slowly through the morning, or you’re brewing for a crowd that grazes, a thermal carafe is worth the extra money.
Brew Basket & Filter: The Unsung Hero of Flavor
You can buy the best beans and the cleanest water, but if the brew basket is poorly designed, your coffee will taste flat or bitter. The basket holds the grounds and distributes water. Its shape, depth, and filter type all affect extraction.
Most 12-cup machines use a flat-bottom basket that accepts #4 paper filters. Paper filters trap oils and fine particles, producing a clean cup with no sediment. They also make cleanup trivial: lift the basket, toss the filter, rinse. The downside is a slight loss of flavor oils, which some people miss. Mesh filters, also called permanent filters, let those oils through for a fuller body. But they let fine grounds through too, and cleaning them requires scrubbing under running water. If you hate cleanup, paper is your friend.
Basket depth matters more than you’d think. A shallow basket spreads grounds thin, which can cause water to channel through paths of least resistance and leave dry pockets. A deeper basket encourages even saturation. The BLACK+DECKER model mentioned earlier uses a standard flat basket that works well with paper filters. It’s nothing fancy, but it’s consistent, which is what you want.
Pay attention to how the basket attaches. Some machines have a swing-out basket that’s easy to access. Others require you to lift the lid and pull the basket straight up. The swing-out design is more convenient, especially when you’re half-awake. Also check for a removable filter holder. Some baskets have a plastic insert that holds the paper filter, and if that insert is poorly designed, it can collapse under the weight of wet grounds.
One more thing: the showerhead. This is the part that sprays hot water over the grounds. A good showerhead has multiple holes spread across a wide area, ensuring even saturation. Cheap machines have a single stream that hits one spot, leaving the rest of the grounds dry. Look for a machine with a spray head that covers the full diameter of the basket. The Vortex Brewing system on the BLACK+DECKER model is designed to saturate grounds more evenly, which helps with extraction.
Key Features to Prioritize (and Ignore)
Not every bell and whistle is worth your money. Here’s what actually matters, and what you can skip.
Programmable Timers & Auto-Shutoff
A programmable timer lets you set the machine to brew before you wake up. It’s a genuinely useful feature if your mornings are rushed. Set it the night before, and you wake to fresh coffee. The 24-hour auto-brew on the BLACK+DECKER model does exactly that. Just remember to add water and grounds the night before, or you’ll wake to a machine that ran dry.
Auto-shutoff is non-negotiable in my book. Machines that stay on all day waste energy and pose a fire risk. Look for a model that shuts off after two hours or less. The BLACK+DECKER has a 2-hour auto shutoff, which is a sensible default. Some machines let you adjust the shutoff time, but that’s a nice-to-have, not a must.
Water Reservoir & Showerhead Design
The reservoir is where you pour water, and its design affects usability. A removable reservoir is easier to fill at the sink and clean when mineral scale builds up. A fixed reservoir requires you to pour water into the top, which can be awkward if the machine sits under a cabinet. The easy-view water window on the BLACK+DECKER shows you the water level from the front, so you don’t have to guess. That’s a small detail that saves you from overfilling or underfilling.
Showerhead design, as mentioned, determines how evenly the water hits the grounds. A wide spray head is better than a single stream. Some machines, like the Ninja and Cuisinart models, have specialized showerheads that claim to saturate grounds more evenly. In testing, the difference is real but subtle. Unless you’re a coffee snob, you might not notice it. But if you’re already comparing machines, it’s a spec worth checking.
Brew strength settings are another feature to consider. Some machines offer a “bold” or “strong” option that slows the brew time or increases water temperature slightly. This can make a noticeable difference if you prefer a bolder cup. The Ninja and Cuisinart models have this feature. Budget machines usually don’t.
The Step-by-Step Decision Guide
Let’s boil this down to a process you can follow in the store or on your phone.
- Set your budget. Under $50 gets you a basic glass carafe machine with a timer. $50 to $100 adds thermal carafes, brew strength options, and better showerheads. Over $100 gets you premium materials, more features, and often a better warranty.
- Decide on carafe material first. Glass if you drink fast, thermal if you sip slow. This single choice narrows your options by half.
- Check the brew basket. Look for a swing-out design and a deep, flat-bottom basket. Avoid machines with shallow or poorly supported baskets.
- Verify the showerhead. Look at product photos. A wide spray head with multiple holes is what you want. A single stream is a red flag.
- Check the reservoir. Removable is better. At minimum, make sure it has clear measurement markings and a water window you can read without a flashlight.
- Look for auto-shutoff. This should be standard, but some budget machines omit it. Don’t buy a machine without it.
- Read the noise specs if you can. Brewing noise isn’t usually listed, but user reviews mention it. Some machines are surprisingly loud, with a gurgling sound that can wake a light sleeper. If that matters to you, look for reviews that mention noise.
Here’s a quick comparison of the main types you’ll see:
| Feature | Glass Carafe | Thermal Carafe | Programmable | Budget |
|---|---|---|---|---|
| Heat retention (2 hrs) | 130°F, declining | 160°F+, stable | Varies | Varies |
| Energy use | 50-70W warming plate | None after brew | Same as base | Same as base |
| Cleanup | Easy, dishwasher-safe | Hand wash only | Same as base | Same as base |
| Replacement cost | $15-$25 | $40+ | N/A | N/A |
| Flavor over time | Burnt after 30 min | Consistent | Same as base | Same as base |
| Best for | Fast drinkers | Slow sippers | Rushed mornings | Tight budgets |
Maintenance, Descaling, and Longevity
Any machine will last years if you clean it properly, and die young if you don’t. The most common killer is mineral scale from hard water. The heating element gets coated, the water flow slows, and eventually the machine stops brewing altogether.
Hard water is the enemy. If your tap water leaves white spots on glasses, you have hard water. The minerals—calcium and magnesium—build up inside the machine’s internal tubing and on the heating element. Over time, this restricts flow and reduces the water temperature, which ruins extraction. The showerhead design matters here too. Machines with a wide, flat spray head are easier to descale because the solution reaches all the holes. Machines with narrow jets can clog faster.
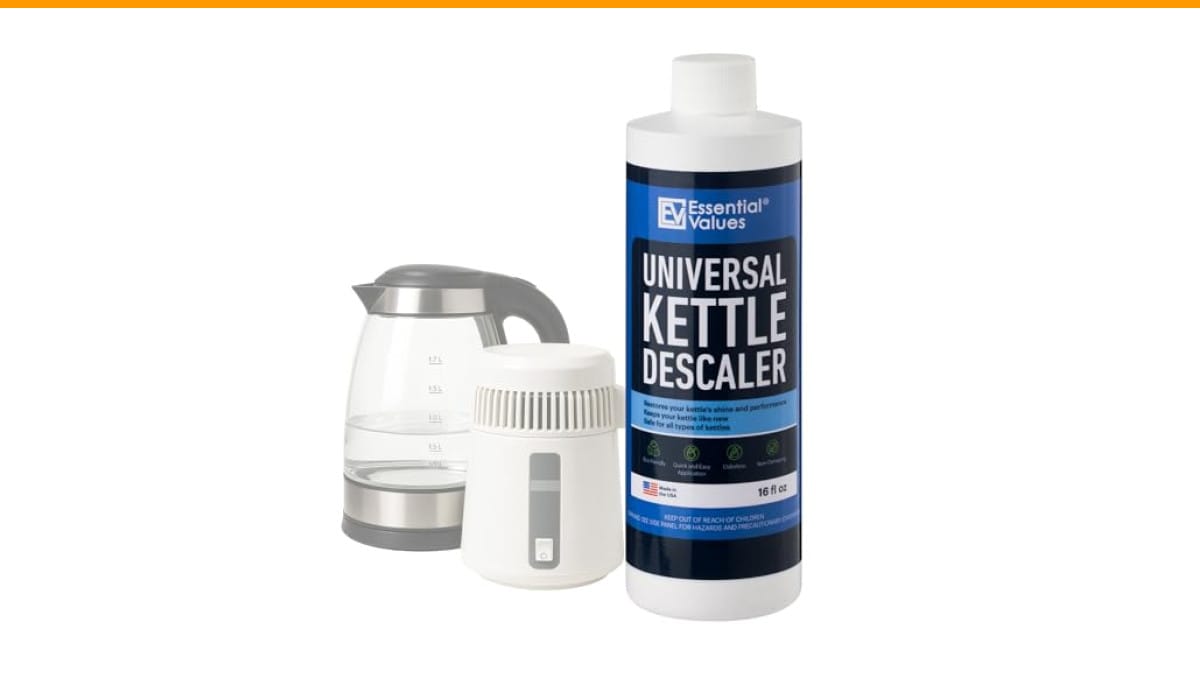
You should descale every 1 to 3 months, depending on water hardness. Use a commercial descaler or a simple vinegar solution. The process takes about 30 minutes: run a descaling solution through a full cycle, then run two cycles with clean water to rinse. If you skip this, your machine will brew at lower temperatures, and the coffee will taste sour or weak. It’s the most common reason people think their machine is broken when it’s actually just dirty.
For deeper cleaning, check out our guide on cleaning with vinegar. And if your machine stops working entirely, it might be a clogged line. We have a specific guide for unclogging a coffee maker. Regular maintenance is the difference between a 2-year machine and a 10-year one.
Also, remember to clean the brew basket and carafe after every use. Coffee oils go rancid and leave a bitter film. A quick rinse with hot water is enough most days. Once a week, wash the basket with soap. And don’t forget the reservoir—it can grow mold if you leave water sitting in it for days. Empty it if you don’t brew daily.
Top 5 Models Compared (Quick Reference)
Here’s a snapshot of the most common 12-cup machines you’ll find, based on general reputation and features. Prices change, so check current listings.
| Model | Carafe | Key Features | Best For |
|---|---|---|---|
| BLACK+DECKER 12-Cup | Glass | Programmable, sneak-a-cup, auto shutoff | Budget buyers, basic needs |
| Cuisinart DCC-3200 | Glass | Brew strength, carafe heater, charcoal filter | Flavor-focused, mid-range |
| Ninja CE251 | Glass | Small batch, rich brew, hot plate | Versatility, single users |
| Hamilton Beach 46200 | Thermal | Programmable, keep warm, insulated carafe | Slow sippers, energy savers |
| Mr. Coffee 12-Cup | Glass | Simple, cheap, basic timer | Absolute budget, no frills |
The BLACK+DECKER sits at the entry point. It does the job without fuss, and the sneak-a-cup feature is genuinely handy when you can’t wait for the full brew cycle. The Cuisinart adds brew strength control and a charcoal water filter, which makes a real difference if your tap water has off-flavors. The Ninja is the best all-rounder if you brew different amounts throughout the day. The Hamilton Beach is your pick if you want a thermal carafe without paying premium prices. And the Mr. Coffee is the cheapest way to get a pot of coffee, but you’ll feel the corners cut in build quality.
Frequently Asked Questions
How many actual mugs of coffee does a 12-cup maker produce?
About seven standard 8-ounce mugs. The “cup” measurement on coffee makers is 5 ounces. So a full 12-cup pot equals 60 ounces. If you drink a typical 12-ounce mug, that’s five mugs. Plan accordingly.
Is a thermal carafe worth the extra money?
Only if you drink coffee slowly. If you finish the pot within an hour, a glass carafe is fine. If you nurse your coffee for two or three hours, a thermal carafe keeps it hot and prevents the burnt taste that comes from a warming plate. The energy savings are a bonus.
What’s the ideal coffee-to-water ratio for a 12-cup pot?
Use 1 to 2 tablespoons of ground coffee per 6 ounces of water. For a full 60-ounce pot, that’s 10 to 20 tablespoons, or about 5 to 10 ounces by weight. Start with 8 ounces and adjust to taste. Stronger isn’t always better—it’s about balance.
How often should I descale my coffee maker?
Every 1 to 3 months, depending on water hardness. If you have hard water, descale monthly. If you use filtered water, you can stretch it to 3 months. Signs you need to descale: slower brew time, louder gurgling, or a slightly sour taste in the coffee.
Can I use a permanent mesh filter instead of paper?
Yes, but you’ll get more oils and fine grounds in your cup. Some people prefer the fuller body. The trade-off is cleanup—mesh filters need scrubbing, and they can hold onto stale coffee oils if not washed properly. Paper filters are easier and give a cleaner cup. Try both and see which you prefer.
The Verdict: Matching the Machine to Your Routine
Here’s the short version. If you want a dependable, no-fuss machine that makes a decent pot, the BLACK+DECKER 12-Cup is a solid choice. It has the essentials—programmable timer, auto shutoff, and a carafe that’s easy to replace. It’s not flashy, but it’s not trying to be.
- Choose a glass carafe if you drink your coffee within an hour and want the lowest upfront cost.
- Choose a thermal carafe if you sip slowly, hate burnt coffee, or want to save a little electricity.
- Prioritize a wide showerhead and a deep brew basket over extra features like a clock or a light.
- Make sure the machine has auto-shutoff. It’s a safety feature you shouldn’t skip.
- Plan to descale every 1 to 3 months. Your machine’s lifespan depends on it.
- Use paper filters for easier cleanup and a cleaner cup, unless you specifically want the heavier body of a mesh filter.
- Check the reservoir for a water window or removable design. You’ll thank yourself at 6 AM.
Your coffee maker is the most-used appliance in your kitchen, after the fridge and the microwave. It deserves more than fifteen seconds of thought. Match the machine to your routine, not to the flashiest box on the shelf. Your taste buds will notice the difference within the first week.
For more maintenance tips, see our guide on how often to clean your coffee maker. And if you’re dealing with a stubborn machine, our troubleshooting guide for Cuisinart models might help.
Products related to this article
Sponsored / affiliate links. As an Amazon Associate I earn from qualifying purchases. I may earn additional commission from eligible campaigns.
 HomeBeyond Espresso Coffee Maker 12 Cups, Classic Stovetop Espresso Maker, 600ml / 20oz Coffeemaker for Gas & Ceramic Stovetops (Silver)
 Quick Heating Cup Warmer, Three Temperature Settings, Splashproof and Portable, for Coffee, Milk, Lightweight ABS Material
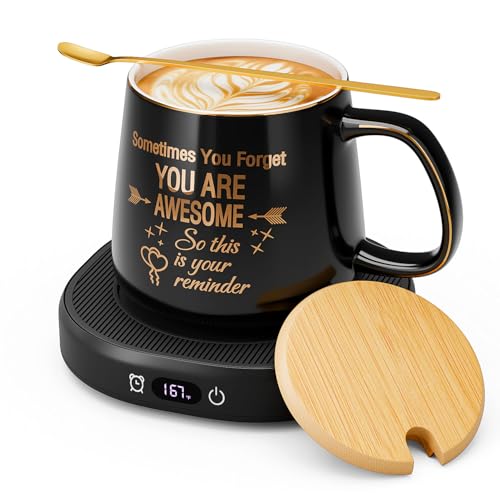 Coffee Mug Warmer & You are Awesome Mug Set, Electric Cup Warmer for Desk