You buy good beans, grind them right, and then shove the bag in a cabinet where it gets crushed behind a bag of flour. A few days later, the coffee tastes flat. The problem isn’t your brewing skill. It’s how you store the beans.
Getting a coffee canister organized is more than just buying a jar. It’s about airflow, light exposure, and knowing where everything lives so you don’t fumble at 6 AM. This guide covers the actual steps: choosing the right container, setting up a station, labeling, and avoiding the mistakes that ruin freshness.

Yangbaga
Yangbaga Coffee Canister with Spoon, 2pc 45oz…
- NEW UPGRADE: The new canisters use a fully enclosed Leakproof Lids. Compared with the old flat lids, it effectively solves the pro…
- HIGH QUALITY MATERIALS:This set of canisters are made of high-quality borosilicate glass, clean and non-toxic for food storage. Th…
- DOG FOOD STORAGE CONTAINER:2 x 45oz glass containers can hold most general food like coffee beans, dog food,various nuts, pasta, f…
As an Amazon Associate I earn from qualifying purchases.
You’ll walk away with a system that takes less than a minute to use and keeps your coffee tasting like it did at the roastery.
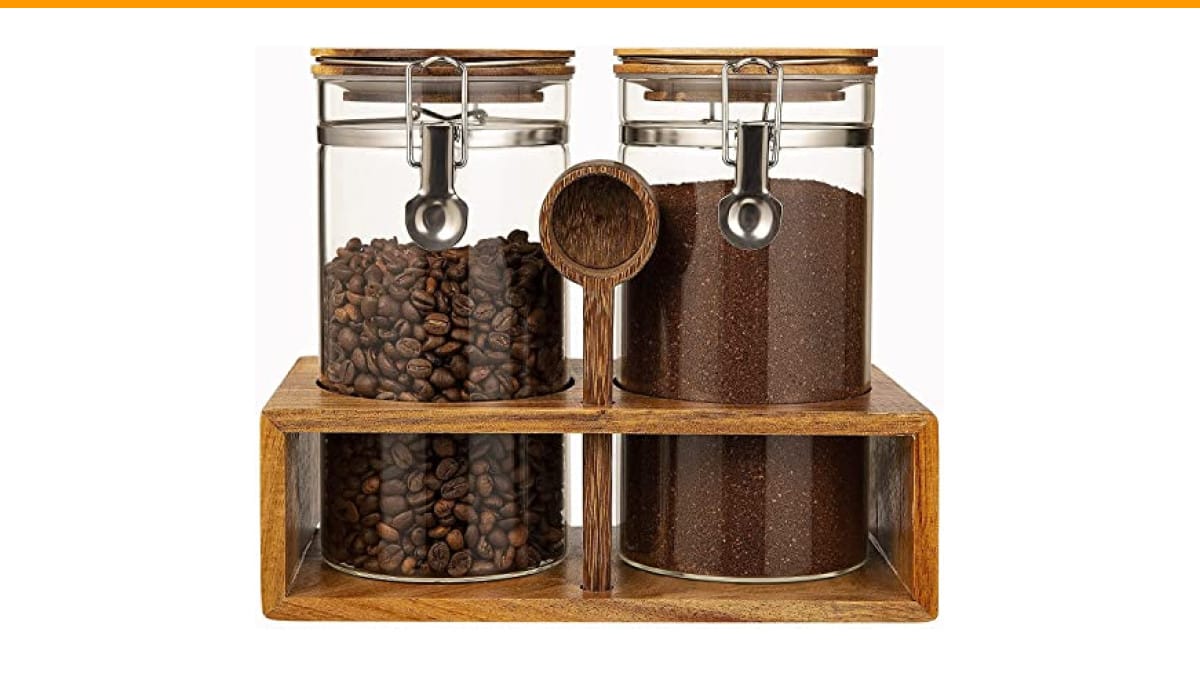
If you’re starting from scratch, a solid option is the Yangbaga Coffee Canister with Shelf. It pairs two 45oz glass jars with a wooden spoon holder, which solves the two biggest problems at once: where the beans go and where the scoop rests. The fully enclosed lid with a lock catch seals better than the old flat-style lids, so you’re not relying on a flimsy press-fit seal.
The 3 Rules of Coffee Storage Most People Get Wrong
Before you arrange anything, you need to know what actually keeps coffee fresh. Most folks obsess over the wrong variables.
Mistake #1: The freezer is your friend. It’s not. Freezing beans causes condensation when you open the bag, which introduces moisture. Moisture is the enemy of ground coffee. Store beans at room temperature in a cool, dark place. Your pantry shelf works fine. The fridge is worse than the counter.
Mistake #2: Clear jars are bad. Light degrades coffee oils quickly. That beautiful glass jar on the counter is slowly killing the flavor if it sits in direct sunlight. You have two choices: buy amber or dark glass, or keep clear glass in a cabinet. The Yangbaga jars are high-transparency borosilicate glass, which looks great, but you should still keep them out of direct sun.
Mistake #3: The bag’s one-way valve is enough. The valve lets gas out but doesn’t keep oxygen from seeping in over time. Once you open a bag, the clock starts. Transferring beans to an airtight canister immediately after opening is the right move. Don’t wait until the bag is half empty.
Setting Up Your Coffee Station: Step by Step
Now let’s build the actual system. This takes ten minutes, and you only do it once.
- Pick a home. Choose a spot away from the stove, sink, or window. Heat and humidity from cooking will ruin beans fast. A corner of the counter or an upper cabinet shelf works best.
- Decide what goes in the canister. Whole beans last longer than pre-ground. If you buy pre-ground, only store a week’s worth at a time. Keep the rest in the original bag, sealed tight, in a dark cabinet.
- Assign a scoop. If your canister doesn’t come with a dedicated scoop, use a dry measuring spoon. Never use a wet spoon. Moisture clumps the grounds and introduces bacteria.
- Place the canister at the front. Don’t bury it behind the sugar bowl. The easier it is to grab, the more likely you’ll use it correctly.
- Add a date label. Write the roast date or the date you opened the bag on a piece of masking tape. Stick it on the bottom of the jar. You’ll thank yourself in three weeks when you can’t remember how old those beans are.
That’s the core setup. If you’re using the Yangbaga set, the wood shelf mounts on the wall or sits on the counter, giving the scoop a dedicated landing spot. That small detail prevents the mess of a wet spoon sitting on the counter.
Canister Comparison: What Actually Works Best
Not all canisters are equal. Here’s how the common types stack up side by side.
| Type | Best For | Freshness Rating | Trade-Off |
|---|---|---|---|
| Glass with rubber gasket | Daily use, visible inventory | Good if kept out of light | Fragile, heavy, but easy to clean |
| Ceramic with lid | Counter display, small quantities | Fair, seal varies by brand | Opaque, but can chip |
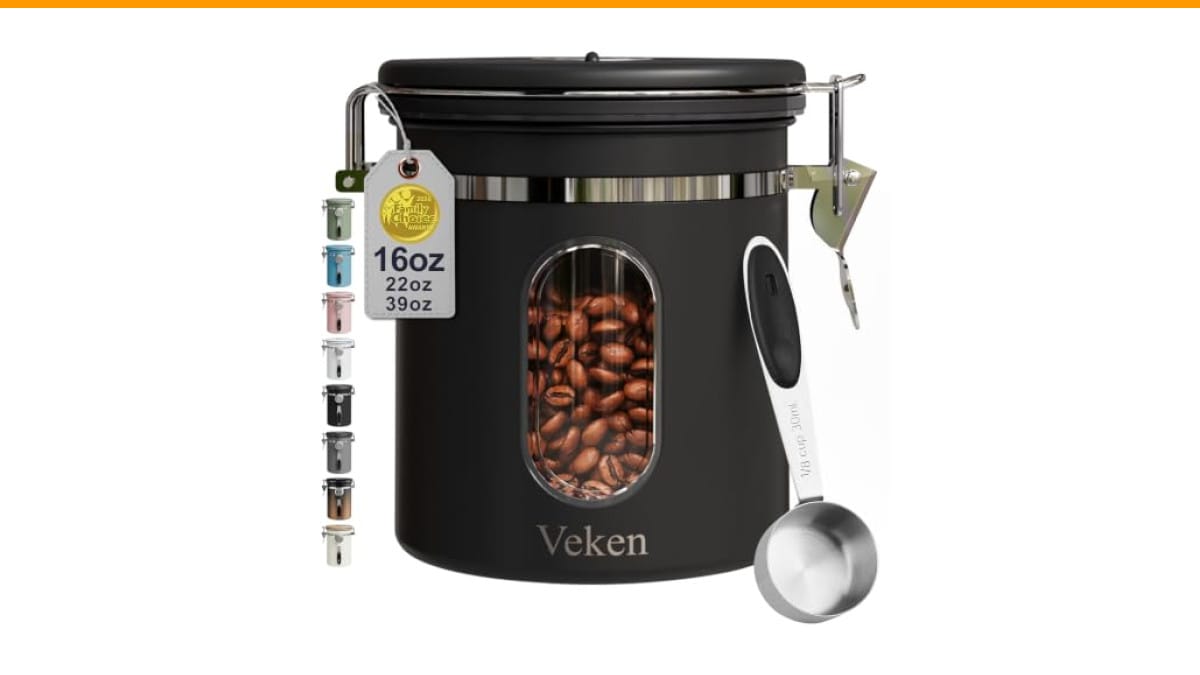
| Stainless steel vacuum | Long-term storage, travel | Excellent, blocks all light | Can’t see inside, pricier |
| Plastic with clip lid | Budget, pantry storage | Poor, plastic absorbs odors | Cheap, but not worth it for coffee |
My advice: glass with a strong seal beats everything for daily use. You can see how much is left, and it cleans up in the dishwasher. The Yangbaga jars are dishwasher safe, which is a practical plus. Just remember the light issue.
Labeling and Rotation: The System That Prevents Waste
Most people don’t label their coffee. They just open the jar and hope. That works until you buy two bags of different roasts and forget which is which.
Here’s a simple rotation rule: First in, first out. When you buy new beans, put them behind the old jar. Finish the old batch before opening the new one. If you have multiple canisters, label each with the roast name and the date. Use a chalk marker or a label maker. Masking tape works too.
One more thing: if you buy in bulk, don’t fill the canister to the brim. Air space inside the jar accelerates staling. Fill it to about 80% capacity. Store the rest in the original bag with the air squeezed out, sealed in a dark cabinet.
Cleaning Your Canister: Don’t Skip This
Coffee oils build up on the inside of the jar. That residue goes rancid and taints the next batch. You should wash the canister every time you refill it, or at least once a month.
Use hot soapy water and a bottle brush. Dry it completely before adding new beans. Any moisture left inside will ruin the coffee. The Yangbaga jars are dishwasher safe, so you can skip the hand-washing. The lid and the silicone gasket need a quick wipe down too. Don’t soak the wood spoon or the shelf; wood warps. Wipe those with a damp cloth.
If you’re deep cleaning your whole coffee setup, check out this guide on cleaning coffee maker properly to keep the rest of your gear in shape.
Common Questions About Coffee Canister Organization
Should I store coffee beans in the canister or keep them in the bag?
Move them to the canister right after opening. The bag’s one-way valve is for transport, not long-term storage. Once opened, the bag lets oxygen in every time you close it. A sealed canister with a gasket stops that.
How much coffee should I put in a canister at once?
Only store what you’ll use in one to two weeks. For most home users, that’s 8 to 12 ounces. Filling a 45oz jar with a month’s worth of beans means the last cup is stale. Store the excess in the original bag, sealed tight, in a dark place.
Does the canister material matter for flavor?
Yes. Plastic absorbs odors and can transfer a chemical taste. Metal can impart a metallic note if the lining is poor. Glass and ceramic are neutral. They don’t react with the coffee oils. That’s why glass is the standard for specialty coffee shops.
Can I put the canister on top of the coffee machine?
No. The heat and steam from the machine will accelerate staling. The top of an espresso machine gets warm, and that warmth cooks the beans. Keep the canister at least three feet away from any heat source.
How do I know if my canister is actually airtight?
Fill it with water, close the lid, and turn it upside down. If water leaks, it’s not airtight. For a dry test, close the lid and press down on the top. If you hear air hissing out, the seal is weak. Look for a silicone gasket and a locking mechanism.
What to Do Next: Build the Habit
You don’t need a fancy setup to get this right. You need a consistent routine.
- Transfer beans to an airtight canister immediately after opening the bag.
- Keep the canister out of direct sunlight and away from heat sources.
- Label every jar with the roast name and the open date.
- Fill the jar to 80% capacity, not to the brim.
- Wash the canister with hot soapy water every time you refill it.
- Use a dry scoop every single time.
- Check the seal on your lid monthly; replace the gasket if it cracks.
Your morning coffee will taste better, and your counter will look less chaotic. That’s the whole point. For the grinder side of things, make sure you’re using the right tool for the job — read up on burr grinder versus blade to see if your grinder is holding you back. And if your machine is due for a deep clean, this deep cleaning guide covers the full process.
Products related to this article
Sponsored / affiliate links. As an Amazon Associate I earn from qualifying purchases. I may earn additional commission from eligible campaigns.
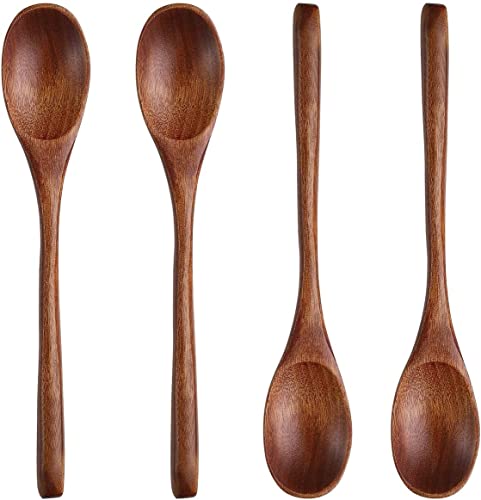 Long Handle Wooden Spoon For Mixing Coffee Tea Jam and Bath Salt In Kitchen, Environmentally Friendly Table Spoon, 8.6 Inches,4 Pieces…
 4 Piece Wooden Spatula Set for Home Cooking, Yellow
 Acacia Wooden Spoon Rest Set for Stove Top - Counter Spoon Holder for Countertop, Smooth Round Wood Spoon Holder, Rustic and Modern for Farmhouse as Dining Table Decoration, Brown & Labeled "SPOON"