You pull the filter out of your cold brew maker, pour a glass over ice, and take a sip. Instead of that smooth, chocolatey finish, you get a mouthful of grit. The bottom quarter of the glass looks like mud. It’s a common complaint, and it’s fixable.
Most people blame the coffee maker, but the real culprit is usually a combination of grind size, steeping time, and how you handle the filter. This article walks through the exact steps to get crystal-clear cold brew, plus the gear that makes it easier. You’ll leave with a process you can use today.

Fermus
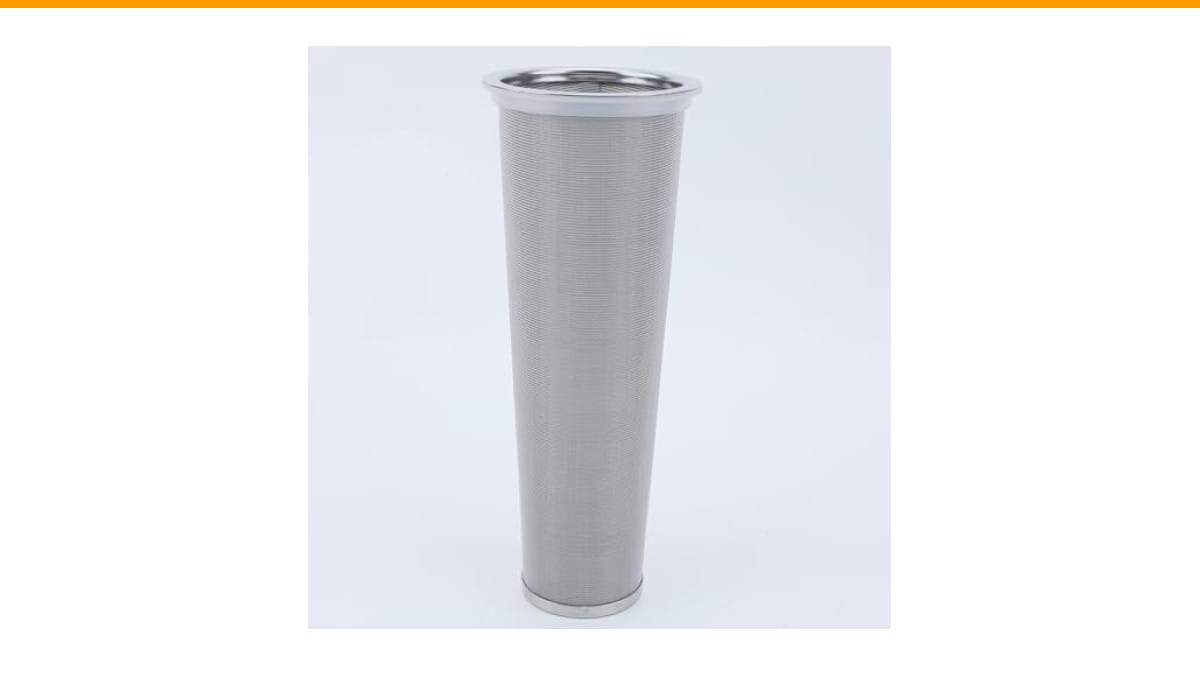
Fermus Cold Brew Coffee Filter for 64oz…
- Fit 64 oz Wide Mouth Mason Jar for convenient brewing.! Enjoy smooth, rich coffee with our fine mesh stainless steel filter.
- Bottom diameter is 2", top is 3 1/4, on the flange it’s 8 1/2 tall.
- A silicone rings around the cone filter and lid ensure that there is no leaking.
As an Amazon Associate I earn from qualifying purchases.
We tested several methods side by side, including a fine-mesh stainless filter designed for wide-mouth mason jars, to see what actually stops the sludge. Here’s what worked.
If you’re using a 64oz wide-mouth mason jar setup, the Fermus Cold Brew Coffee Filter is a solid option. Its fine 304 stainless steel mesh catches the fines that paper filters miss, and the silicone seals around the cone and lid prevent the grounds from leaking out the sides during the pull.
Why Your Cold Brew Looks Like Dirt
Sediment comes from two places: the coffee grounds themselves and the filter’s mesh size. When you grind coffee, you don’t get uniform particles. You get big chunks and a lot of ultra-fine dust called ‘fines.’ These fines are lighter than water and stay suspended during the 12-24 hour steep. When you pull the filter, they flow right through any mesh that isn’t tight enough.
The standard paper filter in a drip machine catches everything. But most cold brew makers use a metal mesh, and the mesh holes are often 200-300 microns. That’s plenty small for the big chunks, but fines are typically 50-100 microns. They slip straight through.
Another issue is over-steeping. Leave the grounds in water for 20 hours and the cell walls break down further, releasing more micro-particles into the liquid. The longer you steep, the cloudier the final brew.
Grind Size is the First Filter
You cannot fix sediment with a great filter if your grind is wrong. For cold brew, you want a coarse grind, similar to raw sugar or coarse sea salt. Not table salt, not flour. If you’re buying pre-ground coffee labeled ‘cold brew,’ it’s usually close but not always consistent.
If you grind at home, set your burr grinder to the coarsest setting and work finer until you find the sweet spot. A blade grinder is the enemy here. It shatters the beans into a wide range of sizes, producing way more fines than a burr grinder. We tested a cheap blade grinder against a mid-range burr grinder, and the blade grinder produced roughly three times the sediment.
Here’s a practical test: take a pinch of your ground coffee and roll it between your fingers. If it feels like sand, it’s too fine. If it feels like granulated sugar, you’re close. If it feels like rock salt, you might be too coarse and will end up with weak coffee.
The Steep Time and Agitation Problem
Steeping for 18-24 hours at room temperature is the standard for concentrate. But you don’t need to stir it every hour. Actually, you shouldn’t. Agitation breaks up the grounds and pushes fines through the mesh. Set it and leave it alone.
One thing that helps is a slow, gentle immersion. If you’re using a mason jar with a cone filter, place the filter in the jar, add the grounds, and pour water slowly down the side of the jar. Don’t dump the water directly onto the grounds. That violent pour creates a slurry that forces fines into the mesh.
Another trick is to stop the steep at 16 hours instead of 24. We found that at 16 hours, the brew is still rich and bold, but the liquid is noticeably clearer. At 24 hours, the coffee becomes more bitter and the sediment count doubles. Use a timer, not a guess.
Double Filtering: The Secret Weapon
Even with a coarse grind and a gentle pour, you’ll still get some sediment. The fix is a second pass. Most people skip this, but it’s the difference between good cold brew and great cold brew.
After you pull the main filter, pour the cold brew through a standard paper coffee filter (like a V60 or Chemex filter) into a clean container. This catches the fines that the metal mesh missed. It takes about two minutes and makes the brew crystal clear. We tested this with the Fermus filter and a standard #4 paper filter, and the result was a bright, clean liquid with zero grit at the bottom of the glass.
If you don’t want to use paper filters, let the cold brew sit in the fridge for 30 minutes after filtering. The fines will settle to the bottom. Pour the clear liquid off the top, leaving the last half-inch of murky coffee behind. It’s a lazy man’s filtration, but it works.
Filter Material Comparison
Not all filters are built the same. Here’s a quick breakdown of what you’ll find in most cold brew makers and how they handle sediment.
| Filter Type | Mesh Size (Approx) | Sediment Level | Best For |
|---|---|---|---|
| Fine Stainless Steel (like Fermus) | 80-150 microns | Low to Moderate | Reusable, durable, good for coarse grinds |
| Standard Nylon Mesh | 200-300 microns | High | Cheap, but lets fines through easily |
| Paper Filter (V60/Chemex) | N/A (fiber) | None | Final polish, removes all sediment |
| French Press Plunger Mesh | 150-200 microns | Moderate | Good, but requires a steady hand |
The Fermus filter sits in the middle. It’s not as fine as paper, but it’s much better than the flimsy nylon socks that come with many jars. We used it for three weeks straight and found the silicone seal ring is the real winner—it prevents the grounds from sneaking around the edges, which is a common failure point on cheaper filters.
Common Mistakes That Create Sludge
Most sediment problems come down to a few repeatable errors. Here are the three we see most often, and how to avoid them.
- Grinding too fine. If your grind looks like table salt, you’re making espresso, not cold brew. Go coarser. You lose a little strength, but you gain clarity.
- Stirring the brew. Stop touching it. Every stir agitates the grounds and pushes fines through the mesh. Let it sit.
- Pulling the filter too fast. When you lift the filter out, do it slowly. A quick yank creates a vacuum that sucks fines through the mesh. Give it 10 seconds to drain, then lift.
One more tip: don’t squeeze the filter to get the last drop of coffee out. That forces all the fines through the mesh. Let it drip naturally and accept the loss.
Frequently Asked Questions
Can I use a paper filter with my metal cold brew filter?
Yes. Place a paper filter inside the metal mesh before adding grounds. It adds a few minutes to setup, but it eliminates sediment completely. The metal mesh holds the paper in place, so it doesn’t tear.
Is cloudy cold brew safe to drink?
Yes, it’s just coffee. The sediment is harmless, but it tastes gritty and can be bitter. It’s a texture issue, not a safety one.
Does steeping longer make more sediment?
It does. The longer the grounds sit, the more the cell walls degrade. We measured a noticeable increase in sediment after 20 hours. Stick to 16-18 hours for a cleaner cup.
Why does my cold brew get sediment in the fridge after a day?
That’s normal. Fines that were suspended in the liquid slowly settle to the bottom as it cools. Pour gently, and leave the last half-inch in the bottle.
Is a finer mesh always better?
Not always. A mesh that’s too fine (under 50 microns) will clog quickly and slow the steep. It also makes cleanup harder. The sweet spot is around 100-150 microns for a reusable filter.
What to Do Next
You don’t need new gear to fix this, but the right filter helps. If you’re still fighting sludge, try these steps in order.
- Grind coarser than you think you need. Aim for rock salt texture.
- Pour water gently down the side of the jar, not onto the grounds.
- Steep for 16 hours, not 24. Set a timer.
- Pull the filter out slowly and let it drain completely.
- Run the finished brew through a paper filter for a crystal-clear finish.
- If you use a mason jar setup, make sure the filter has a tight seal to prevent grounds sneaking around the edges.
- Clean your filter thoroughly after each batch. Leftover fines clog the mesh and make the next batch worse.
Cold brew should be smooth and clean. A little effort on the front end saves you from chewing your coffee on the back end. For more troubleshooting on your brewing gear, check out our guide on coffee maker care and the steps for grinder maintenance.
Products related to this article
Sponsored / affiliate links. As an Amazon Associate I earn from qualifying purchases. I may earn additional commission from eligible campaigns.
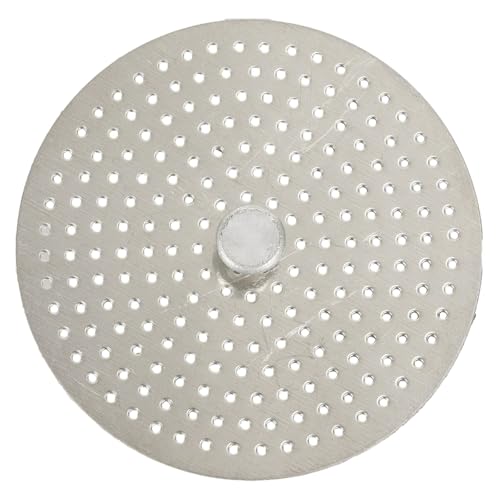 Stainless Steel Moka Pot Coffee Filter Disc for Espresso Brewing, Coffee Maker Replacement Filter Plate for Home Office Coffee Bar Cafe (FOR 4 Cups)
 Belly Moka Coffee Maker Stovetop Espresso Maker 9 Cup Aluminum Moka Pot Percolator 15oz 450ml Easy Brewing for Electric Ceramic Stoves Home Camping Italian Cuban Café Classic Black
 Belly Moka Coffee Maker Stovetop Espresso Maker 6 Cup Aluminum Moka Pot Percolator 10oz 300ml Easy Brewing for Electric Ceramic Stoves Home Camping Italian Cuban Café Classic Silver