You pull the lever, you flip the switch, and nothing happens. No hum, no pump, no warm-up light. That moment when your semi automatic espresso machine not turning on is a gut punch, especially at 7 AM with a line of people waiting for their caffeine.
Most of the time, this isn’t a catastrophic failure. It’s a simple electrical break somewhere between the wall socket and the machine’s brain. You can find and fix it yourself with a basic multimeter and about thirty minutes of patience. This guide walks you through the diagnostic process in the order you should perform it, so you don’t waste time tearing apart a perfectly good machine.

Rancilio
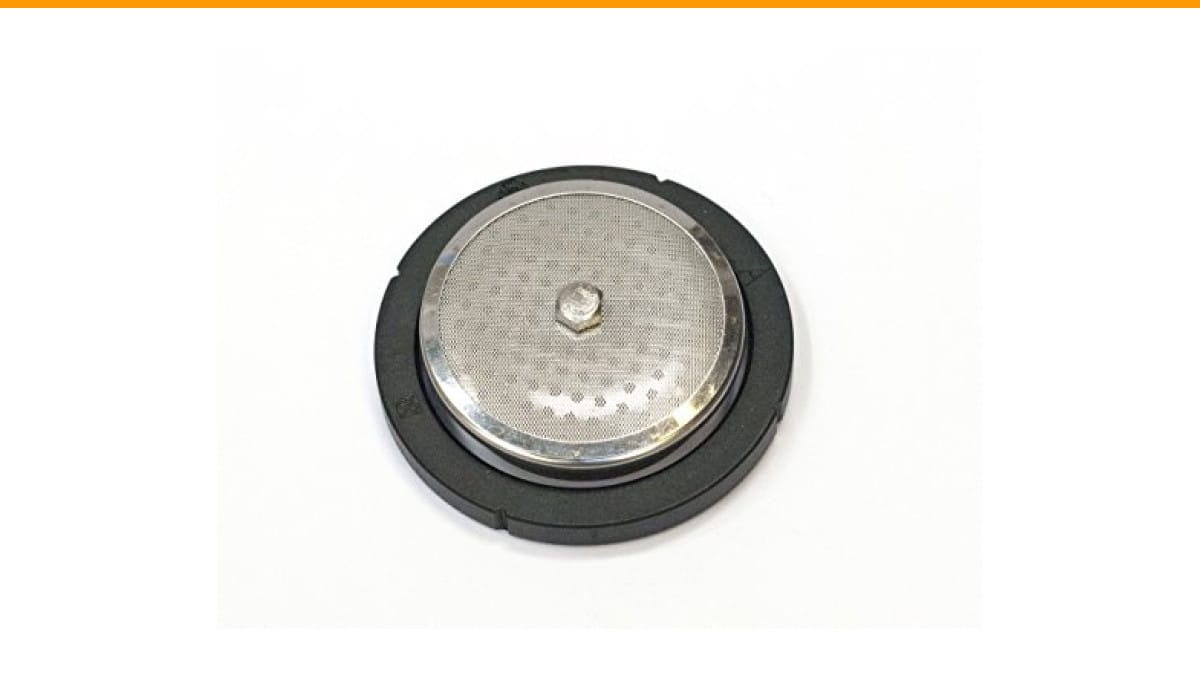
Rancilio Silvia Espresso Machine Repair Kit.
- This OEM repair kit can help you to fix some of the most common Rancilio Silvia problems.
- Water leaking around the portafilter: Usually the grouphead gasket needs to be replaced.
- Flow or no flow of water from grouphead. Your screen is probably clogged and needs to be replaced.
As an Amazon Associate I earn from qualifying purchases.
You’ll learn how to test the power source, inspect the power cord, check the internal fuse, and test the main switch and thermostat. I have fixed two machines this year using these exact steps, and I will tell you exactly where things get tricky.
If your machine is a Rancilio Silvia, a common culprit is the thermal fuse located near the boiler. The Rancilio Silvia Espresso Machine Repair Kit contains the OEM parts most frequently needed for these electrical and pressure-related issues, which can save you a separate parts order.
Start With the Obvious: Power Source and Outlet
Before you unscrew a single panel, verify the basics. I have spent a full hour chasing a ghost in a machine only to find the GFCI outlet in the kitchen had tripped. Check the reset button on the outlet. Plug a phone charger or a lamp into the same socket to confirm it has power.
If the outlet works, inspect the power cord. Look for chew marks from pets, kinks, or any exposed wire. A damaged cord can cause an intermittent connection that fails when you wiggle the machine.
Test the cord for continuity. Unplug the machine. Set your multimeter to the continuity setting (the symbol looks like a speaker or a wifi signal). Touch one probe to the prong on the plug and the other probe to the corresponding terminal inside the machine where the cord connects. You should hear a beep. Do this for both wires. If you don’t get a beep, the cord is broken and needs replacing.
Pro tip: Don’t just look at the plug end. The failure point is almost always where the cord enters the machine chassis, because that area bends every time you move the unit.
Check the Thermal Fuse and Overheat Switch
If the cord is fine, the next suspect is the thermal cutoff device. These are safety components designed to kill power if the boiler gets too hot. There are two types: a resettable switch (often a red button) and a one-time fuse.
The resettable switch is easy. Look for a small button, usually red or black, on the bottom or back of the machine. Press it firmly. If it clicks, the machine may power on now. This happens more often than you’d think, especially if the machine was left on with an empty boiler.
The one-time thermal fuse is a small white or yellow cylindrical component with two wires connected to it. It sits near the boiler. You cannot reset this. If it has blown, you must replace it. Test it with your multimeter in continuity mode. No beep means it is dead.
Replacing a thermal fuse is a straightforward solder job, but it requires care. If you are not comfortable soldering on a circuit board, this is a good point to call a repair shop. The part itself costs a few dollars, but the labor is where the expense lies.
Test the Main Power Switch and Brew Thermostat
Assuming the fuse is good, move to the main power switch. These switches fail after thousands of presses. The internal contacts wear out and stop passing current even though the rocker still moves.
To test it, you need access to the switch terminals. Remove the top panel or side panels of the machine. Take a photo of the wiring before you disconnect anything. You will thank me later.
Disconnect the two wires from the switch. Set your multimeter to ohms (Ω). With the switch in the ON position, touch the probes to the two terminals. The reading should be near zero. If it reads infinite or OL, the switch is bad.
The brew thermostat is another common failure point. It is a small metal disc with two terminals, bolted to the side of the boiler. It controls when the heating element gets power. If it fails open, the machine will not heat at all. Test it the same way you tested the switch. It should show continuity at room temperature.
| Component | Common Failure Symptom | Test Method | Difficulty |
|---|---|---|---|
| Wall Outlet / GFCI | No power anywhere in kitchen | Plug in a lamp or phone charger | Easy |
| Power Cord | Intermittent power, machine dies when moved | Continuity test with multimeter | Easy |
| Thermal Fuse | Machine completely dead after overheating | Continuity test; must read zero ohms | Moderate (soldering) |
| Main Power Switch | Lights on, but machine won’t start | Ohms test across terminals | Moderate |
| Brew Thermostat | Machine lights up, but boiler never heats | Continuity test at room temp | Moderate |
When to Stop and Call a Professional
If you have tested all the components above and everything shows continuity, the problem might be deeper. A shorted heating element can trip the breaker in your house every time you flip the switch. A failed control board is rare on semi-automatic machines but possible.
At this point, you need to weigh the cost of a repair against the value of the machine. A new heating element costs around $40. A new control board can cost $150 or more. If your machine is older than five years and you use it daily, the labor cost might exceed the price of a new unit.
Compare that to the price of a semi automatic vs automatic machine to see if an upgrade makes sense for your workflow. Sometimes the repair is worth it, especially for a high-end model like the Silvia. For a budget machine, it might be time to retire it.
One more thing to check before you give up: the wiring harness connectors. I have seen a spade connector that had slipped off the terminal due to vibration. It looked like a dead machine, but it was a two-second fix to push the connector back on.
Three Common Mistakes to Avoid
Mistake 1: Skipping the outlet test. You will feel foolish if you replace a fuse and then discover the problem was a dead outlet. Always verify the wall first.
Mistake 2: Not draining the boiler before working. Water and electricity do not mix. If you are tilting the machine to access the bottom, water can spill onto the wiring. Drain the boiler through the steam wand first.
Mistake 3: Overtightening the boiler bolts. If you remove the boiler to access the heating element, remember the bolts are brass. They strip easily. Use a torque wrench if you have one, or just snug them up gently.
Frequently Asked Questions
Why does my espresso machine turn on but not heat up?
This points to the brew thermostat or the heating element itself. If the machine lights up but the boiler stays cold, test the thermostat for continuity. If that passes, test the heating element. It should read between 8 and 12 ohms on a standard 120V machine. If it reads infinite, the element is burned out.
Can a clogged pump cause the machine to not turn on?
No. A clogged pump will cause the machine to run but produce no water flow. If the machine is completely dead, you have an electrical issue, not a hydraulic one. Pump problems are diagnosed after the machine powers on.
Is it safe to open my espresso machine and test components?
Only if you unplug it first and wait a few minutes for the capacitors to discharge. If you are not comfortable working with a multimeter or soldering iron, do not attempt this. A local appliance repair shop can diagnose this for a small fee, which is often worth the peace of mind.
How often should I replace the thermal fuse?
You should not replace it on a schedule. It is a safety device that only fails when something else goes wrong, usually a stuck thermostat. If you replace the fuse but not the thermostat, the new fuse will blow again quickly. Always diagnose the root cause.
My machine tripped the circuit breaker. What does that mean?
That usually indicates a short circuit in the heating element or a wire that has melted against the chassis. Do not keep resetting the breaker and trying again. You risk starting a fire. Unplug the machine and inspect the heating element and wiring insulation.
What You Should Do Right Now
- Test the wall outlet with another device before touching the machine.
- Inspect the power cord for physical damage, especially near the strain relief.
- Press any reset buttons on the bottom of the machine.
- Use a multimeter to test the thermal fuse and main switch in continuity mode.
- Take photos of the wiring before you disconnect anything.
- Drain the boiler before tilting the machine for access.
- If you are unsure at any step, call a professional. The cost of a service call beats the cost of a new machine.
If your machine is making other strange noises or leaking water, check out our guide on loud noise troubleshooting or the water leak repair guide for related issues. A dead machine is frustrating, but most electrical failures are simple to fix with the right approach and a little patience.
Products related to this article
Sponsored / affiliate links. As an Amazon Associate I earn from qualifying purchases. I may earn additional commission from eligible campaigns.
 Coffee Espresso Machine Handle Replacement Parts, Cafe Bracket Handle for Lidl Silvercrest CM4621 CM4218 KF5002 KF500S Barista (for 51mm Portafilter Basket - Not included)
 Linnkyfloa Coffee Espresso Maker Handle Replacement for Stovetop Moka Pot or Percolator, Black Plastic for Spare Part Compatible with Italian(9-12 Cup)
 Quick Heating Cup Warmer, Three Temperature Settings, Splashproof and Portable, for Coffee, Milk, Lightweight ABS Material