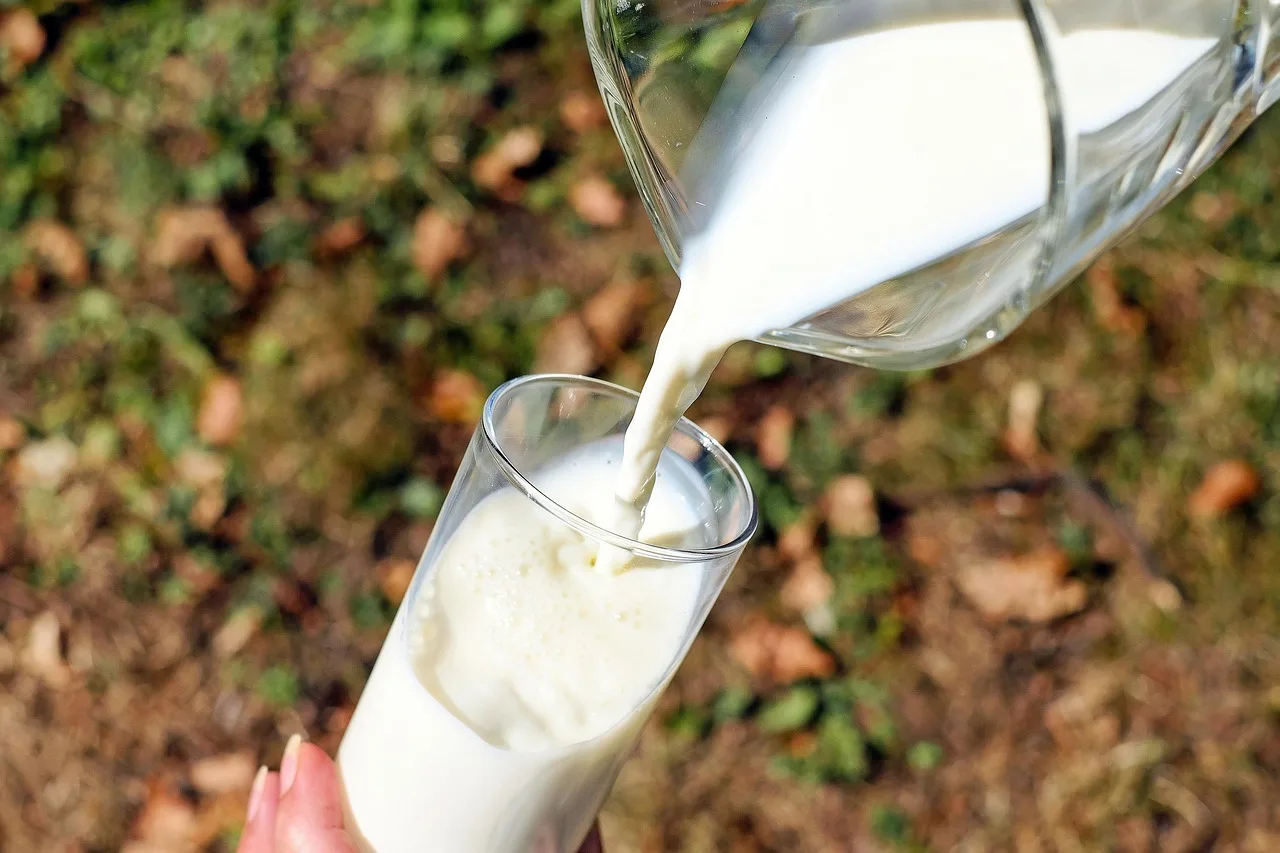
For café-style milk at home, match the method to the drink: glossy microfoam at 140–155°F for latte or flat white, drier foam for cappuccino, and cold foam for iced drinks. Miss the texture or temperature and the milk turns bubbly, thin, or scorched, which buries the espresso and wastes beans, milk, and time. I use this Milk frothing guide the same way I work behind a bar, start with the cup, then match pitchers, steam wands, handheld frothers, French presses, jars, and electric frothers to that target, with texture checkpoints and symptom-based fixes.
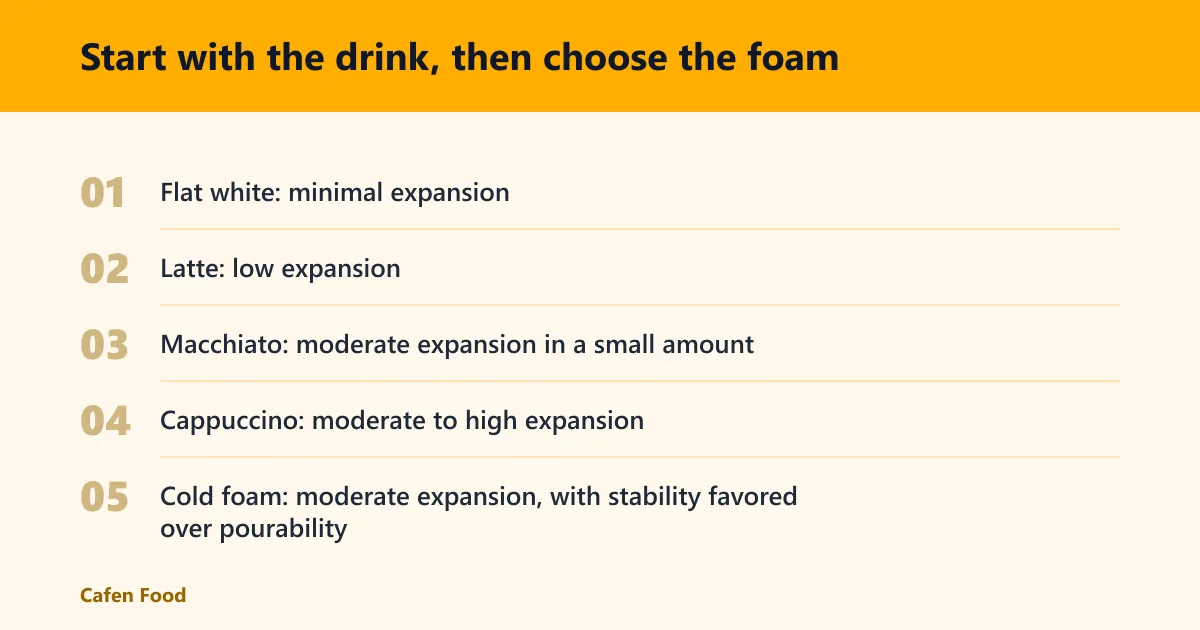
Start with the drink, then choose the foam


Most home guides start with the tool. That is backward. The cup decides the milk.
Milk froths because milk proteins, mainly casein and whey, form a thin film around the tiny air bubbles you add, while fat and heat decide how fine, stable, and pourable that foam stays. In practice, froth quality depends on protein, fat, and heat, which is why a cappuccino, flat white, and iced cold foam each need different handling even with the same carton of milk.
Texture targets by drink
Latte: thin, glossy microfoam with low expansion. It should pour as liquid foam, not sit in stiff peaks. This is the main target for latte art.
Flat white: even finer foam, with very little extra volume. The milk should look like wet paint and fold into espresso with almost no visible cap.
Cappuccino: more air and more height. The foam can be slightly drier, but it still should not look like dish soap or shaving cream.
Macchiato: a small spoonable cap. It needs structure more than flow, so a slightly firmer foam works better than latte-style microfoam.
Cold foam: chilled foam for iced drinks. It should hold long enough to sit on top, not melt into the drink before the first sip.
How much volume expansion each drink can handle
Milk can double in volume when frothed. That does not mean every drink should push for that much air.
- Flat white: minimal expansion
- Latte: low expansion
- Macchiato: moderate expansion in a small amount
- Cappuccino: moderate to high expansion
- Cold foam: moderate expansion, with stability favored over pourability
If a latte expands too much, the milk pours in clumps and the crema breaks apart. If a cappuccino gets too little air, it drinks like hot milk with no lift.
What good foam looks like before pouring
Listen first. During aeration with a steam wand, the right sound is a soft paper-tearing hiss. A loud screech means the tip is too high. Silence usually means no new air is going in.
Then watch the surface. Good microfoam is glossy, tight, and reflective, like fresh paint. Big bubbles on top mean too much air went in too fast, or the foam never got worked back into the liquid milk.
Finish with movement. One or two firm taps on the pitcher knock out the larger surface bubbles, the ones that ruin a clean pour and leave pockmarks in the crema. A strong swirl blends foam and milk into one texture. If the top stays dry and stiff while the base sloshes separately, the milk has already split into layers.
📊 Ideal frothing temperature is 140–155°F. Source: How to Froth Milk: Every Method Explained (With and Without a Frother).
Frother vs steamer: choose the right tool for the foam you want
If you’re deciding between a frother and a steamer, the main difference is control: frothers are usually simpler and better for making airy foam, while steamers are designed to heat milk and build finer, denser microfoam for espresso drinks. That choice affects texture, temperature, and how the finished drink tastes in the cup.
The supporting guide breaks down the frother vs steamer trade-off, compares foam quality, and explains which tool fits lattes, cappuccinos, hot chocolate, and other drinks. It matters because choosing the right device can save money, reduce guesswork, and help you get the texture you actually want.
What milk is best for frothing?
Whole milk is the best all-around pick for café-style drinks because, in the pitcher, it gives me the best mix of body, sweetness, and fine microfoam that still pours cleanly for latte art. 2% milk is the best middle ground, skim milk froths most easily but tastes lighter, and oat milk barista blend is the leading non-dairy choice for stable foam.
Whole milk: richest texture and best fit for latte art
Whole milk usually sits around 3.25% to 4% fat depending on market. That extra fat gives a fuller mouthfeel and the creamiest foam. Whole milk is rated best for latte art in the comparison table, and it is the easiest choice when the goal is a latte, flat white, or cortado-style drink with fine texture.
The trade-off is speed. Whole milk does not jump into stiff foam as quickly as skim. It needs more control during aeration, especially with handheld tools that tend to over-whip the top.
2% milk and skim milk: where they win and where they fall short
2% milk is the practical home option for people who want both body and lift. It foams more easily than whole milk and still pours with some creaminess. For everyday cappuccinos, I find it hard to fault.
Skim milk is often among the easiest dairy milks to froth. Skim milk makes very stiff foam but lacks richness. It is useful for dry cappuccino-style foam and spoonable macchiato caps, but it tends to feel thin in milk-heavy espresso drinks.
For drink-first choices:
- Latte art: whole milk first, 2% second
- Dry cappuccino: skim or 2%
- Balanced home use: 2%
- Rich flat white: whole milk
Oat milk barista blend and other non-dairy options
Oat milk barista blend is described as the best non-dairy option. It usually gives better foam stability than standard plant milks, and it is the safest plant choice for latte-style texture at home.
Standard oat, almond, soy, and other plant milks can foam, but they separate more easily and often collapse faster after pouring. Barista blends are made to stay together better under heat and agitation. Even then, the best plant foam still tends to have a shorter sweet spot than whole milk.
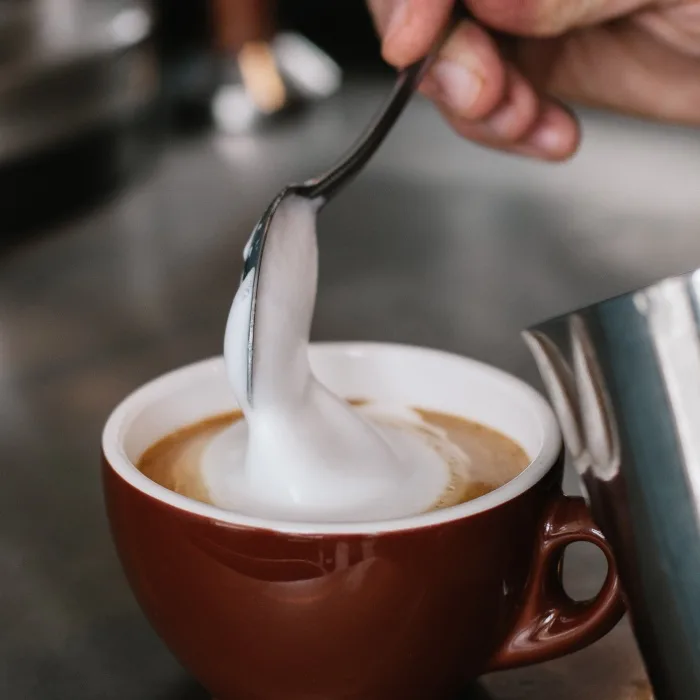
How fat and protein determine dairy foam quality
The fat and protein percentages in your milk dictate whether you get dense microfoam or stiff, airy bubbles. Whole milk, at roughly 3.25% fat, produces the creamy texture baristas rely on for latte art, while skim milk generates a much lighter, drier foam that dissipates quickly.
Choosing between whole, 2%, or skim depends entirely on the drink you are making and the mouthfeel you want. Understanding these ratios prevents wasted pours and flat cappuccinos. Our guide to best dairy milk frothing breaks down exactly how each fat level behaves under steam so you can match the right carton to your espresso setup.
Frothed vs Steamed Milk: Matching Texture to Espresso Drinks
Frothed milk, with its airy, loose structure, is ideal for cappuccinos and macchiatos, while the hotter, smoother steamed milk blends best in lattes, flat whites, and mochas. Choosing the wrong texture can leave a drink under‑balanced, with thin foam or an overly hot flavor. The article frothed vs steamed milk breaks down foam level, temperature, and espresso integration, then offers a drink‑by‑drink guide and simple home‑brew methods so you can consistently pair the right milk style with each espresso beverage.
Understanding the difference between milk froth and foam
Ordering coffee becomes easier when you know that “foam” generally refers to the airy cap sitting on top of a drink, while “froth” often describes a denser, finer-bubbled texture. This distinction matters because using the wrong term can lead to a beverage with an unexpected mouthfeel or appearance.
Baristas rely on precise terminology like microfoam for latte art or cold foam for iced drinks. If you want exactly what you picture, specifying the texture—airy cap, microfoam, or cold foam—removes ambiguity from your order. Learning the specifics of milk froth vs foam ensures you communicate clearly at any café counter and consistently receive the drink you intended to order.
Pick the right cleaner for your milk path
This guide explains the key choice: use a steam wand cleaner for exposed wand tips and metal tubes, and use a milk system cleaner for automatic milk circuits, valves, and hidden lines. That matters because milk residue does not build up in the same place on every machine, so the wrong product can leave protein film behind, clog parts, or stress seals and gaskets.
It also shows how to decide by equipment type first, then by the route the milk actually takes, so you can clean the right surfaces safely and avoid guesswork when maintaining an espresso machine or milk frothing system.
The milk-frothing decision table
The table below is the fast way to choose. Start with the milk, then check the method, then match the target texture to the drink in the cup. The last column matters most when things go wrong, because each milk and method pair tends to fail in the same predictable way.
Milk-frothing decision table
| Milk type | Frothing method | Best drink target | Target texture | Expected volume expansion | Foam stability | Ease | Most likely failure mode |
|---|---|---|---|---|---|---|---|
| Whole milk | Steam wand | Latte art, flat white | Glossy microfoam | Low | High | Medium | Too little air at first, then heavy milk with no lift |
| Whole milk | Handheld frother | Latte, cappuccino | Light microfoam to soft foam | Medium | Medium | High | Big bubbles from whipping the surface |
| Whole milk | French press | Cappuccino, macchiato | Soft to medium foam | Medium to high | Medium | Medium | Dry top layer with thin milk underneath |
| 2% milk | Steam wand | Latte, cappuccino | Fine foam with more lift | Low to medium | High | Medium | Over-aeration that turns airy before pouring |
| 2% milk | Handheld frother | Cappuccino, iced latte topper | Soft foam | Medium to high | Medium | High | Foam rises fast, then collapses after 1 to 2 minutes |
| 2% milk | French press | Cappuccino | Dryer foam | High | Medium | Medium | Large bubbles from aggressive pumping |
| Skim milk | Steam wand | Dry cappuccino, macchiato | Stiff, airy foam | Medium to high | High at first | High | Stiff foam that lacks gloss and drinks thin |
| Skim milk | Handheld frother | Macchiato cap, dry foam | Very stiff foam | High | Medium | High | Foam piles up dry and separates fast |
| Oat milk barista blend | Steam wand | Latte, flat white, cold foam base | Fine foam with moderate gloss | Low to medium | Medium to high | Medium | Separation if overheated |
| Oat milk barista blend | Handheld frother | Iced latte, cappuccino-style topper | Soft foam | Medium | Medium | High | Loose foam if milk is not cold enough or preheated evenly |
| Oat milk barista blend | French press | Cold foam, iced drinks | Chilled stable foam | Medium | Medium | Medium | Foam looks good, then drains watery liquid underneath |
Fast picks for common home setups
- Best for latte art: whole milk plus steam wand
- Best easy dairy option: 2% milk plus handheld frother
- Best dry cappuccino foam: skim milk plus French press
- Best non-dairy latte: oat milk barista blend plus steam wand
- Best cold foam: oat milk barista blend or skim milk, used cold
Steam wands are described as the gold standard. Handheld tools trade some texture quality for speed. French press frothing gives more volume than refinement.
What temperature should milk be for frothing?
Milk should finish between 140–155°F for the best balance of sweetness, body, and foam structure. Above 165°F, milk scorches and tastes flat. Do not boil it. If there is no thermometer, stop when the pitcher turns too hot to hold comfortably for more than a second or two.
Why 140–155°F works
Ideal frothing temperature is 140–155°F. In that zone, the milk tastes sweeter, foam stays more flexible, and the pour stays more even. The texture still has enough elasticity for latte art or a soft cappuccino cap.
What changes above 165°F
Above 165°F, milk scorches and tastes flat. The sweetness drops, the aroma gets cooked, and the foam becomes brittle. Plant milks are even less forgiving. Many separate before dairy would actually scorch, which is why careful heating matters more with oat milk.
Hand-feel and visual cues without a thermometer
Without a thermometer, use a short checklist:
- Start with cold milk so there is time to aerate before it overheats.
- Stop aerating once the milk gains some volume and the surface turns glossy.
- Keep heating only until the pitcher becomes too hot to hold for more than a second or two.
- Never let it simmer or boil.
If steam is racing off the top and the milk smells cooked, it has gone too far. For cold foam, skip heat entirely.
How do you froth milk at home?
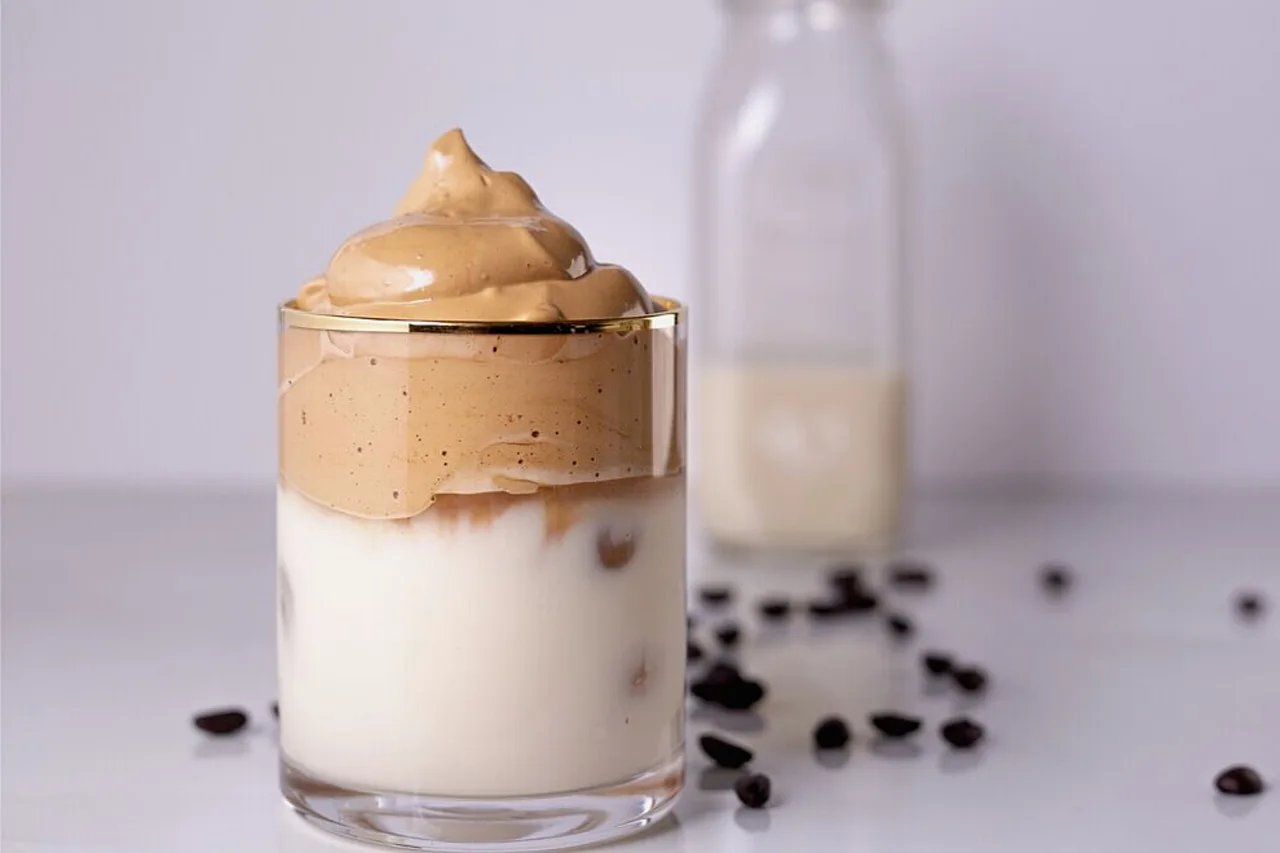
Choose the tool by the texture you need, not by what happens to be in the drawer. A steam wand gives the finest microfoam, a handheld frother is the fastest simple option with preheated milk, and a French press makes usable foam with more volume and less refinement.
Steam wand: purge, stretch, then integrate
For latte art and flat white texture, this is the method I reach for. Purge first to clear condensation. Set the tip just below the surface to stretch briefly, then sink it slightly to create a whirlpool that folds the new air into the milk.
Keep the early aeration short for latte drinks. More time at the surface builds more volume for cappuccino. The finish should be glossy, with no visible raft of foam sitting on top.
Handheld milk frother: fast, simple, and best with preheated milk
Handheld frothers need preheated milk. That matters because the tool adds air well, but it does not heat evenly. A battery-powered handheld is the quickest low-cost route to foam for most kitchens.
The Powerlix Pro is a 19,000 rpm handheld frother, and the Powerlix Pro froths four ounces of milk in under one minute. Speed helps, but control matters more. Keep the whisk lower in the milk at first, where it shears small bubbles into the liquid instead of whipping a dry cap on top, then rise slightly only if more volume is needed. If the whisk stays on the surface, it makes coarse bubbles fast.
French press: more foam, less finesse
A French press should be filled no more than halfway for frothing. That rule matters because milk can double in volume when frothed, and the plunger needs room to move. The Bodum Latteo is listed as the best manual frother, but a standard French press can do the same job if used with care.
Heat the milk first for hot drinks, then pump the plunger vigorously until the milk expands and turns smoother. This method works best for cappuccino foam, macchiato caps, and backup home use. It struggles to make true latte-art microfoam.
Jar, whisk, and electric frother methods
A jar can work in a pinch. Shake warm milk hard, then let it rest for a few seconds so the largest bubbles rise and pop before you pour. A whisk gives more control but takes longer and usually makes uneven foam. Both methods are backup options, not first picks for art-quality milk.
Countertop electric frothers sit between handheld tools and steam wands. Some are convenient because they control heat and agitation in one container. The Nespresso Aeroccino 4 includes cold macchiato, hot milk, cappuccino, and latte macchiato settings, which makes it more drink-specific than simpler automatic units.
Espresso machines with or without a frother
If you mainly make milk drinks, an espresso machine with a frother is the more practical choice because it lets you steam or foam milk without adding a separate appliance. If your routine is mostly straight espresso, black coffee, or occasional americanos, a simpler machine without a frother can save space, reduce cleanup, and keep the setup easier to use.
The tradeoff is less about quality and more about fit: the right machine depends on whether foam is part of your daily drinks and how much counter space you want to give up. The milk frother comparison breaks down those differences so you can choose the version that matches your drinks and avoids buying features you will not use.
How do you get smooth microfoam instead of big bubbles?
Smooth microfoam comes from adding a little air early, then blending it fully into the milk before the temperature climbs too high. The key signs are a soft paper-tearing hiss, a glossy wet-paint look, and a surface that stays fluid after swirling instead of forming dry, bubbly islands.
The sound cue during aeration
With a steam wand, the best sound is a gentle tearing of paper. Harsh screeching means the tip is pulling in too much air. Dead silence often means the tip is buried too deep and no new air is entering.
With handheld tools, the sound cue is different. Little noise is fine. What matters is where the whisk sits. Deep placement blends; surface whipping foams fast but leaves large bubbles.
The visual checkpoint: glossy paint, not shaving cream
Look for shine. Good microfoam reflects light and moves as one liquid mass. Shaving-cream foam looks matte, clumpy, and dry. That texture can sit on coffee, but it will not pour through crema cleanly.
Tap, swirl, and pour timing
Tap the pitcher or cup once or twice to pop surface bubbles. Swirl until the milk turns uniform. Then pour promptly. Foam that sits too long separates into hot milk below and airy foam above, which ruins art and weakens texture in the cup.
How much milk should you put in a frother?
Keep milk under half full in any pitcher, French press, or frother because milk can double in volume when frothed. Use less for latte-art drinks, which need lower expansion, and leave even more headroom in manual tools that build volume quickly.
Why under half full is the safe rule
Under-filling protects texture as much as it protects against overflow. A crowded vessel makes the milk rise too fast, so there is no room to blend air back in. That is when foam builds on top while the liquid below stays thin.
Expansion by drink and method
- Steam wand for latte or flat white: low expansion, more room needed for circulation than height
- French press cappuccino: higher expansion, more headspace needed above the milk
- Handheld frother: moderate expansion, with risk of sudden top-heavy foam
- Cold foam: moderate expansion, especially with very cold skim or barista oat milk
Portion guide in practice
For one latte, start with enough milk to leave clear empty space above it. For a cappuccino, use a similar base amount but expect more rise. For two small drinks, choose a larger vessel rather than filling a small one close to the top. The under-half rule is the one to keep.
Why is my milk not frothing properly?
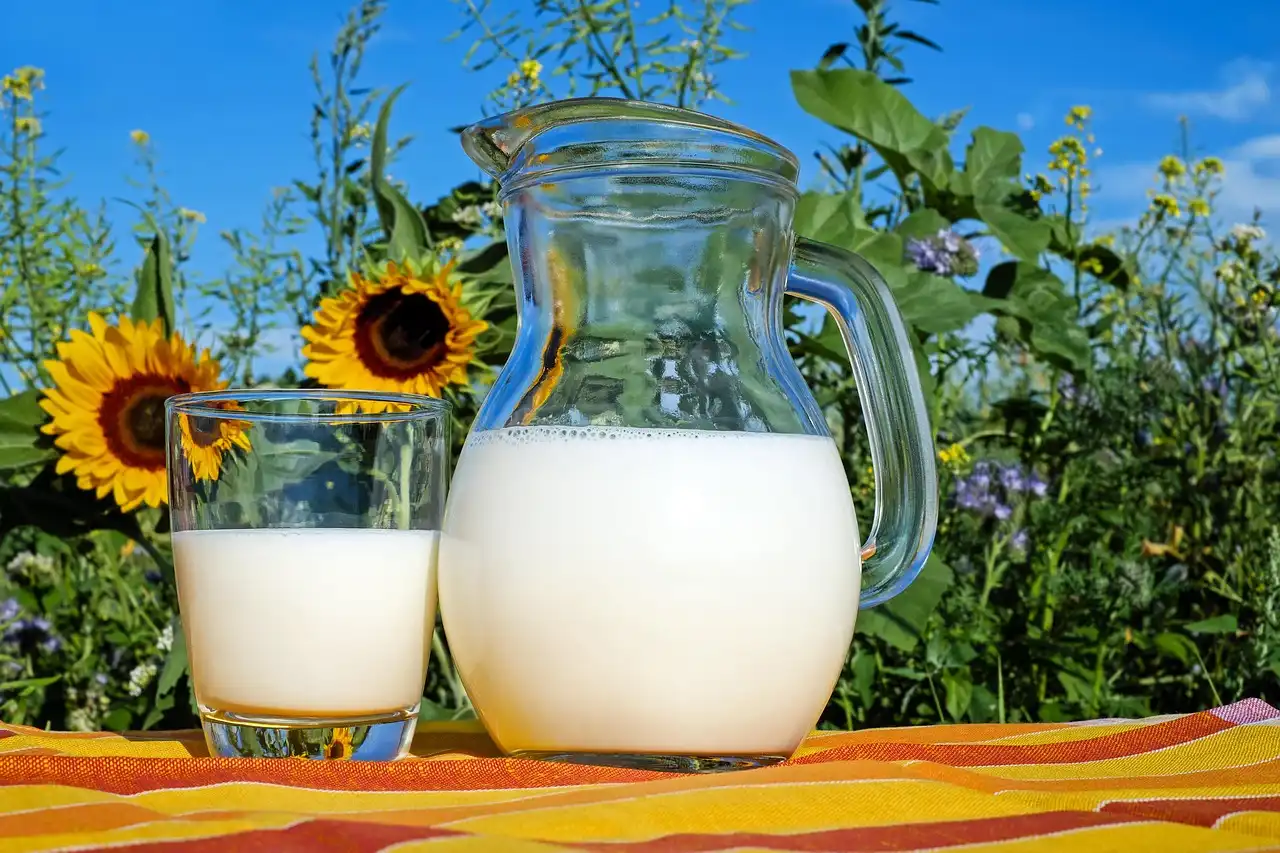
Most milk failures come from four causes: the wrong milk for the drink, too much or too little air early on, bad temperature control, or delayed pouring after frothing. Identify the symptom first, then fix the specific stage that caused it instead of repeating the same steps harder.
Thin foam, fast collapse, and weak structure
Likely cause: not enough protein support, too little aeration, or milk that got hot before air entered.
Fix: start with colder milk, add air earlier, and use a milk with better structure. 2% and whole milk improve body. Oat milk barista blend usually holds better than standard plant milk.
Dry foam, big bubbles, and split layers
Likely cause: too much surface aeration, especially with handheld frothers or French presses.
Fix: reduce air time, keep the frothing tip or whisk lower, then swirl longer at the end. For steam wands, shorten the stretching phase and focus on whirlpool integration. For French press foam, stop before the top turns stiff and meringue-like.
Curdling, scorching, and non-dairy separation
Likely cause: overheating or poor milk match.
Fix: stay in the 140–155°F zone. Above 165°F, milk scorches and tastes flat. Plant milks often split before that point if pushed hard. Use barista-style oat milk for better odds, and stop heating as soon as the texture comes together.
Failure-fix rules by method
- Steam wand: if bubbles are large, the tip stayed too high; if milk is flat, it stayed too low too early.
- Handheld frother: if foam is coarse, the whisk worked at the surface; if texture is weak, the milk was not preheated enough.
- French press: if foam is dry, pumping went too long; if volume is poor, the milk was too cool or the press was overfilled.
- Jar or whisk: if foam vanishes quickly, accept the limit of the method and use it for cappuccino-style topping rather than latte art.
Can you froth cold milk for cold foam?
Yes. Cold foam is made from unheated milk, and cold milk can be used straight from the fridge for cold foam. The best results come from milks that build stable foam without heat, especially skim milk and oat milk barista blend, using a handheld frother, French press, or electric frother.
Best milks and tools for cold foam
Skim milk rises quickly and makes a tall chilled foam, though it is light on creaminess. Oat milk barista blend gives a denser cold foam with better staying power on iced coffee. Whole milk can work, but it often feels heavier and less lofty when frothed cold.
A handheld frother is usually the fastest route. A French press also works well because the plunger creates good volume without heating the milk.
How cold foam differs from hot microfoam
Cold foam should sit on top. Hot microfoam should pour into the drink. That one difference changes the target completely. Cold foam can be slightly firmer and more cap-like, while latte milk needs a fluid texture that merges with espresso.
When to sweeten or flavor
Add syrups or sweeteners before frothing only if they dissolve cleanly and do not weigh the milk down too much. Thick sauces can collapse cold foam or leave it streaky. For the most stable result, keep additions light and froth first if the flavoring is heavy.
Frequently asked questions
How do you froth milk without a frother?
Use a French press first, because it gives the best manual control and volume. Fill it no more than halfway, heat the milk for hot drinks, then pump hard until the foam tightens. A jar or whisk can work for basic cappuccino-style foam, but neither is reliable for smooth latte-art milk.
How do you froth milk for latte art?
Use whole milk and a steam wand if possible, because that combination gives the best microfoam. Add only a little air at the start, then create a whirlpool to blend the foam into the milk. Stop at 140–155°F, tap out big bubbles, swirl to a glossy finish, and pour right away.
Products related to this article
Sponsored / affiliate links. As an Amazon Associate I earn from qualifying purchases. I may earn additional commission from eligible campaigns.
 Coffee Mug Warmer & You are Awesome Mug Set, Electric Cup Warmer for Desk
 Coffee Espresso Machine Handle Replacement Parts, Cafe Bracket Handle for Lidl Silvercrest CM4621 CM4218 KF5002 KF500S Barista (for 51mm Portafilter Basket - Not included)
 Coffee Mug Warmer & You are Awesome Mug Set, Electric Cup Warmer for Desk