You walk into the kitchen for your morning ritual, and there it is — a small puddle spreading across the countertop under your coffee setup. Your first guess is the burr grinder, because that’s the newest piece of gear. But water and coffee grinders don’t mix well, and a leak can mean anything from a loose tank to a cracked chamber. Before you order expensive replacement parts, you need to know exactly where the water is coming from.
This guide walks you through a practical, 10-minute diagnostic process that separates tank leaks from grinder unit leaks and brew head issues. You’ll learn the specific components that fail — check valves, gaskets, chutes — and the exact maintenance routine that prevents most leaks from ever starting. No vague advice, just a clear path from symptom to fix.

ERETOW
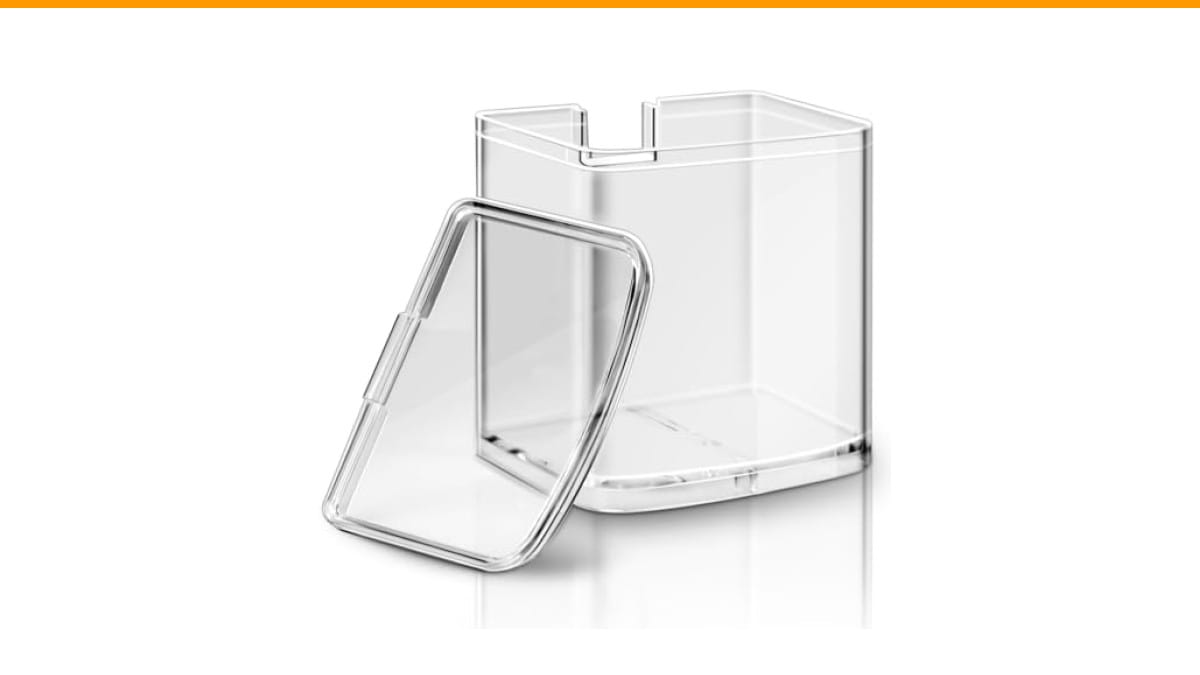
DBM-8GC Grind Chamber With Lid for Cuisinart…
- Fits for Cuisinart Burr Coffee Grinder Parts- Part Number DBM-8GC, this grind chamber with lid is compatible with Cuisinart coffee…
- Storage Function - This replacement coffee grind chamber is ideal for storing coffee grounds, effectively replacing worn or cracke…
- Premium Material - Crafted from lightweight and durable polystyrene(PS) material, this food processor parts for Cuisinart automati…
As an Amazon Associate I earn from qualifying purchases.
If your grinder’s grind chamber is cracked or warped from repeated exposure to moisture, a direct replacement like the ERETOW DBM-8GC replacement grind chamber for Cuisinart DBM-8P1 models can restore normal function without buying a whole new machine. It’s a simple swap that takes less than a minute.
Is the Leak From the Tank, the Grinder, or the Brew Unit?
Most people assume the grinder is leaking when the actual source is the water reservoir sitting next to it. Water travels along countertops, drips down machine sides, and pools in the least obvious spot. You have to trace the path before you touch any tools.
Quick 60-Second Leak Source Test
Dry the entire area with a towel. Place a paper towel under the grinder, another under the water tank, and a third under the brew head or drip tray. Brew a normal cup or run a grinding cycle. Wait five minutes and check each paper towel.
The wet towel tells you the zone. If the towel under the tank is wet, you have a reservoir problem. If only the grinder towel is wet, the leak is inside the grinder unit itself — which is rarer but happens. If both are wet, water is running along the machine’s base from one component to another.
This test takes less time than unscrewing anything, and it prevents you from replacing the wrong part. I’ve seen people buy a new water tank only to discover the leak was a loose hose clamp on the pump inlet.
Water Tank Leaks: The 3 Most Common Causes
Reservoir leaks account for roughly 80% of reported coffee machine water issues. The tank is the most handled component, so it takes the most abuse. Here are the usual suspects, in order of likelihood.
Was the Tank Just Removed or Refilled?
Most modern tanks have a spring-loaded valve at the bottom that opens when you seat the tank onto the machine base. If you refill the tank while it’s off the machine, then place it back, that valve can stick slightly open. Water then drips out the bottom and runs down the base.
Fix this first: remove the tank, empty it, inspect the bottom valve for visible debris, and reseat it firmly. Push down with even pressure until you feel the valve click. This resolves a surprising number of leaks without any parts replacement.
Is the Tank Seated Correctly on the Base?
The tank sits on a recessed platform with a rubber gasket around the outlet. If the tank is slightly tilted — often because the water level is low and you set it down carelessly — the gasket doesn’t compress evenly. Water escapes around the edges.
Lift the tank and set it down straight. You should feel a slight resistance as the gasket compresses. If the tank wobbles side to side, you haven’t seated it properly. This is the second most common fix and takes two seconds.
Inspect the Tank’s Check Valve and Bottom Seal
If the tank is seated correctly and still leaks, the check valve or its surrounding O-ring has failed. The check valve is a small plastic or silicone piece that prevents water from flowing back into the reservoir. Over time, mineral deposits from hard water can clog it, forcing water past the seal.
Remove the valve, soak it in a 50/50 white vinegar and water solution for 30 minutes, and scrub it with a soft toothbrush. Rinse thoroughly and reinstall. If the O-ring looks cracked, flattened, or has lost its round shape, replace it — they cost a few dollars and are standard parts.
Leaks From the Burr Grinder or Chute (The Overlooked Culprit)
Here’s where most online guides drop the ball. They assume all leaks come from the water tank, but a burr grinder can leak water internally. This usually happens because moisture gets into the grinding chamber, not because the grinder has a water line. If you’re grinding wet beans or the grinder sits in a humid spot, condensation can build up and drip out the chute.
Another path: if your machine is a combo unit with a grinder and brewer, a clogged valve in the brew section can push water backward into the grinder housing. The water then exits through the grind chamber’s seams or the bean hopper.
Wet Beans and Static Clogging the Chute
Whole beans contain about 10-12% moisture by weight. In a humid environment, that moisture can condense inside the burr chamber, especially if the grinder sits unused for a few days. The fine coffee particles then stick to the damp walls, forming a paste that clogs the chute. Water drips out alongside the grounds.
Fix this by running a small amount of dry rice through the grinder to absorb moisture and clear the chute. Then run a few ounces of whole beans to flush out the rice residue. This also addresses static buildup, which is worse in dry climates and causes grounds to cling to the chute walls.
Cleaning the Burr Chamber Without Damaging Seals
When you clean the burr chamber, you risk damaging the rubber seals that keep the chamber airtight. Never submerge the entire grinder body in water. Instead, remove the upper burr and grind chamber, and wipe them with a dry brush. For stubborn oil buildup, use a damp cloth, then dry immediately.
If your grind chamber is cracked from age or a drop, it can trap moisture and leak. A replacement chamber — like the ERETOW grind chamber with lid — is a cheap fix compared to a new grinder. It’s made of polystyrene, so it’s lightweight but not indestructible; hand wash it, never put it in the dishwasher.
How to Remove, Clean, and Reseat the Gasket or O-Ring
Most people hear ‘inspect the gasket’ and just look at it. You need to actually remove, clean, and reseat it. Here’s the exact technique that works.
- Unplug the machine. Remove the water tank and grind chamber.
- Locate the gasket — it sits at the base of the tank outlet or around the brew head. Use a plastic spudger or your fingernail to gently pry it out of its groove. Do not use a metal screwdriver; you’ll scratch the sealing surface.
- Wash the gasket in warm, soapy water. Rinse it thoroughly. Check for any nicks, tears, or flat spots where it has lost its circular cross-section.
- Clean the groove where the gasket sits. Use a cotton swab dipped in vinegar to remove mineral scale, then dry it completely.
- Reinstall the gasket, pressing it evenly into the groove. Run your finger around the entire circumference to ensure it’s seated flush. A twisted gasket will leak worse than a worn one.
This process takes about ten minutes. If the gasket looks deformed after cleaning, replace it. Gaskets are consumable parts, not lifetime components.
Preventive Maintenance Schedule That Stops Leaks Before They Start
Leaks are almost always a maintenance failure, not a random defect. A simple schedule prevents the majority of these issues.
Weekly Drying Cycle
Once a week, run the grinder empty for 10 seconds to blow out residual grounds and moisture. Leave the grind chamber and hopper off overnight to air dry fully. If you live in a humid area, this single habit prevents the paste-like clogging that leads to chute leaks.
For combo machines, run a water-only brew cycle with no coffee in the basket. This flushes the internal lines and prevents stale water from sitting in the pump and valves.
Monthly Descaling and Seal Inspection
Once a month, descale the water path using a citric acid solution (follow your machine’s instructions). Scale buildup is the number one cause of check valve failure. While the descaling solution sits, remove and inspect every gasket and O-ring you can access. Look for cracks, hardness, or loss of elasticity. Replace any that look questionable.
This monthly check takes 15 minutes and costs nothing if parts are healthy. It’s the difference between catching a small drip and coming home to a puddle that’s reached your hardwood floor.
Red Flags: When to Stop DIY and Call for Service
DIY repair has limits. Some symptoms mean you should stop immediately and call a professional. Water and electricity are a dangerous combination, and some leaks indicate internal failure you can’t safely fix.
- Electrical short: If the machine trips a GFCI outlet, sparks, or you smell burning plastic, unplug it and don’t use it again until serviced.
- Persistent leak after reseating: If you’ve cleaned and reseated all gaskets and the leak continues, the issue is likely a cracked internal manifold or pump housing. These require disassembly beyond home repair.
- Water inside the grinder motor: If the burr grinder section has visible water pooling around the motor shaft, the motor is compromised. Running it risks permanent damage.
- Continuous dripping from the brew head: This indicates a failed solenoid valve, not a simple seal issue. Replacing a solenoid is a job for a service center.
Don’t let pride cost you a new machine. A service call is cheaper than a replacement unit.
Frequently Asked Questions About Coffee Grinder Water Leaks
Why is my burr grinder leaking water when I haven’t used water near it?
Your grinder is likely absorbing ambient humidity. Coffee beans contain moisture, and in a humid kitchen, that moisture condenses inside the chamber. Run dry rice through the grinder to absorb it, and store the grinder with the hopper off to allow airflow.
Can I put my burr grinder parts in the dishwasher?
No. Dishwasher detergent and high heat will warp plastic parts and degrade rubber seals. The heat can deform the burr carrier, which ruins grind consistency. Hand wash all parts with mild soap and dry them immediately.
How do I know if the leak is from the tank or the brewer?
Use the paper towel test described earlier. Place separate towels under each component and run a cycle. The wet towel identifies the source. If both are wet, trace the water trail — it usually runs along the base from the tank toward the pump.
Is it safe to use my grinder if it has water inside?
No. Unplug it and dry it thoroughly. Running a grinder with water in the motor can cause a short circuit and permanent damage. Remove the chamber, wipe down the interior, and let it air dry for 24 hours before testing.
Does descaling actually prevent leaks?
Yes, specifically leaks caused by mineral scale. Scale builds up on check valves and gaskets, preventing them from sealing properly. A monthly descaling routine dissolves these deposits and extends the life of the seals. It won’t fix a cracked part, but it prevents the most common failure mode.
What to Do Next: A Practical Action List
- Run the 60-second paper towel test to isolate the leak source before buying any parts.
- Reseat the water tank and check the bottom check valve — this fixes most reservoir leaks instantly.
- Clean the burr chamber with a dry brush and run dry rice through it to clear moisture clogs.
- Remove, clean, and reseat all accessible gaskets using the technique described above.
- Set a weekly drying cycle and a monthly descaling reminder on your phone.
- If you see sparks, smell burning, or the leak persists after reseating gaskets, call a technician.
- For a cracked or warped grind chamber, consider a direct replacement part like the ERETOW DBM-8GC chamber before investing in a new grinder.
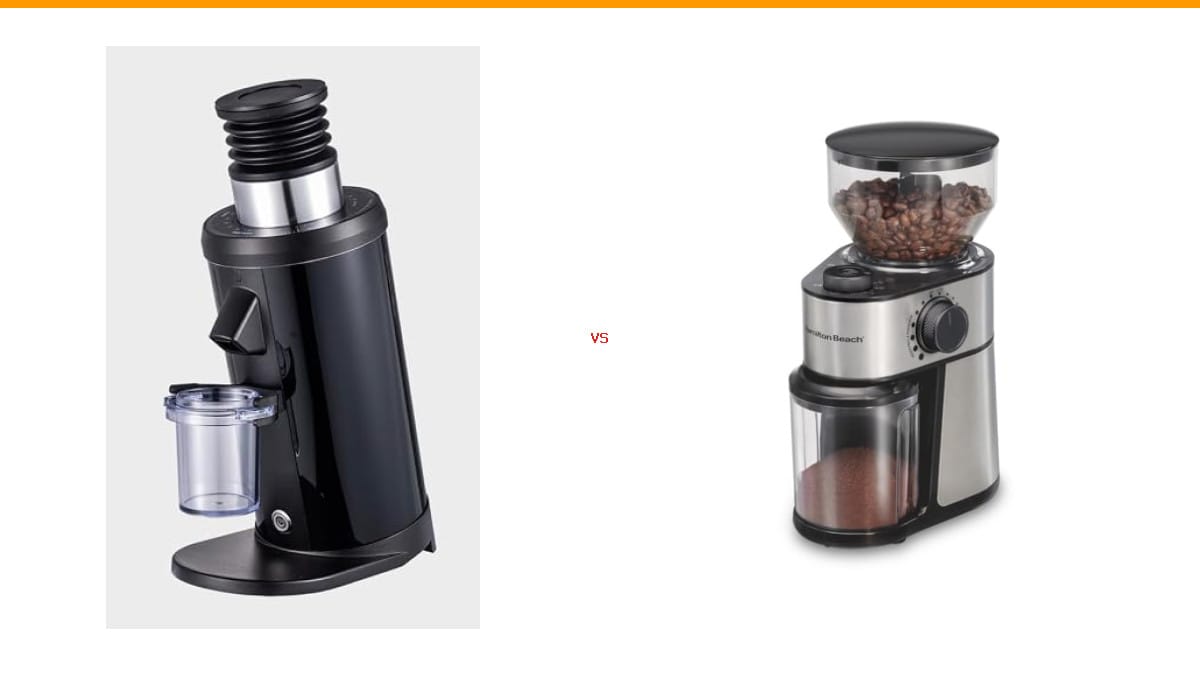
For more context on grinder types, see our comparison of burr vs blade grinders. If you’re dealing with a leaking espresso machine specifically, the troubleshooting steps overlap but differ in key ways — check our guide on automatic espresso machine leaks. And regular cleaning prevents most of these issues; here’s our step-by-step coffee grinder cleaning routine.
Products related to this article
Sponsored / affiliate links. As an Amazon Associate I earn from qualifying purchases. I may earn additional commission from eligible campaigns.
 Coffee Espresso Machine Handle Replacement Parts, Cafe Bracket Handle for Lidl Silvercrest CM4621 CM4218 KF5002 KF500S Barista (for 51mm Portafilter Basket - Not included)
 SOLUSTRE Electric USB Coffee Cup Warmer with Temperature Settings Portable Milk and Beverage Heating Coaster for Office Desk Small Lightweight Design Easy to Clean Surface Multi Functional
 Krylon Glitter Blast 6 Oz. Clear Sealer Spray - 1 Each