You walk into the kitchen for your morning cup and find a puddle spreading across the counter. The drip tray is full, the base is wet, and your coffee maker with grinder leaking water has turned your routine into a mess. It’s a common failure, and most of the time it’s fixable without buying a new machine.
This guide walks you through the diagnosis and repair process in a logical order. You’ll learn where leaks come from, how to test each part, and when it makes financial sense to stop repairing and replace the unit. You’ll also get a maintenance schedule to prevent the problem from coming back.

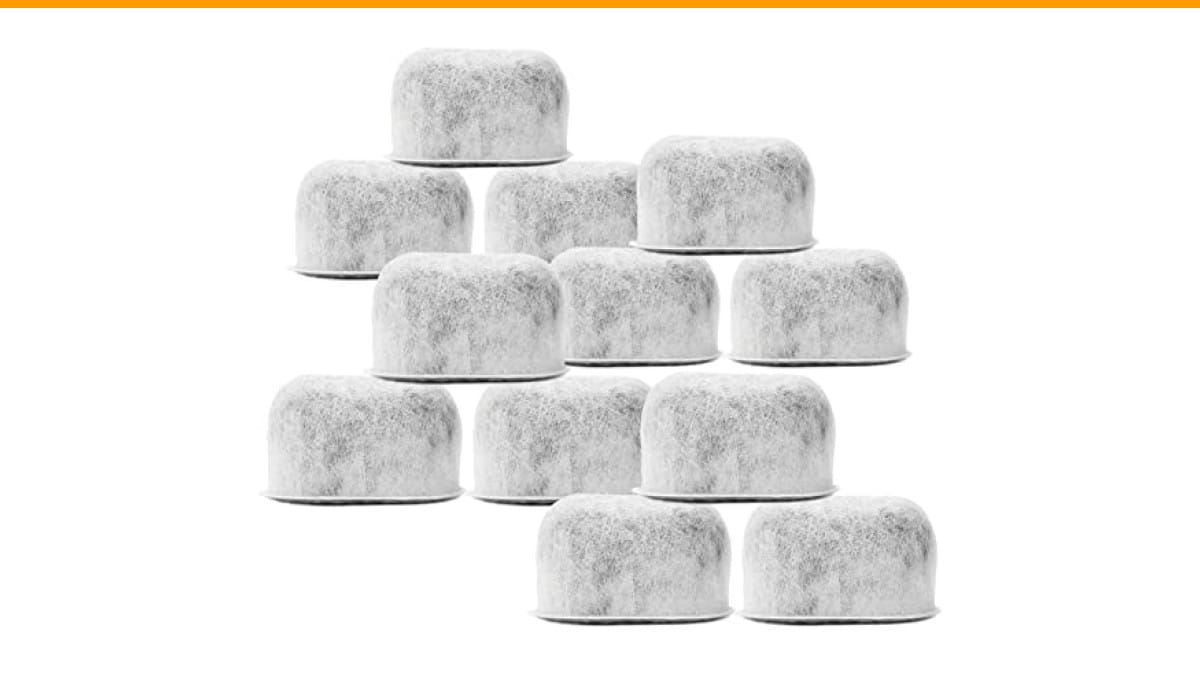
BRENSTEN
12 Pack Replacement Charcoal Water Filters for…
- ENJOY THE DELICIOUS TASTE AND AROMA OF BREWED COFFEE - Removes chlorine, odors, calcium, and other water impurities prior to brewi…
- COMPATIBLE WITH CUISINART COFFEE MAKERS – Specially designed for Cuisinart coffeemakers, these set of charcoal filter refills will…
- EASY TO INSTALL – Not only will these filters provide a less expensive way for you to enjoy delicious coffee, but they are also ve…
As an Amazon Associate I earn from qualifying purchases.
Immediate Safety First: Unplug and Assess the Leak
Water and electricity don’t mix. Before you touch anything, unplug the coffee maker. If water has pooled near the power cord or the heating element area, do not plug it back in until everything is completely dry and you’ve found the source.
Look under the machine. If you see water dripping near the electrical components, you’re dealing with a potential short circuit. Let the unit dry out for 24 hours before testing it again. A coffee maker that’s been severely flooded internally is often not worth the risk of repairing.
Once it’s unplugged and dry, place it on a towel and start tracing the leak. Your goal is to identify which of the three main leak zones is the culprit.
The 3 Main Leak Zones (Bottom, Filter Basket, Carafe)
Every leak falls into one of three areas. Knowing which zone you’re dealing with cuts your troubleshooting time in half.
Leaking from the Bottom: Pump, Hoses, and Reservoir Cracks
Water on the counter directly under the machine usually points to a cracked water reservoir, a loose hose clamp, or a failing water pump. A hairline crack in the plastic tank is common in machines over three years old, especially if you’ve ever run it dry or heated it unevenly.
Check the reservoir first. Empty it, dry it, and inspect the seams. If you see a crack, you can sometimes patch it with food-safe silicone sealant, but replacement is the permanent fix. If the reservoir looks fine, the leak is likely internal—a hose that’s popped off its fitting or a worn seal on the pump.
With the grinder combo units, the internal layout is cramped. You’ll need to remove the base plate to see the hoses. Look for white or clear tubing with mineral deposits around the connections—that’s a telltale sign of a slow leak.
Leaking from the Filter Basket: Overfill, Clogs, and Filter Fit
When water escapes around the filter basket during brewing, the cause is usually overfilling or a clogged basket. If you’re using too many grounds, the water backs up and spills over the rim.
Check the basket holes. Coffee oils and fine grounds build up over time, slowing drainage and causing overflow. Run water through the empty basket to see if it drains freely. If it doesn’t, a thorough cleaning is your first step.
Also verify that the filter paper is seated properly. A folded edge can act as a dam, forcing water sideways and out of the basket.
Leaking from the Carafe/Lid: Seal Wear and Cracks
If the leak appears when you pour or while brewing into the carafe, inspect the carafe lid and rim. The rubber gasket inside the lid can lose its shape, allowing coffee to run down the side instead of into the pot.
Run your finger along the carafe rim. Any chips or cracks will break the seal and cause drips. A cracked carafe is not repairable—you must replace it. The same goes for a warped lid that no longer snaps shut.
One thing to note: grind-and-brew models often have a thermal carafe with a narrow opening. These are harder to clean, and coffee oils can build up on the lid gasket, making it slippery and less effective. Wipe it down after every use.
The 5-Step Diagnostic Checklist (Find the Exact Cause)
Follow these steps in order. Each one rules out a cause and brings you closer to the fix.
- Run a water-only cycle. Skip the coffee grounds. If water leaks, the problem is in the water path, not the brew basket. If it doesn’t leak, the issue is overfilling or a clogged basket.
- Inspect the water reservoir for cracks. Dry it completely, then look for hairline fractures. Fill it with water and watch for slow drips.
- Check the carafe seal. Place the empty carafe on the warming plate. Run a brew cycle. If water collects under the carafe but not on the counter, the seal is the problem.
- Examine the drip tray. A full drip tray can overflow and look like a leak. Remove it and check the overflow channel underneath. Sometimes the tray simply needs emptying.
- Listen for the pump. If the pump sounds strained or sputters, mineral buildup is restricting water flow. This can cause water to back up and leak from the top.
This checklist takes about ten minutes. It’s worth the time because it prevents you from replacing parts you don’t need.
How to Fix It: Step-by-Step Repair Guide
Once you’ve identified the zone, here’s how to address the specific causes.
Descaling to Clear Mineral Blockages
Mineral buildup is the #1 cause of leaks in machines over a year old. Calcium deposits narrow the internal tubes, causing pressure to build and water to escape from weak points. A vinegar cleaning cycle is the cheapest fix you’ll find.
Mix a solution of equal parts white vinegar and water. Fill the reservoir, run a brew cycle without coffee, and stop halfway through. Let it sit for 30 minutes, then finish the cycle. Run two more cycles with plain water to rinse. This should clear most blockages.
If you have a grinder combo unit, run the same cycle. The grinder itself doesn’t need descaling, but the water path does. For stubborn buildup, you may need a second treatment. Check out our vinegar cleaning guide for a more detailed breakdown.
Replacing Seals, Gaskets, and O-Rings
Worn seals are the second most common cause. The O-ring on the water pump, the gasket on the brew basket, and the seal in the carafe lid all degrade over time. They’re cheap parts, usually under $10, and most are user-replaceable.
To replace a carafe lid gasket, pry out the old one with a flathead screwdriver. Clean the groove, then press the new gasket into place. Make sure it sits flat with no twists.
For internal seals, you’ll need to remove the base plate. Take photos as you go so you remember how it goes back together. Look for the part number on the old seal and order a replacement online. It’s a 20-minute job for most machines.
Patching or Replacing a Cracked Reservoir
A cracked reservoir is trickier. Food-safe silicone sealant can stop a small leak, but it’s a temporary fix. The plastic will likely crack again nearby. If the crack is larger than an inch, replace the reservoir.
Check if your model sells a replacement reservoir separately. Many do. If not, you’re looking at a new machine. A patched reservoir is fine for a few months, but don’t expect it to last a year.
When to Stop Fixing and Buy a New Coffee Maker
Here’s the honest math. A new seal costs $5–$10 and takes 20 minutes to install. That’s worth doing. A new reservoir costs $30–$50 and takes an hour. That’s borderline. A new pump costs $40–$70 and requires disassembling half the machine. At that point, you’re better off buying a new unit.
Consider the age of your machine. If it’s over five years old and needs a pump or a heater replacement, the repair cost will be 50–75% of a new machine’s price. The new machine will also come with a warranty and fresh components.
If the leak has caused visible corrosion on the heating element or electrical contacts, stop. That’s a safety hazard, not a repair project.
For reference, a basic drip machine costs less than a pump replacement. A grind-and-brew model costs more, but the repair labor is also more complex due to the integrated grinder. If you’re handy, a $40 part on a $200 machine makes sense. On a $60 machine, it doesn’t.
Prevent Future Leaks: A Maintenance Schedule That Works
Most leaks are preventable. Here’s the schedule that keeps machines running clean.
| Frequency | Task | Why It Matters |
|---|---|---|
| After every use | Empty the drip tray and wipe the carafe lid seal | Prevents overflow and keeps the seal pliable |
| Monthly | Run a vinegar descaling cycle | Clears mineral buildup that causes pressure leaks |
| Quarterly | Inspect hoses and seals for wear | Catches cracks before they become puddles |
| Every 30 days | Replace the charcoal water filter | Reduces scale and improves water quality |
| Yearly | Deep clean the grinder burrs and brew basket | Removes oil buildup that clogs drainage |
One practical tip: if you have hard water, double the frequency of descaling. Mineral buildup happens twice as fast with hard water, and it’s the leading cause of leaks in grind-and-brew machines.
Using a quality water filter also helps. The BRENSTEN 12-pack charcoal water filters fit most Cuisinart models and remove chlorine and calcium before they reach the heating element. That’s a simple way to extend the life of your machine and reduce scale buildup. Replace them monthly for best results.
Frequently Asked Questions (FAQs)
Why is my coffee maker leaking from the bottom?
Bottom leaks usually come from a cracked reservoir, a loose hose, or a failed pump seal. Empty the reservoir and inspect the seams. If it’s dry, remove the base plate and check the hoses. Mineral deposits around a connection point indicate a slow leak.
Can I fix a leaking coffee maker myself?
Yes, for most issues. Replacing seals, gaskets, and O-rings is straightforward. Descaling is even easier. Only attempt pump or heating element repairs if you’re comfortable with disassembling electronics. If water has reached the electrical components, don’t try to fix it yourself.
Why does my coffee maker leak when I pour from the carafe?
The carafe lid gasket is likely worn or the rim is chipped. Inspect the rubber seal inside the lid. If it’s loose or cracked, replace it. If the carafe itself has a chip, you need a new carafe—the seal can’t compensate for a broken rim.
How often should I descale my coffee maker to prevent leaks?
Monthly for machines used daily, especially with hard water. If you use filtered water, every six to eight weeks is fine. The goal is to prevent calcium from narrowing the internal tubes, which causes pressure to build and force water out of weak points.
Is it worth repairing an old coffee maker with a grinder?
It depends on the part. A $10 seal on a $200 machine is worth fixing. A $60 pump on a five-year-old machine is not. If the repair costs more than half the price of a new comparable model, replace it. Also factor in that an old grinder will likely need attention soon.
What You Should Do Next
- Unplug the machine and dry it completely before any inspection.
- Run a water-only cycle to narrow down the leak zone.
- Descale with vinegar before replacing any parts—it fixes many leaks.
- Replace worn seals and gaskets; they’re cheap and easy to install.
- Patch a small reservoir crack with food-safe silicone as a temporary fix.
- Replace the machine if the pump or heating element is the culprit and the unit is over five years old.
- Set a monthly reminder to descale and replace the charcoal filter.
If you’re dealing with a leak in a different type of machine, the diagnostic logic is the same. For espresso machines, the components are different but the approach works. Check our espresso machine leak guide for specifics. And if your machine isn’t brewing at all, the problem might be a pump failure rather than a leak—see our pump troubleshooting article.
Products related to this article
Sponsored / affiliate links. As an Amazon Associate I earn from qualifying purchases. I may earn additional commission from eligible campaigns.
 Belly Moka Coffee Maker Stovetop Espresso Maker 9 Cup Aluminum Moka Pot Percolator 15oz 450ml Easy Brewing for Electric Ceramic Stoves Home Camping Italian Cuban Café Classic Black
 Belly Moka Coffee Maker Stovetop Espresso Maker 6 Cup Aluminum Moka Pot Percolator 10oz 300ml Easy Brewing for Electric Ceramic Stoves Home Camping Italian Cuban Café Classic Silver
 HomeBeyond Espresso Coffee Maker 12 Cups, Classic Stovetop Espresso Maker, 600ml / 20oz Coffeemaker for Gas & Ceramic Stovetops (Silver)