You notice it slowly. The shot that used to take 25 seconds now drags out to 40. The crema looks thin, almost watery. The pump sounds like it’s working harder than it should. Most owners blame the machine itself, but the real culprit is often the water you’ve been feeding it. Hard water—water with high calcium and magnesium content—is the silent killer of super automatic espresso machines.
This guide walks through how hard water physically damages your machine, ruins your espresso’s taste, and shortens the lifespan of your investment. You’ll learn to diagnose the symptoms before they become costly repairs, and you’ll get practical water solutions—from simple sachets to inline filters—that keep your machine running like new. No vague advice, just numbers, conditions, and real-world fixes.

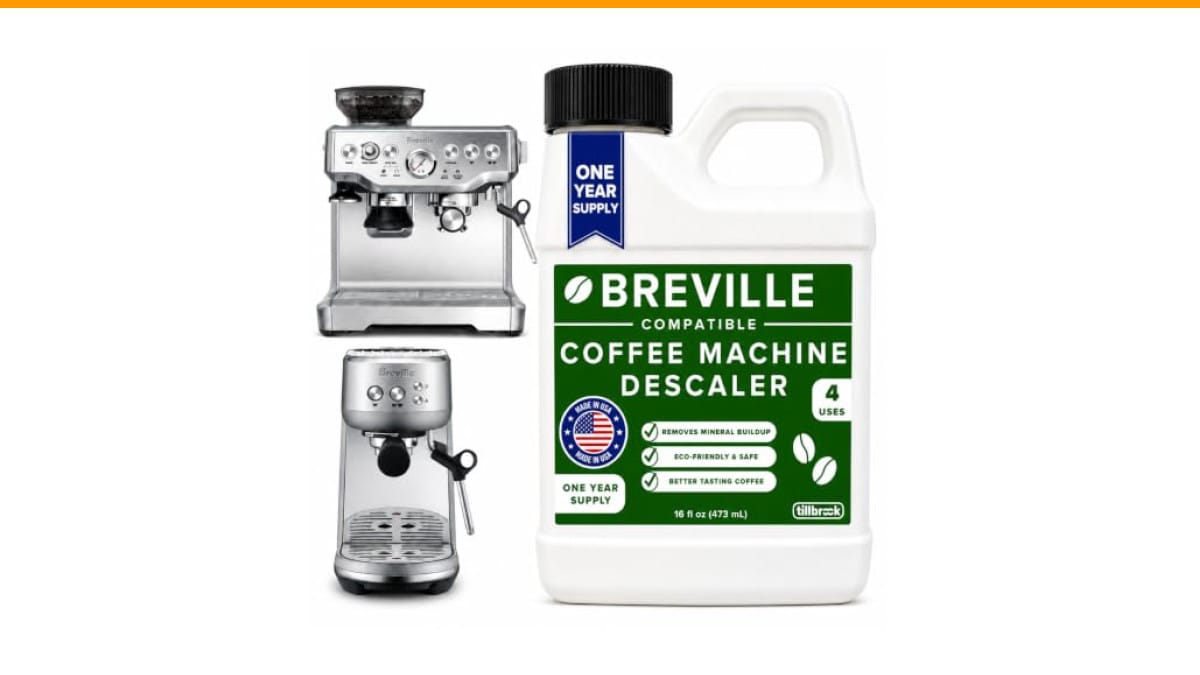
Tillbrook
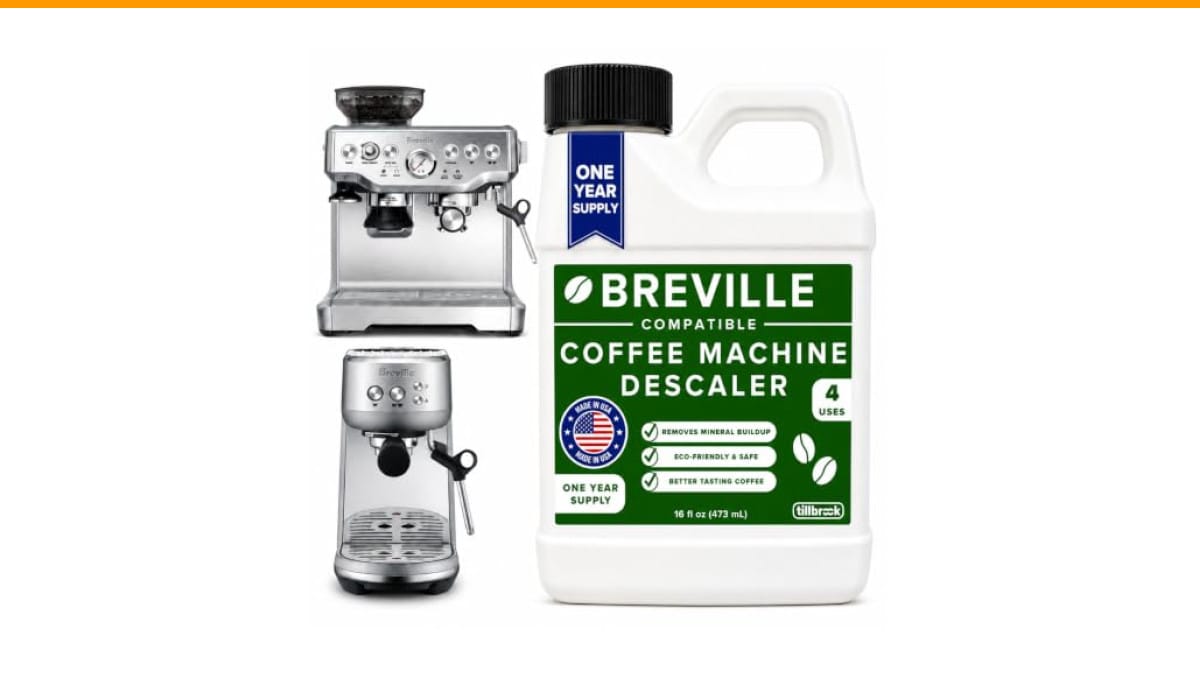
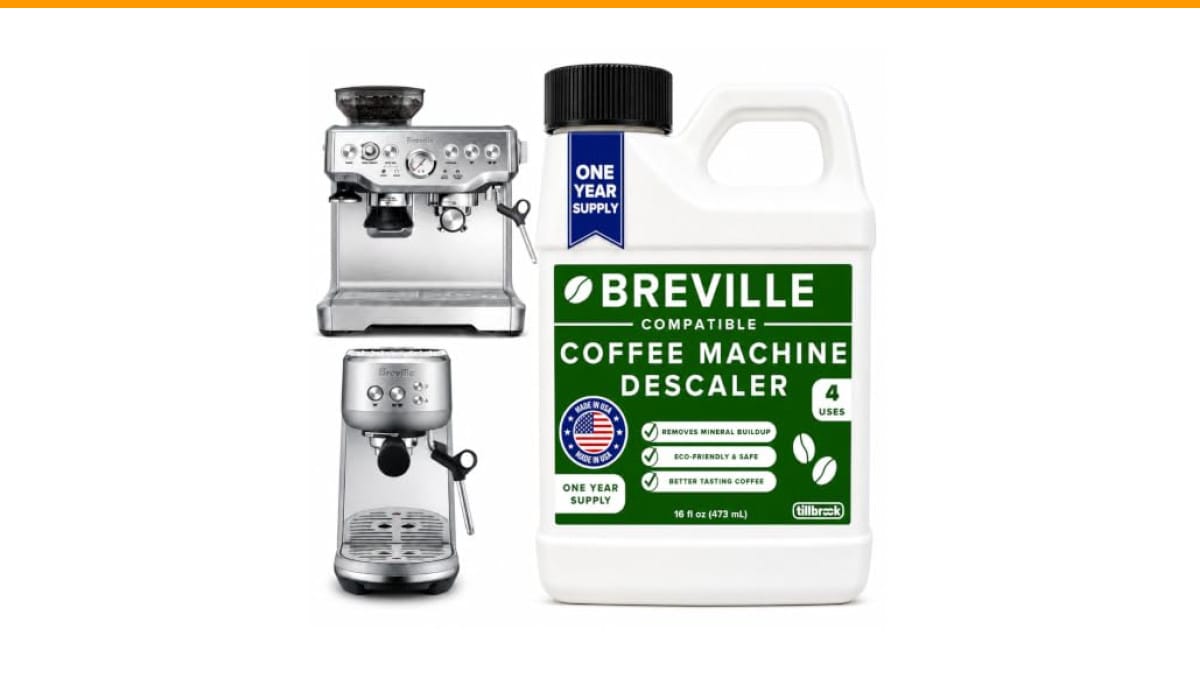
Breville Espresso Machine Compatible Descaler, 4 Uses,…
- EXCEPTIONAL RESULTS: Introducing Tillbrook Coffee Machine Descaler specifically formulated for Breville—the best choice for removi…
- 1 YEAR SUPPLY: Our concentrated formula is easy to use and provides remarkable value with 4 cleanings per bottle. Simply add 1/2 c…
- SCIENTIFICALLY ENGINEERED: Our advanced descaling solution is carefully crafted with powerful, all-natural ingredients that remove…
As an Amazon Associate I earn from qualifying purchases.
If you’re already dealing with scale buildup, a good descaling solution is your first line of defense. The Tillbrook Descaler for Breville is a concentrated formula that removes mineral deposits and coffee oils without damaging internal components. It’s tested on nearly every coffee maker, so it works for super autos too, and one bottle gives you four cleanings—enough for a year of regular maintenance.
The Hidden Cost of Hard Water in Your Super Automatic
Hard water doesn’t just taste different. It carries dissolved calcium and magnesium that precipitate out as limescale when heated. The hotter the water, the faster the scale forms. Your super automatic’s boiler or thermojet heats water to around 200°F, which is the perfect temperature for scale to crystallize on metal surfaces.
That scale acts like an insulator. It coats the heating element, making it less efficient at transferring heat. The machine has to work harder and longer to reach brewing temperature, which increases energy consumption and puts stress on the heating element. Over time, the element can overheat and fail completely—a repair that often costs half the price of a new machine.
Scale also narrows the internal water lines. A machine designed to deliver 9 bars of pressure now has to push water through a partially blocked path. The result is reduced flow rate, inconsistent extraction, and a pump that runs louder and longer than it should. If you hear your machine groaning or see it leaking from odd places, scale is often the root cause.
There’s also the bypass dosing issue. Many super autos use a bypass chute for pre-ground coffee, but the main grinder and dosing mechanism are equally vulnerable. When scale builds up in the brew group, it throws off the mechanical timing. The grinder may over-dose or under-dose, leading to channeling—where water finds the path of least resistance through the coffee puck, under-extracting some areas and over-extracting others.
Loud noise from your machine is often the first audible warning of scale-related strain.
How Hard Water Actually Damages Your Machine (Beyond Scale)
Most people think scale is just a cosmetic issue. It’s not. The damage goes deeper than a white crust on the heating element.
The Boiler and Thermojet Threat
The boiler is the heart of your super auto. In dual-boiler machines, scale can block the steam boiler’s temperature sensor, causing it to read incorrect temperatures. That leads to overheated steam or weak, watery steam. In thermojet systems, the narrow heating channels are even more susceptible to clogging—a single layer of scale can reduce flow by 30% or more.
Scale also corrodes metal over time. The calcium and magnesium react with the metal surface, creating microscopic pits. These pits become nucleation points for more scale, and they also trap coffee oils, which turn rancid and impart bitter, burnt flavors to your shots. Once the metal is pitted, descaling won’t fully restore it—you’re looking at part replacement.
The Grinder and Dosing Mechanism
Super autos have a built-in grinder that sits above the brew group. Hard water doesn’t directly affect the burrs, but the humidity and heat from the boiler can cause mineral-laden steam to settle on the grinder’s moving parts. Over time, this creates a sticky residue that slows the auger and makes the grind size inconsistent.
More critically, the dosing mechanism relies on precise mechanical movements. If scale builds up in the brew group’s piston or the dosing chamber, the machine can’t tamp consistently. Inconsistent tamping leads to channeling, which ruins your extraction. You’ll see thin, pale crema and sour or bitter shots, and no amount of grind adjustment will fix it until the scale is removed.
That’s why I always tell owners to treat descaling as a preventive measure, not a reactive one. Waiting until you taste a problem means the scale has already done damage.
The Taste Test: How Minerals Ruin Your Shot
Water makes up about 98% of your espresso. The minerals in that water directly affect extraction chemistry. Calcium and magnesium both extract different compounds from coffee grounds, and the balance between them determines your shot’s flavor profile.
Magnesium extracts more of the fruity, acidic compounds that give espresso its brightness and complexity. Calcium extracts more of the bitter, astringent compounds. Hard water with high calcium content will pull out bitterness before the sweet, balanced flavors develop. That’s why shots from hard water often taste harsh and one-dimensional, no matter how fresh your beans are.
Scale also physically blocks the water from reaching the coffee evenly. When scale builds up in the shower screen or brew group, water distribution becomes uneven. Some grounds get over-extracted (bitter), others under-extracted (sour). The result is a muddled, confusing cup that tastes neither sweet nor balanced.
Why Your Crema is Thin and Bitter
Crema is the golden foam on top of a proper shot. It’s created when CO2 from the coffee combines with oils and emulsifies under pressure. Hard water disrupts this process in two ways. First, scale reduces the water pressure reaching the puck, so there’s less force to create emulsification. Second, high mineral content changes the surface tension of the water, which makes the crema less stable—it collapses faster and looks thin.
If your crema is pale, watery, and disappears within seconds, check your water hardness before blaming the beans. I’ve seen machines produce perfect crema after switching to soft water, with no other changes to grind or dose.
For a deeper look at how extraction issues affect flavor, see why burnt flavors appear and how water chemistry plays a role.
Diagnosing the Problem: Is It Hard Water or Something Else?
Not every machine problem comes from hard water. Before you descale, rule out other causes. Here’s a symptom-based guide to help you identify whether scale is the culprit.
| Symptom | Likely Cause | Water Hardness Connection |
|---|---|---|
| Slow flow rate (shot takes >40 seconds) | Scale in boiler or brew group | High—scale narrows water lines |
| Loud, whining pump | Pump strain from back pressure | High—scale increases resistance |
| Thin, pale crema | Low pressure or mineral imbalance | Moderate—scale reduces pressure |
| Bitter, harsh taste | High calcium extraction | Direct—calcium pulls bitter compounds |
| Sour, under-extracted shots | Channeling from inconsistent tamp | Indirect—scale affects dosing mechanism |
| Water leaks from bottom | Blocked lines causing pressure buildup | High—scale blocks flow |
| Steam wand sputters | Scale in steam boiler | High—scale blocks steam path |
If you have a water hardness test strip, use it. Most municipalities have hard water (above 150 ppm TDS). If your water is soft (below 60 ppm), your problems might come from something else, like a faulty pump or clogged grinder. For persistent leaks, check our leak troubleshooting guide.
One way to confirm scale is to run a descaling cycle and see if flow improves. If it does, you’ve found your issue. If not, the problem might be mechanical.
The Ultimate Fix: Water Recipes and Filtration for Super Autos
You have three realistic options: use bottled water with known mineral content, make your own water from concentrate, or install an inline filter. Each has trade-offs in cost, convenience, and control.
The Simple Sachet Solution
Third Wave Water sachets are the easiest way to get perfect water. Each sachet is designed to be added to a gallon of distilled water, creating a mineral profile optimized for coffee extraction. The sachets contain the right balance of calcium and magnesium—enough for flavor, but not enough to cause scale.
For super autos, I recommend the Classic profile, which has lower total hardness. It produces sweet, balanced shots without the risk of scale. One box of 12 sachets costs about $20 and will last you a month if you brew daily. It’s not the cheapest option, but it’s foolproof.
If you want to save money, you can mix your own. Start with distilled water and add 0.3 grams of Epsom salt (magnesium sulfate) and 0.3 grams of baking soda per gallon. This creates water with about 70 ppm hardness and 40 ppm alkalinity—a solid starting point. Adjust to taste, but keep total hardness below 100 ppm to avoid scale.
Choosing the Right Inline Filter
Inline filters like the Everpure Claris or BWT Bestmax are designed for plumbed-in machines. They use ion exchange to replace calcium and magnesium with sodium, effectively softening the water. They also remove chlorine and other impurities. The downside is that sodium can add a slightly salty taste if the filter isn’t properly maintained.
For reservoir machines, you can use a pitcher filter like a Brita, but it only reduces hardness partially. A Brita reduces hardness by about 50%, which might be enough if your water is moderately hard (150 ppm). If your water is very hard (300+ ppm), you’ll still get scale buildup, just slower.
I’ve tested both approaches side by side. The sachets give you precise control, but they’re a hassle when you have a 2-liter reservoir—you need to mix a new batch every time. An inline filter is set-and-forget, but you need to know your water hardness to select the right model.
For a full comparison of machine types, check our automatic vs. semi-automatic guide to see how water needs differ.
A Realistic Descaling Schedule (Based on Your Water)
Manufacturers say to descale every 3 months, but that’s a one-size-fits-all guess. The real interval depends on your water hardness and how often you brew.
Here’s a simple formula: take your water hardness in ppm and divide by 100. That’s the number of months you can go between descales. If your water is 200 ppm, descale every 2 months. If it’s 50 ppm, you can stretch to 6 months. This works for most super autos.
If you use a softener or filter, you can extend the interval. But remember, descaling also removes coffee oils and residue, so even with perfect water, you should descale at least twice a year to keep the brew group clean.
When you descale, use a solution designed for espresso machines. The Tillbrook descaler is a good choice because it’s formulated to be safe on the internal plastics and seals common in super autos. Follow the instructions: mix 4 oz of concentrate with water, run a full cycle, then run two more cycles with fresh water to rinse. Don’t leave the descaler in the machine for more than the recommended time—it can damage seals if left too long.
If you’re new to descaling, our step-by-step descaling guide covers the process in detail.
The Cost-Benefit: Filter vs. Descaler vs. New Machine
Let’s talk money. A good inline filter costs $50–$150 and lasts 6–12 months. A box of descaling solution costs $15–$25 and lasts 3–6 months. A new super automatic espresso machine costs $500–$3,000. The math is obvious, but let’s break it down.
If you have hard water (200 ppm) and you don’t filter or descale, scale will build up fast. Within 12 months, you might see reduced flow and taste issues. Within 2–3 years, the heating element could fail. Replacing a boiler costs $200–$400 in parts plus labor, which often exceeds the value of a mid-range machine.
Now compare that to the cost of prevention. A $100 filter plus a $20 descaler every 6 months costs about $140 per year. Over 3 years, that’s $420—still less than a single boiler replacement. And you get better tasting coffee the entire time.
There’s also the resale value consideration. A well-maintained machine with soft water can last 10 years or more. A neglected machine might die in 3. The choice is clear.
If you’re shopping for a new machine, our best under $1000 guide includes models with built-in water filters, which save you the hassle of external filtration.
Final Verdict: The Perfect Water for Perfect Espresso
Hard water is the single most preventable cause of super automatic espresso machine failure. It damages the boiler, clogs the brew group, ruins the grinder’s consistency, and destroys the flavor of your shots. The good news is that you can fix it with a few simple habits.
- Test your water hardness with a cheap strip. If it’s above 150 ppm, take action.
- Use a descaling solution every 2–3 months if your water is hard, or follow the ppm/100 rule.
- Consider a water recipe with distilled water and added minerals for the best taste and no scale.
- Install an inline filter if you have a plumbed-in machine, or use a pitcher filter for reservoirs.
- Watch for the early symptoms—slow flow, noisy pump, thin crema—and descale at the first sign.
- Don’t ignore the bypass chute; clean it regularly, as scale can build there too.
- Invest in a quality descaler like the Tillbrook 4-use bottle—it’s cheaper than a single repair.
Your super automatic is a precision instrument. Treat the water like you treat the beans—with respect. Your taste buds and your wallet will thank you.
One last thing: if you’re already seeing scale, don’t panic. Descaling will remove most of it, but if the machine is still acting up after a proper descale, the damage might be permanent. That’s when you need to call a technician or consider a replacement. But with the right water strategy, you’ll never have to make that call.
Products related to this article
Sponsored / affiliate links. As an Amazon Associate I earn from qualifying purchases. I may earn additional commission from eligible campaigns.
 Coffee Espresso Machine Handle Replacement Parts, Cafe Bracket Handle for Lidl Silvercrest CM4621 CM4218 KF5002 KF500S Barista (for 51mm Portafilter Basket - Not included)
 SOLUSTRE Electric USB Coffee Cup Warmer with Temperature Settings Portable Milk and Beverage Heating Coaster for Office Desk Small Lightweight Design Easy to Clean Surface Multi Functional
 Linnkyfloa Coffee Espresso Maker Handle Replacement for Stovetop Moka Pot or Percolator, Black Plastic for Spare Part Compatible with Italian(9-12 Cup)